
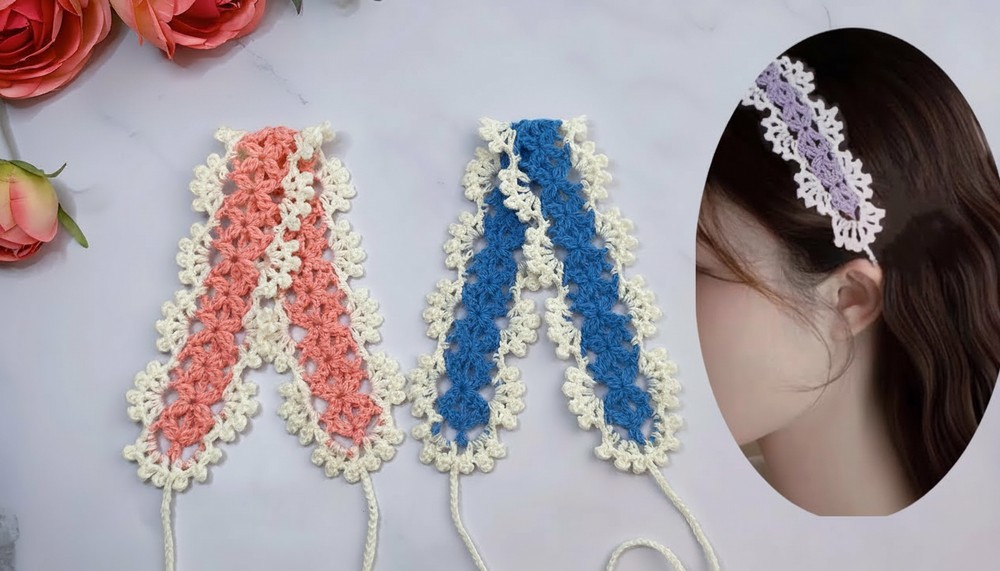
Stay cozy and stylish with this free crochet headband pattern—perfect for keeping ears warm, managing hair effortlessly, and enhancing any winter look.
A chilly breeze brushes past as you head out, and something soft yet snug keeps your hair tidy while shielding your ears from the cold. That’s the charm of a free crochet headband pattern. Ideal for both everyday use and special outings, a crochet headband can complement anything from casual jeans to chic winter coats.
Free Crochet Headband Pattern You’ll Adore
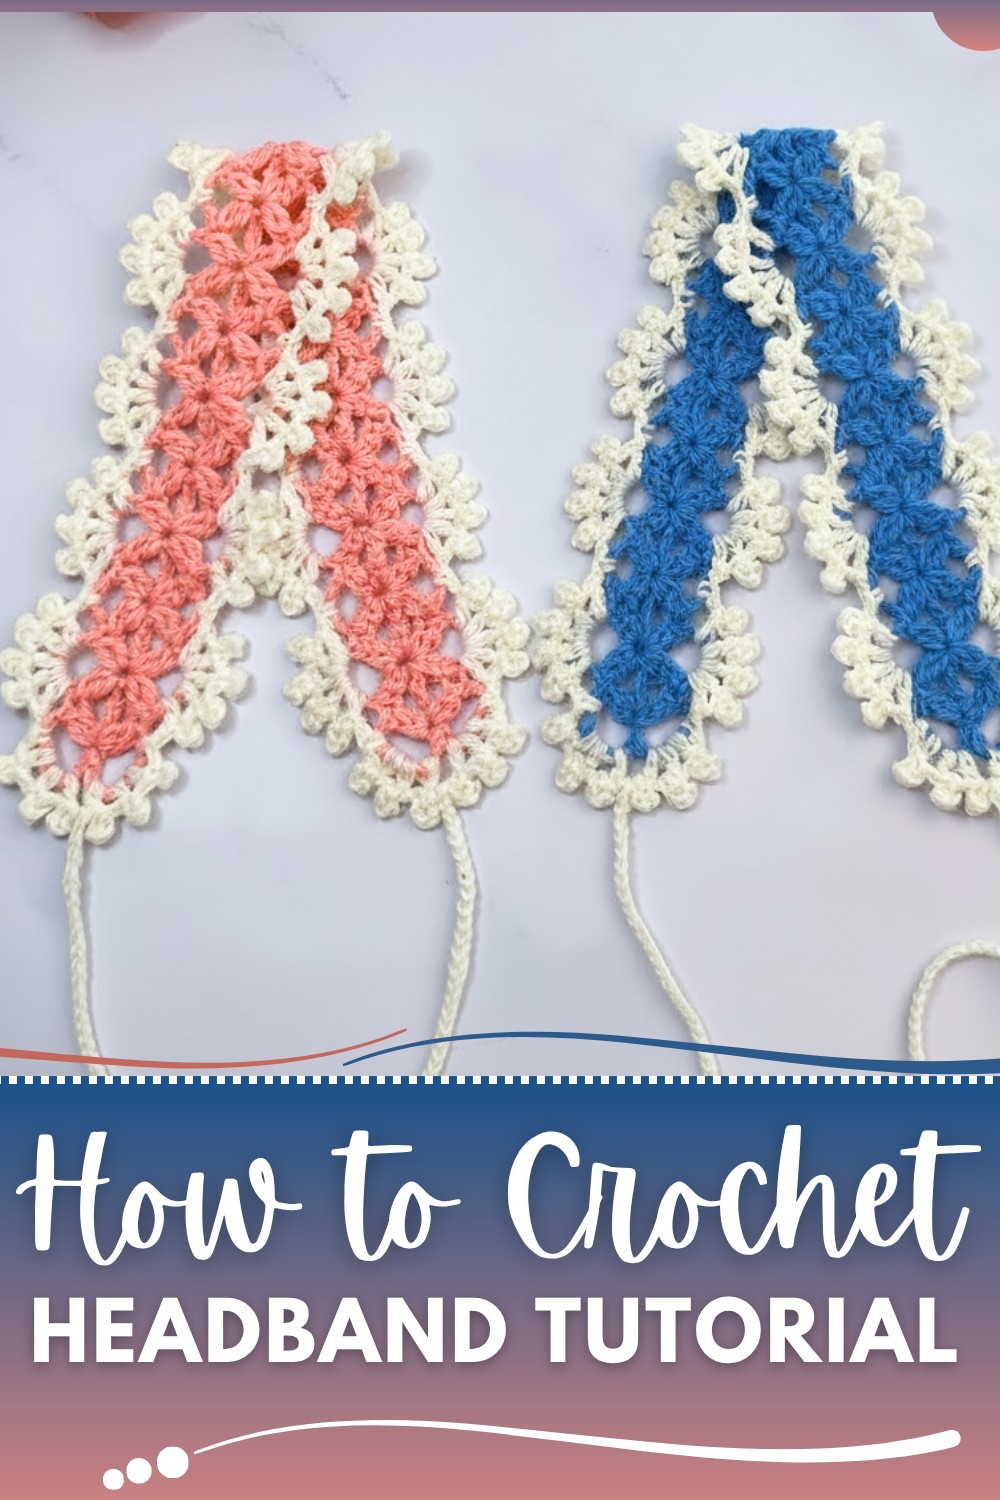
This accessory doesn’t just keep you warm, it’s a fashionable solution for bad hair days, a cozy ear warmer for frosty mornings, and a lightweight option when bulky hats feel too much. With endless options in stitches, colors, and textures, it’s a quick project for beginners and experts alike. These headbands are perfect for gifting or simply treating yourself to something practical yet stylish, your wardrobe will thank you. Warmth, functionality, and timeless flair come together in this must-try idea.
Crochet Headband Pattern
Materials Required
- Yarn: Shetland wool or similar lightweight yarn in two contrasting colors:
- Main color (MC): Approximately 50g–100g.
- Accent color (AC): Approximately 20g for decorative edging.
- Crochet Hook: Size E/3.5mm (or a recommended size for your yarn).
- Tapestry Needle: For weaving in ends.
- Scissors: For trimming yarn.
Special Techniques
- Two Double Crochet Bobble (2DC Bobble):
- Yarn over, insert hook into stitch, pull up a loop (three loops on hook).
- Yarn over, pull through two loops (two loops on hook).
- Yarn over, insert hook into the same stitch, pull up a loop (four loops on hook).
- Yarn over, pull through two loops (three loops on hook).
- Yarn over, pull through all three loops on the hook.
- Pico Stitch:
- After a double crochet, chain 3, then make a slip stitch into the top of the double crochet just worked to create a small loop.
Finished Size
- Final dimensions will depend on the chain length, but the provided pattern creates a headband approximately 22 inches (56 cm) in circumference and 3 inches (7.5 cm) in width.
- Adjustable ties make it suitable for most head sizes.
Step-by-Step Instructions
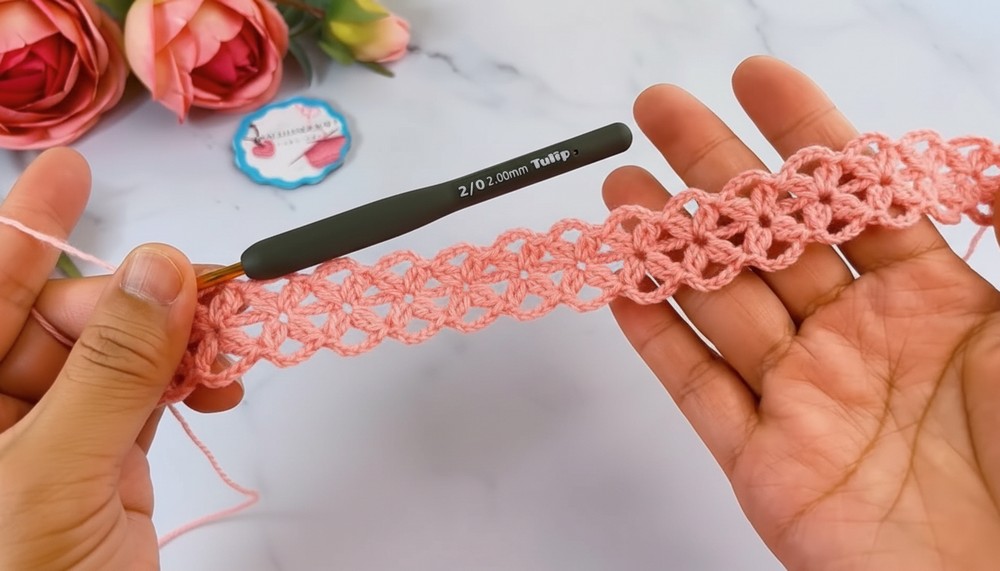
Step 1: Crochet the Main Body
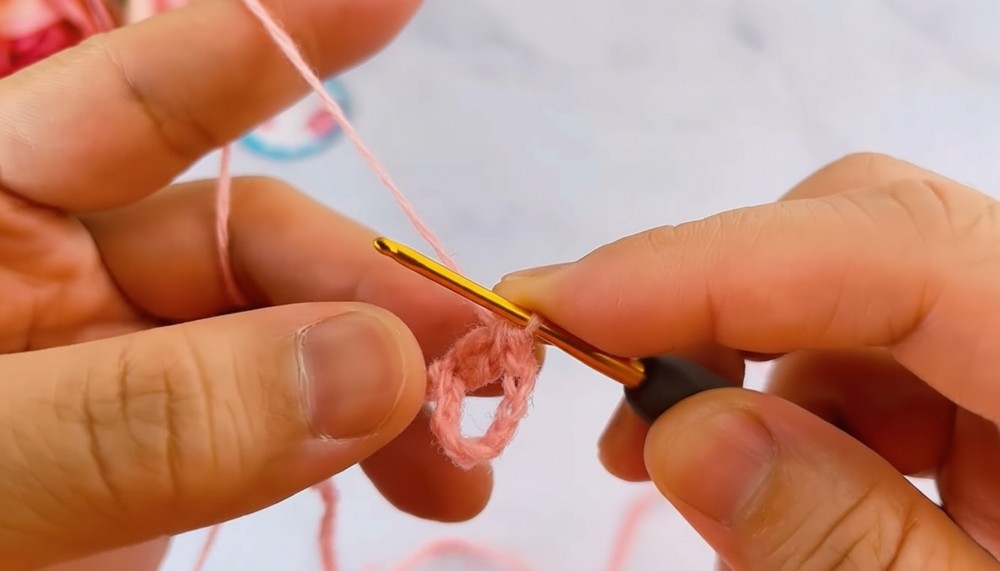
- Foundation Chain:
- Start with a multiple of 12 + 9 chains. For this pattern, chain 117.
- First Row:
- Skip the first 8 chains, and in the ninth chain, make a 2DC Bobble.
- Skip the next 5 chains, then in the following chain:
- Make a 2DC Bobble, chain 5, and make another 2DC Bobble in the same stitch. This completes one pattern repeat.
- Skip the next 5 chains and repeat the pattern (2DC Bobble, chain 5, 2DC Bobble in the same stitch) for a total of 16 repeats.
- Finish the First Side:
- Skip the next 5 chains and make a 2DC Bobble in the final chain.
- Chain 8 and make a slip stitch in the last stitch of the foundation chain to close the first side.
- Turn to the Other Side:
- Chain 8 and repeat the same instructions as the first side, ensuring the bobble stitches align with the ones on the first side.
- After completing 16 repeats, finish by making a 2DC Bobble in the last stitch and chaining 8.
- Secure with a slip stitch in the last stitch and cut the yarn.
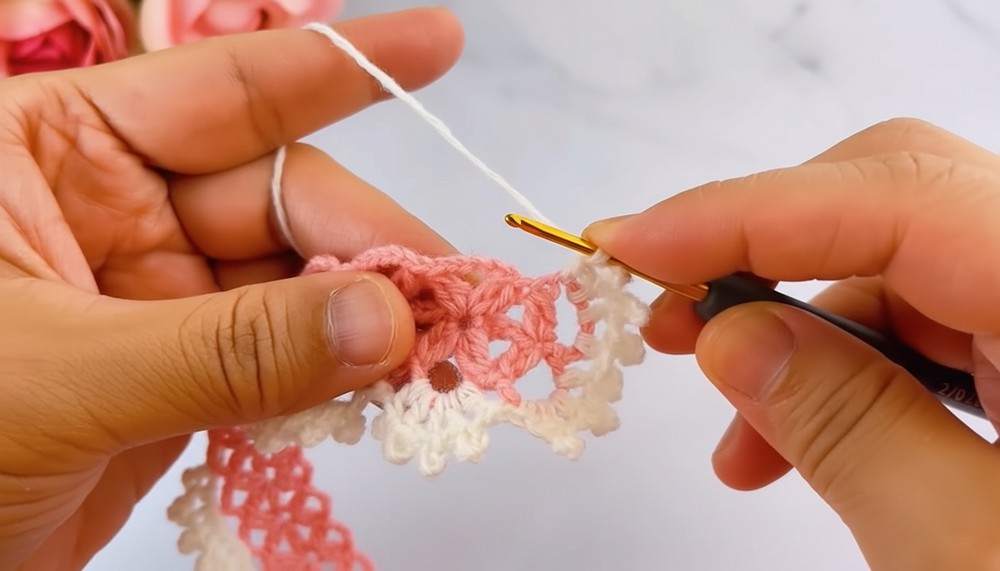
Step 2: Adding Decorative Edging (Round 2)
- Attach Accent Yarn (AC):
- Join the new yarn in the first chain-8 space from the previous round.
- Work the Pattern:
- Chain 1, make 1 single crochet (SC) into the same space.
- Chain 1, then make 1 double crochet (DC) into the next chain-5 space.
- Create a pico stitch (as described in special techniques).
- Chain 1, make another DC in the same chain-5 space.
- Repeat this for each chain-5 space, completing one pattern repeat at a time (SC, chain 1, DC, pico, chain 1, DC).
- Continue Across One Side:
- Repeat the pattern for all chain-5 spaces of the first side (a total of 16 repeats).
- Finish by making 1 SC in the final chain-8 space.
- Repeat for the Other Side:
- Follow the same method to crochet the edging along the second side.
- Finishing the Edging:
- Finish with a slip stitch in the starting stitch, cut the yarn, and weave in the ends neatly.
Step 3: Creating the Ties
- Start at the Center:
- Attach the main color yarn at one of the chain-1 spaces at either end of the headband.
- Chain the Length:
- Chain 80 (or longer if you prefer a longer tie).
- At the end of the chain, chain 3 more stitches.
- Turn and make a 3DC Bobble in the fourth chain from the hook.
- Chain 3, then make a slip stitch into the same base chain where the bobble starts.
- Cut the yarn and weave in the ends.
- Repeat for the Other Side:
- Follow the same method to create a tie on the opposite end of the headband.
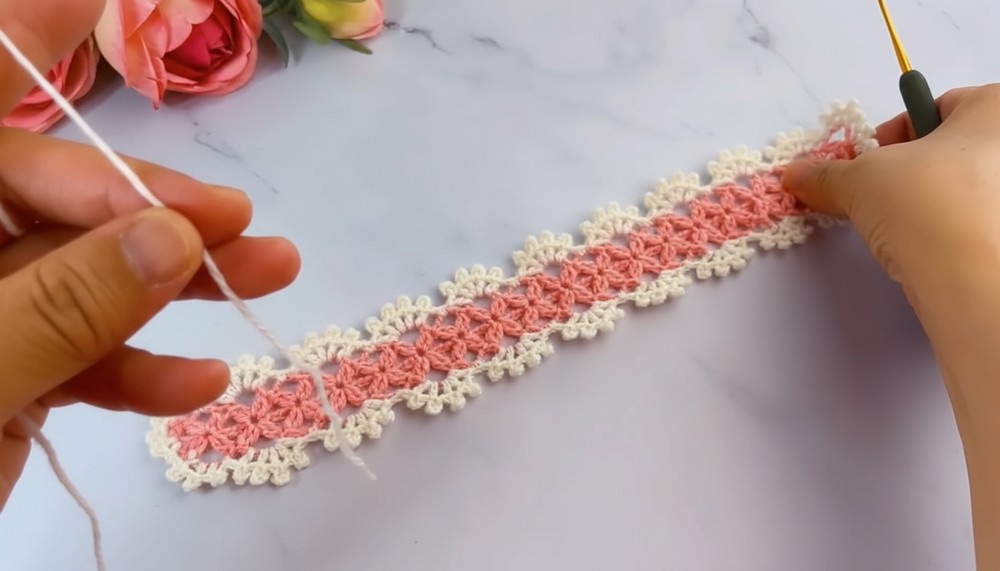
Finishing the Pattern
- Check all edges and ensure the ties are centered and secure.
- Weave in all loose yarn ends with a tapestry needle. Trim any excess yarn.
- Block the headband if desired to ensure it lays flat and the stitches look even.

Final Words
You have now created a stunning crochet headband that’s lightweight, stylish, and practical. The bobble and pico edging creates a delightful texture that highlights the yarn’s softness and sheen. This headband can match various outfits, and the adjustable ties ensure a snug and comfortable fit.
Tips for Success
- To adjust the size, increase or decrease the foundation chain by multiples of 12.
- Experiment with different colors to create seasonal variations or match specific outfits.
- For extra embellishments, sew tiny beads or sequins into the edging after completing the pattern.


