One special feature is its light weight which makes it comfortable for all ages. It also allows you to play with colors so you can match it with any outfit and style. This pattern is easy to follow and helps beginners learn new skills while creating something useful. It also brings calm and happiness during the making process. Crochet Earrings pattern turns simple yarn into a stylish accessory that adds beauty creativity and a soft handmade feel to every look while spreading joy and confidence in a very simple way.
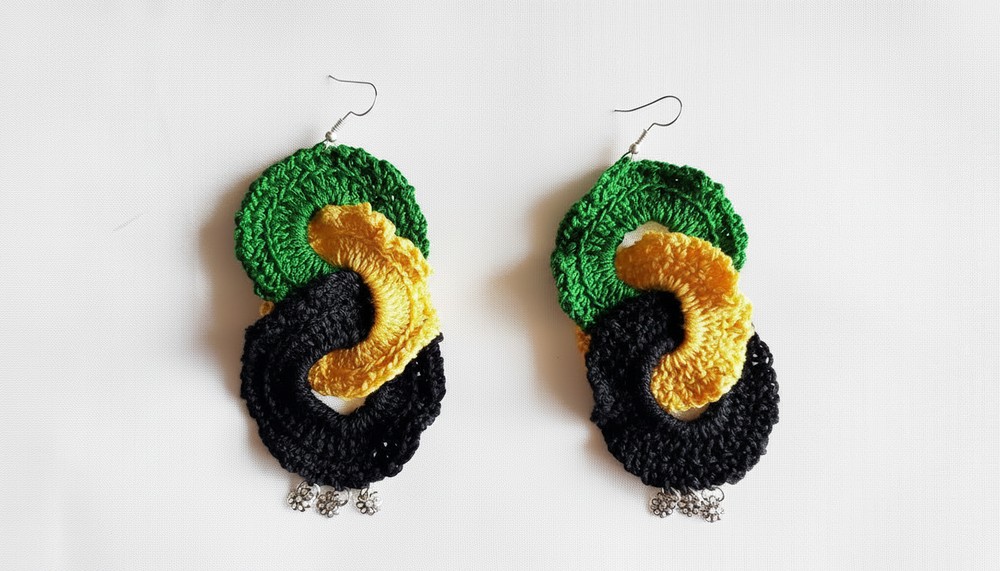
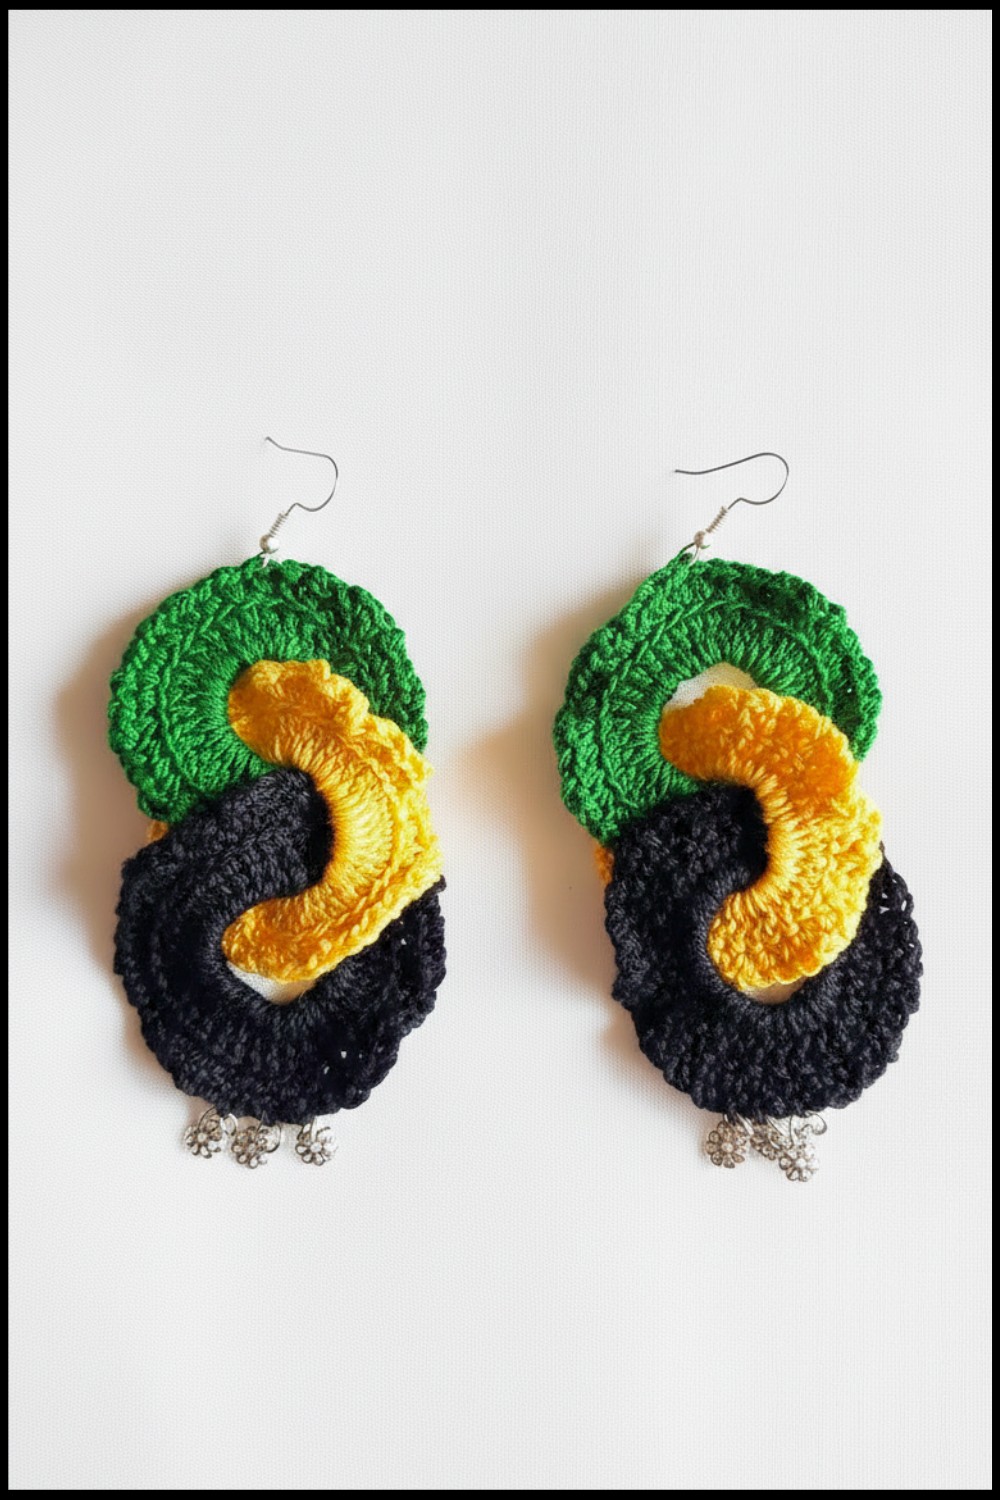
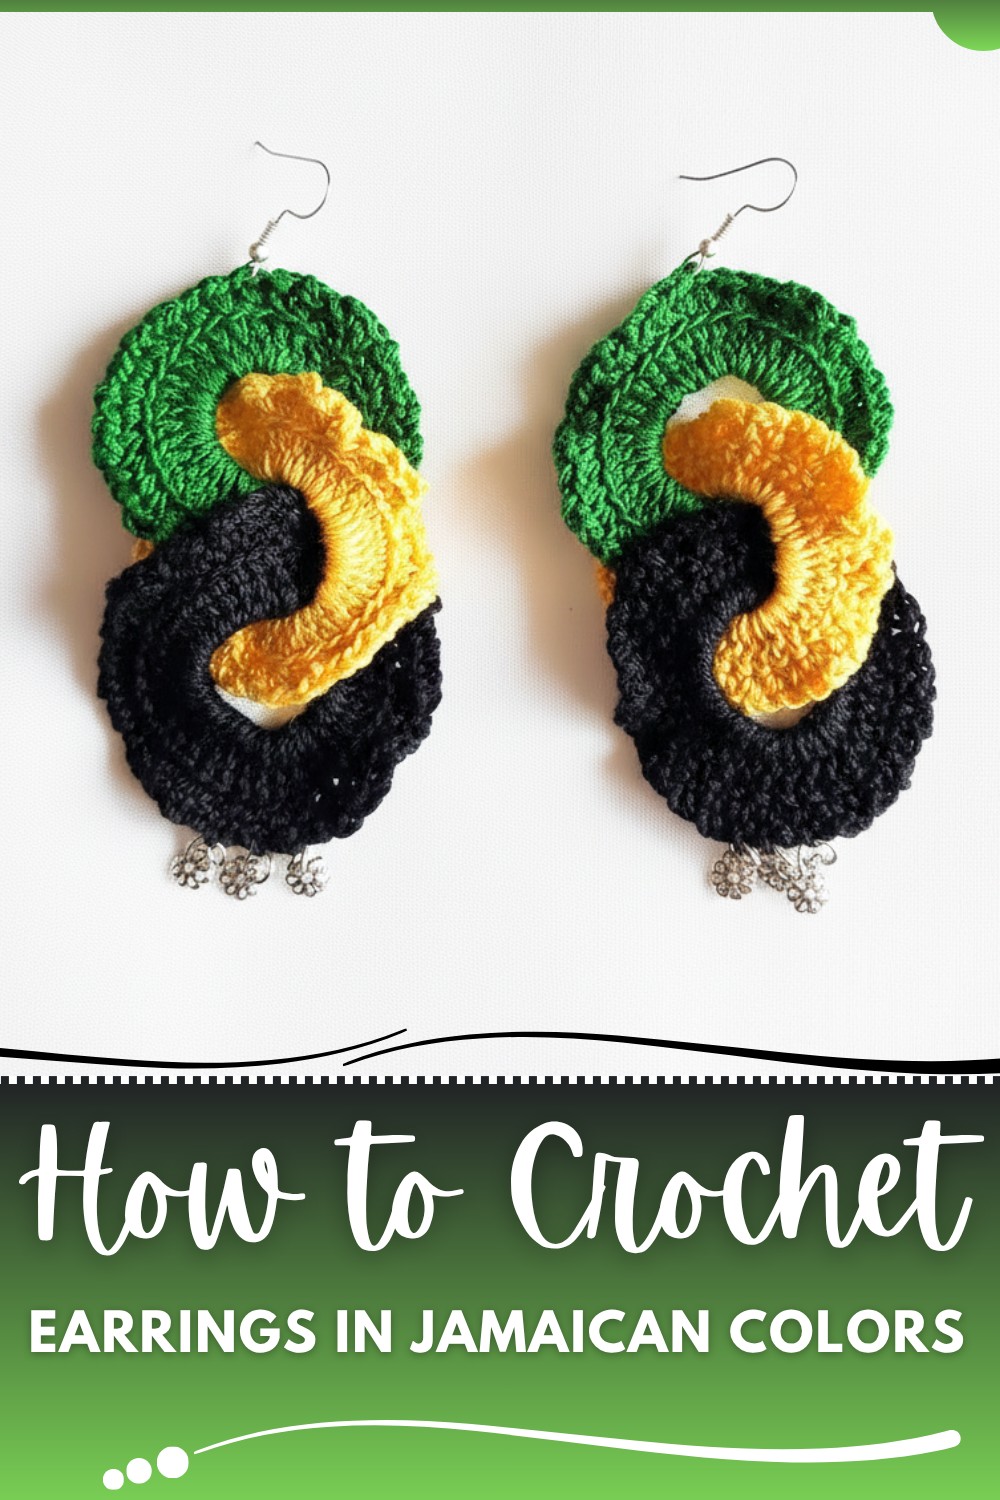
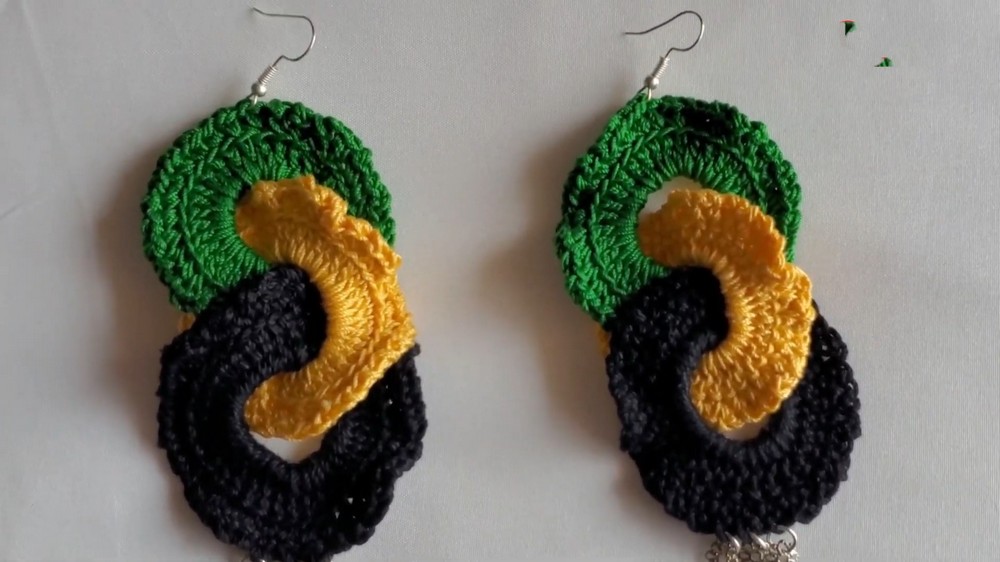
Double Circle Crochet Earrings Pattern
Materials Needed
- Crochet Thread:
- Aunt Lydia’s Classic 10 (green; doubled for thickness)
- Aunt Lydia’s Fashion 3 (black or main color)
- Aunt Lydia’s Classic 10 (yellow or contrast color)
- Crochet Hook: 2.0 mm
- Jewelry Findings:
- Earring hooks (fish hook style)
- Small metal jump rings
- Small metal flower charms (optional)
- Jewelry Pliers
- Yarn Needle
- Scissors
Key Abbreviations & Special Stitches
| Abbreviation | Meaning |
|---|---|
| ch | chain |
| sl st | slip stitch |
| sc | single crochet |
| dc | double crochet |
| BLO | back loop only |
| rep | repeat |
Special Notes
- Thread Thickness: For Classic 10, use doubled strand for firmness and visibility. Fashion 3 may be used as a single strand since it is thicker.
- US Crochet Terminology is used throughout.
- This pattern makes one earring. Repeat for a pair.
- Metal flower charms and jump rings are optional for extra decoration.
- You may substitute with desired thread colors to match your style.
Instructions
FIRST (INNER) CIRCLE (Green or color A):
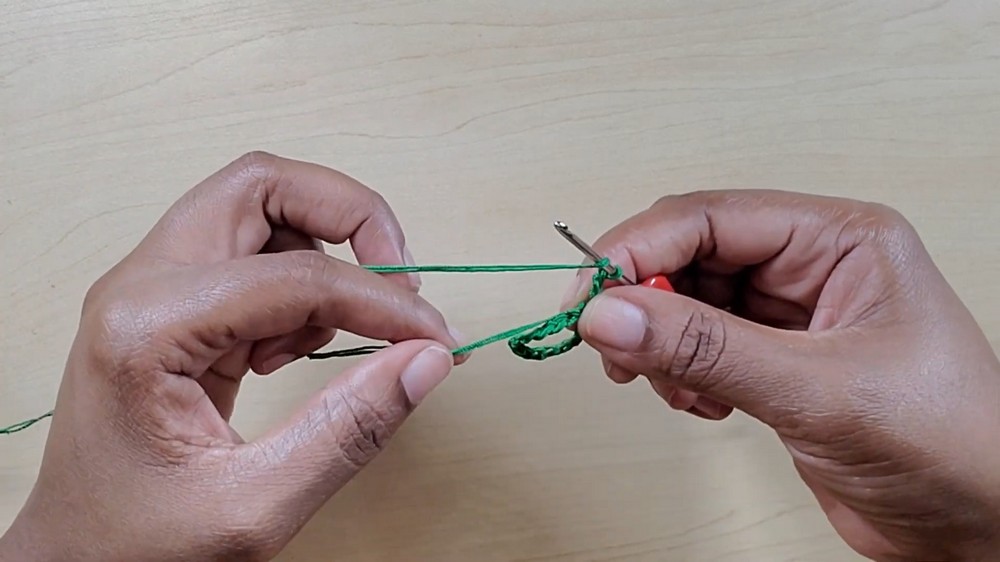
- Begin with a slip knot.
- Ch 15.
- Form a ring: Sl st into the first ch to join, making a circle.
- Foundation: Ch 3 (counts as first dc).
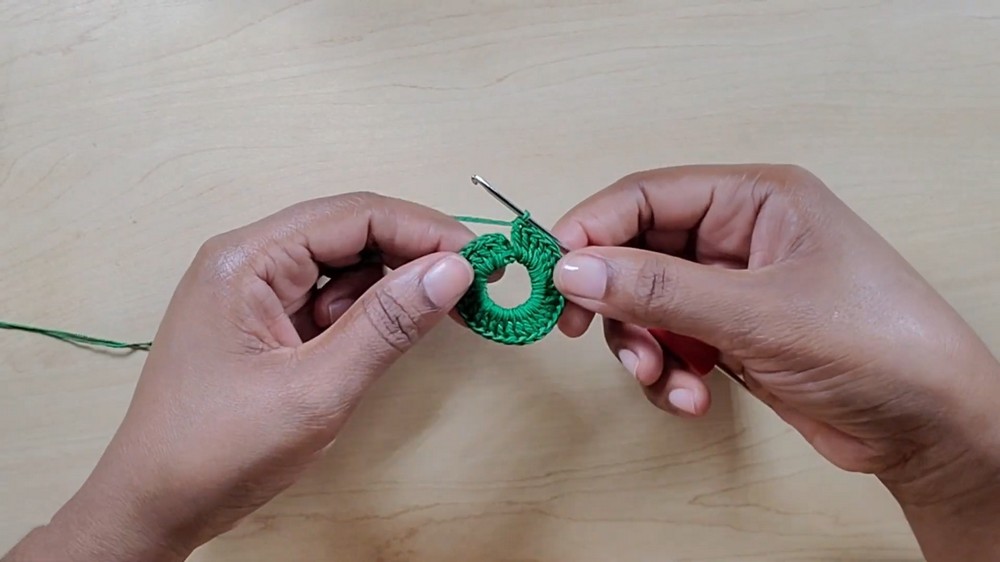
- Round 1: Work 32 dc into the ring, working over the thread tail to weave in as you go.
- Join: Sl st to the top of the starting ch-3 (33 sts including first ch-3).
- Edging: Ch 1, *sc BLO of next st, ch 1; rep from * around. (Work into BLO for a more dimensional texture.)
- Join: Sl st to first sc.
- Fasten off. Weave in the tail.
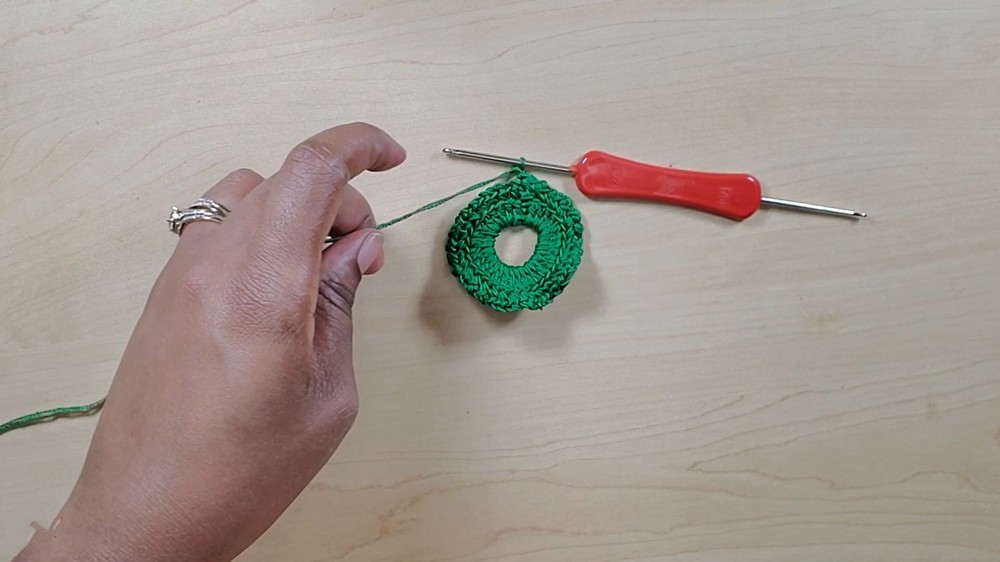
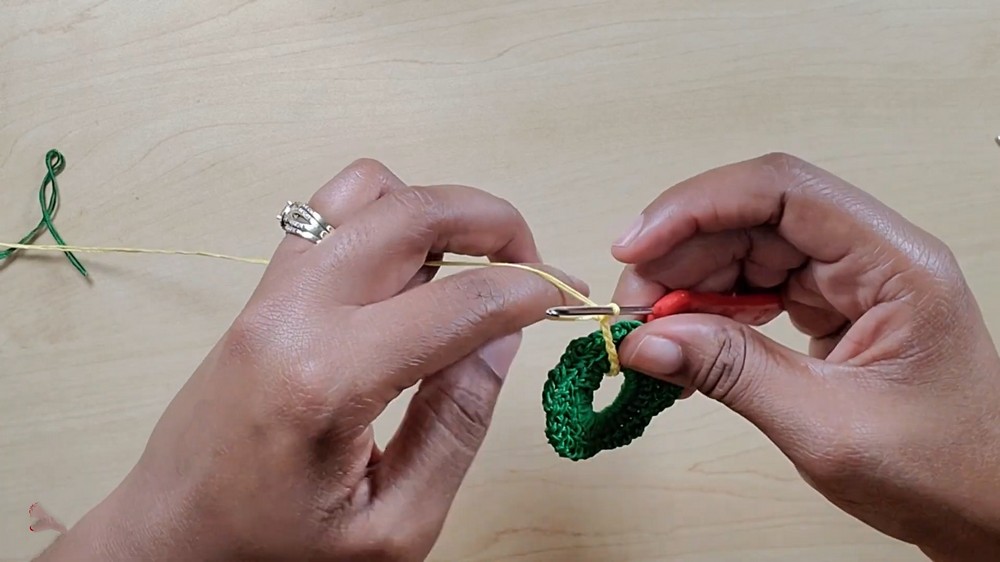
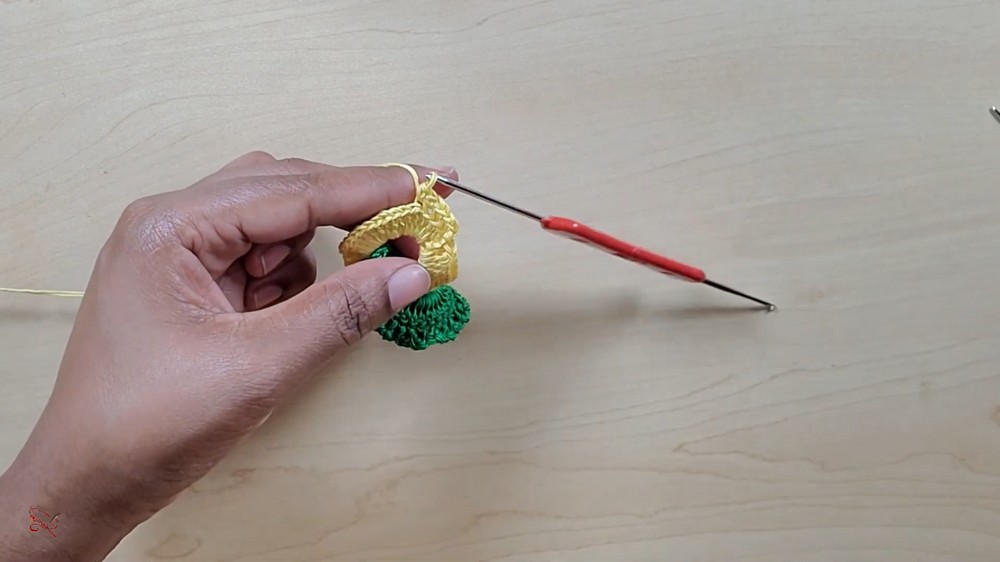
SECOND (OUTER) CIRCLE (Yellow or color B):
- Start: Ch 15.
- Before joining into a ring: Insert this chain through the center of your finished green circle, positioning it so the green circle sits inside the yellow ring.
- Form a ring: Sl st into the first ch to join; the yellow ring is now surrounding the green circle.
- Foundation: Ch 3, work 32 dc into the yellow ring (as for the first circle).
- Join: Sl st to the top of the starting ch-3.
- Edging: Ch 1, *sc BLO of next st, ch 1; rep from * around.
- Join: Sl st to first sc.
- Fasten off. Weave in all ends.
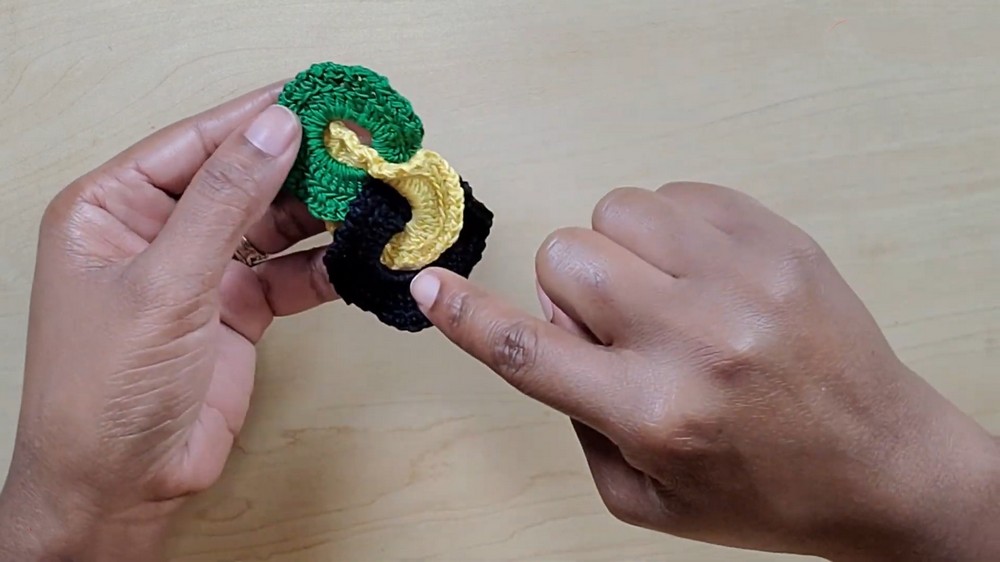
ASSEMBLY
- Choose the position: Align the circles so the centers line up and the double ring shape is symmetric.
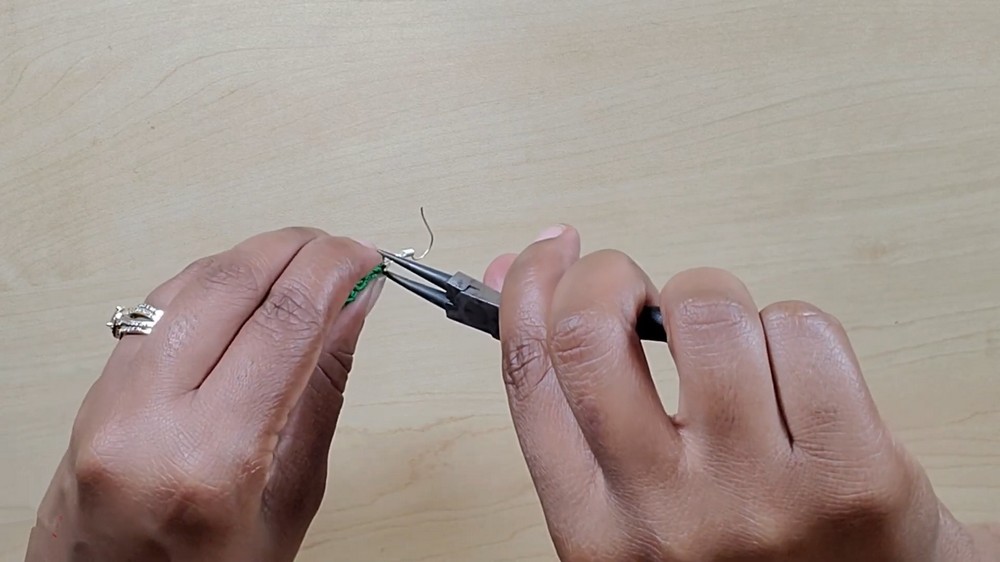
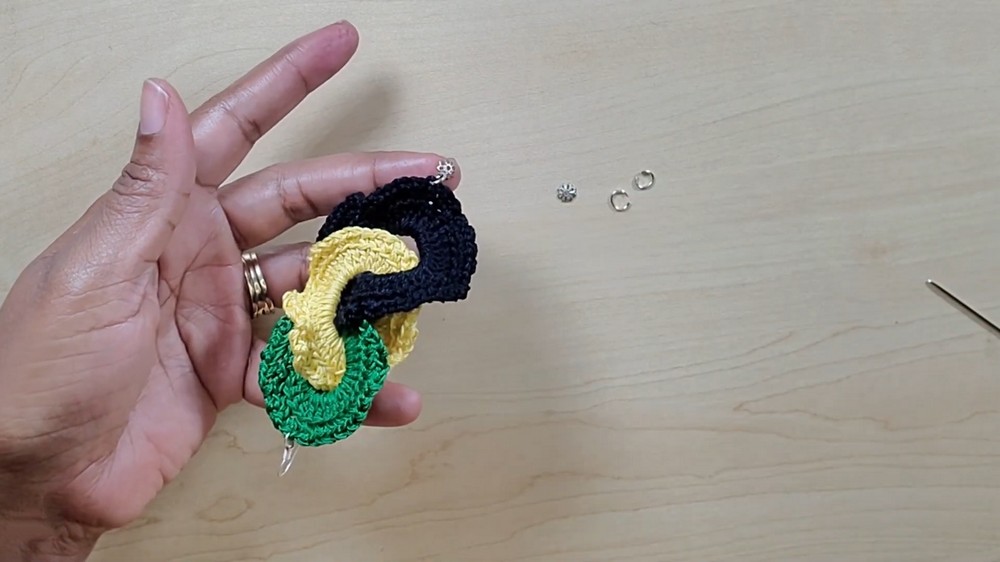
- Attach Jump Ring: Using jewelry pliers, open a jump ring slightly and pass it through the joining edge of both circles (or through the top stitch of the outer circle).
- Attach Earring Hook: Thread the earring hook onto the jump ring and close it securely.
ADDITIONAL CHARMS (Optional):
- Open more jump rings and attach the small metal flower charms to the edge or bottom of the outer circle, securing with a squeeze of the pliers. Space them evenly as desired.
FINISHING
- Weave in all thread tails with a yarn needle, hiding them inside stitches.
- Trim excess thread.
- Repeat the entire process for the second earring to make a matching pair.
Conclusion
You have completed a vibrant and stylish Double Circle Crochet Earring! This design is simple yet bold, perfect for showcasing your favorite colors—whether for a celebration or everyday wear. The structure is lightweight, and the addition of metal charms or findings allows for endless customization.
Pattern Corrections & Tips
Corrections:
- If circle is not lying flat, gently block (press lightly with a warm iron through a cloth, or pin out and steam).
Tips:
- For larger/smaller earrings, increase or decrease the starting chain.
- When working over the thread tail, keep stitches snug for durability.
- Jewelry pliers make attaching and closing jump rings easier and more secure.
- When making a pair, ensure consistent tension and stitch counts for both earrings for an even appearance.