Find a free crochet puff stitch headband pattern that helps you design a cozy and stylish accessory to keep you warm and fashionable all year round.
Puff stitch creates a soft, puffy texture that makes any crochet project feel cozy and special, just like this Free Crochet Puff Stitch Headband Pattern I recently tried. This headband is a simple, stretchy accessory perfect for keeping warm on chilly days. With just a few small changes, you can also make matching wristbands, scarves, or even ear warmers, turning one pattern into lots of fun projects.
Easy Free Crochet Puff Stitch Headband Pattern to Try
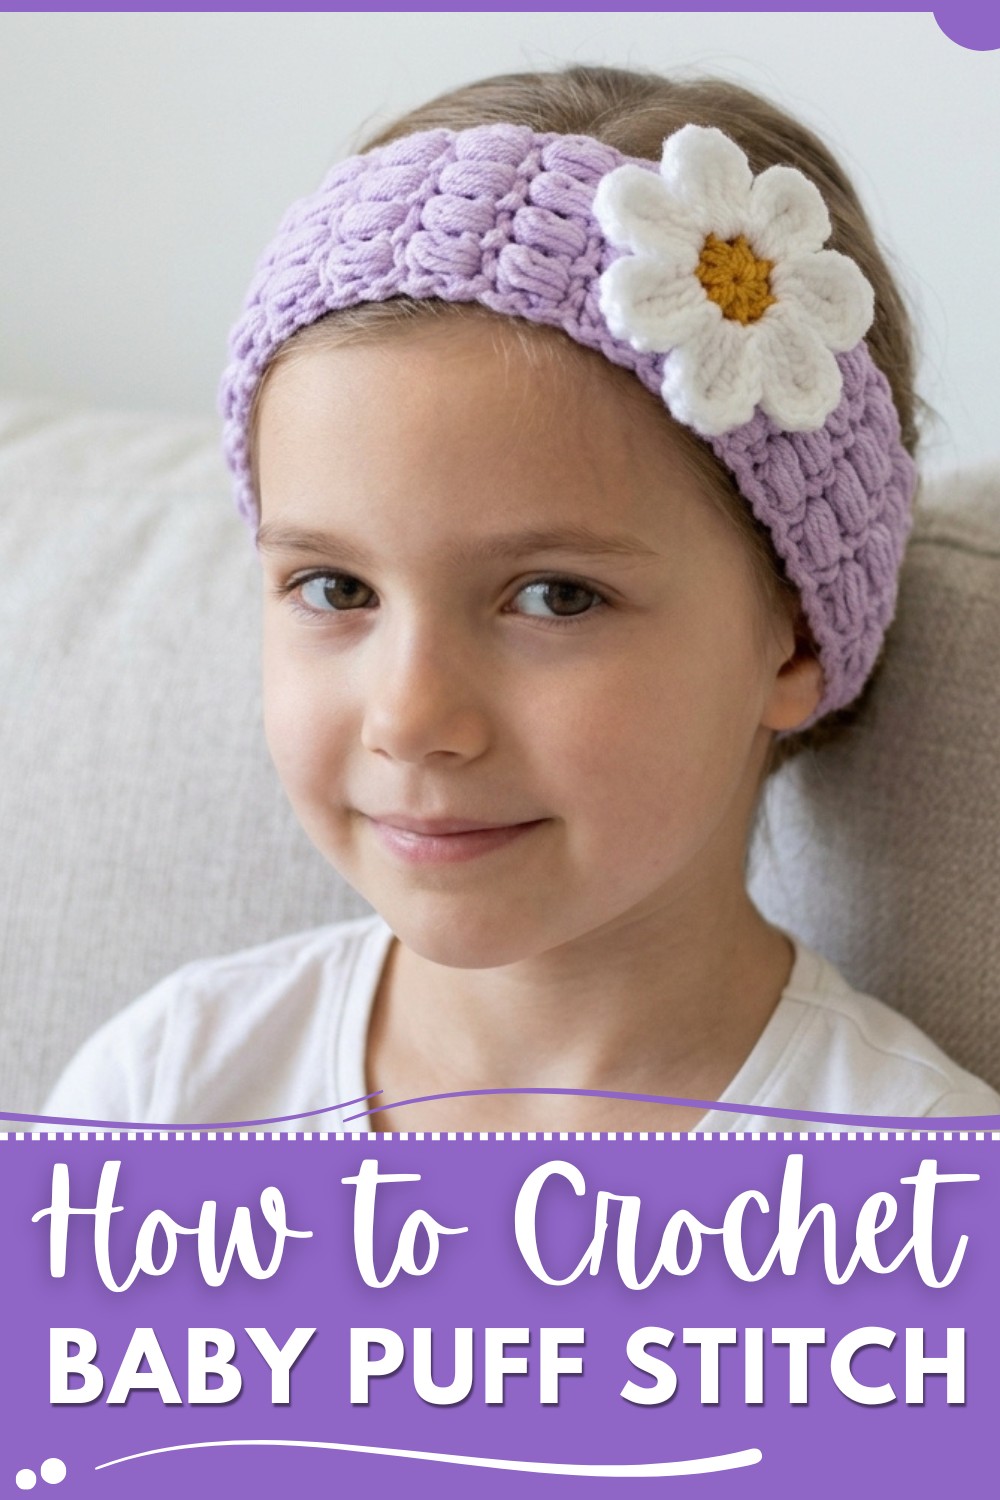
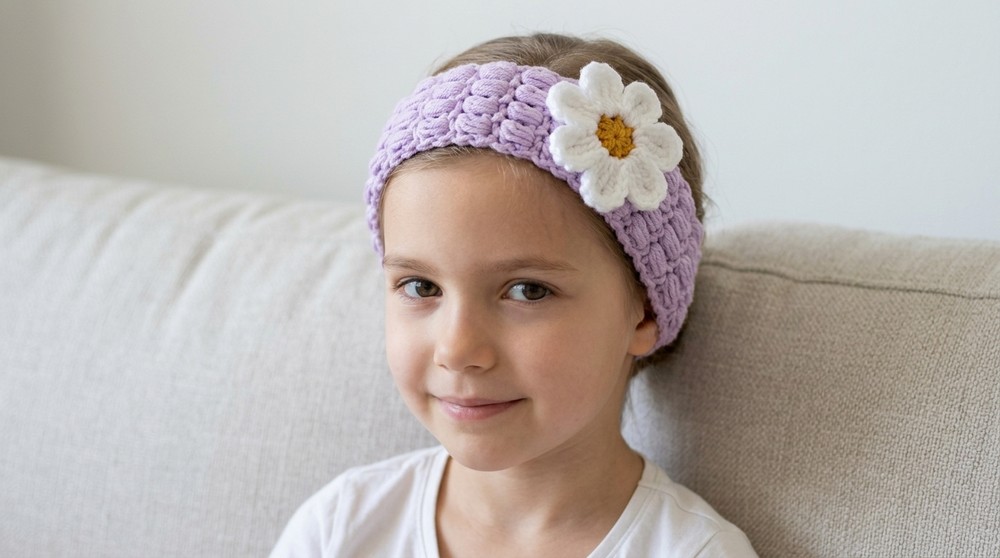
The headband looks lovely and textured because of the puff stitches that form little raised clusters all over. It feels soft and comfortable on your skin, and it stretches nicely to fit most head sizes. The wide band shape covers your ears well, so it's both stylish and practical. The puff stitch not only gives pretty detail but also makes the fabric warmer, so it’s perfect for cold weather.
To make the headband, you work rows of puff stitches mixed with simple crochet stitches like chains and slip stitches. This pattern is great for beginners who know basic crochet and want to try something a bit more interesting. Using medium-weight yarn with the right crochet hook size helps create a soft but sturdy fabric that holds its shape well.
This headband is a wonderful handmade gift or a cozy addition to your own winter wardrobe. It’s a stylish way to stay warm and adds a nice texture that catches the eye. If you enjoy making easy and useful crochet projects, this puff stitch headband is a fantastic choice. Give it a go—you might just find your new favorite accessory to wear or share.

Beginner Baby Headband with Puff Stitch Flower
Before You Start
- Read the entire pattern before beginning.
- Practice making puff stitches and magic rings if you’re new.
- Measure the intended wearer’s head or use standard sizing.
- Select soft, comfortable yarn for sensitive baby skin.
- Use a tapestry/darning needle for a smooth seam and neatly woven ends.
Pattern Notes
- The headband is crocheted in rows and seamed at the end; length can be easily adjusted.
- The pattern is a simple mix of puff/cluster stitches and single crochet rows.
- Number of stitches is a multiple of 2, plus 1, plus 1 for turning.
- The flower embellishment is crocheted separately and sewn on.
- The project can be made in any size by adjusting the number of rows for head circumference.
How I Made the Crochet Pattern
- Started with a customizable length chain.
- Worked alternating rows of single crochet and puff stitch clusters.
- Seamed headband ends using whip stitch.
- Made a magic ring flower with triple crochet petals.
- Sewed the flower securely at the seam to cover it.
Skill Level
Beginner: Basic stitches, simple shaping, and decorative flower making.
Finished Size
- Fits an average 5–6 month-old baby (approx. 12”/30 cm circumference).
- Width: Approx. 1.5” (4 cm).
- Easily adjusted for older children or adults.
Materials
- Baby-soft DK or worsted weight yarn (main color for headband, scraps for flower center and petals).
- 5 mm (H) crochet hook (or hook size to match yarn for gauge).
- Yarn/tapestry needle.
- Scissors.
Measurements / Sizing
- Finished headband: approx. 12” (30 cm) long (unstretched) by 1.5” (4 cm) wide.
- Adjust length for desired head size; work until the strip fits comfortably (with some stretch) around the head.
Gauge
- Not critical, but for reference: 16 st & 12 rows = 4” (10 cm) in pattern.
- Each puff cluster row plus a row of single crochet is approx. 0.5” (1.2 cm) tall.
Stitch Abbreviations
| Abbreviation | Meaning |
|---|---|
| ch | chain |
| sc | single crochet |
| hdc | half double crochet |
| dc | double crochet |
| tr | triple (treble) crochet |
| st(s) | stitch(es) |
| sl st | slip stitch |
| sp(s) | space(s) |
| rep | repeat |
| RS | right side |
| WS | wrong side |
Special Stitches
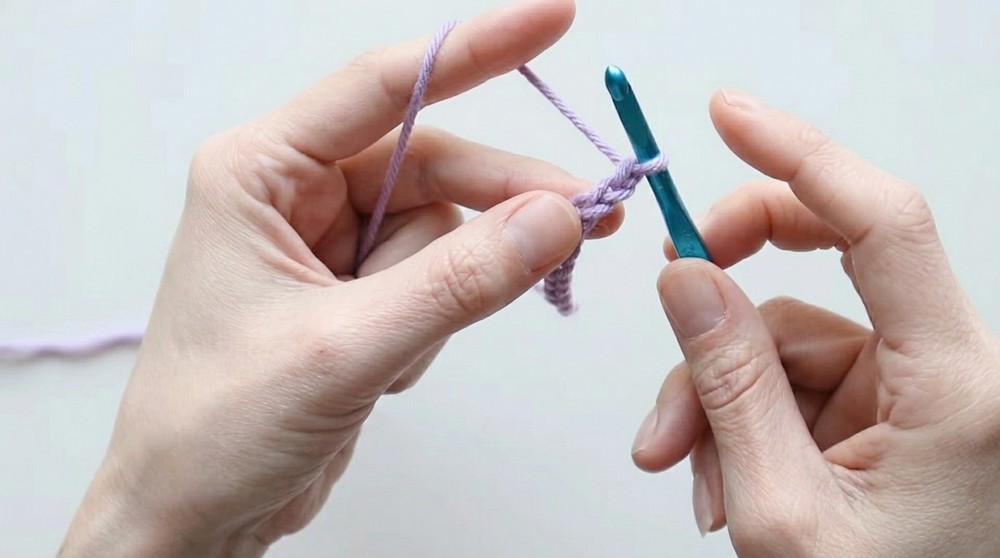
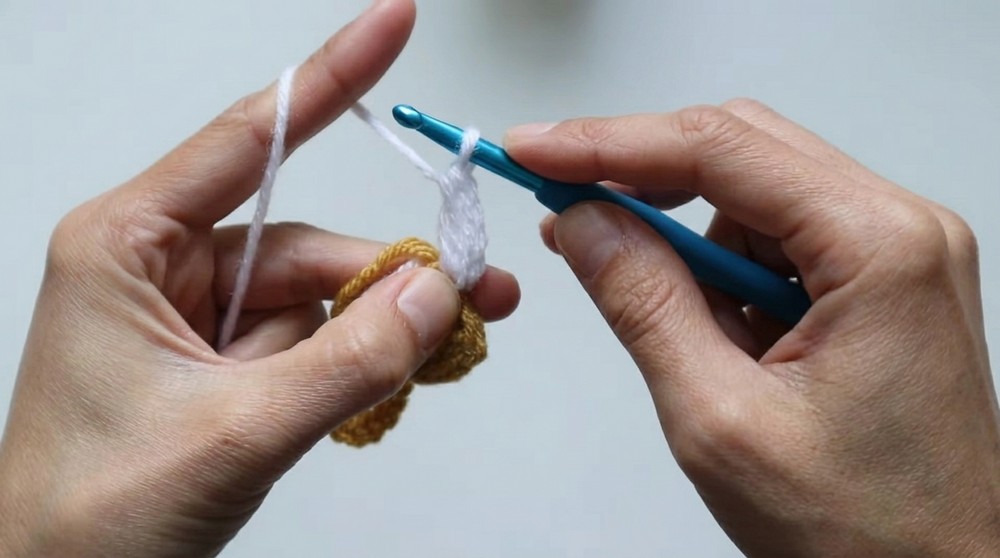
Puff Stitch (Cluster of Four HDCs)
(Yarn over, insert hook in st or space, yarn over, pull up a loop) 4 times in the same space (total 9 loops on hook), yarn over and pull through all loops on hook, ch 1 to close puff.
Magic Ring:
Make a loop, work specified stitches into loop, pull loop tight.
The Pattern
HEADBAND
Foundation Chain:
- Ch 10 (for a baby headband, adjust in multiples of 2 for width, plus 1, plus 1 for turning chain).
- For customization: ch a multiple of 2 for desired width, then add 2 extra chains.
Row 1 (RS):
- Sc in 2nd ch from hook, ch 1, *skip next ch, sc in next ch, ch 1; rep from * across to end.
- Turn.
This row forms the foundation eyelets you’ll work puff stitches into. For those who prefer more wordy instructions: single crochet, chain one, skip a chain, repeat to the end.
Row 2 (WS):
- Ch 2 (counts as hdc here and throughout), *work puff stitch (see Special Stitches) in each ch-1 sp across; at the end, hdc in last st.
- Turn.
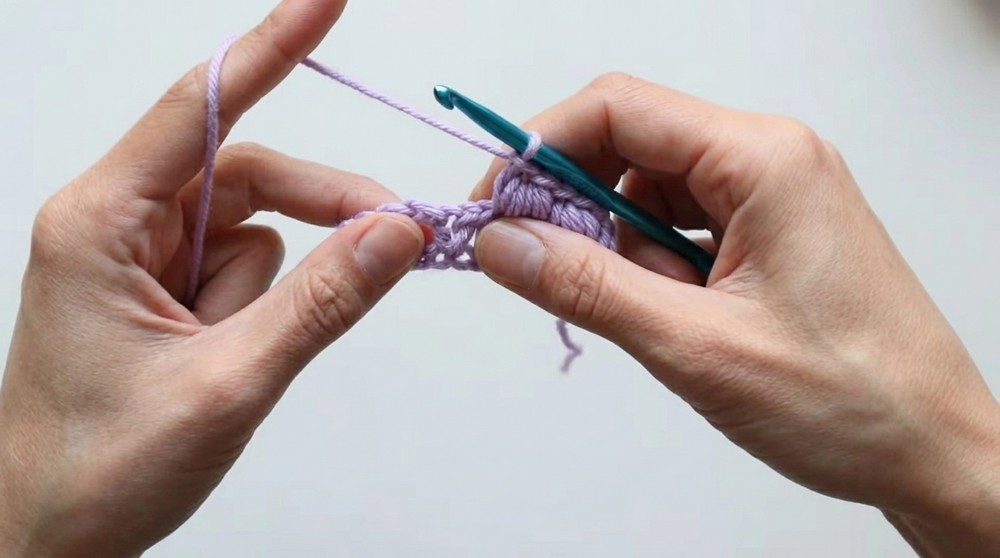
Puff stitches go into the chain spaces—not the top of stitches.
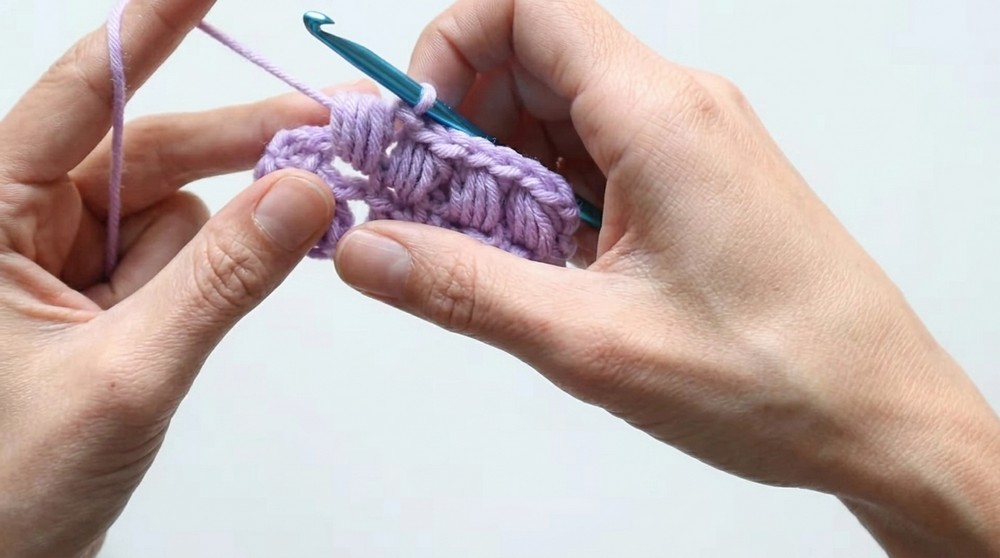
Row 3:
- Ch 1, sc in first st, ch 1, *sc in ch-1 space after next puff, ch 1; rep from * across, sc in top of turning ch.
- Turn.
Row 4:
- Ch 2, *puff stitch in each ch-1 space across; hdc in last st.
- Turn.
Rows 5–34 (or until headband reaches desired length):
- Rep Rows 3 and 4, ending with a Row 3 (a sc, ch 1 across).
For a standard baby headband, work until the strip measures about 12” (30 cm) unstretched. For larger sizes keep going, or stop earlier for smaller sizes.

After the last row, fasten off leaving a long tail (about 12–15”) for seam.
Paragraph Guidance:
You will work a chain, then alternate rows of single crochet with decorative, soft puff stitches that give texture and stretch. Repeat until you have a stretchy strip that fits the recipient’s head with slight tension—it should stretch, not sag. Leave a long tail for sewing.
ASSEMBLY & FINISHING
- With WS facing out, fold ends of the headband together.
- Using yarn/tapestry needle and your long tail, whip stitch neatly across the ends to join into a ring.
- Weave in all loose ends.
- Turn RS out.
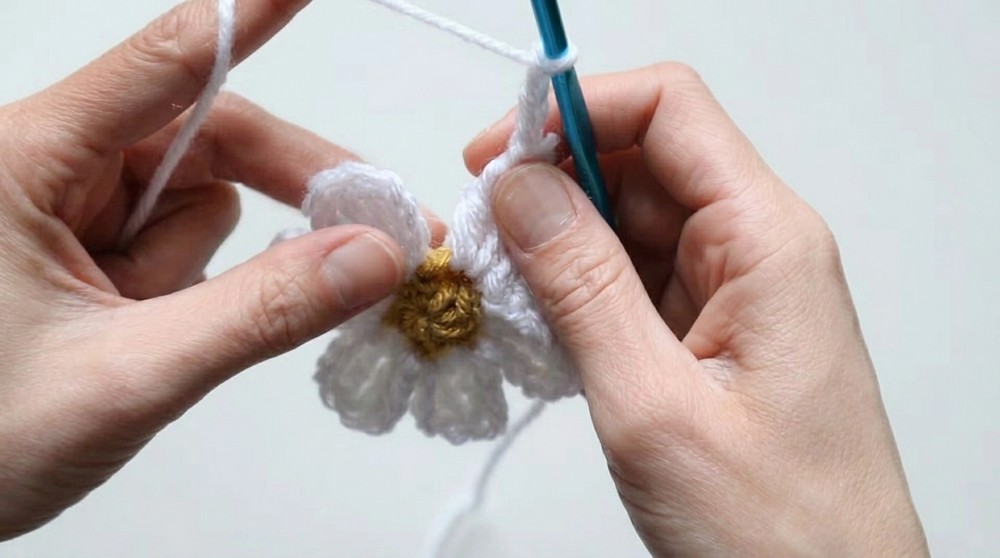
FLOWER EMBELLISHMENT
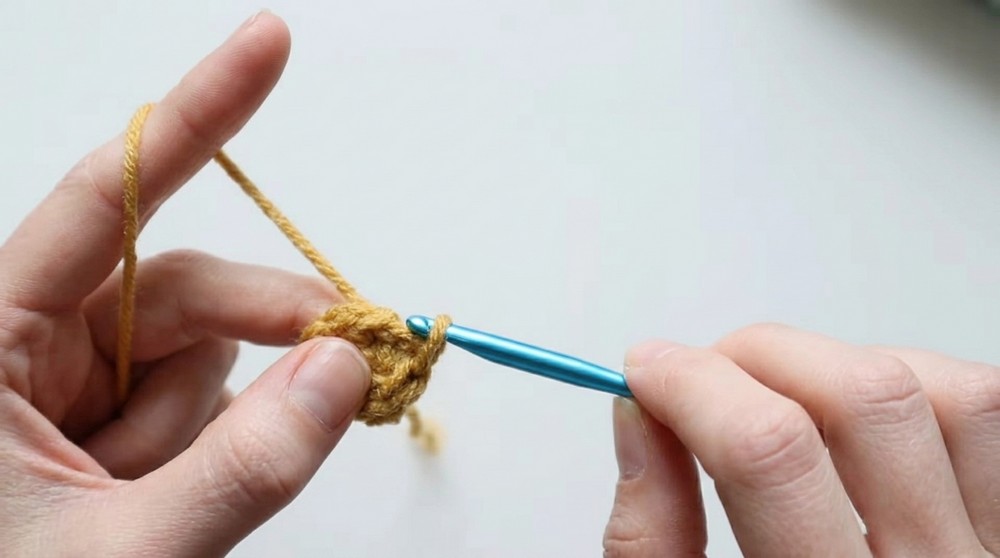
Center:
- With flower center color, make a magic ring, ch 1.
- Work 5 hdc into ring, sl st to first hdc to join.
- Pull ring closed, fasten off leaving short tail.
Petals:
- Attach petal color to any st of the center with sl st.
- Ch 4, 2 tr in same st, ch 4, sl st in same st (first petal made), move to next st, sl st, ch 4, 2 tr in st, ch 4, sl st in st, rep from * around in each hdc (total 5, 6, 7, or 8 petals as you prefer).
- Fasten off with a tail at least 4” long for sewing.
Finishing the Flower:
- Gently flatten and arrange petals.
- Weave in ends except center and last petal tail (keep those for securing).
ATTACHING THE FLOWER
- Place flower over seam to cover join.
- Use a tapestry needle to sew flower to headband with the remaining tails. Knot securely on inside; weave in remaining ends.
- Adjust flower and petals for a pleasing look.
For those not familiar with reading patterns:
You crochet a band in rows using easy puff stitches, seam it into a circle, and then create a separate little flower with a magic ring and petal clusters. The flower is sewn on top—right over the seam—to hide any uneven stitches and to finish the look!
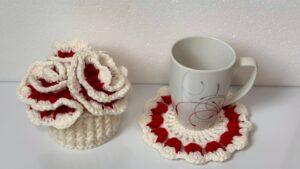
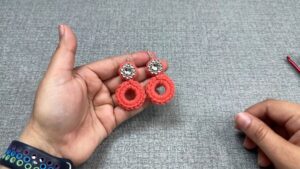
What can you make using these stitches?
- Adult or children’s headbands using this texture.
- Brim or cuff of a hat for a soft, ridged effect.
- Necktie or scarf for baby.
- Blanket borders or toy embellishments.
- Quick bracelets or cuffs for matching sets.
- Puff stitch flower brooches or hairclips.