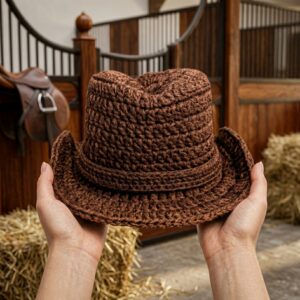
Keep your creativity flowing with this free crochet cowboy hat pattern which is for making a unique accessory that adds flair to any outfit.
Looking for a fresh and fun accessory to spice up your wardrobe? How about a stylish crochet cowboy hat made just for adults? The Free Crochet Cowboy Hat for Adults is a fantastic project that lets you bring a little Western flair into your daily style. It’s more than just a hat—it’s a statement piece that shows off your creative side and adventurous spirit.
Free Crochet Cowboy Hat Pattern Easy Guide
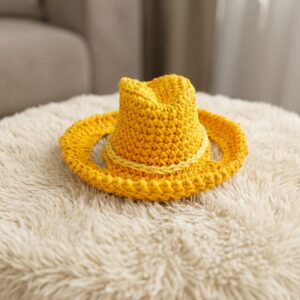
This cowboy hat features the classic wide brim and rounded crown that all cowboy hats are known for. But instead of leather or felt, you get the soft, cozy feel of crochet that’s gentle to wear and easy to customize. You can choose your favorite colors to match your personality or outfit. The wide brim helps keep the sun out of your eyes, making it a practical choice as well as a trendy one. Whether you’re heading to a festival, going for a walk in the park, or looking for that perfect accessory for a costume or themed party, this hat is sure to make you stand out
One of the best parts about this crochet project is how beginner-friendly it is. Even if you’re new to crochet, you can enjoy making this hat because the stitches used are simple and the instructions are clear. It’s quick enough to keep you interested but detailed enough so you’ll finish with a neat, stylish hat. Plus, because it’s handmade, it carries a personal touch that store-bought hats just can’t match.
Not only is this hat a great addition to your own collection, but it also makes a thoughtful gift. Imagine surprising a friend or family member with a unique, handmade cowboy hat – they’ll love the effort and style behind it.
Newborn Crochet Cowboy Hat – Step by Step Pattern
This detailed pattern guides you through making a classic newborn-sized crochet cowboy hat. With deep, close stitches and a hatband, this project is perfect for newborn photoshoots, baby gifts, and western-themed decorations. The hat is designed for a snug fit and strong shape, using a magic ring, traditional double crochet, and a special technique for tighter, denser stitches. If you’re new to crochet, this pattern is a great opportunity to learn how to create structured hats and decorative borders.
Skill Level & Terminology
- Skill Level: Beginner to Advanced Beginner
- Terminology: US crochet terms
Materials & Tools
- Medium worsted weight yarn (#4) – any brand (Red Heart Super Saver, I Love This Yarn, Elato, etc.)
- Crochet hook: 5.0 mm or as appropriate for your yarn (E hook for tighter fabric)
- Yarn needle
- Scissors
- Measuring tape
Gauge
Gauge isn't critical, but a dense fabric is needed so the hat holds its shape.
- For reference: 10 dc = 4" (10 cm), 5 rows = 4" (10 cm)
Abbreviations List
| Abbreviation | Meaning |
|---|---|
| ch | chain |
| sl st | slip stitch |
| sc | single crochet |
| hdc | half double crochet |
| dc | double crochet |
| inc | increase (2 stitches in same space) |
| FLO | front loop only |
| st(s) | stitch(es) |
Special Stitch Instructions
- Dense Double Crochet: Yarn over, insert hook, pull up loop, yarn over, pull through one loop, yarn over, pull through remaining two loops. Makes a tighter double crochet.
- Increase (inc): Work two stitches in the same space.
- Magic Ring: Create a loop, crochet into it, and pull tight to close the ring.
- Front Loop Only (FLO): Insert hook into the front strand only for border rounds.
How To Start and Main Stitches Used
Start with a magic ring, then work dense double crochets in continuous joined rounds. Increases shape the crown, height is built up with more double crochet rounds, and the brim is worked with half double crochets in front loop only for rigidity. No special color changes or trims are needed, but a hatband may be added if desired.
The Pattern Itself
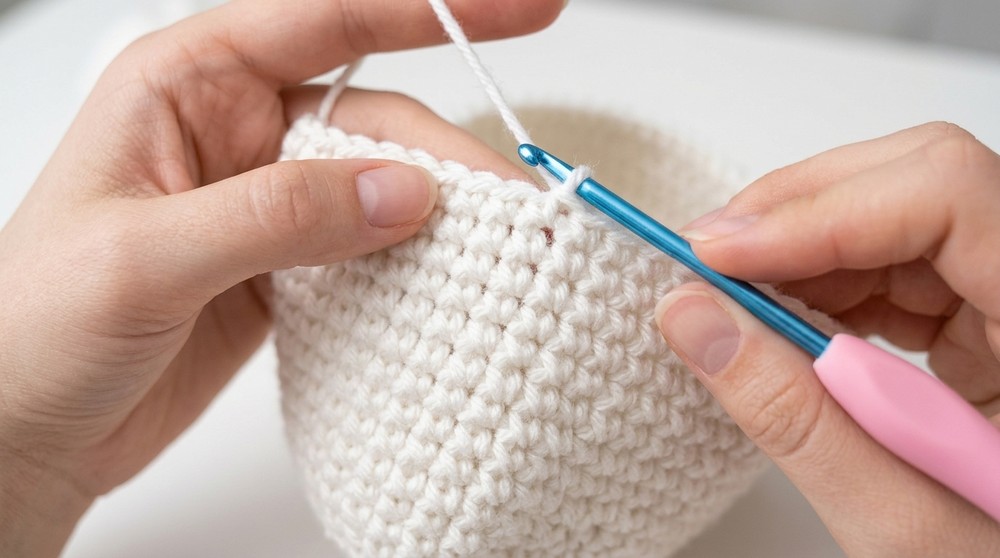
1. Crown & Top
- Round 1: Make a magic ring, ch 2 (equivalent to first dc), work 11 dense dc (see Special Stitches) in the ring. Join to top of ch 2 with sl st. (12 sts)
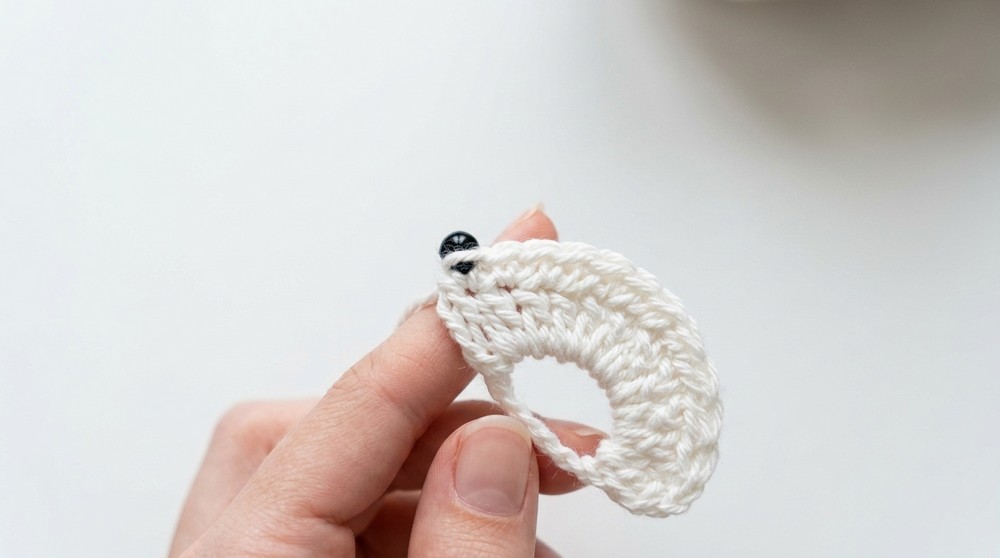
Here you create a tight, small circle that will form the top of the hat. Don’t worry if your circle is a little bumpy; results will smooth out as you add rounds.
2. Crown Increases
- Round 2: Ch 2, work 2 dense dc in each st around (increase in every stitch). Join with sl st. (24 sts)
The crown is growing larger and flatter. Each stitch gets two double crochets.
- Round 3: Ch 2, 1 dense dc in next st, 2 dense dc in following st (inc); repeat around. Join. (36 sts)
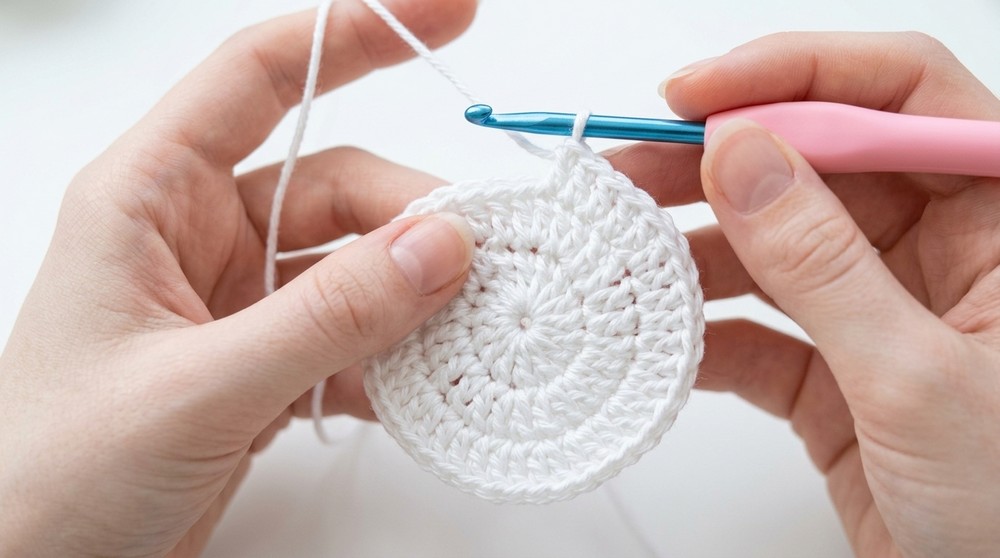
Alternating regular double crochet and increases, this round expands the circle further.
- Round 4: Ch 2, 1 dense dc in next 2 sts, 2 dense dc in following st (inc); repeat around. Join. (48 sts)
- Round 5: Ch 2, 1 dense dc in next 3 sts, 2 dense dc in following st (inc); repeat around. Join. (60 sts)
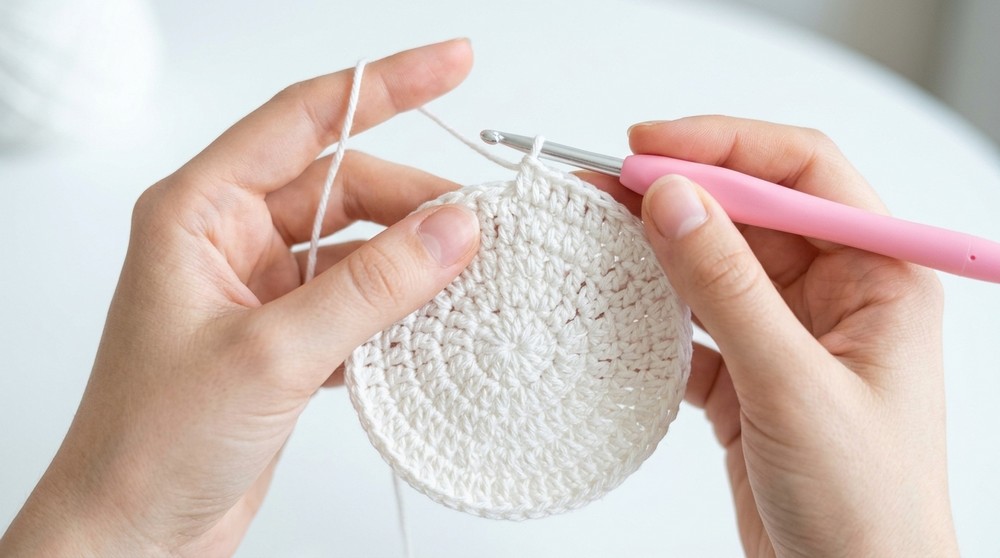
Each round is larger, with increases spaced further apart. Stop increasing when you reach the desired diameter for newborn (approx. 15 cm).
3. Hat Height (Sides/Body)
- Rounds 6–17: Ch 2, work 1 dense dc in each st around. Join. (60 sts per round)
This builds the height/depth of the hat. For newborn size, 12–13 rounds should yield approximately 4.5–5” (12 cm) height. Use a ruler to check as you go.
If you do not read patterns: Simply work one double crochet in every stitch, joining with a slip stitch at the end of each round. Stop when you reach the recommended height for newborn hats.
4. Brim Setup
- Round 18 (Border Transition): Identify the two loops at the top of your stitch (front and back).
- Ch 2, then work hdc in front loop only (FLO) in each st around. Join.
Working in the front loop only creates a defined edge, helping the brim flare out.
5. Brim Shaping and Expansion
- Round 19: Ch 2, hdc in FLO in next 3 sts, inc (2 hdc) in next st; repeat around. Join.
This round starts the outward flare of the brim. If you want a wider brim, do more increase rounds.
- Round 20–21: Ch 2, hdc in FLO in each st around (no increases). Join each round.
Add more rounds if you want a larger/floppier brim. Finished brim should be nice and rigid; block if necessary.
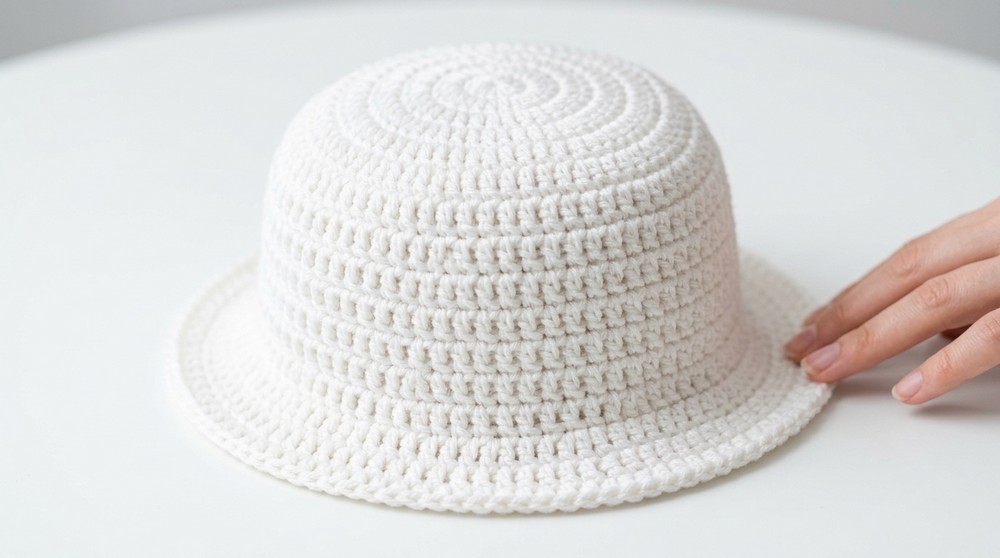
Finished Size
- Diameter: ~14–15 cm (5.5–6”)
- Height: ~12 cm (4.5”)
- Brim: ~2 cm width (add more rounds for wider brim)
Assembly & Finishing
- Use a yarn needle to weave in and tidy up ends inside the hat.
- Shape the top by pulling and pinching, folding the crown slightly down inside as shown in the video.
- For extra structure, gently pinch the sides and steam or block in shape.
- Optional: Add hatband or trim with a contrasting thread using the yarn needle.
- For a firmer brim, stiffen with diluted glue and leave to dry shaped on a bowl or jar.
Conclusion
Congratulations! You’ve completed a snug, sturdy newborn cowboy hat using dense double crochet and classic shaping techniques. This hat is built top-down, with easy increases, plenty of height, and a gently flared brim for that iconic look. Adjust the size, add rows, or customize as needed for your projects. Feel free to personalize with color, embroidery, or bands—and enjoy sharing your finished hat with friends and family. Happy crocheting!
What You Can Make By Using These Stitches
- Newborn and baby hats for photoshoots
- Doll or plush cowboy hats
- Miniature party favors or table decorations
- Hat props for costumes or themed events
- Western-style gift toppers
Pattern starts with a magic ring, uses dense double crochet throughout for a closed, seamless look, and incorporates front-loop-only half double crochet for a firm, shaped brim. This structure is ideal for small, firm hats but can easily be sized up for older children or adults by continuing increases and height rounds.
![Crocheted cowboy hat for cat (easy) [English subtitles] cowboy hat for cat 9](https://www.crochetpatterns.in/wp-content/uploads/2026/06/Crocheted-cowboy-hat-for-cat-easy-English-subtitles-cowboy-hat-for-cat-9-300x300.jpg)