Learn how to create delightful amigurumi dragon with clear, detailed instructions and helpful tips for every step of the process.
When I first came across the idea of making these adorable little dragons, I was immediately drawn to the challenge of bringing such a whimsical character to life using just yarn and a hook. Watching the pieces come together, stitch by stitch, and seeing the dragon take shape was incredibly fulfilling. Now, with the Free Crochet Dragon Amigurumi Pattern by Crochet con Mike, you can create your own delightful dragons that make perfect keepsakes, gifts, or charming decorations.
Free Crochet Dragon Pattern for Fantasy Lovers
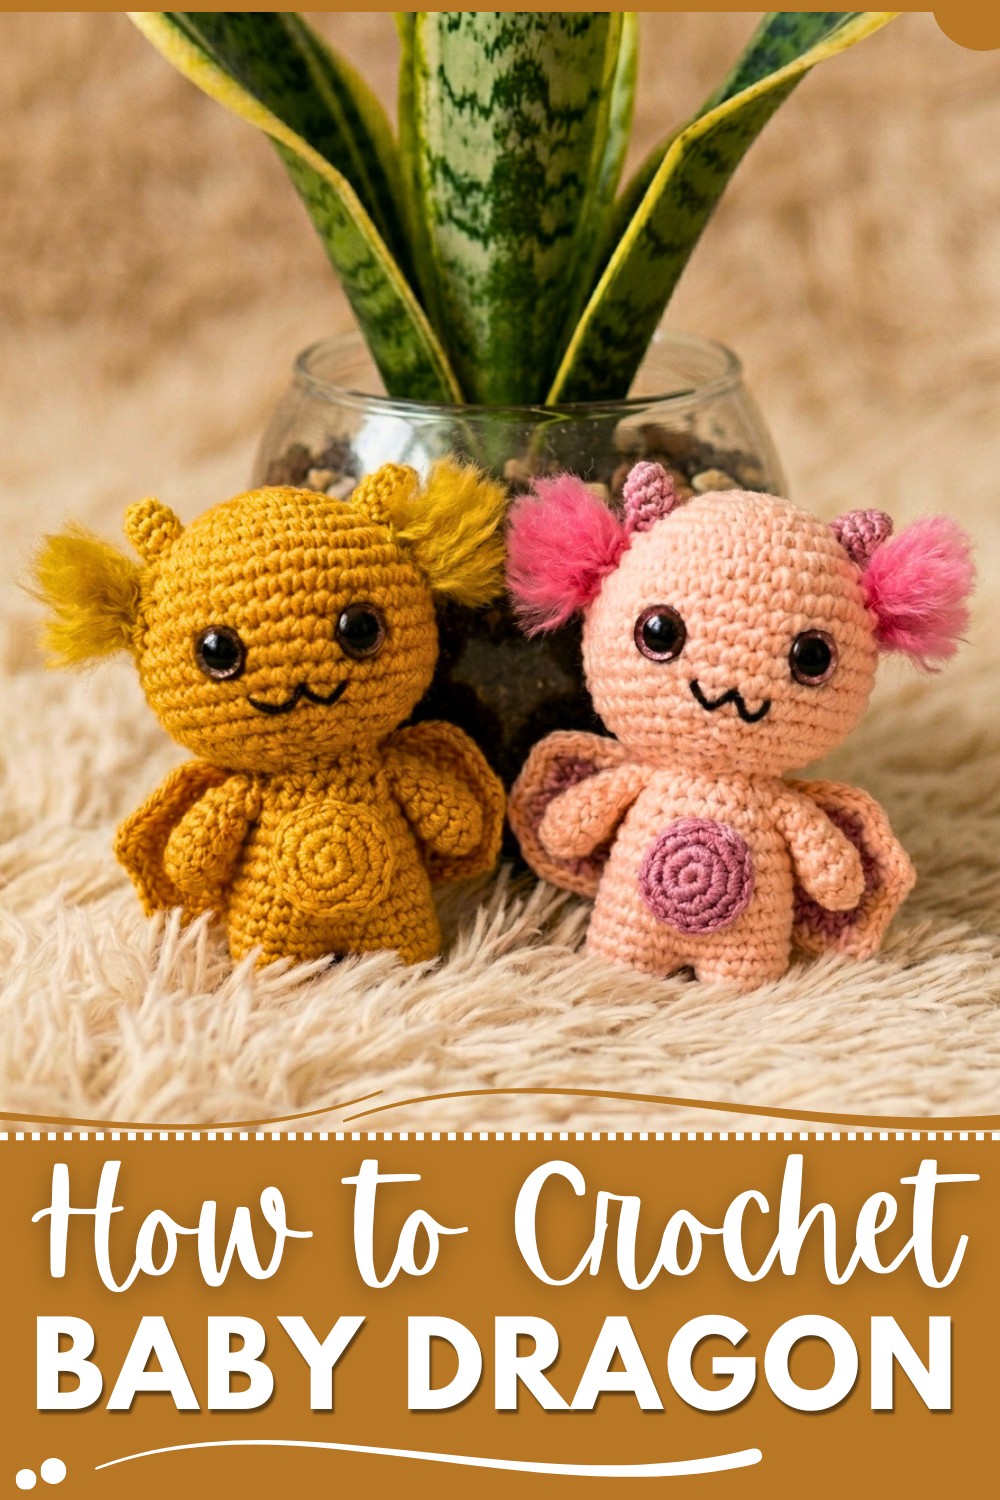
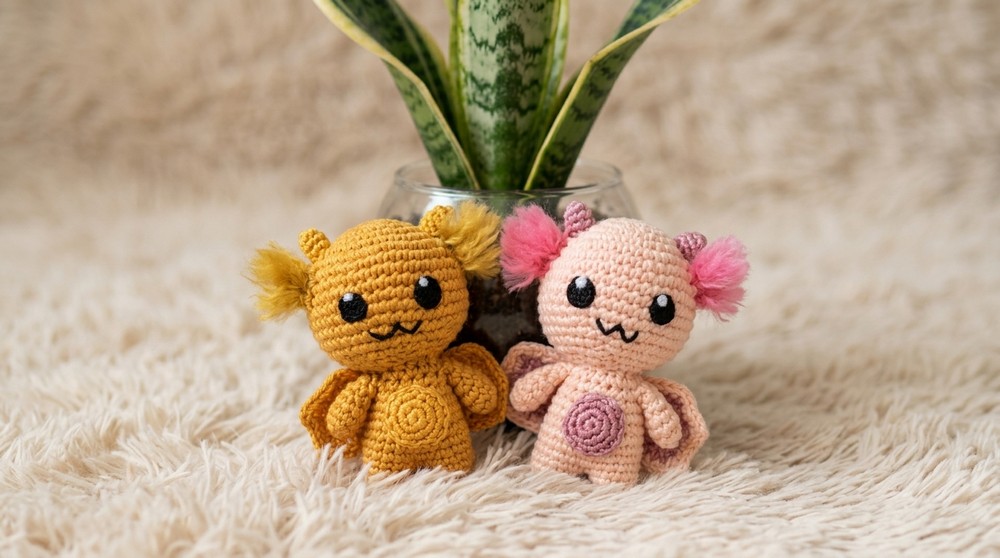
These amigurumi dragons have a soft, detailed body featuring tiny horns, delicate wings, and a fluffy tail that adds personality and charm. The combination of colors—from bright orange to pastel pinks and yellows, gives each dragon a unique and warm character. The tightly worked single crochet stitches ensure a firm but cuddly texture, while the little embroidered details on their faces bring the dragons to life with playful expressions.
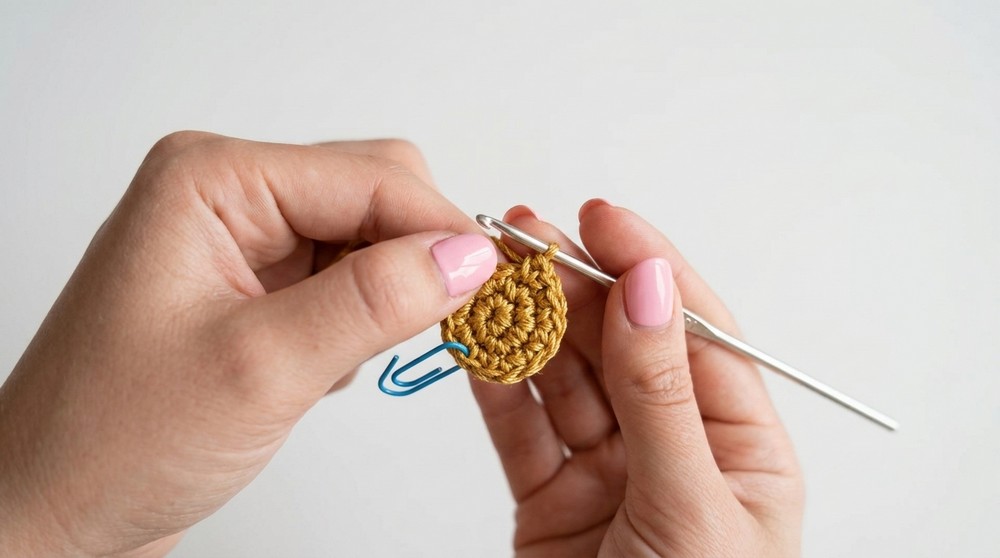
The process starts with magic rings and involves working in rounds with single crochet stitches, incorporating increases and decreases to shape the head, body, arms, wings, and tail. Each part is made separately and then carefully joined together with needle and thread for a neat and sturdy finish. This project is great for those with intermediate skills who are familiar with basic amigurumi techniques like the magic ring and stitch variations. You can also personalize your dragons by experimenting with colors or adding your own touches.
These little dragons make lovely gifts, fun toys, or unique decorations that brighten up any room. If you enjoy creating with yarn and want a project that is both heartwarming and enjoyable to put together, this pattern is an excellent choice. With some patience and attention to detail, you’ll end up with magical dragons that are as charming as they are fun to make.
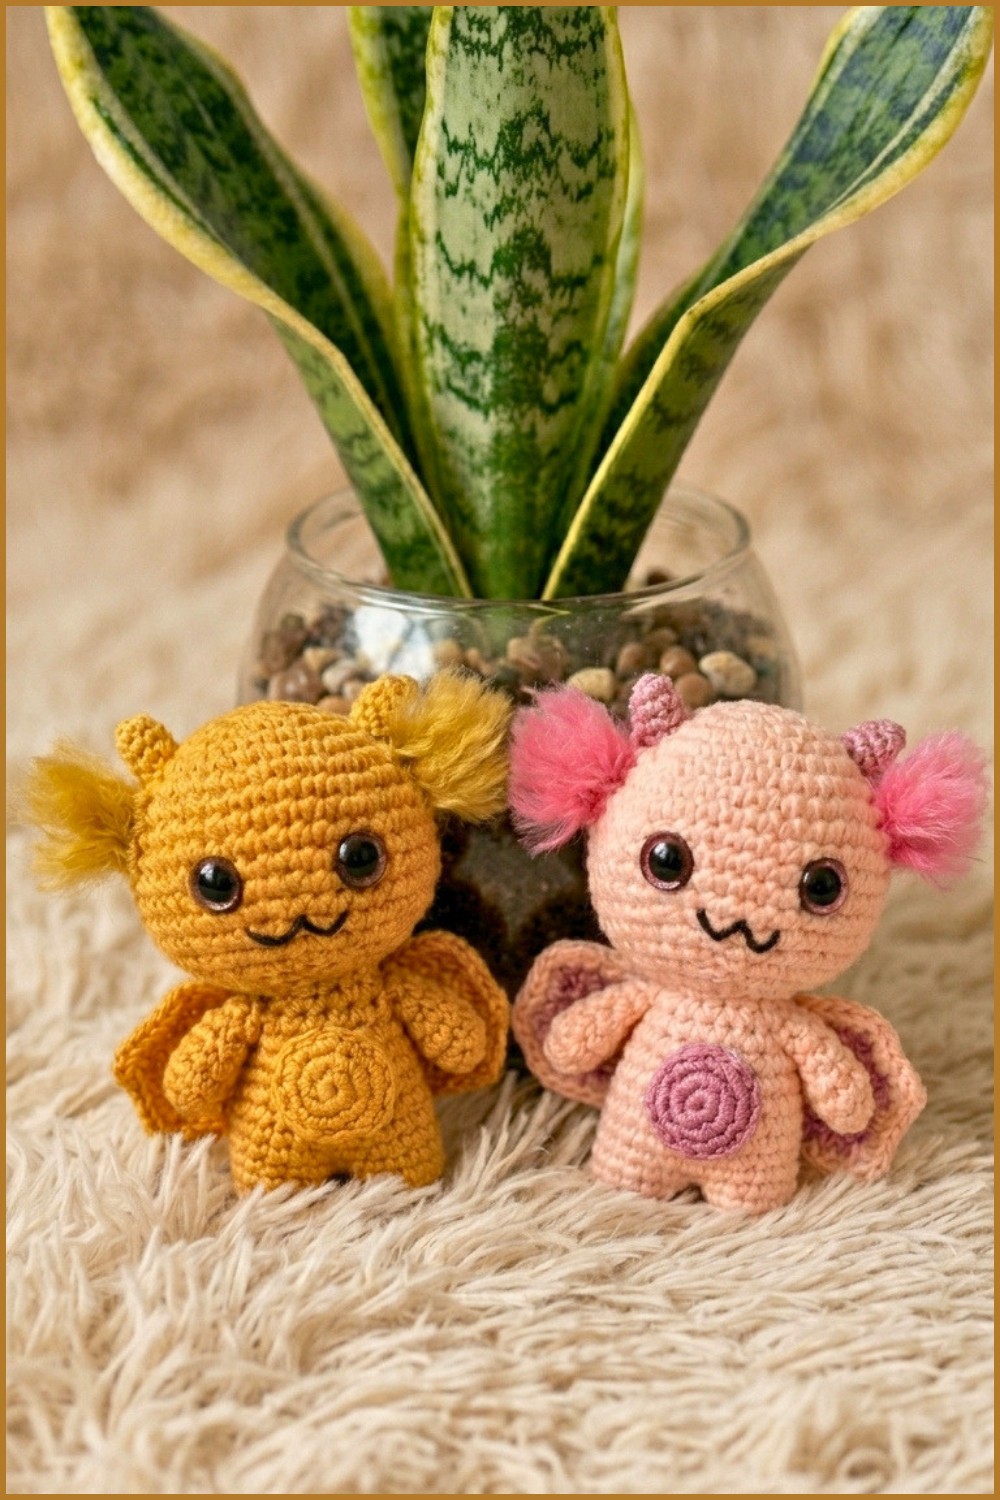
Cute Baby Dragon Amigurumi Crochet Pattern
Before You Start
- Ensure you are familiar with amigurumi basics: magic ring, single crochet, increase, and decrease.
- Gather all your materials before beginning.
- Read or scan through the entire pattern to understand construction and assembly.
- Prepare a comfortable and well-lit workspace.
- Practice a few rows using recommended hook/yarn to get familiar with the tension.
- Remember to take breaks and stretch your hands (see exercise video in description).
Pattern Notes
- The dragon is worked in continuous rounds; use a stitch marker to track rounds.
- Pieces are worked separately and then sewn together.
- You can customize colors and details to your liking.
- For tight and neat amigurumi, use a hook one or two sizes smaller than recommended for your yarn.
- Safety eyes, felt, or embroidery can be used for eyes; choose what suits your preferences.
- Stuff pieces firmly but not so much as to stretch the stitches.
- Fuzzy effects on tail/hair are achieved by brushing yarn strands with a regular comb.
How I Made the Crochet Pattern?
- Transcribed the spoken instructions from the video step by step.
- Matched the stitch counts, rounds, and amigurumi construction to standard written pattern format.
- Noted color and detail changes as made in the video.
- Broke each section (head, body, arms, wings, etc.) into its own clear part.
- Added extra explanations between parts for new crocheters.
Skill Level
- Confident Beginner to Intermediate
Must know basic amigurumi skills, simple embroidery, and how to assemble parts.
Finished Size
- Approximately 12–15 cm (4.7-6") tall (will vary with yarn, hook, and tension).
Materials
- Yarn, color A: Main body
- Yarn, color B: Contrasting for details
- Yarn, color C: Black (fine) for mouth embroidery
- Yarn, color D: For hair/tail tufts (matching or contrasting)
- 2.0 mm crochet hook (main), plus 1.0–1.5 mm hook for tiny pieces (horns, finer parts)
- Yarn needle for sewing parts and embroidery
- Scissors
- Polyester fiberfill stuffing
- Felt or safety eyes (or fabric called “friselina” for Spanish speakers)
- Regular comb
- Pins (for holding pieces in place during sewing)
Gauge
- Not critical for amigurumi, but aim for a tightly stitched fabric with no stuffing showing through.
Stitch Abbreviations
- MR = Magic ring/circle
- sc = single crochet
- inc = increase (2 sc in same stitch)
- dec = decrease (single crochet 2 together)
- slst = slip stitch
- ch = chain
- st(s) = stitch(es)
Special Stitches
- Invisible decrease: Insert hook in front loop only of next 2 sts, yarn over, pull through 2 loops, yarn over and pull through last 2 loops.
- Brushed yarn: Attach yarn lock as a hair/tuft, pull both ends through stitch, and brush out with a comb for fuzziness.
The Pattern!
Head
Round 1: MR, 6 sc (6)
Round 2: 6 inc (12)
Round 3: [sc, inc] x 6 (18)
Round 4: [2 sc, inc] x 6 (24)
Round 5: sc in each st (24)
Round 6: [3 sc, inc] x 6 (30)
Round 7: [4 sc, inc] x 6 (36)
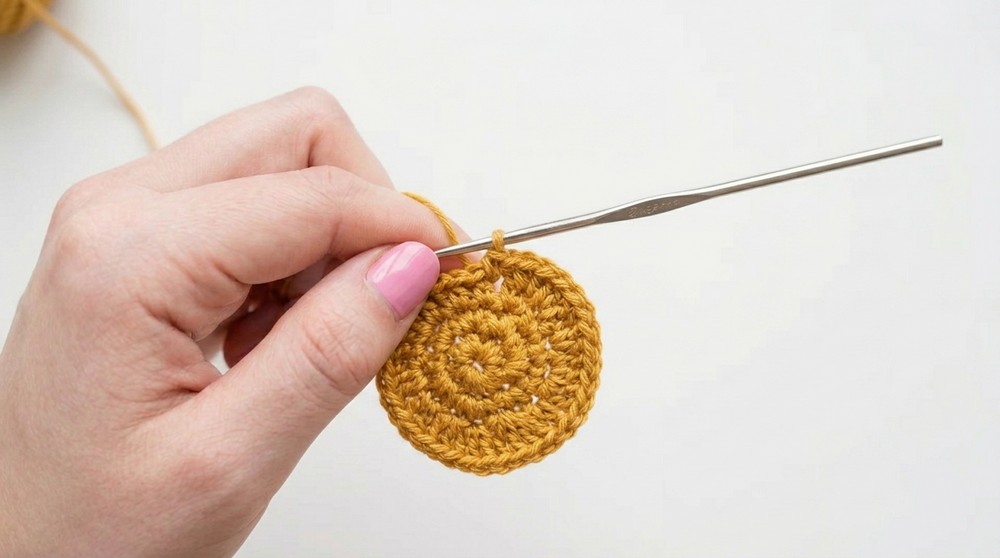
Round 8: sc in each st (36)
Round 9: [5 sc, inc] x 6 (42)
Rounds 10–13: sc in each st (42 for 4 rounds)
Round 14: [5 sc, dec] x 6 (36)
Round 15: [4 sc, dec] x 6 (30)
Round 16: [3 sc, dec] x 6 (24)
Round 17: [2 sc, dec] x 6 (18)

Stuff the head firmly at this point.
Round 18: [sc, dec] x 6 (12)
Round 19: [sc, dec] x 3 (9), slst to finish, leaving opening at the base for joining.
The head is a sphere with gradual increases and decreases. Use a stitch marker and keep your work tight and round.
Legs (make 2)
Round 1: MR, 6 sc (6)
Round 2: 6 inc (12)
Round 3: sc in each st (12)
slst to finish first leg, cut yarn.
For second leg: don’t cut the yarn – you’ll join to make the body.
Body
Join Legs:
Join with a slst to first leg.
Work 3 rounds (24 sc per round) around both legs as a continuous spiral.
Next:
[6 sc, dec] x 3 (21)
2 rounds sc (21)
Next:
[4 sc, dec] x 3, sc last 3 (leave 3 sts, just sc them, 18)
1 round sc (18)
[3 sc, dec] x 3, sc last 3 (15)
1 round sc (15)
slst, cut yarn, leave tail for sewing.
Body is shaped as an oval by joining legs, padding as you go to keep it plush and smooth.
Arms (make 2)
Round 1: MR, 5 sc (5)
Round 2: 5 inc (10)
Rounds 3-4: sc in each st (10, two rounds)
Round 5: [3 sc, dec] x2 (8)
Round 6: [2 sc, dec] x2 (6)
Finish off, leave tail for sewing. You can slightly stuff or leave flat as in video.
Wings (make 2, secondary color)
Round 1: MR, 6 sc (6)
Round 2: 6 inc (12)
Round 3: [sc, inc] x 6 (18)
Shaping the points of the wings:
On next round:
- (dc [US], ch 1, slst in same st, dc again in same st, slst next st) x3
(Creates 3 pointed tips per wing.)
Change to main color, sc around entire wing with sc, making 2 ch at each tip and working a sc in same space, slst at end. Cut and finish.
Belly Patch
Round 1: MR, 5 sc (5)
Round 2: 5 inc (10)
Round 3: [sc, inc] x 5 (15)
slst to close, cut yarn.
Horns (make 4, with smaller hook, secondary color or as desired)
Round 1: MR, 4 sc (4)
Round 2: 4 inc (8)
Rounds 3–4: sc in each (8)
slst to finish, cut, make 4 total.
These are small cones. Work tightly; use a fine hook if possible for firmness.
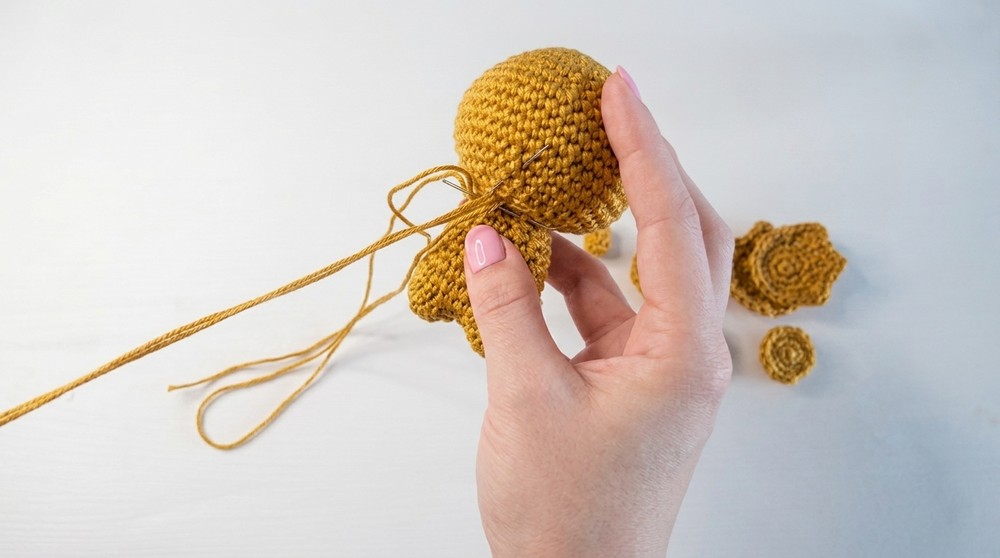
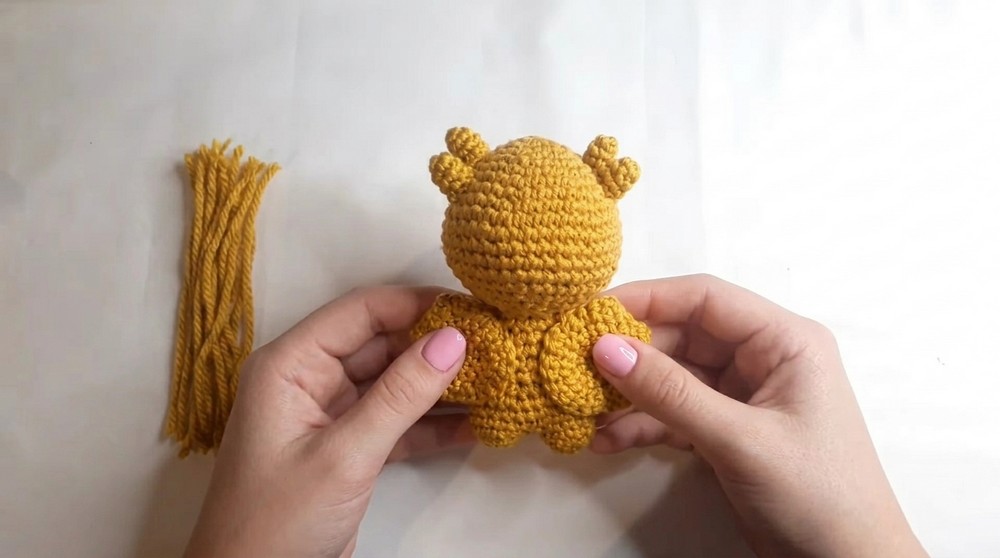
Assembly & Finishing
- Sew head to body, aligning nicely.
- Attach arms just below the head, sewn flat.
- Sew wings at mid/upper back.
- Attach belly patch to center underside.
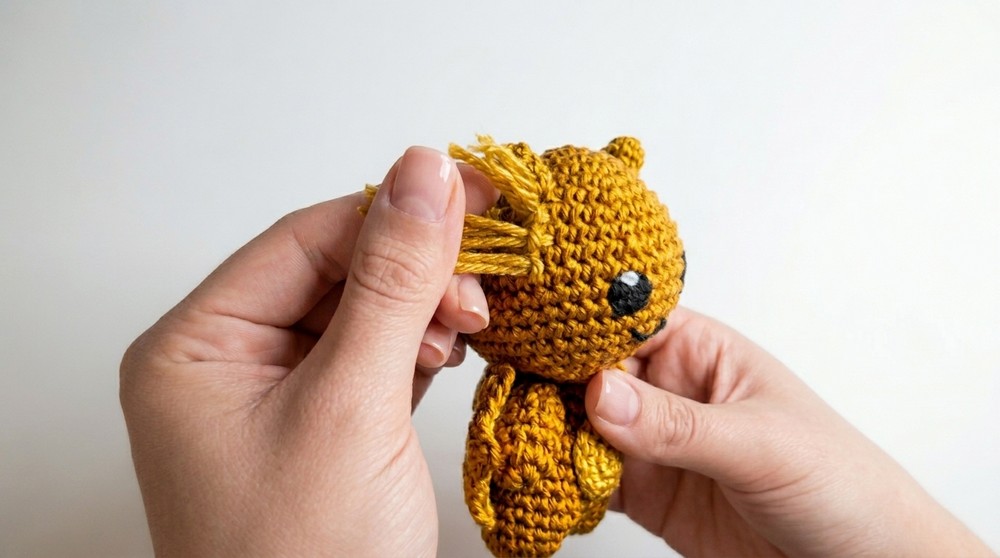
- Place two horns forward and two behind, evenly spaced atop head.
- Attach safety eyes, felt/fabric circles, or embroidered eyes as desired (typically between rows 6 and 7 of head). Embroider a white fleck if using black felt.
- Embroider mouth with black thread, making a little "smile" (see video for placement).
- Make tufts: Cut yarn lengths, fold in half, and pull through stitch loops on sides and tail, then brush out with comb and trim as desired.
- Weave in all ends, secure, and trim extra fuzz for shape.
Solution of Common Problems
- Stuffing shows through: Use smaller hook or thicker yarn for tighter stitches.
- Head flops: Add extra stuffing or reinforce neck join with extra stitching.
- Wings/little pieces curl: Steam block gently (avoid melting acrylic yarn).
- Joining pieces looks messy: Pin pieces in place before sewing and use yarn needle to catch only inside loops.
What You Can Make by Using These Stitches
- Dragons in other colorways
- Other fantasy amigurumi with similar body shapes (unicorn, dinosaur, etc.)
- Keychain plushies
- Baby toys
- Bag charms
Congratulations!
Your adorable baby dragon is complete. The piece is assembled from basic shapes and works up through stepwise amigurumi increases/decreases. Modify details, colors, and embellishments for personal touches.