Add charm to your projects with this free crochet bow pattern that helps you easily finish cute and versatile bows for gifts, decorations, or accessories.
I’ve always loved adding little handmade touches to my outfits and gifts, and one of my favorite simple projects is making crochet bows. The Free crochet Bow Pattern is a quick and fun way to create cute, stylish bows using just yarn and a crochet hook. This small but lovely crochet item adds charm to many things, from hair accessories to gift decorations.
Free Crochet Bow Christmas Ornament Pattern
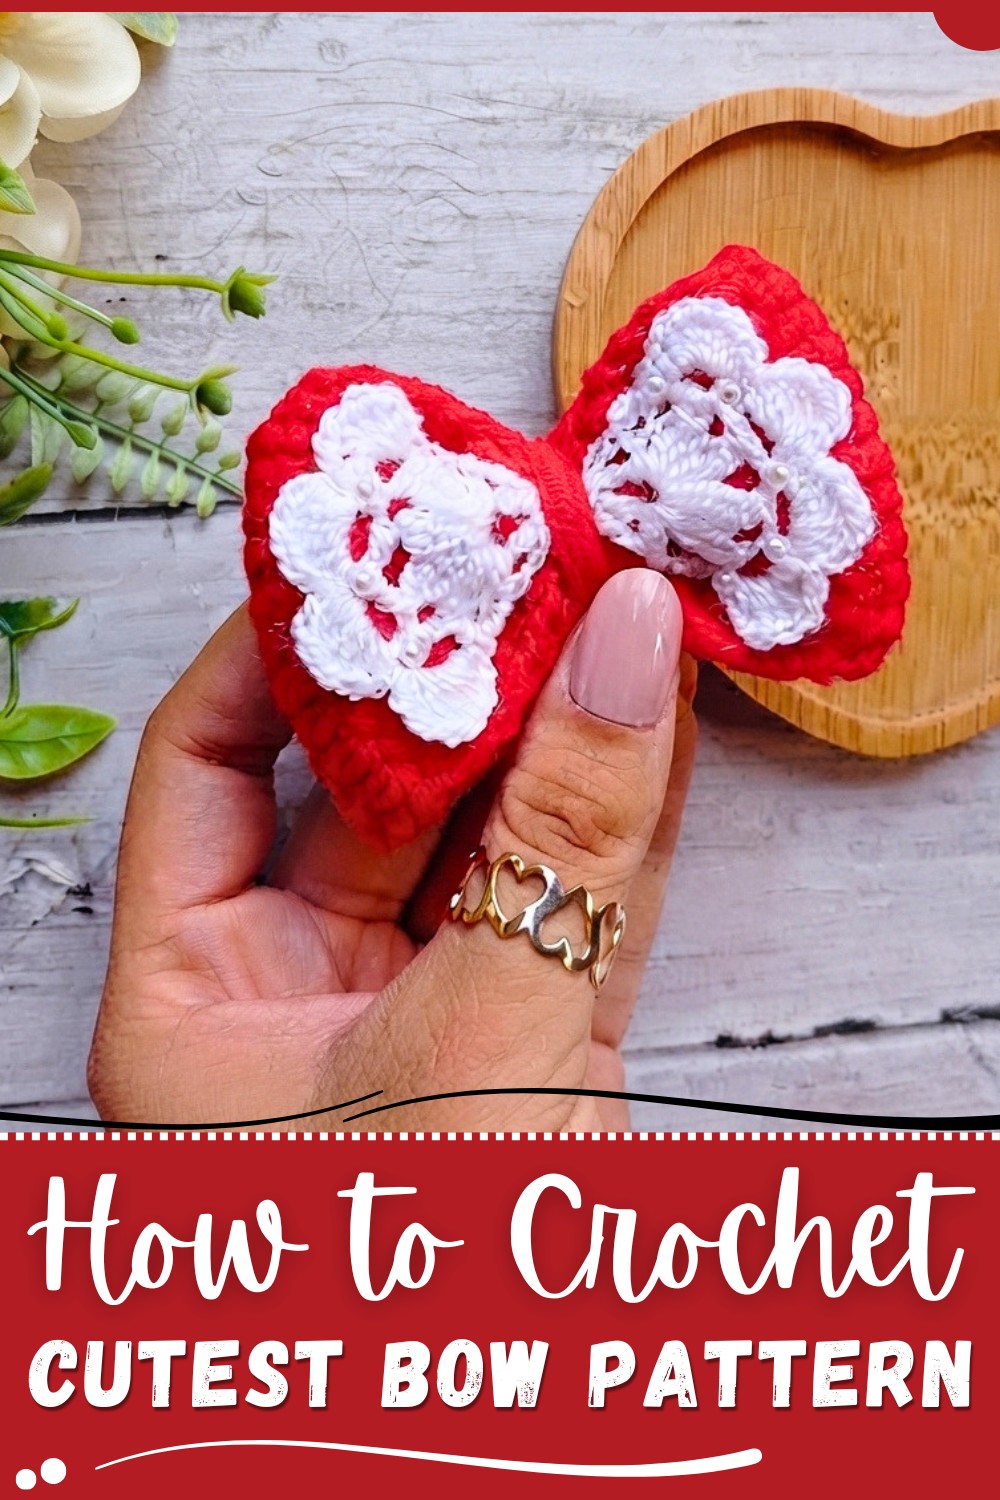
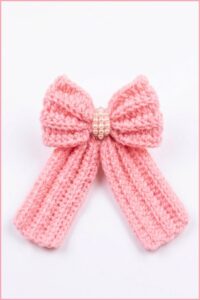
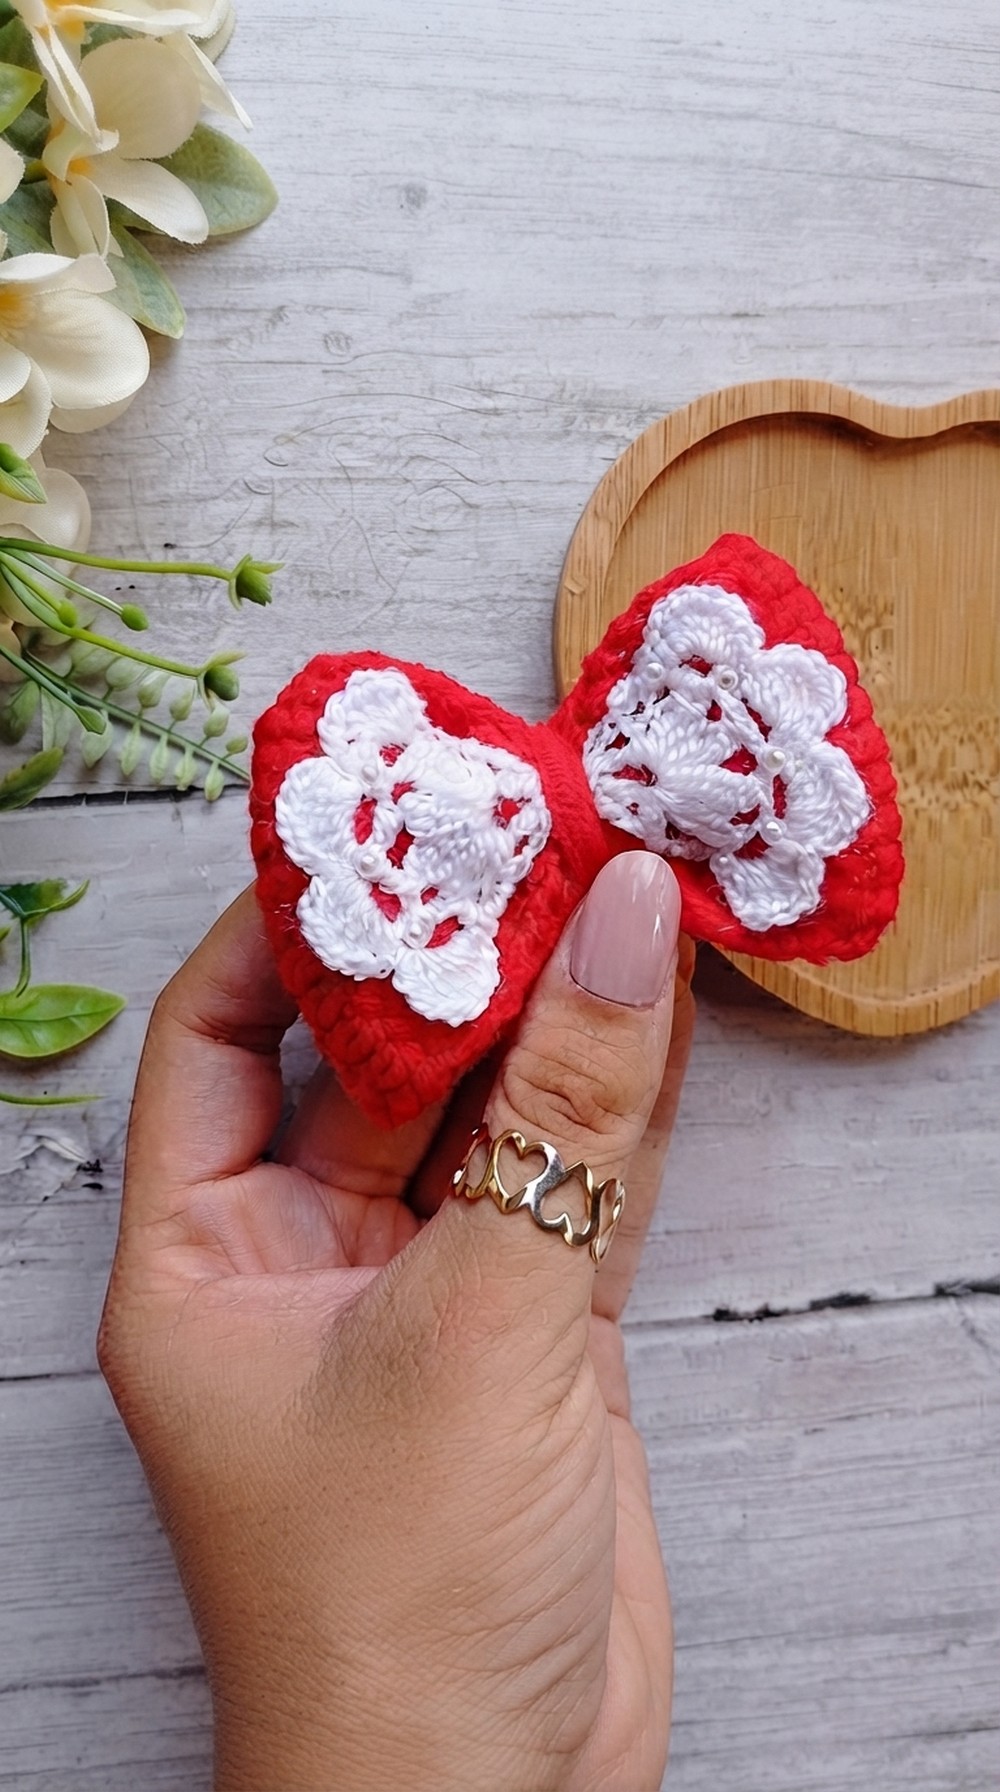
These crochet bows look soft and neat, with a smooth texture that feels gentle to the touch. Their classic bow shape is instantly recognizable and perfect for adding a sweet, decorative finish. The style can be simple or dressed up by choosing different colors or yarn types, making each bow unique. Because of their small size and clean lines, these bows easily stand out when attached to headbands, hats, bags, or even wrapped presents.
This project is beginner-friendly, mainly using basic stitches like single crochet and chain stitches. The main stitch is simple to follow and creates a firm but flexible fabric, helping the bow keep its shape well. If you’re new to crochet or just want a quick crafty project, this bow fits the bill perfectly. It’s also a great handmade gift idea or a charming way to personalize your belongings. Give the Free crochet Bow Pattern a try and bring a little extra sweetness to your crafting and styling!
Easy Crochet Bow Pattern for Beginners
Introduction
This fun crochet bow project is made in two parts:
- The Main Bow Base using thicker yarn for structure.
- The Decorative Center Piece using thinner yarn with simple stitches for detail.
Follow this beginner-friendly, step-by-step guide to make your own pretty crochet bow!
Quick Overview
- Crochet a rectangle for the bow base
- Crochet a round decorative piece for the center
- Join and shape the bow, then sew the center piece on
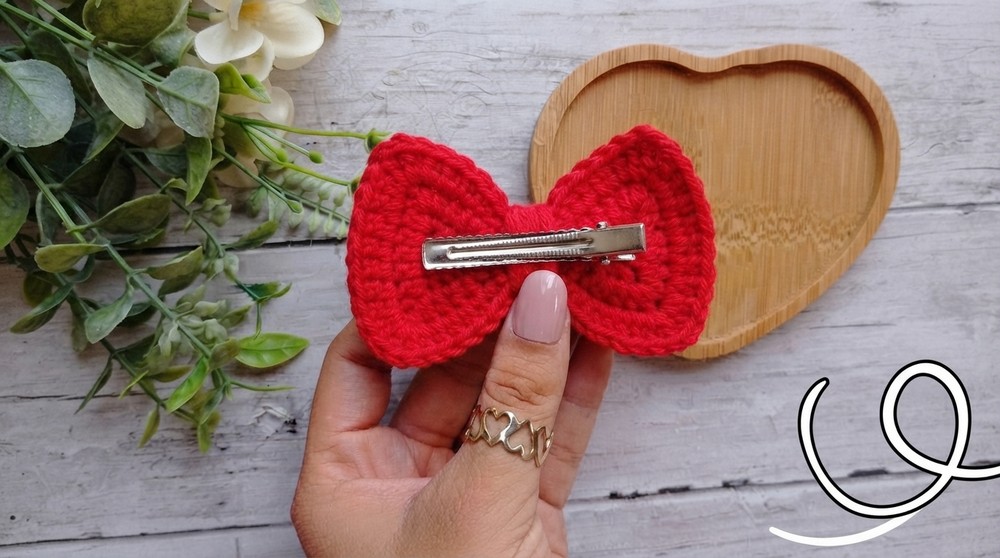
- Attach a clip or hair tie
Notes
- Use consistent tension.
- Take your time with cluster stitches — instructions are clear and simple.
- Use a tapestry needle to sew pieces neatly.
Skill Level
Beginner to Intermediate (basic knowledge of double crochet and single crochet is helpful)
Materials Needed
- Thicker yarn (for bow base)
- Thinner yarn (for center piece)
- Crochet hooks: 2.5 mm and 1.75 mm
- Tapestry needle
- Scissors
- Clip or hair tie
- Needle and thread for sewing
Finished Size
- Bow length about 17.5 cm to 18 cm
Abbreviations
- ch = chain
- sl st = slip stitch
- dc = double crochet
- hdc = half double crochet
- sc = single crochet
- cl = cluster stitch (2 unfinished double crochets closed together)
Special Stitches
Cluster Stitch (cl):
- Yarn over, insert hook in stitch, yarn over and pull up a loop, yarn over and pull through 2 loops (leave last loop on hook).
- Yarn over and insert hook into same stitch, yarn over and pull up a loop, yarn over and pull through 2 loops.
- Yarn over and pull through all loops on hook to complete cluster.
Step-by-Step Pattern
Part 1: Main Bow Base
Using thicker yarn and 2.5 mm hook
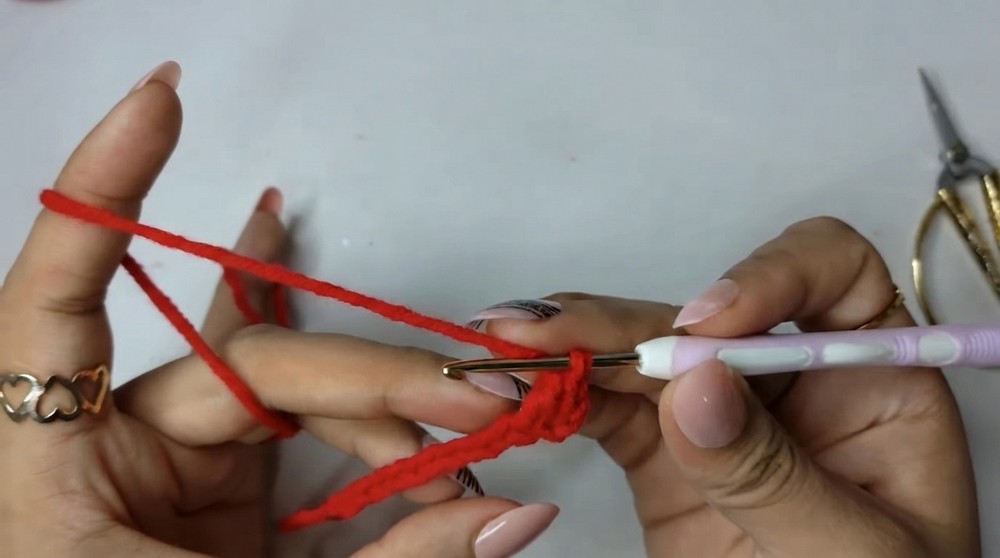
- Foundation:
- Make a slip knot.
- Chain 14.
- Row 1:
- Count the 3rd chain from hook as first double crochet (dc).
- Work 1 dc into the 4th chain from the hook and into each remaining chain.
- You should have 12 dc stitches total (including the turned chains).
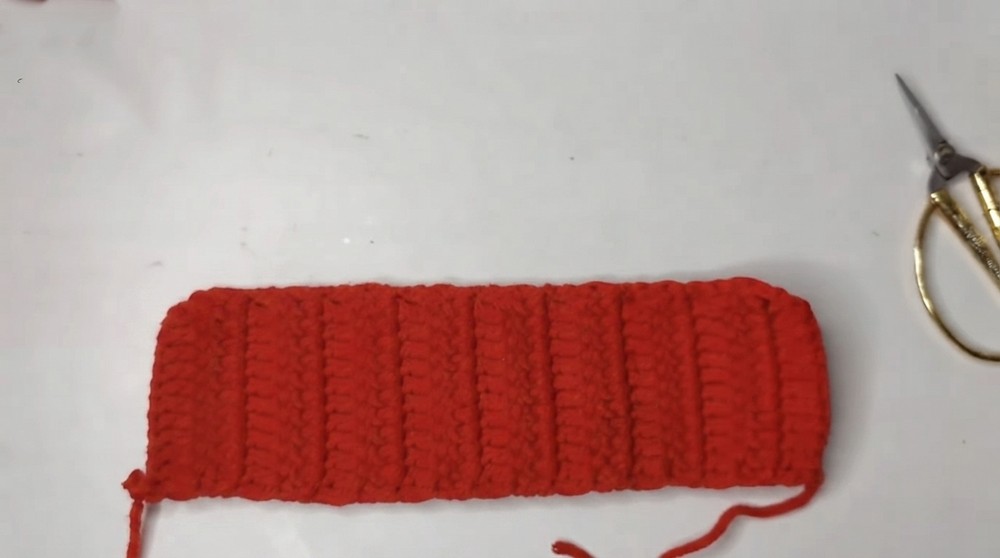
- Next rows:
- Chain 2, turn your work.
- Work 12 dc stitches across.
- Repeat until the piece measures about 17.5 cm to 18 cm long.
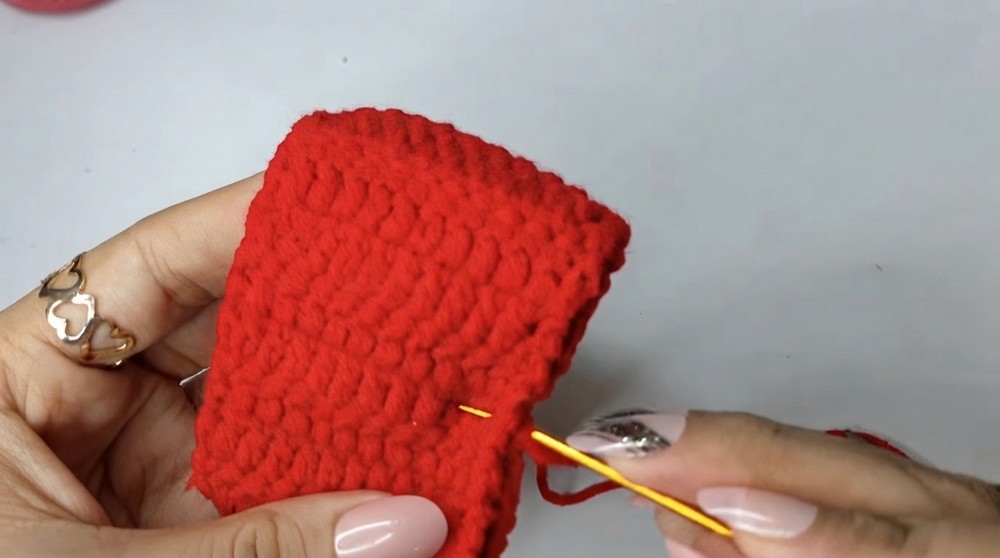
- Join to form loop:
- With tapestry needle, sew the two short ends together, creating a loop.
- Keep the seam at the back.
Part 2: Decorative Center Piece
Using thinner yarn and 1.75 mm hook
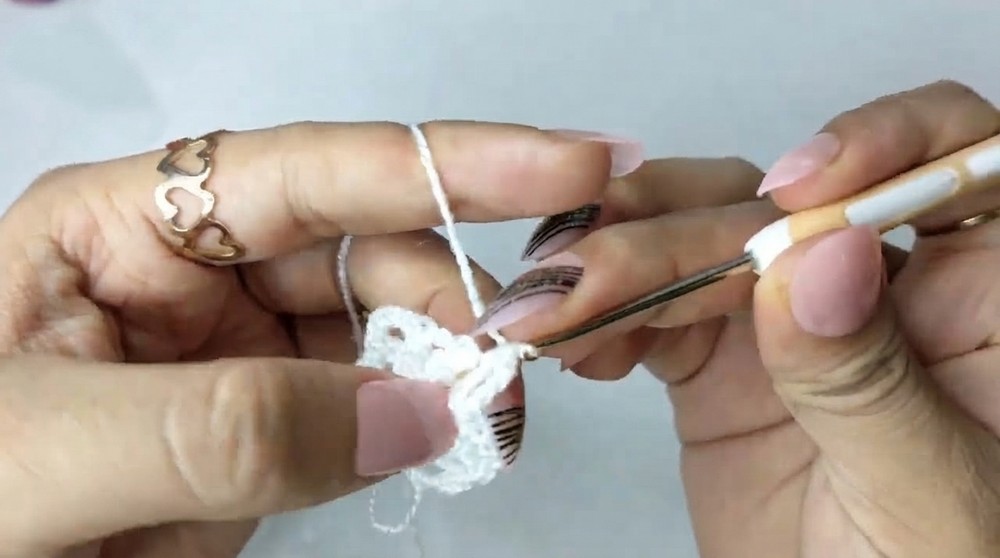
- Magic ring & chain:
- Make a magic ring.
- Chain 5 (counts as 1 dc + chain 2 space).
- Round 1:
- Inside magic ring, work:
- 3 dc stitches, each separated by ch 2.
- You will have 4 dc stitches total, each separated by 2 chains.
- Round 2:
- Chain 3, turn.
- In each center space ('V') of the previous round, work:
- 4 cluster stitches (cl) (each is 2 unfinished dc closed together).
- Separate each cluster with ch 2.
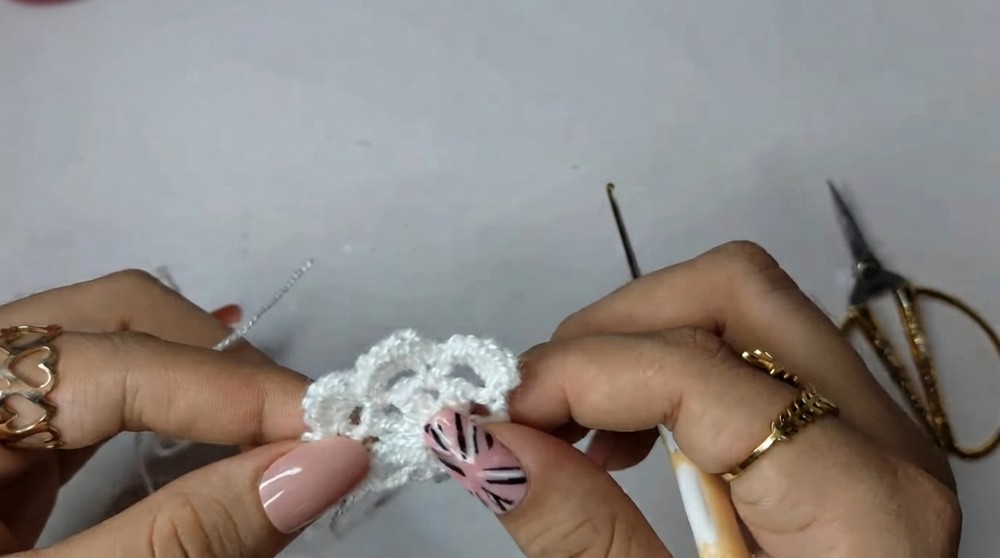
- Round 3:
- Slip stitch into the top of previous round to secure.
- Turn, then slip stitch into the next 2 chains.
- Chain 3.
- Work a single crochet (sc) into each space created by clusters, separated by ch 3.
- Round 4 – The Edging:
- In each ch-3 space, work the following "fan":
- 1 half double crochet (hdc)
- 4 double crochet (dc)
- 1 half double crochet (hdc)
- Slip stitch into the center single crochet of the previous round to attach each fan.
- Finish:
- Repeat the edging on the other side of the center piece if desired.
Final Assembly
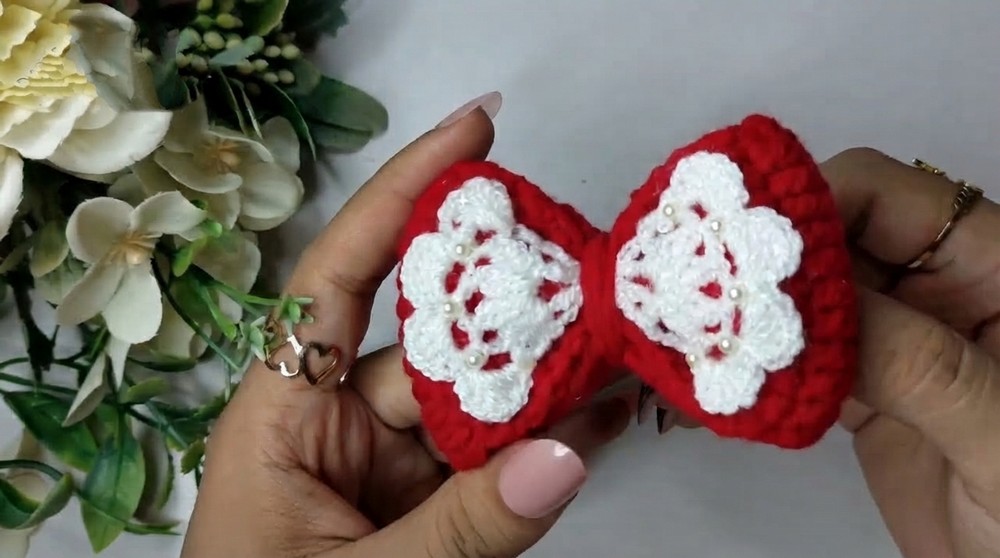
- Fold the main bow base loop so the seam is hidden at the back and sides are pinched inward.
- Place the decorative center piece around the pinched center of the bow.
- Use needle and thread to sew the center piece securely in place.
- Attach your clip or hair tie to the back of the bow.
Conclusion
Congratulations! You have made a beautiful crochet bow with a sturdy base and delicate center decoration. This bow is customizable with your choice of colors and can be attached to clips, headbands, or hair ties for a lovely handmade accessory.