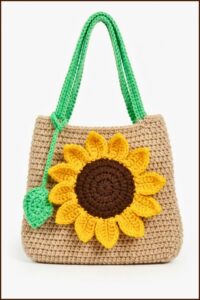
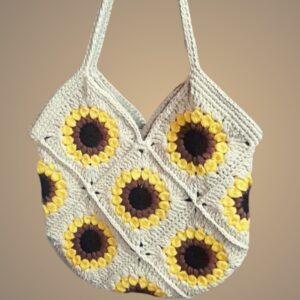
Stitch a stylish, small accessory with this Free Crochet Mini Bag Pattern that's offering clear steps to create a useful and charming addition to your collection.
I recently fell in love with making small accessories that are both cute and useful, and one project that quickly became a favorite is the Free Crochet Mini Bag Pattern. This pattern offers a simple way to craft a compact, stylish bag that’s perfect for carrying essentials like keys, a phone, or small makeup items. As someone who enjoys quick and rewarding crochet projects, I found this mini bag to be a fantastic addition to my handmade collection.
Free Modern Crochet Mini Bag Pattern Trendy Accessory
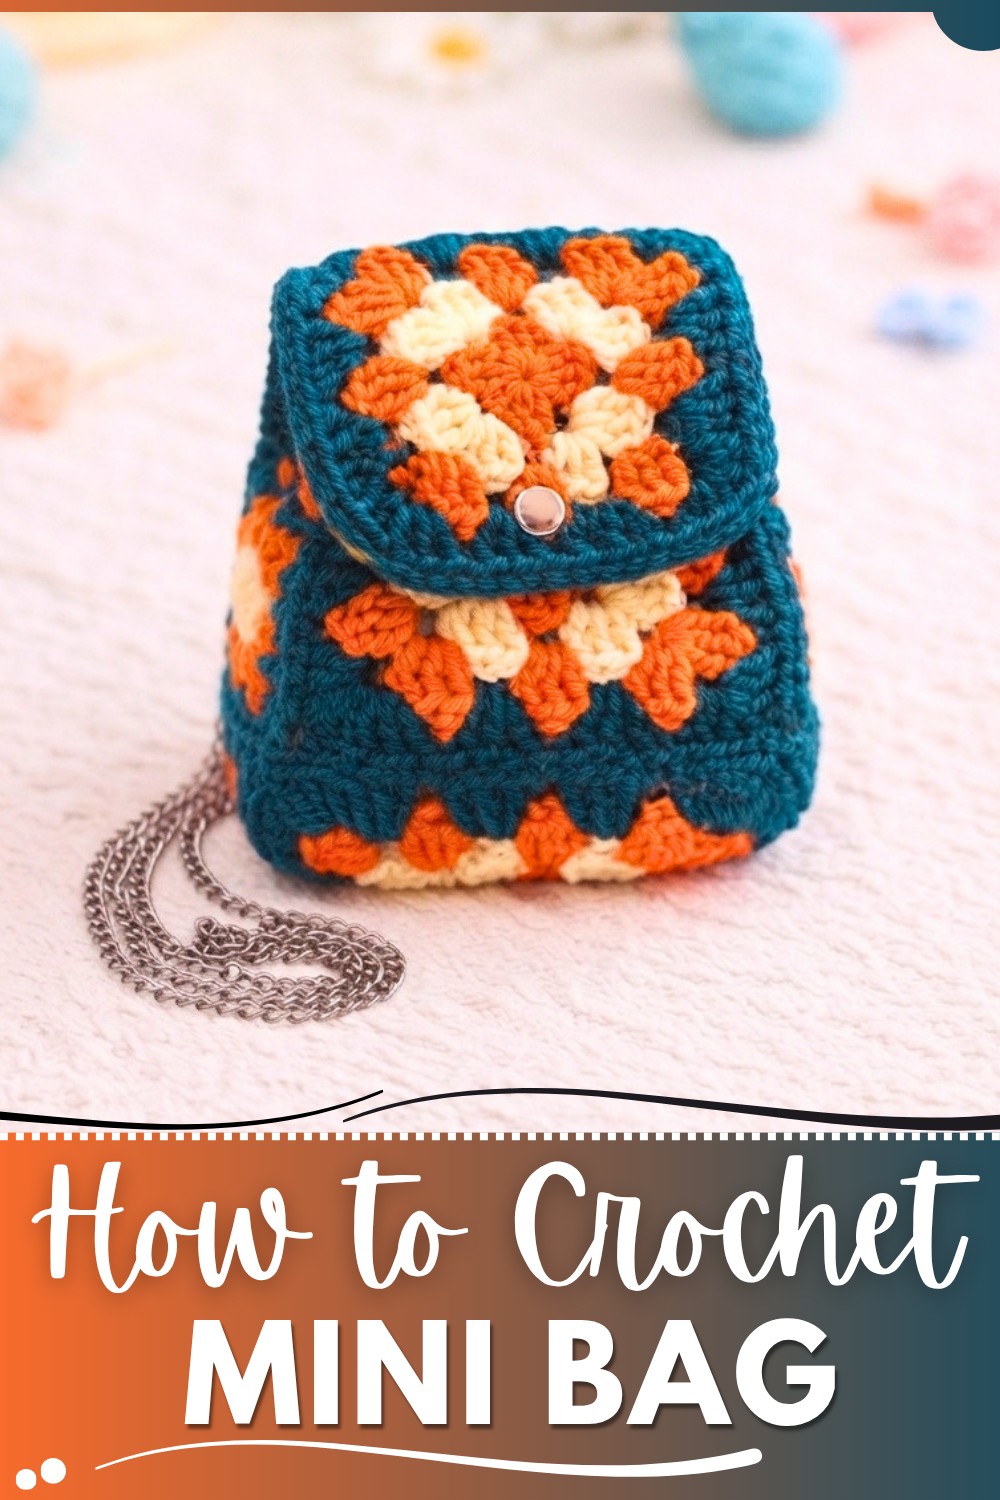
The mini bag has an adorable, compact shape with a soft but sturdy texture that feels great to hold. Its design is charmingly simple, often featuring a rounded or square silhouette with clean lines and sometimes a flap or button closure. The standout feature of the project is how versatile it is, whether worn as a cute crossbody or used as a small pouch, it adds a pop of personality to any outfit or space. The tight crochet stitches give it a neat, polished look while keeping the bag lightweight and easy to carry.
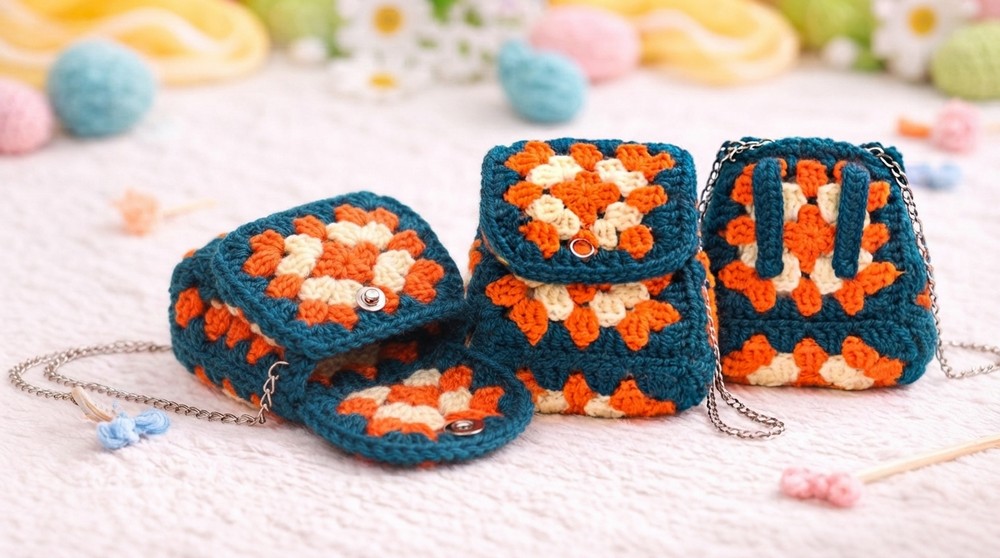
This pattern is perfect for beginners who are comfortable with basic crochet stitches, mainly the single crochet stitch, which forms the sturdy fabric of the bag. It’s a straightforward project that builds confidence without feeling overwhelming, making it ideal for those new to crochet or anyone wanting a quick and satisfying make.
Beyond being a fun accessory to keep or wear, this mini bag also makes a thoughtful handmade gift or a lovely decorative item. If you enjoy creating pieces that blend style and function, this pattern is definitely worth trying—it's simple, charming, and incredibly rewarding.
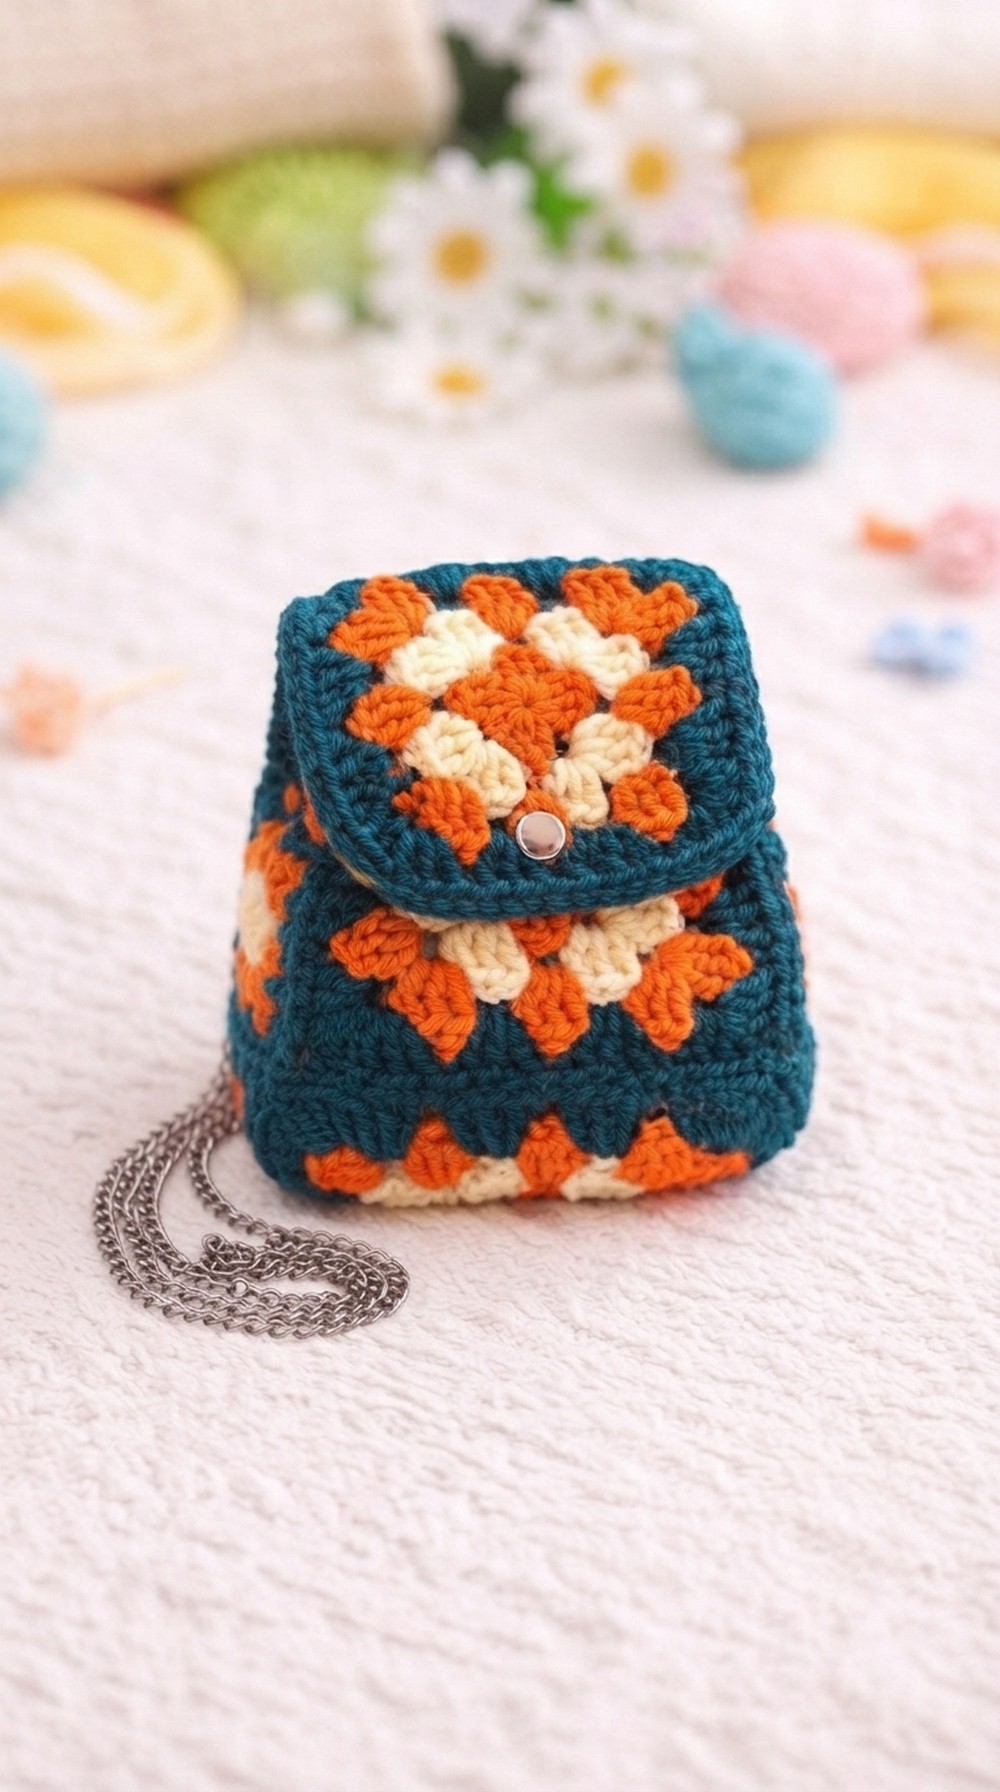
Mini Crochet Bag from Six Granny Squares
This pattern guides you through making a charming mini crochet bag using six granny squares. You'll learn how to join the squares for a seamless finish, attach a flap, and create sturdy straps, resulting in a practical and cute accessory.
Quick Overview Of Pattern
- Crochet or prepare six identical granny squares
- Join five squares to form the bag base and sides using invisible joins
- Attach the sixth square as a top flap
- Add two sturdy straps with chain and half double crochet
- Add finishing touches: a loop for keychain and a press button
Notes
- Keep all granny squares the same size for best results
- Use an invisible joining method by working into the back loop of one square and front loop of the adjacent square
- Assemble the bag inside-out for a neater exterior finish
- Adjust strap length as needed for different uses
Skill Level
Beginner to Adventurous Beginner (must be familiar with basic granny squares and simple joining)
Materials
- Worsted weight yarn in your choice of colors
- Crochet hook suitable for yarn (usually 3.5mm–4mm)
- Tapestry needle for joining and weaving ends
- Scissors
- Press button or snap fastener
- Optional: keychain ring
Measurements / Sizing
- Each granny square: approx. 8-9 cm (3-3.5") square
- Finished bag: approx. 12 x 12 x 8 cm (not including straps)
Gauge
- Not critical; just ensure all six granny squares match in size
Stitch Abbreviations
| Abbreviation | Meaning |
|---|---|
| ch | chain |
| sl st | slip stitch |
| sc | single crochet |
| hdc | half double crochet |
| st | stitch |
| BLO | back loop only |
| FLO | front loop only |
Special Stitches
- Invisible Join: Work through BLO of one square, FLO of adjacent square to create a nearly seamless join between granny squares.
The Crochet Pattern
1. Preparation
- Crochet or gather six identical granny squares in your preferred style and color.
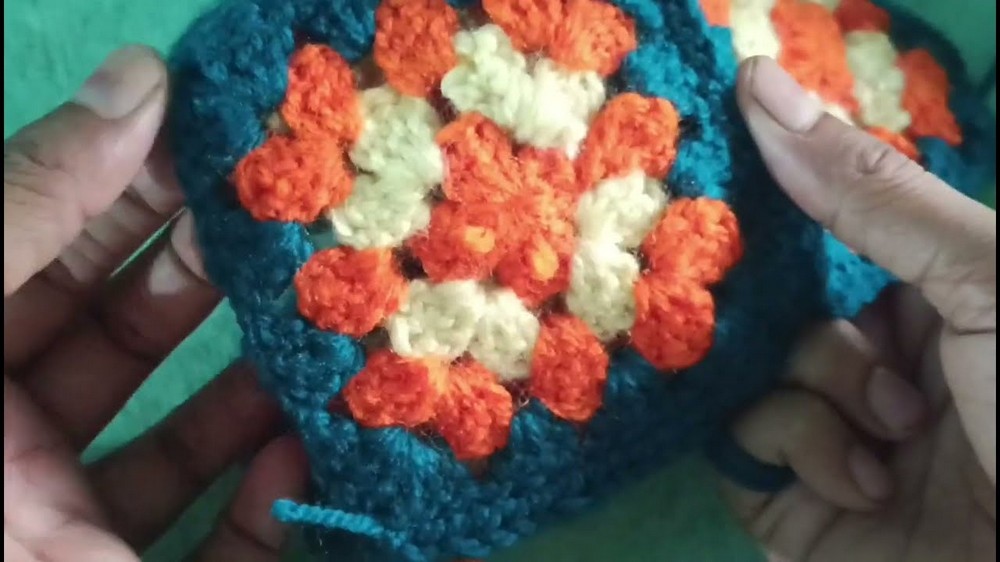
2. Joining the Squares
Join the Bottom and Sides
- Arrange five squares: one for the base (bottom), four for the sides.
- Step-by-step:
- Lay the base piece flat.
- Attach each of the four side-squares, one per edge of the base.
- Hold squares with wrong sides facing out (you’re working inside out for a cleaner outside finish).
- Use the invisible join:
- Insert hook in the back loop of the base square and the front loop of the side square.
- Slip stitch to join the edges.
- Continue this process for each bottom/side joint.
- Then, join adjacent sides together the same way.
- Continue until all sides are joined, forming a box shape.
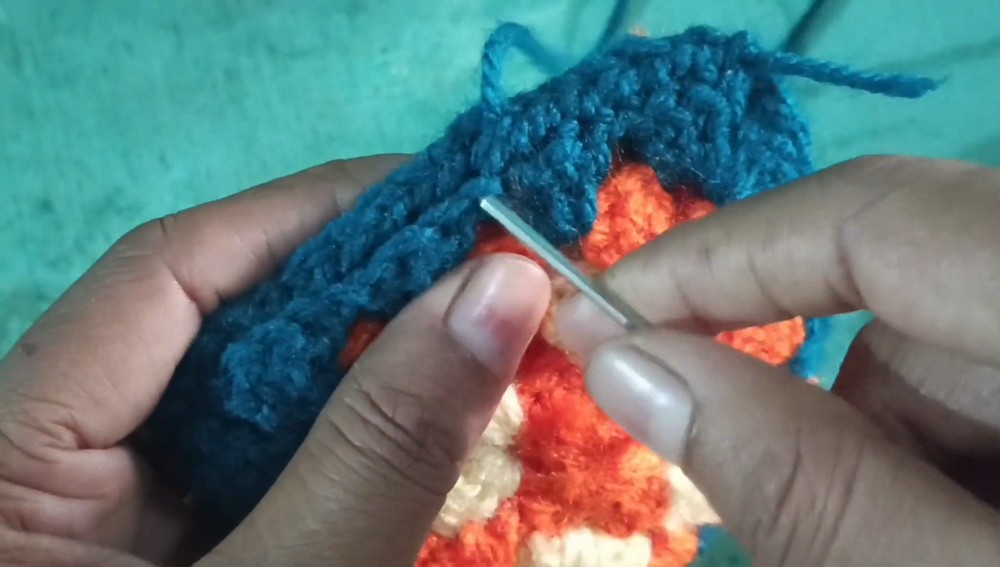
Seaming the Sides
- Keep the bag inside out as you work.
- After all joins are complete, turn the bag right side out.
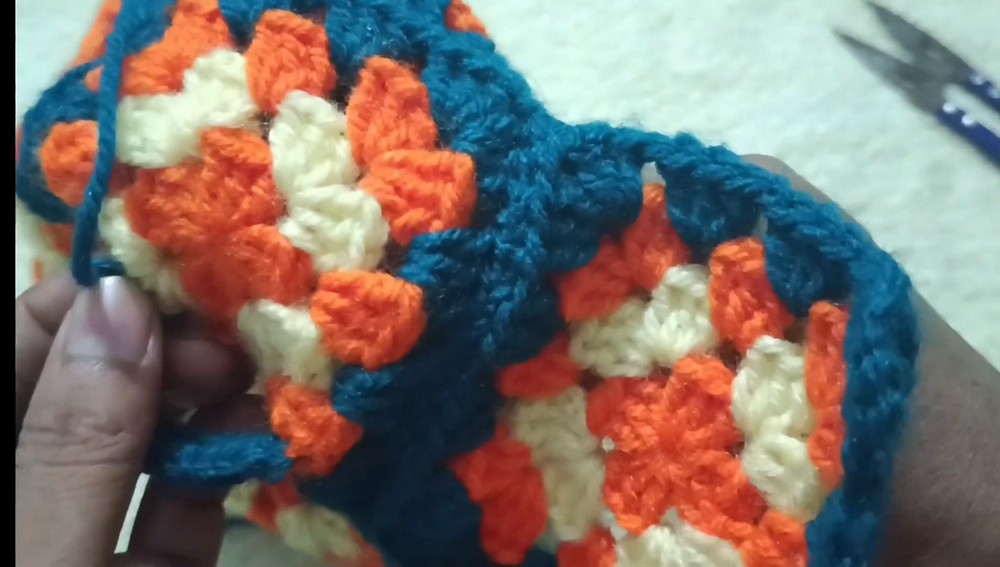
3. Attaching the Top Flap
- With leftover yarn from joining, attach the sixth (top) granny square to one side of the bag.
- Secure only one edge of the flap to the back upper edge of the bag.
4. Adding Straps
- Make the first strap:
- Attach yarn to the bottom edge of one back-side corner.
- Ch 12 (or 10-11 for a shorter handle).
- Attach chain to the top of the bag.
- Work hdc back down the chain for a sturdy strap.
- Fasten off securely.
- Repeat for the second strap on the opposite side.
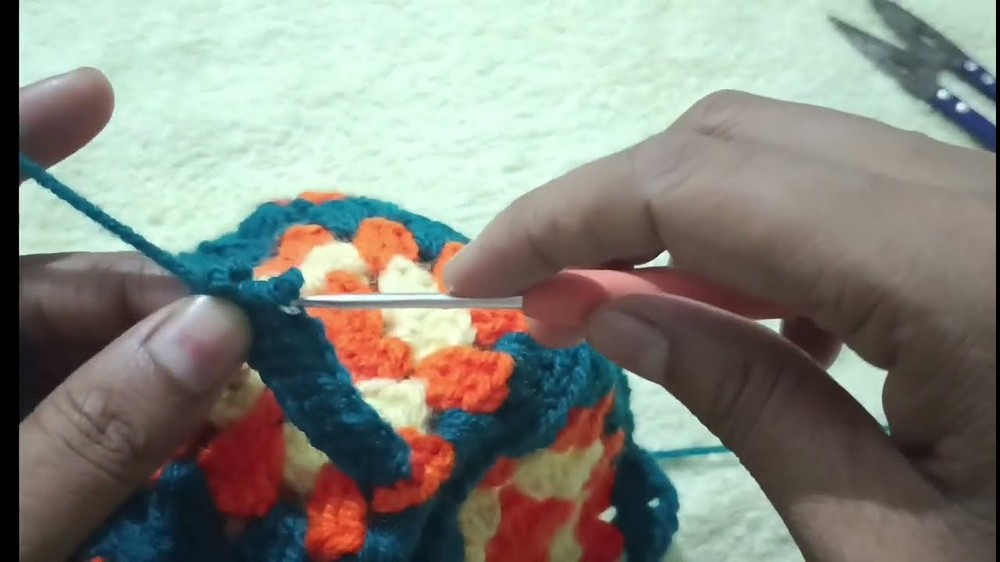
5. Finishing Touches
- Keychain Loop:
- At the top edge, ch 4, join with a slip stitch to the same spot to create a loop.
- Add a Press Button:
- Sew a press/snap button to the front of the bag for secure closure.
Assembly & Finished Size
- Ensure all squares and straps are securely joined.
- Weave in all ends.
- Attach keychain ring if desired.
- Attach snap button.
Final bag size is approx. 12 x 12 x 8 cm (variable based on granny square size).
Conclusion
Your mini granny-square crochet bag is now ready—a perfect accessory for carrying small items or gifting. With its sturdy invisible joins, flap, and secure straps, it’s functional and cute.