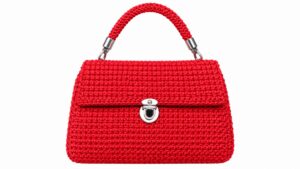
Stitch a new favorite with this Crochet Handbag Free Pattern, featuring a neat finish and a useful design for shopping trips, travel days, and casual outfits.
Find the charm of a beautifully designed crochet handbag that combines style, comfort, and versatility in one stunning accessory. This project, shared by Yanet Pupo Crochet, offers a delightful opportunity to create a bag that perfectly balances casual elegance with practical functionality. Whether you're heading to a casual brunch, a sunny day out, or an evening gathering, this handbag's thoughtful design and comfortable fit make it a go-to piece for various occasions.
Trendy Crochet Handbag Free Pattern For Modern Outfits
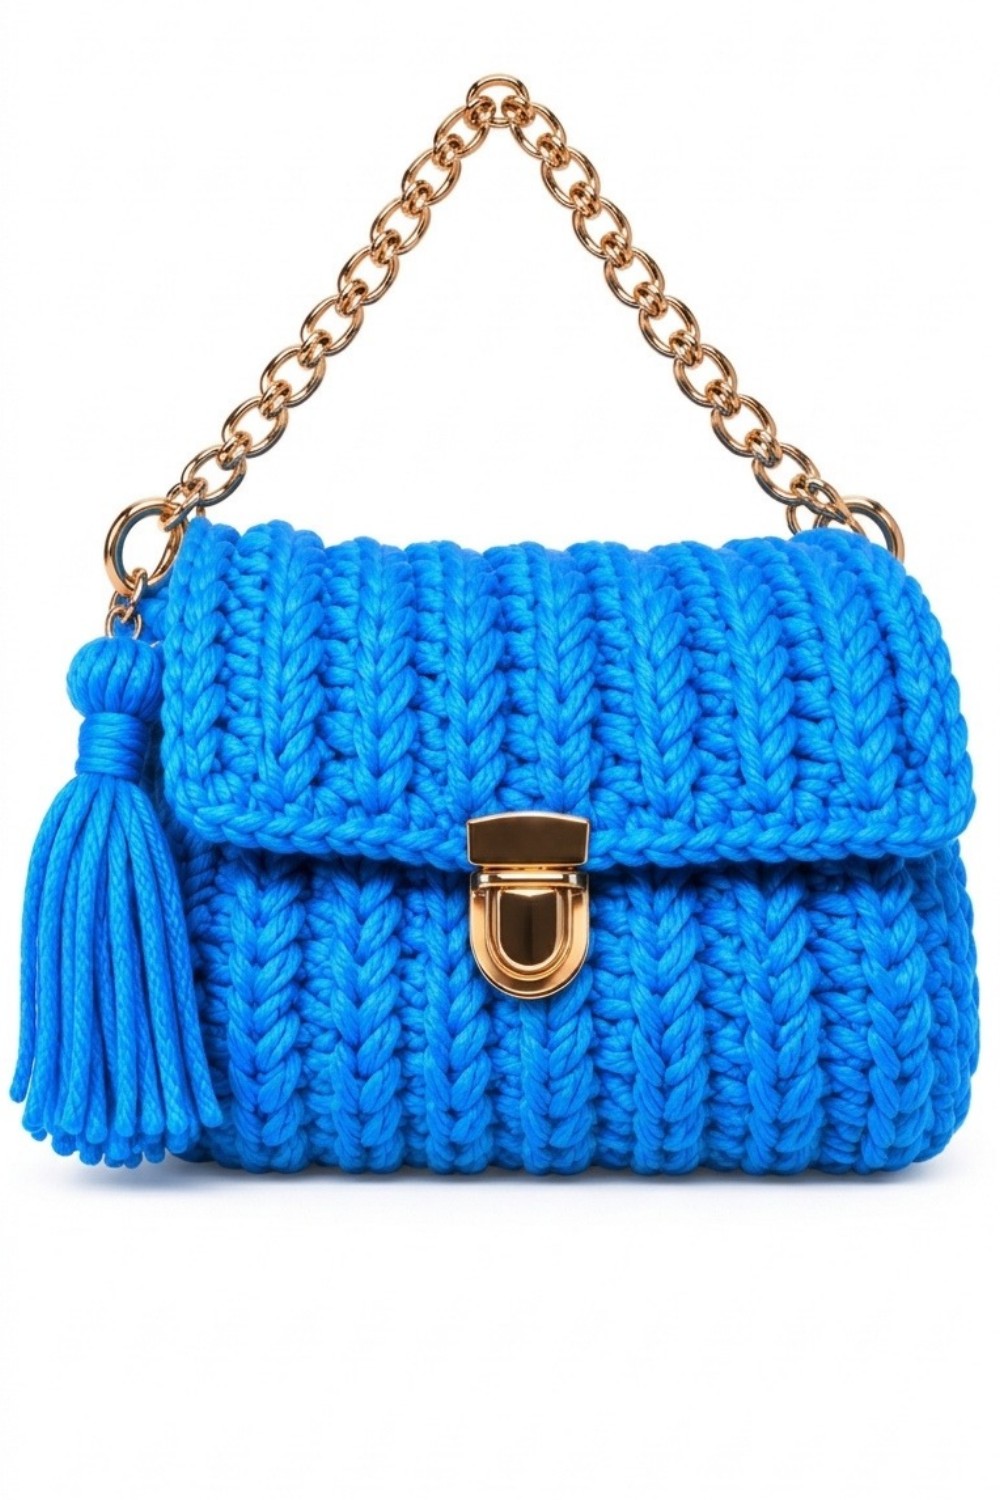
The Crochet Handbag Pattern featured here showcases a bag that is spacious yet sleek, making it ideal for everyday use or special outings. Its neutral yet sophisticated style pairs effortlessly with summer dresses, casual jeans, or even more polished evening wear. The handbag’s size and structure allow it to hold essentials securely while maintaining a lightweight feel, perfect for warmer seasons or transitional weather.
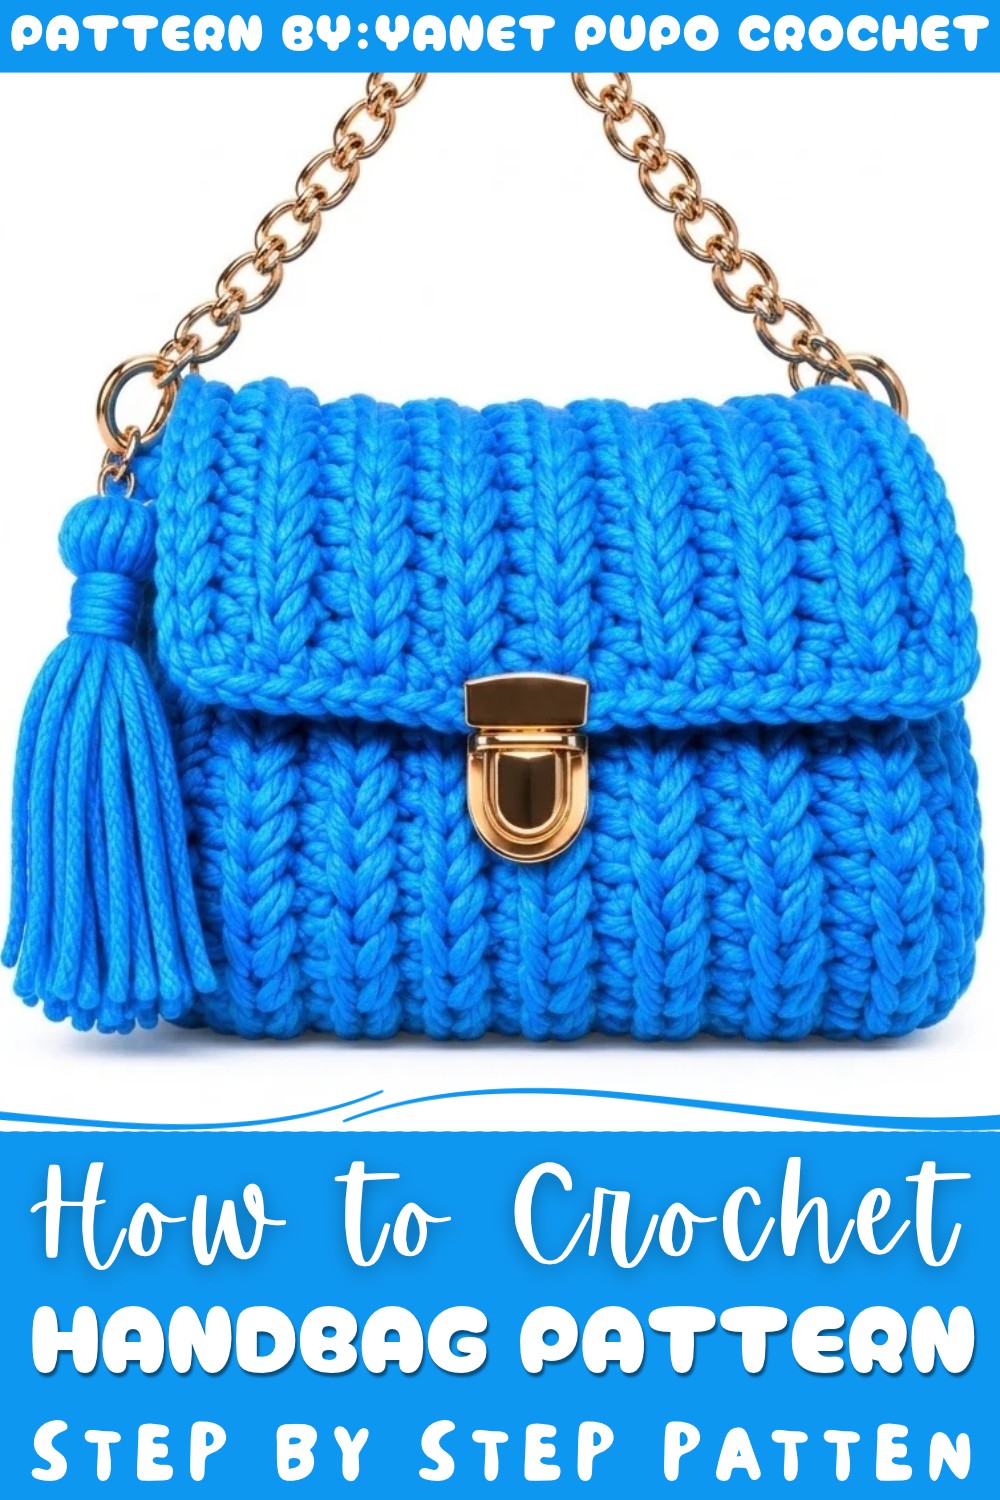
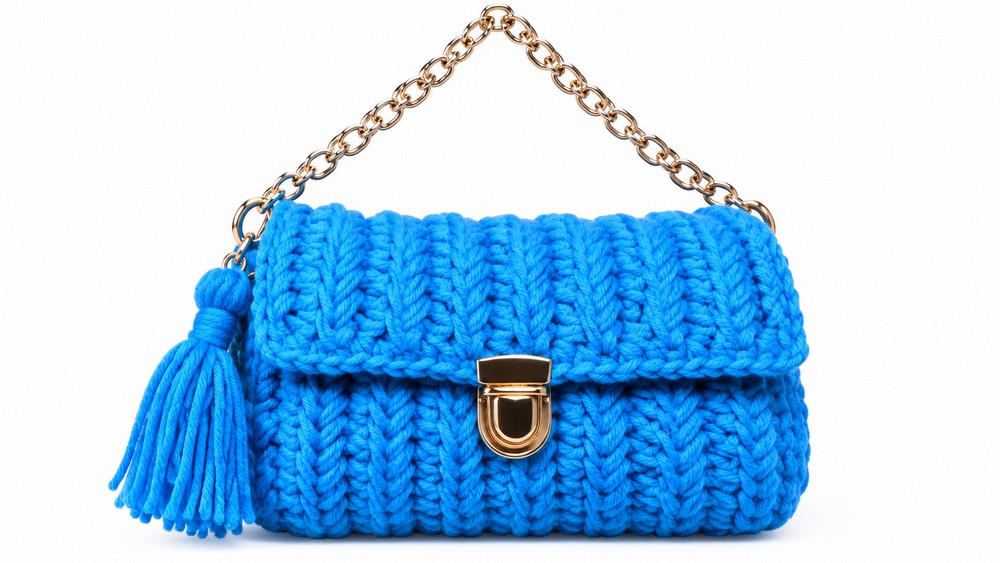
Texturally, the handbag presents a smooth yet sturdy fabric built from medium-weight yarn, providing both durability and gentle flexibility. The standout design elements include a beautifully defined edge that adds a neat, polished finish and a unique stitch pattern that creates subtle depth across the surface. The bag is further enhanced by a firm lid and a metal buckle closure, adding a touch of modern sophistication and practicality.
This versatile accessory also features reinforced sides and a thoughtfully designed handle, ensuring comfort during extended use without compromising style. If you’re seeking a delightful addition to your accessory collection that blends charm, function, and a personal handmade touch, this Crochet Handbag Pattern invites you to dive deeper and create something truly special. Embrace this creative journey and explore all the detailed steps in the full tutorial.
Elegant Crochet Handbag Free Pattern
This structured crochet handbag is both versatile and elegant, suitable for adults or children. Designed by Yanet, the bag features a distinctive yet manageable construction with a rectangular main body, side gussets for depth, clean-edged finishing, and optional strap and closure customizations. It is both sturdy and stylish, crafted using basic crochet stitches and assembled with simple hardware accessories for a professional final look.
Quick Overview Of Pattern
- Main Rectangular Body: Chain 46, work unique single crochet stitch in the back loops for width and texture, and extend with repeated rows for length.
- Side Gussets: Create two matching narrow panels to provide the handbag with depth and structure.
- Assembly: Fold and join all pieces with slip stitches or single crochets, paying close attention to edge alignment and symmetry.
- Edging: Employ slip stitches or single crochets to create a firm, tidy finished border.
- Hardware & Decoration: Attach a metal closure and chain handle, and optionally add a leather label for a custom look.
Notes
- Work all rows with a moderately loose tension to match the style in the video and prevent stiffness.
- Maintain stitch counts on each row to ensure the piece remains straight and square.
- Seam edges with care for both secure structure and visual uniformity.
- Count turning chains carefully, as the chain at the beginning of each row does not count as a stitch.
- The pattern can easily be made larger or smaller by varying the foundation chains and number of rows on the main body and gussets.
Skill Level
Confident Beginner to Intermediate.
Knowledge of the foundation chain, single crochet, slip stitch, working in the back loops, and basic joining and seaming is required. Some attention to neat construction and hardware assembly is necessary for the best results.
Materials
- Wool: Number 4 (worsted weight), approx. 200 grams
- Crochet Hook: 6.5 mm aluminum
- Scissors
- Yarn Needle
- Metal Closure Buckle: Two-part
- Chain Handle: ~1 meter with two rings
- Marker Pins or clips
- Optional: Small leather label for decoration
Measurements / Sizing
- Main Body (finished and folded): ~44 cm length by 21 cm width
- Gusset Panels: Each ~14 rows tall and 6 stitches (width of ~4–5 cm)
- Finished Bag (assembled): ~21 cm tall, 22 cm wide, ~5 cm depth (approximate; will vary slightly based on tension and blocking)
- Strap Length: 1 meter
Gauge (and Stitch Pattern if applicable)
- Approximate Gauge: 10 stitches x 12 rows = 10 cm x 10 cm, using this pattern’s unique single crochet-based stitch.
- Stitch is a modified single crochet: inserting through the "ridge" or back loop of the foundation and combining strands for a corded, sturdy texture.
Stitch Abbreviations
- ch: chain
- sc: single crochet
- sl st: slip stitch
- st(s): stitch(es)
- rep: repeat
- BL: back loop
Special Stitches
- Corded Single Crochet:
Insert hook in the last strand left from the previous stitch and the next back loop in the base, three loops on hook, yarn over, pull through all three. This produces a sturdy, corded, textured fabric—repeat across each row.
The Crochet Pattern
Main Bag Body
Foundation Chain:
- Ch 46. (For a larger or smaller bag, adjust chain count.)
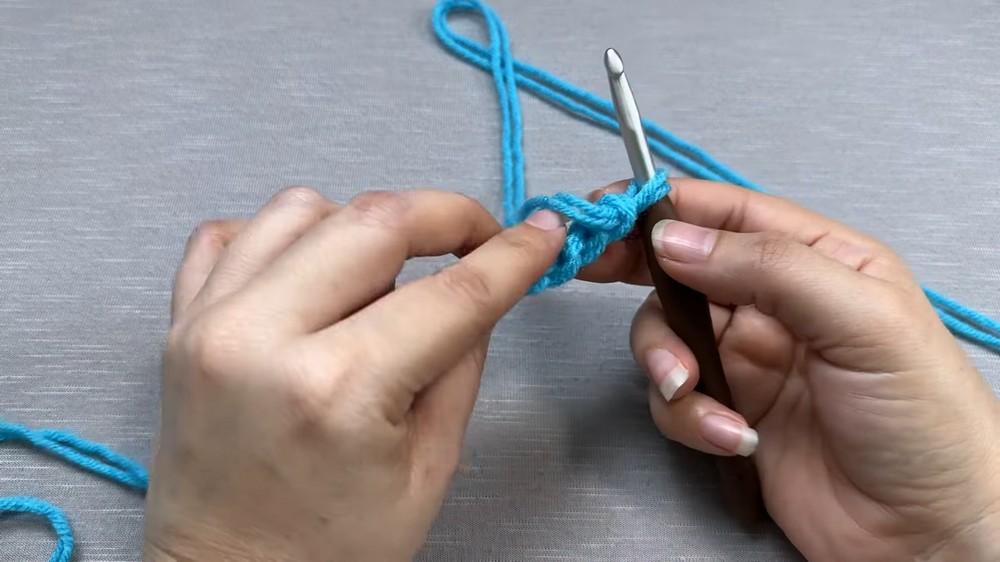
Base Row:
- Skip the last ch you made.
- Turn the chain and work into the back loops/ridges of the ch.
- Make the first sc loosely into the first back loop/ridge.
- For the second stitch and each stitch along the row:
- Insert hook into the last strand left from previous stitch AND the next base loop,
- Form three loops on hook, yarn over, pull through all three loops at once.
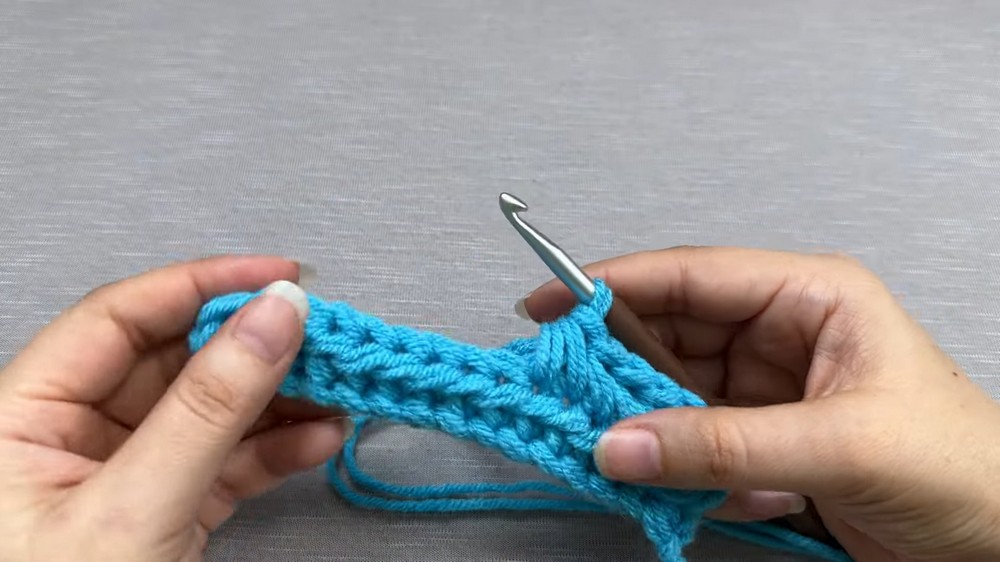
- Keep these stitches loose and even.
- Repeat until the last stitch, inserting into the last foundation loop.
Turning and Extension Rows:
- At the row’s end, ch 1 in the air (this turning chain does not count as a stitch).
- Turn work.
- Begin by making a sc in the first available stitch (not the turning chain).
- Continue using the corded sc across the row as above.
- At each edge, ensure you have the same stitch count (46) to maintain straight, untwisted sides.
- Repeat: Ch 1, turn, corded sc in each st across.
- Continue until you have completed 15 rows total (or desired width—sample shown is 44 cm x 21 cm).
Edge Cleanup:
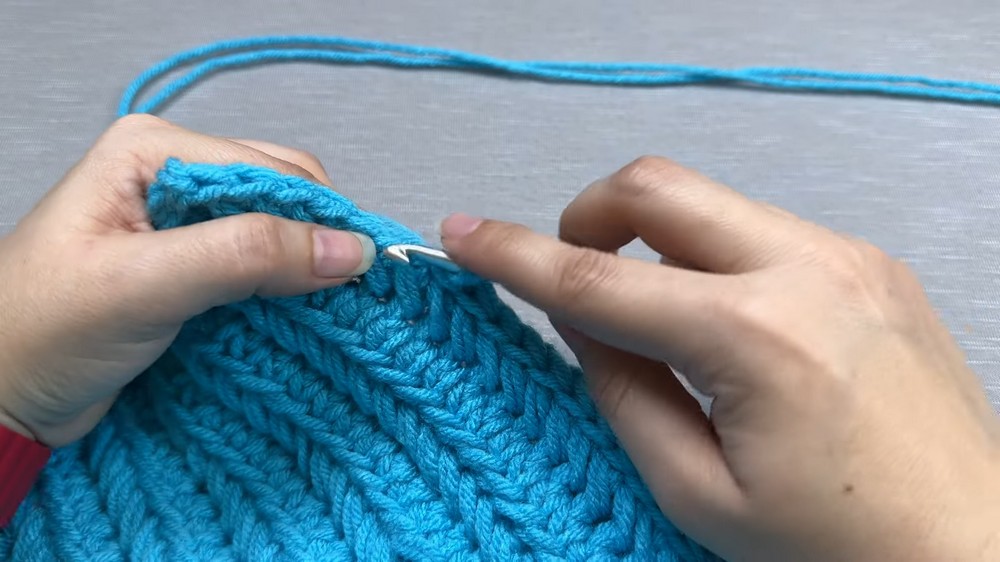
- To neaten raw, curving edges (the short sides of the rectangle), work sc or sl st evenly along each edge.
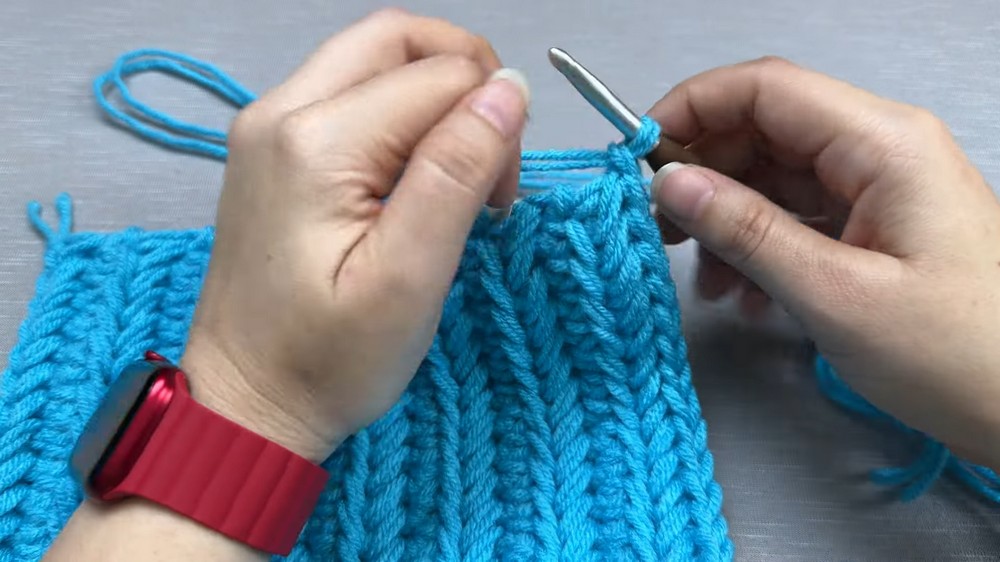
- Insert hook into each “ridge” at the row edge, sc (preferred for a neat and thicker edge).
- Continue across both short edges to achieve crisp, rectangular structure.
Side Gusset Panels (Make 2)
Foundation Chain:
- Ch 7.
Rows:
- Skip last ch, sc into the 6th ch from hook, then work 1 sc in each ch across. (6 sc)
- Turn without making a ch, and immediately sc into the first stitch.
- Work sc in each st across, making sure to insert into the slightly hidden edge stitch at the end (total remains 6 sc).
- Repeat: Turn, sc in each st across for a total of 14 rows per side panel.
- Make a second identical panel.
Assembling and Joining the Bag
Alignment:
- Fold the main rectangular piece, designating the flap and positioning the sides.
- Mark stitch placements using pins/clips: 13 stitches up the side, 6 along the corresponding bottom edge, 13 up the opposite side (ensures your gussets are evenly matched and flap remains symmetrical).
Joining the Sides:
- Place the first gusset panel against a side edge.
- Start at the bottom corner:
- Insert hook through both gusset and body, yarn over, pull through both, sl st or sc together.
- Continue this method—one stitch from gusset joined to one stitch from bag body—along bottom and up side, creating a neat “corded” edge.
- Repeat for the second side.
- At tops of side gussets, sl st along raw edge for extra reinforcement.
Top Edging:
- Optionally, continue sl st or sc along the top open edge, including the flap, for a thicker, firmer edge.
- This also secures and neatens the appearance of the opening.
Hardware and Finishing Touches
Closure Installation:
- Position the metal closure buckle on flap and front (bag body).
- Insert the prongs through the fabric, fold and secure them on the reverse. Firm finger pressure suffices.
Handle Attachment:
- Attach the 1-meter chain (with rings) to both thick reinforced upper side sections—choose sturdy points, not just the edge rows, for strength.
Decoration:
- If desired, sew the leather label to the bag’s bottom, to the flap, or any accent point.
- Weave in and trim all yarn ends discreetly within seams.
Assembly & Finished Size
- After completing the above steps, your assembled bag should measure approximately 21 cm high, 22 cm wide, and 5 cm in depth, with a 1 meter chain handle for crossbody or shoulder wear.
- All seams should be tidy, gussets well aligned, and hardware securely attached.
Conclusion and Ending Words
This classic crochet handbag marries practical construction with simple, elegant style, as demonstrated in the video. Through careful attention to edge stitches and assembly alignment, even beginner crocheters can produce a sturdy, professional-looking piece. The textured fabric not only adds strength but visual appeal, and the optional additions of hardware or labels allow for creative personalization. Transitioning seamlessly from foundation to finished edge, every stitch plays a role in the bag’s durable, structured finish. The result is a unique, versatile accessory that highlights handmade craftsmanship—practical for daily use yet easily customized for gifting or fashion-forward statements. Take pride in your finished project, and delight in a new skill added to your crochet repertoire.