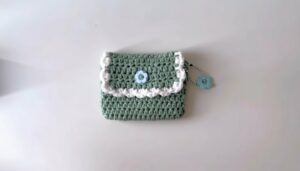
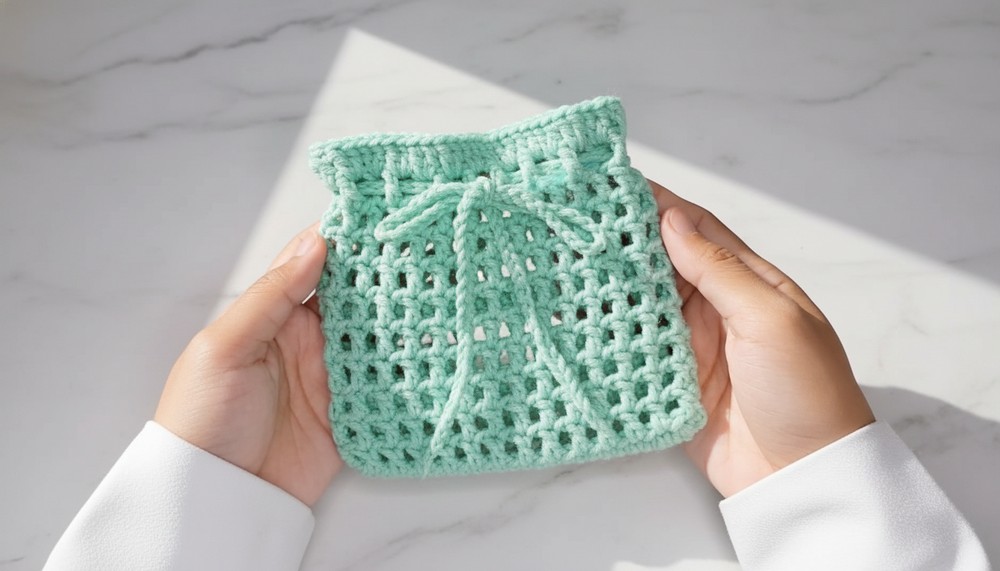
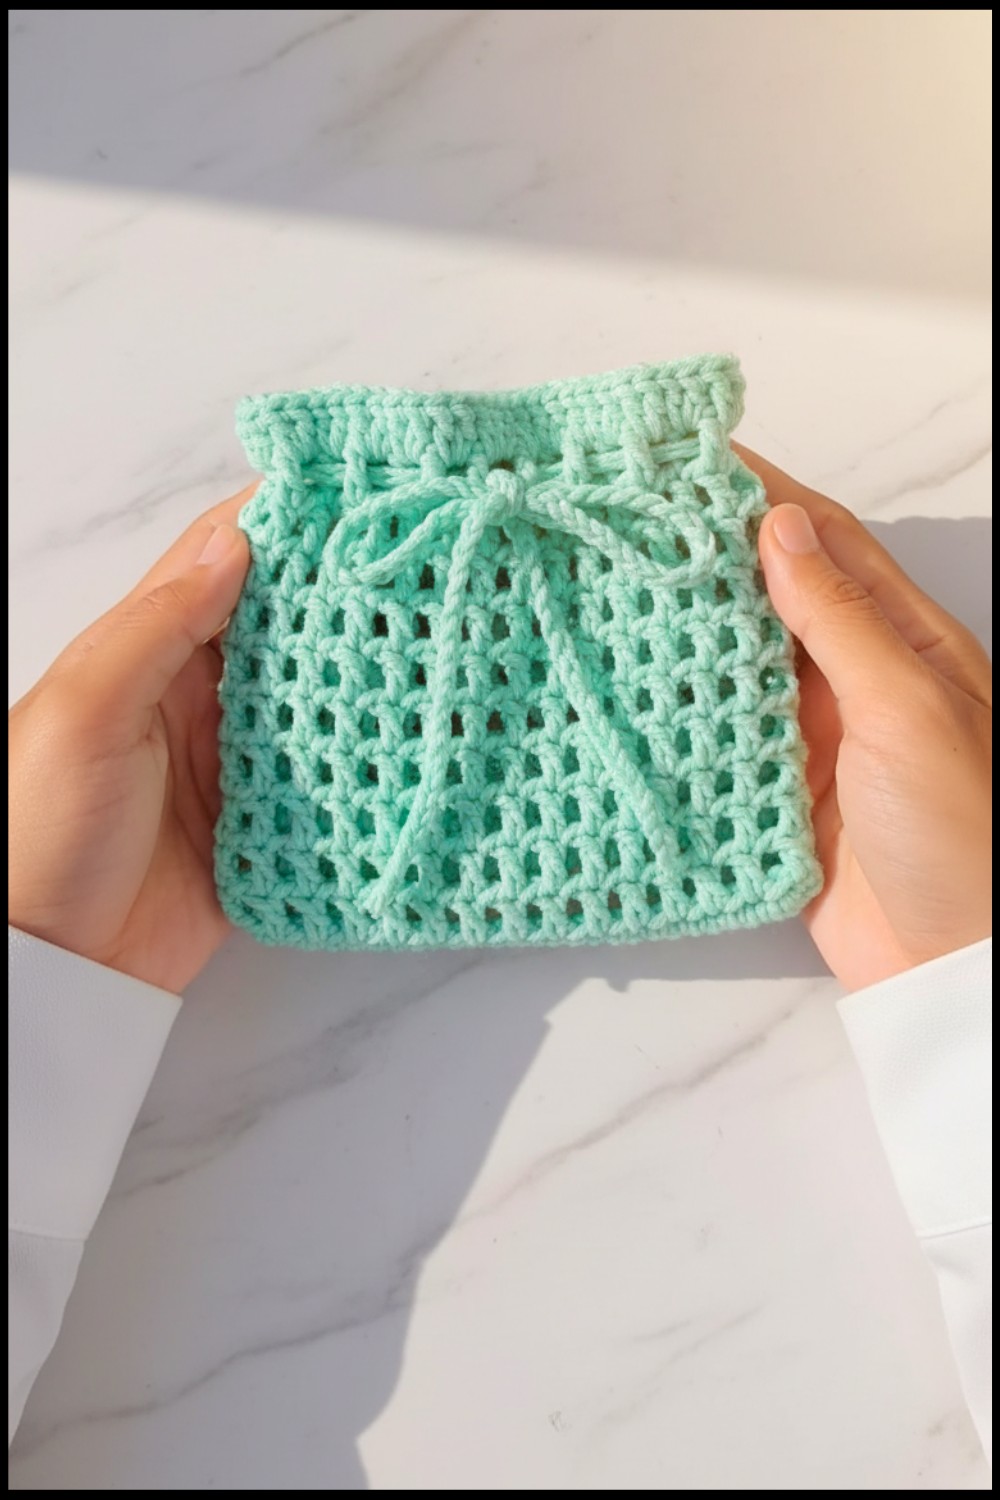
Keep essentials organized with a Crochet Mini Pouch Pattern, offering practical storage, endless customization options, and a charming handmade touch.
A compact and practical crochet mini pouch is a delightful project for crafters of all skill levels. This small yet versatile item combines utility and charm, making it a go-to option for storing tiny essentials like coins, earphones, lip balm, or jewelry. With its manageable size, it’s perfect for those who want a quick project or are experimenting with new stitches.
Crochet Mini Pouch Pattern for Organizing Tiny Treasures
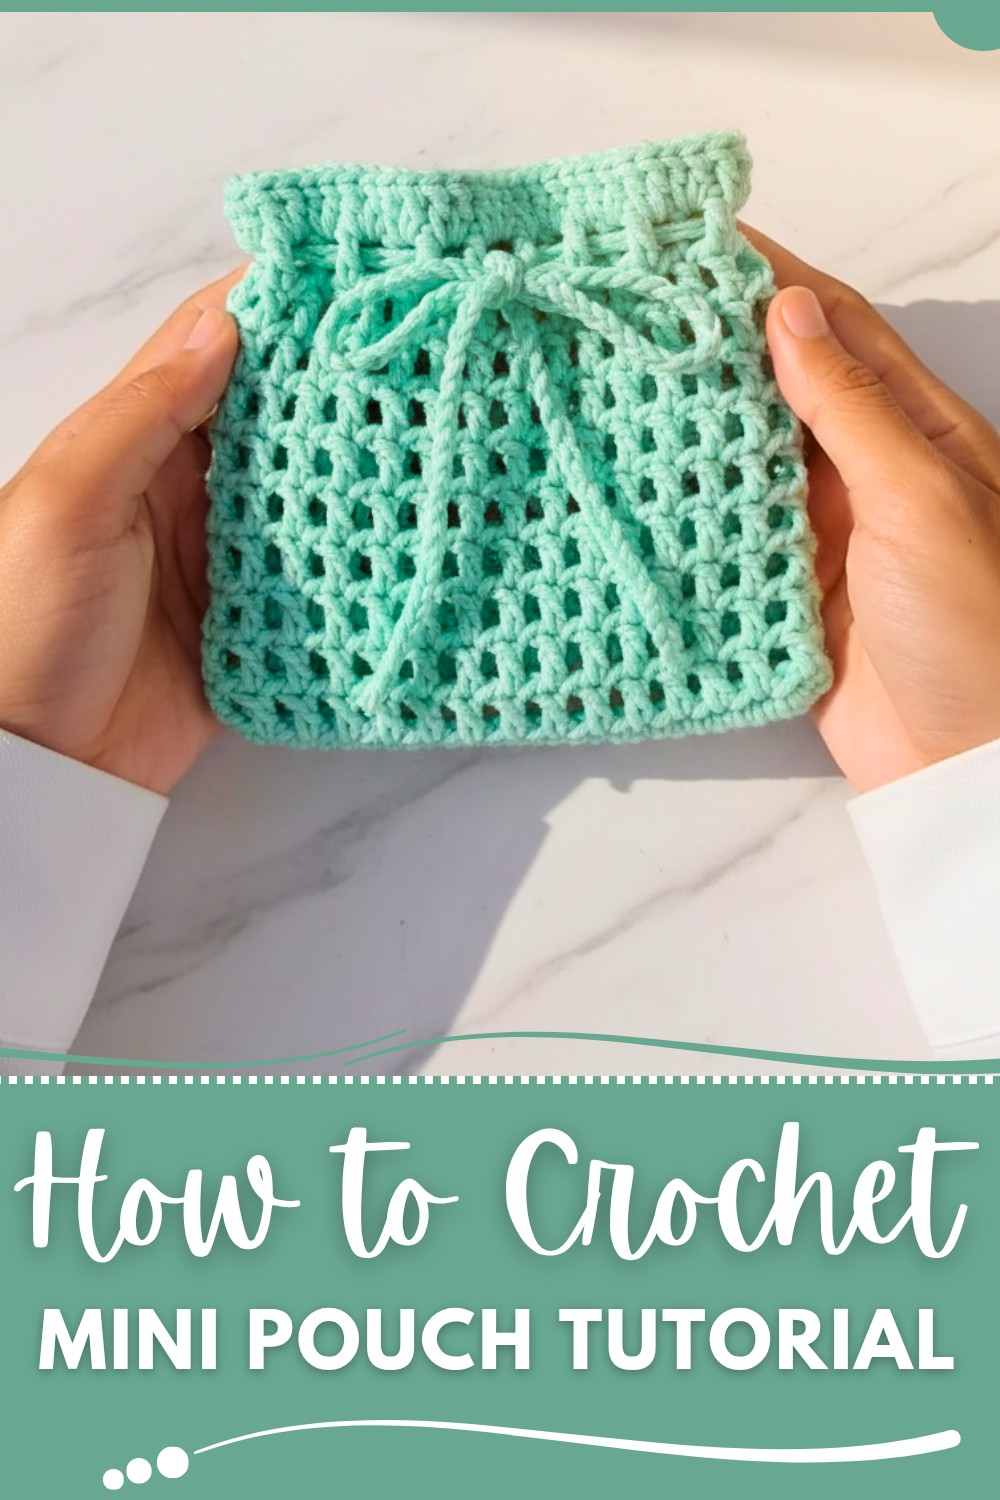
The simplicity of the design allows for endless creativity—choose vibrant colors, incorporate textured stitches, or embellish with buttons, tassels, or embroidery for a personalized touch. Beyond its aesthetic appeal, it’s an eco-friendly alternative for keeping items organized while reducing reliance on disposable bags. Lightweight and easy to carry, it fits seamlessly into a larger handbag or can stand alone as a charming accessory. Whether it’s a gift for a loved one or a functional keepsake for yourself, a crochet mini pouch is as practical as it is fun to create.
Mini Pou Crochet Tutorial
Materials Needed
- Yarn: Use acrylic or cotton yarn, suitable for beginners (medium, weight 4).
- Crochet Hook: Size suited to your yarn (commonly 3.5 mm - 5 mm for medium weight yarn).
- Stitch Marker: To mark the beginning of rounds.
- Scissors
- Yarn Needle: To weave in ends.
- Additional Tools: If you’re attaching a rope, you might need some matching thread or fasteners.
Gauge
Gauge isn't specifically mentioned in the transcription, so work on a small sample to ensure that your stitches look neat. For beginners, focus on consistency rather than exact measurements.
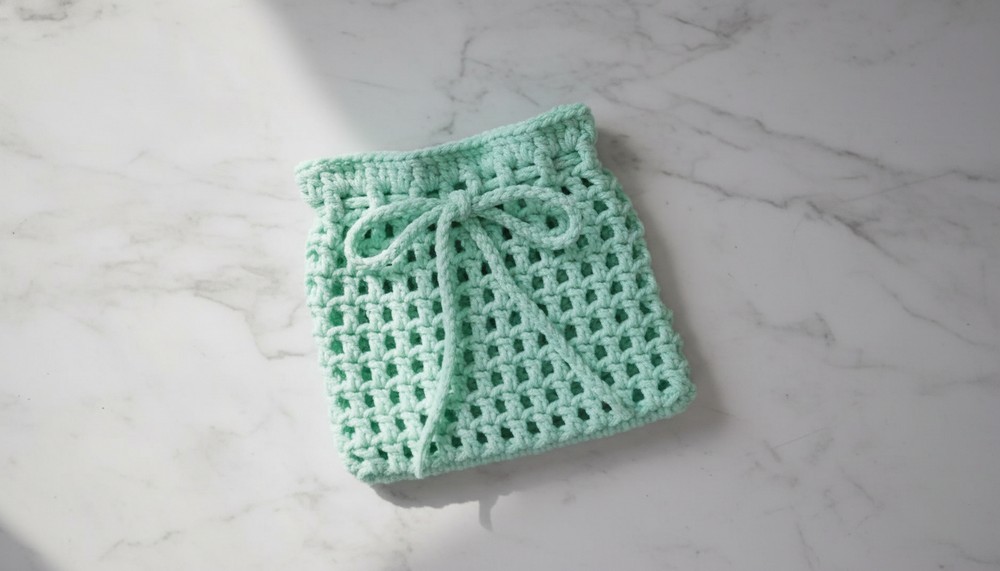
Finished Size
The pouch dimensions are not explicitly stated. However, based on provided stitch counts, the pouch would likely measure approximately 8 cm x 12 cm when made with medium-weight yarn.
Abbreviations
To ensure consistency and simplicity for beginners, here are standard crochet abbreviations used:
- ch: Chain
- sc: Single crochet
- dc: Double Crochet
- sl st: Slip Stitch
Pattern Instructions
Step 1: Base Foundation
- Start with a slipknot to secure your yarn to the hook.
- Chain 27 stitches. This forms the foundation chain and the first row will be worked into it.
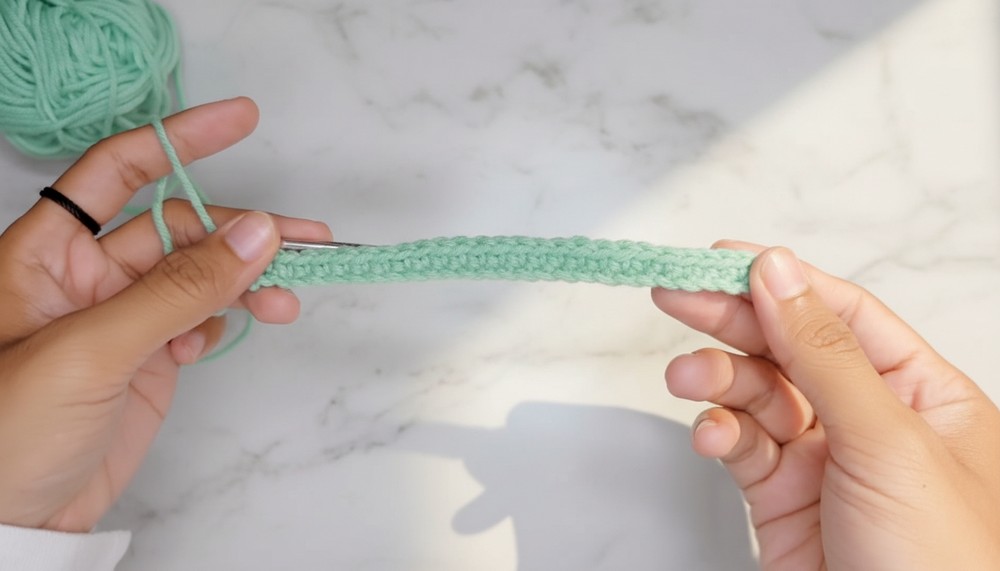
Step 2: Row 1 (Establish Base)
- Begin by making single crochets (sc) in the second chain from the hook.
- Continue working single crochet across the next 26 stitches until you finish the row. You should now have one row of single crochet.
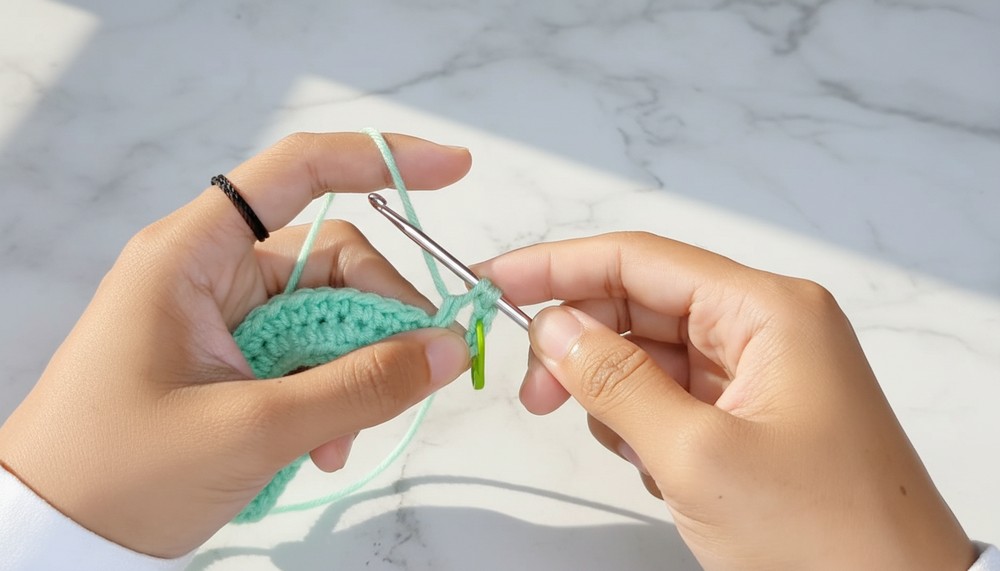
Step 3: Shape the Base (Row 1 continued)
- Turn your work to the vertical side for rounded corners. In the second chain, make 3 single crochet stitches into the same hole. This is the rounding for one edge.
- You already have 1 single crochet, so add 2 more single crochets in the same chain.
- On the opposite side, single crochet into all stitches across the vertical edge until the last stitch. In the last stitch, add 2 single crochet.
- Slip stitch into the first stitch to close the round.
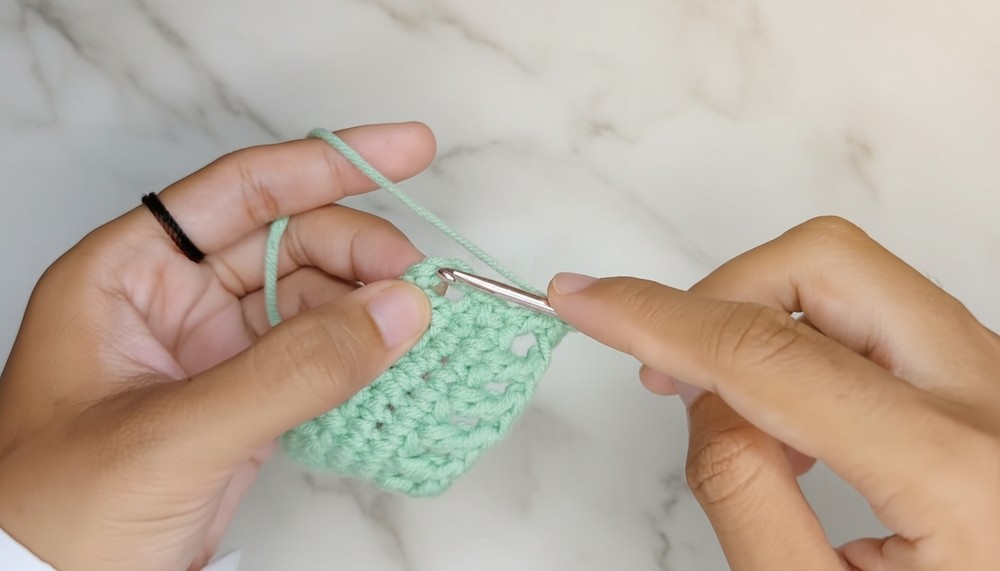
Step 4: Row 2 (Begin Pattern)
- Start the row by chaining 4 stitches. Mark the third chain with a stitch marker.
- Work a double crochet (dc) into the next stitch.
- Skip 1 stitch, then make double crochet into the next stitch.
- Chain 1, skip 1, and repeat double crochet in the next stitch. Continue this pattern until 26 stitches are completed.
- At the end of the row, slip stitch into the marked chain to secure.
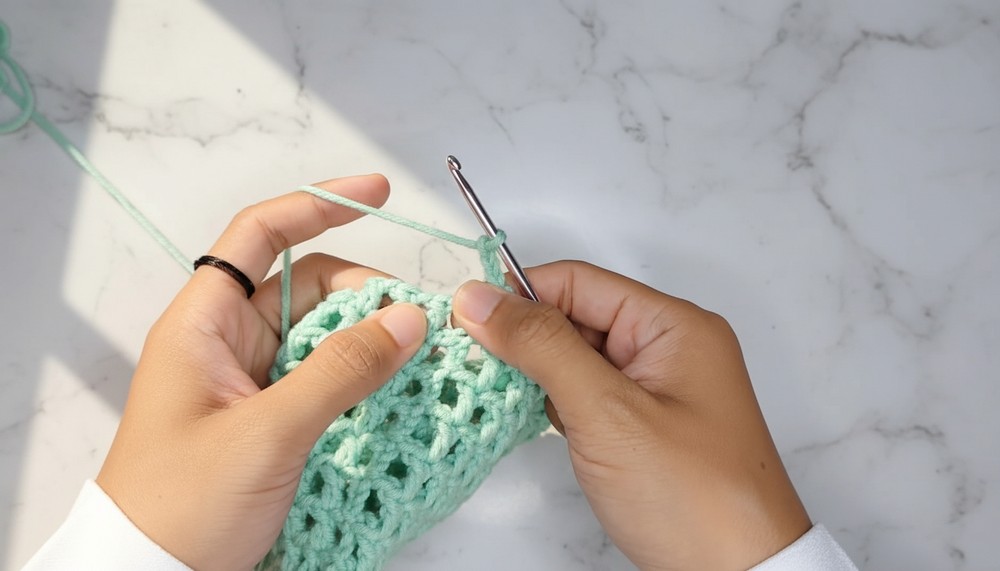
Step 5: Rows 3-10 (Repeating Pattern)
- Precede each row by chaining 4 stitches at the start and marking the third chain.
- Skip 1 stitch, then make double crochet into the stitch directly above the previous row’s double crochet.
- Repeat this pattern of chaining, skipping, and working double crochet until the row completes.
- At the end of the row, slip stitch to close. Repeat this pattern until 10 rows are completed.
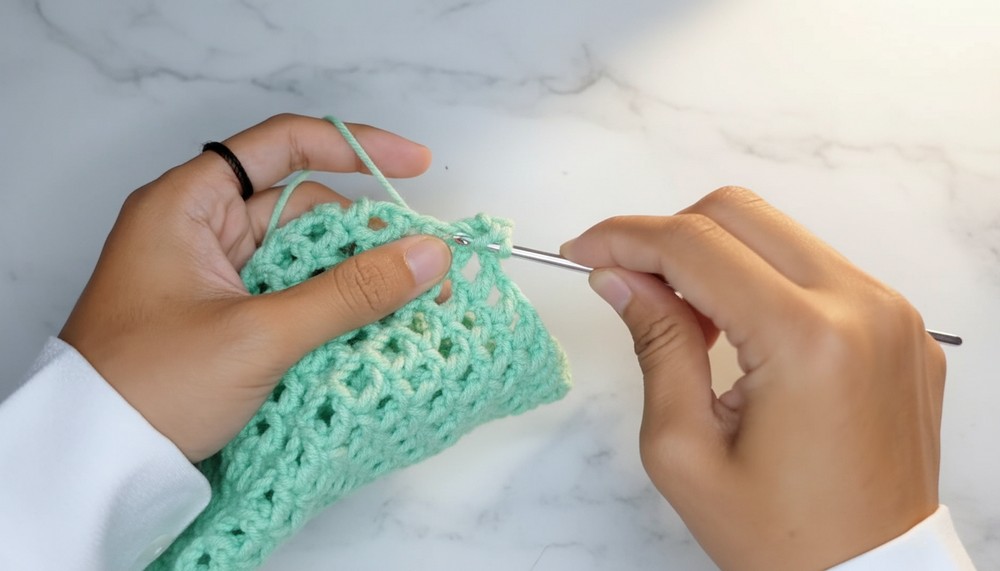
Step 6: Row 12 (Final Details)
- For the final row, chain 3 stitches to begin.
- Work 2 double crochets into the same stitch hole where the chain begins.
- Skip stitches as appropriate and repeat the pattern 28 times, creating a textured surface similar to small motifs.
- Slip stitch into the first hole to finish off the round neatly.
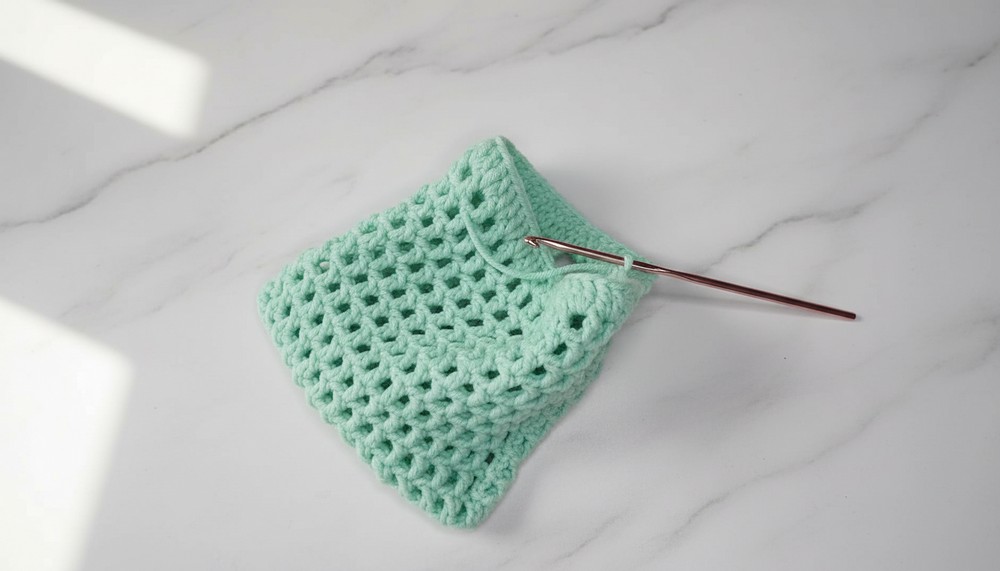
Step 7: Attach the Rope
- Chain 100 stitches to create the rope for the pouch.
- Thread or attach the rope by weaving it through the spaces between stitches. Adjust the tightness based on your preference.
Tips for Success
- Even tension: Practice consistent yarn tension for uniform stitches.
- Stitch markers: Always mark your chains and important rounds to avoid losing track.
- Customization: You can add embellishments like buttons, tassels, or small appliqué designs.
Special Techniques
- Slip Stitch Join: Ensures seamless round connections.
- Double Crochet Clusters: Useful in creating texture variations; experiment with it for a unique look.
- Rope Variations: Consider braiding the chain or using a contrasting yarn color for the rope.
Conclusion
By following this tutorial, you will have a compact and functional Mini Pou that can serve as a cardholder, coin bag, or small organizer. It is great for beginners as it uses basic stitches, is quick to create, and offers room for creativity.
Important Remarks
- Always check your work for consistent stitches before advancing to new rows.
- Block the pouch to smooth any uneven surfaces caused by tension inconsistencies.
- Share your completed Mini Pou on social media or gifting it to friends as a handmade gift!