Access a free crochet card wallet guide to effortlessly stitch a stylish and functional holder that keeps your cards organized and easy to carry everywhere.
I’ve always liked making small and practical crochet projects that can be used every day. One of my favorites to create is a handy little card holder that keeps your essentials neat and easy to find. The Free Crochet Card Wallet Pattern is perfect for making this useful item. With just a few small changes, you can also use the same idea to make coin pouches, small clutches, or even phone sleeves, adding versatility to your crocheting.
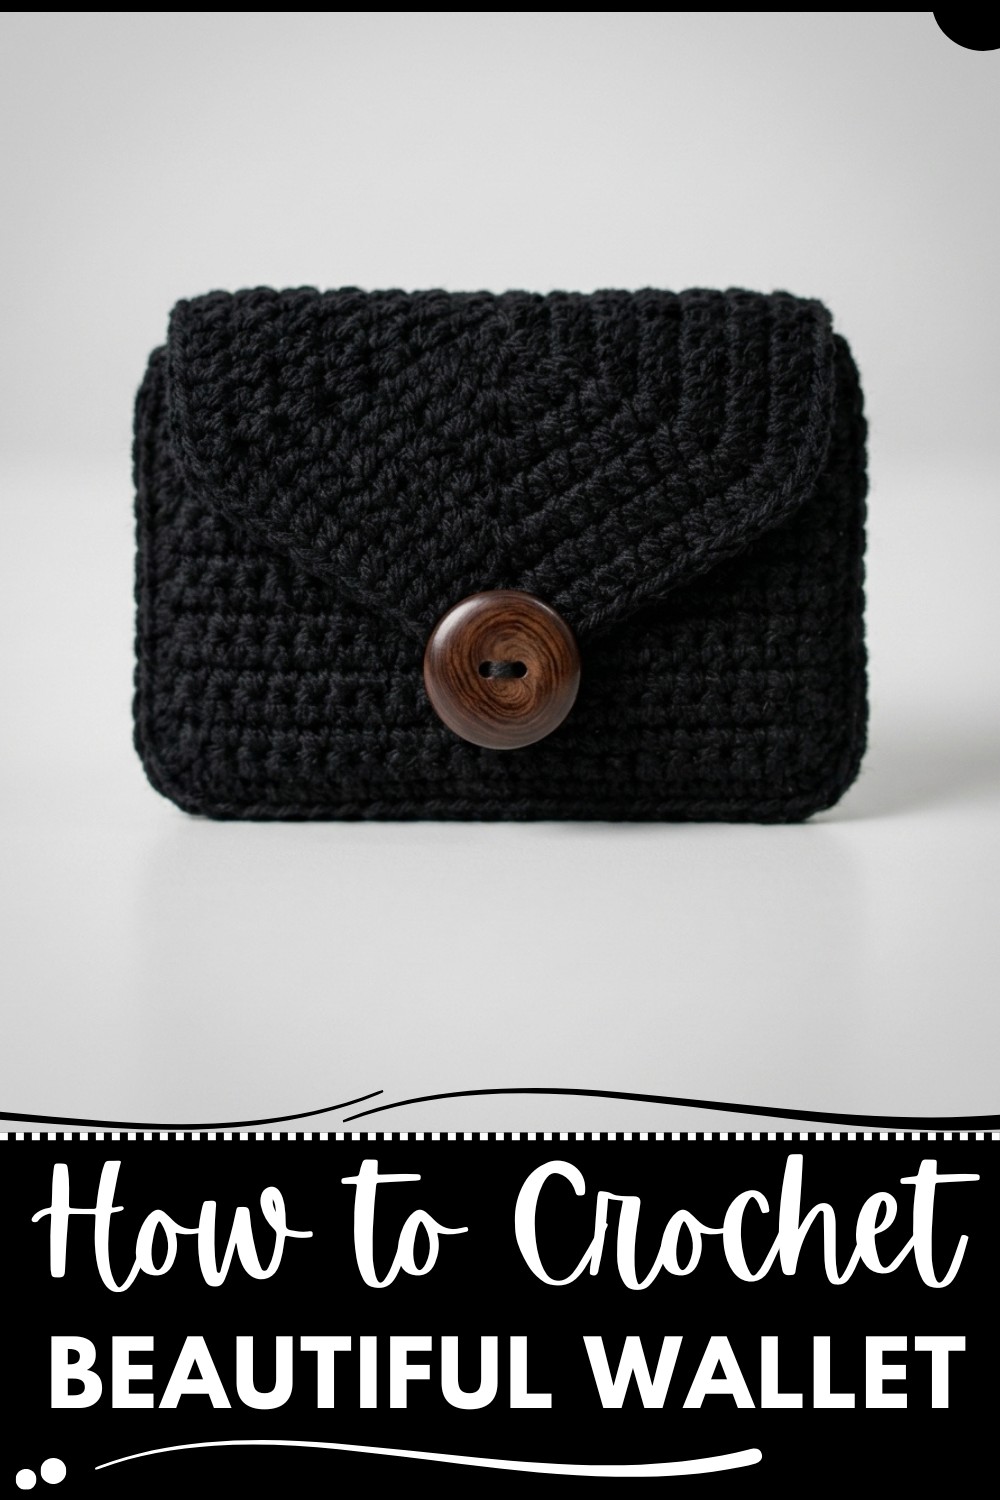
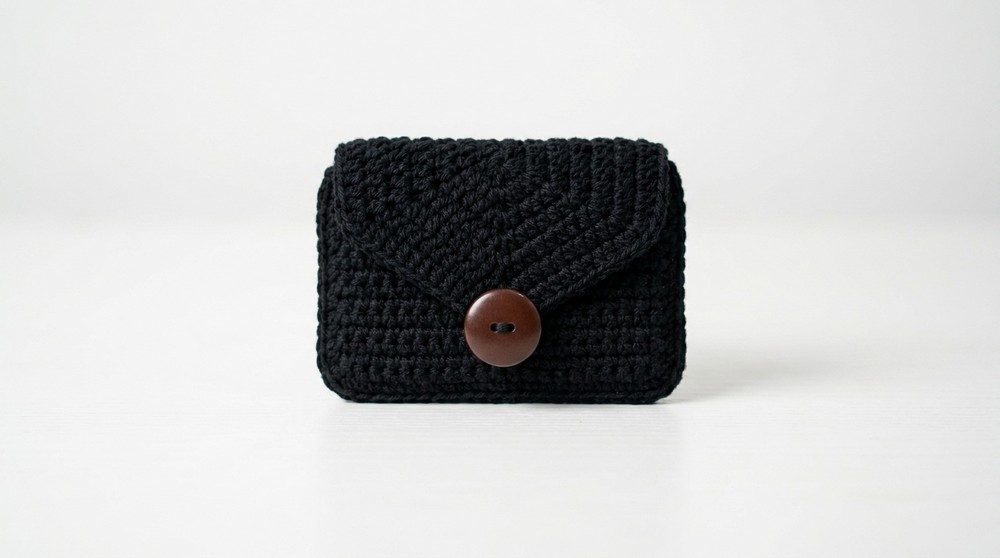
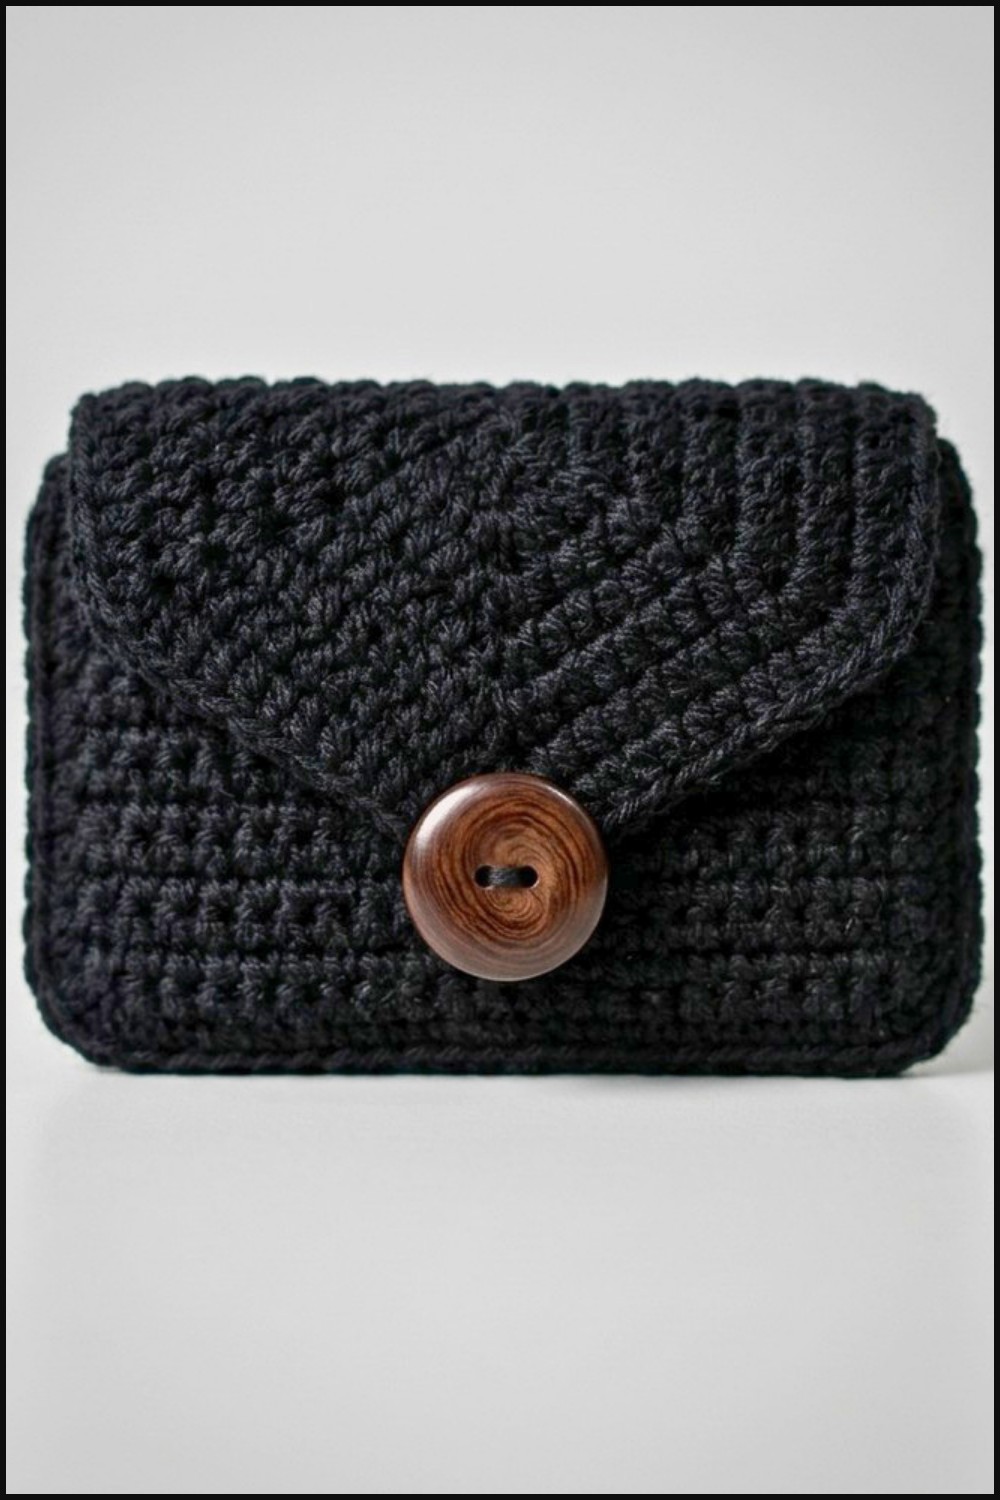
Crochet Card Wallet Free Pattern & Easy Instructions
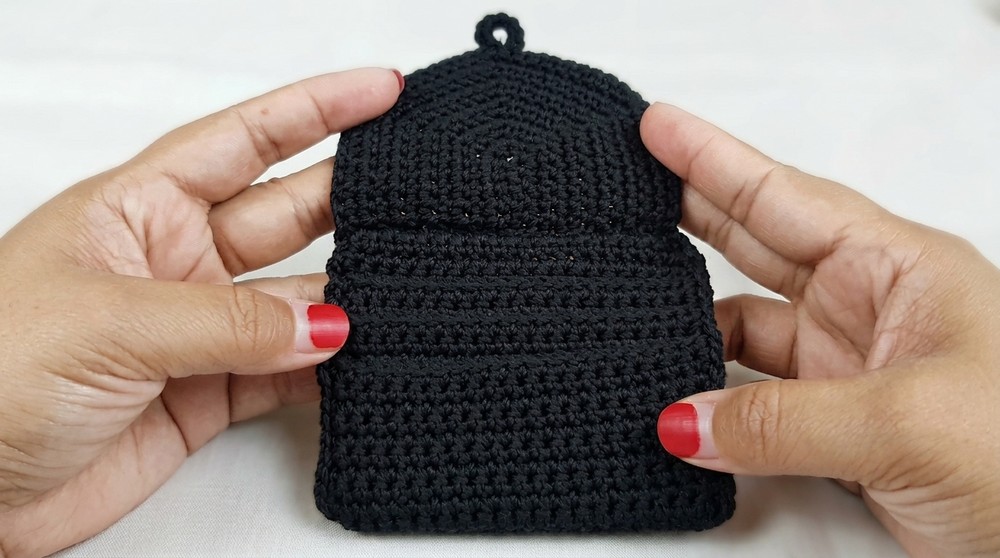
This card wallet looks simple but stylish, with a clean shape that fits comfortably in your hand or pocket. The texture is smooth and sturdy, thanks to the tight crochet stitches, which means it holds its shape well and keeps your cards safe. Its style is modern and minimal, with neat edges and a flap closure that makes it secure. What really stands out is how functional it is compact yet roomy enough to carry multiple cards and maybe a little cash, making it a great everyday accessory.
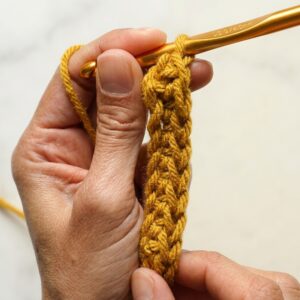
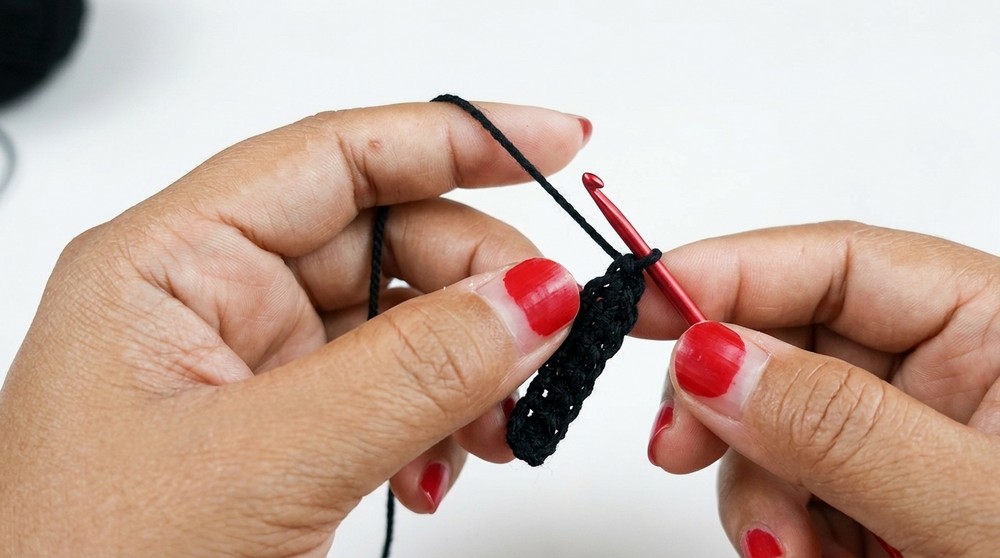
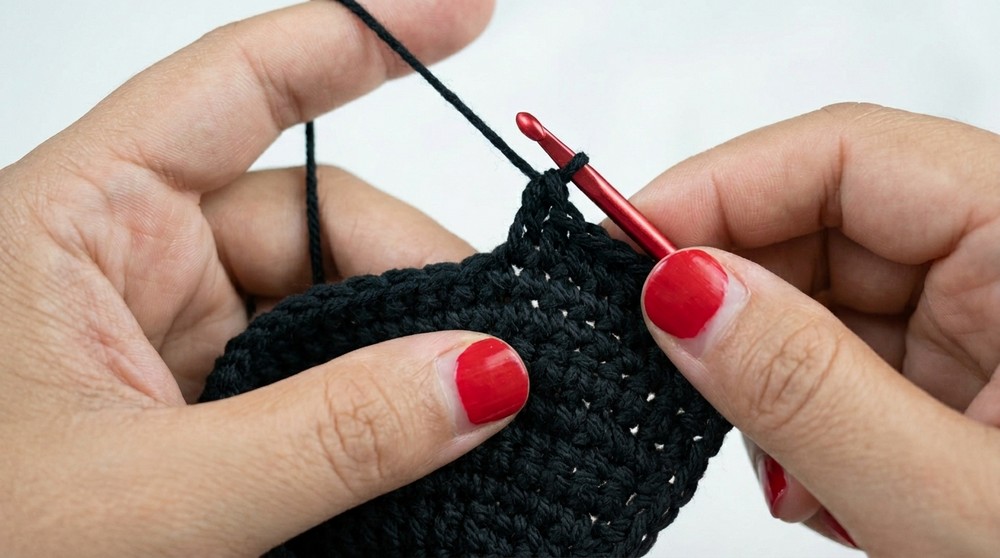
The wallet is made by crocheting flat pieces that are then folded and sewn or stitched together to form pockets. The main stitch used is the single crochet stitch, which is easy to work with and creates a tight fabric that won’t stretch out. Because the pattern focuses on simple shapes and basic stitches, it’s suitable for beginners who want a quick and rewarding project.
The Free Crochet Card Wallet Pattern is not only great for personal use but also makes a thoughtful handmade gift for friends or family. It’s perfect for anyone who wants to organize their essentials in a stylish way. If you’re looking for a practical and easy crochet project, this card wallet is a wonderful choice that fits nicely into any skill level and everyday life.
Simple Crochet Card Wallet Pattern
Before You Start
- Read through all instructions before beginning.
- Make sure you’re comfortable with basic crochet stitches.
- Use stitch markers to help keep track of rounds and increases.
- Tension should be even for all pieces to fit together nicely.
Pattern Notes
- The wallet construction consists of 4 rectangular panels for pockets, sewn together, with a separately worked flap/cover.
- Work in rows unless otherwise specified.
- The main stitches used are chain (ch) and single crochet (sc).
- You will make panels of different heights for tiered pockets.
- Use stitch markers to mark increase points, especially on the cover/flap piece.
How I Made the Crochet Pattern
- Created 4 rectangular panels in graduating heights.
- Sewed panels together along the edges to form wallet card slots.
- Crocheted a flap/cover with increases and rounded edges.
- Attached the flap to the wallet body and finished with a button.
Skill Level
Beginner to Easy — Basic stitches and simple increases, little shaping.
Finished Size
- Approximately 8 x 11 cm (3.2 x 4.3 in), fits standard cards.
Materials
- Polycherry yarn, or similar medium-weight cotton/acrylic yarn.
- 4 mm crochet hook (or size to obtain gauge).
- Yarn needle for sewing and weaving in ends.
- Scissors.
- Stitch markers.
- Button (1 cm diameter).
Measurements / Sizing
- Each panel: 21 ch wide, heights are 11, 13, 15, and 18 rows.
- Flap: about 7 cm wide, with 11 rows of increased sc.
Gauge
- 20 sc x 24 rows = 10 x 10 cm/4 x 4 in in single crochet (sc).
- Adjust hook size to meet gauge.
Stitch Abbreviations
| Abbreviation | Meaning |
|---|---|
| ch | chain |
| sc | single crochet |
| st(s) | stitch(es) |
| sl st | slip stitch |
| rep | repeat |
Special Stitches
- Increase (Inc): Work 2 sc in the same stitch.
The Pattern
PANEL PIECES (Make 4)
Panel 1 (Tallest Pocket)
- Ch 21.
- Row 1: Sc in 2nd ch from hook and in each ch across (20 sc).
- Row 2: Ch 1, turn, sc in each st across (20 sc).
- Rep Row 2 for a total of 18 rows.
Panel 2 (Second Pocket)
- Work as for Panel 1, but make 15 rows.
Panel 3 (Third Pocket)
- Work as for Panel 1, but make 13 rows.
Panel 4 (Front Pocket)
- Work as for Panel 1, but make 11 rows.
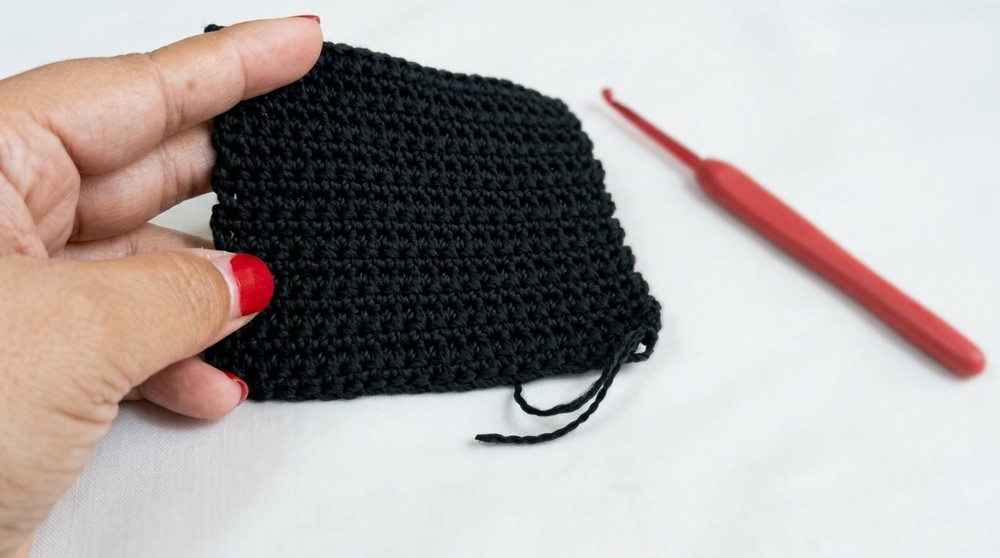
After finishing, you should have four rectangles of equal width (20 sc), but decreasing heights (18, 15, 13, and 11 rows). These will be layered to form the front card slots.
ASSEMBLY – JOINING PANELS
- Layer the panels from shortest (front) to tallest (back).
- Align the bottom and sides; use stitch markers to hold them.
- Working through all 4 layers, single crochet evenly around three sides (left, bottom, right), keeping the top edge open.
- Fasten off, weave in ends.
You have created the main body of the wallet, with 4 stacked card slots.
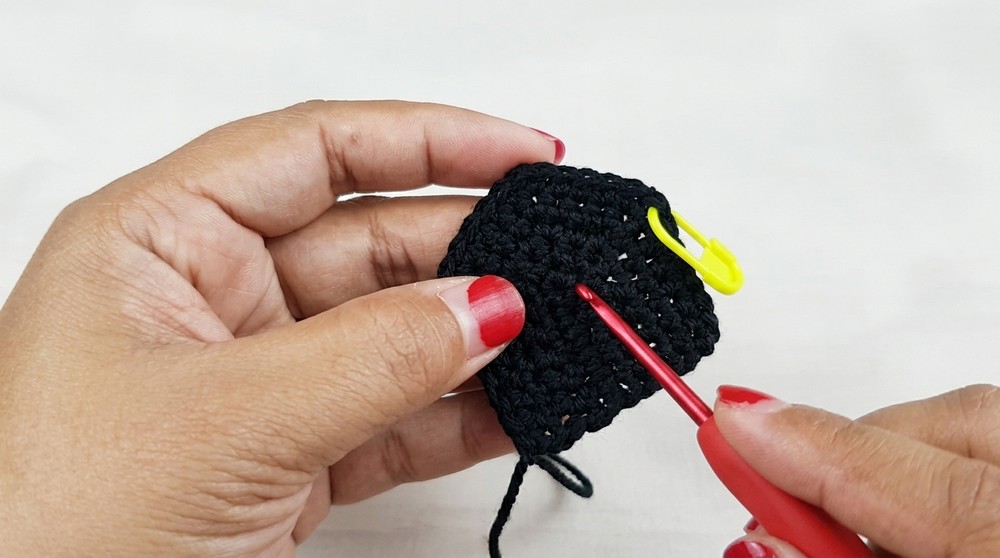
COVER FLAP
- Ch 7.
- Row 1: Sc in the 2nd ch from hook and in each ch across (6 sc).
- Row 2: Ch 1, turn, sc in each st across (6 sc).
- At the end of Row 2, work 3 sc in last st (!corner increase!), turn to work on the side.
- Rotate to work sc along next edge: Work 1 sc in each row end along the side (approx. 5–6 sc), add 3 sc at the corner.
- Continue along the short edge, working 1 sc in each st, then work another 3 sc at the next corner.
- Work 1 sc in each row end up the other side.
- Place stitch markers at each corner (the 3-sc increases).
Continue as follows:
- Row 3: Ch 1, turn, sc in each st across to the marker, 2 sc in each of 3 marked sts (increase at corner), sc across to next marker, repeat corner increases, sc to end.
- Row 4–11: Repeat as Row 3, always increasing (2 sc) at the 3 corner sts at each marker.
- At the end of Row 11, ch 7, sl st to next st to create button loop.
- Fasten off, weave in ends.
Your cover flap should have rounded edges, nicely curved to hug over the pocket panels. The button loop is flexible for different button sizes.
Summary for non-pattern readers:
After making 4 rectangular panels of equal width but different heights, stack them with the smallest in front and sew around three sides to create tiered card slots. Then, crochet a separate shaped flap with rounded increases at the corners and a chain loop for a button. Sew this flap to the body’s back edge, and sew a button to the wallet body front to close.
Assembly & Finishing
- Align flap and wallet body; sew the straight edge of flap onto the wallet’s back panel.
- Sew the button to the front pocket, centering it under the loop.
- Weave in all loose yarn ends.
- Optional: Steam or block lightly if you want sharper edges.
What you can make using these stitches?
- Other types of minimalist wallets or card holders
- Coin purses
- Gift card sleeves
- Small crochet pouches for headphones or cables
- Simple cell phone cozies
- Business card organizers
This beginner-friendly card wallet is a perfect practice piece to refine your basic stitches, corner increases, and layering methods. With a simple color or button change, you can customize your wallet for gifting or everyday use.