Crocheting a detailed character like Baby Groot might seem challenging at first, but with the Free Crochet Baby Groot amigurumi Pattern, it becomes a fun and rewarding project for many crafters. I was amazed at how this small, lovable figure came to life with just yarn and a hook. If you enjoy making cute amigurumi or are a fan of Guardians of the Galaxy, this pattern is a fantastic way to create a unique handmade keepsake that stands out.
Free Crochet Baby Groot amigurumi Pattern for All Skill Levels
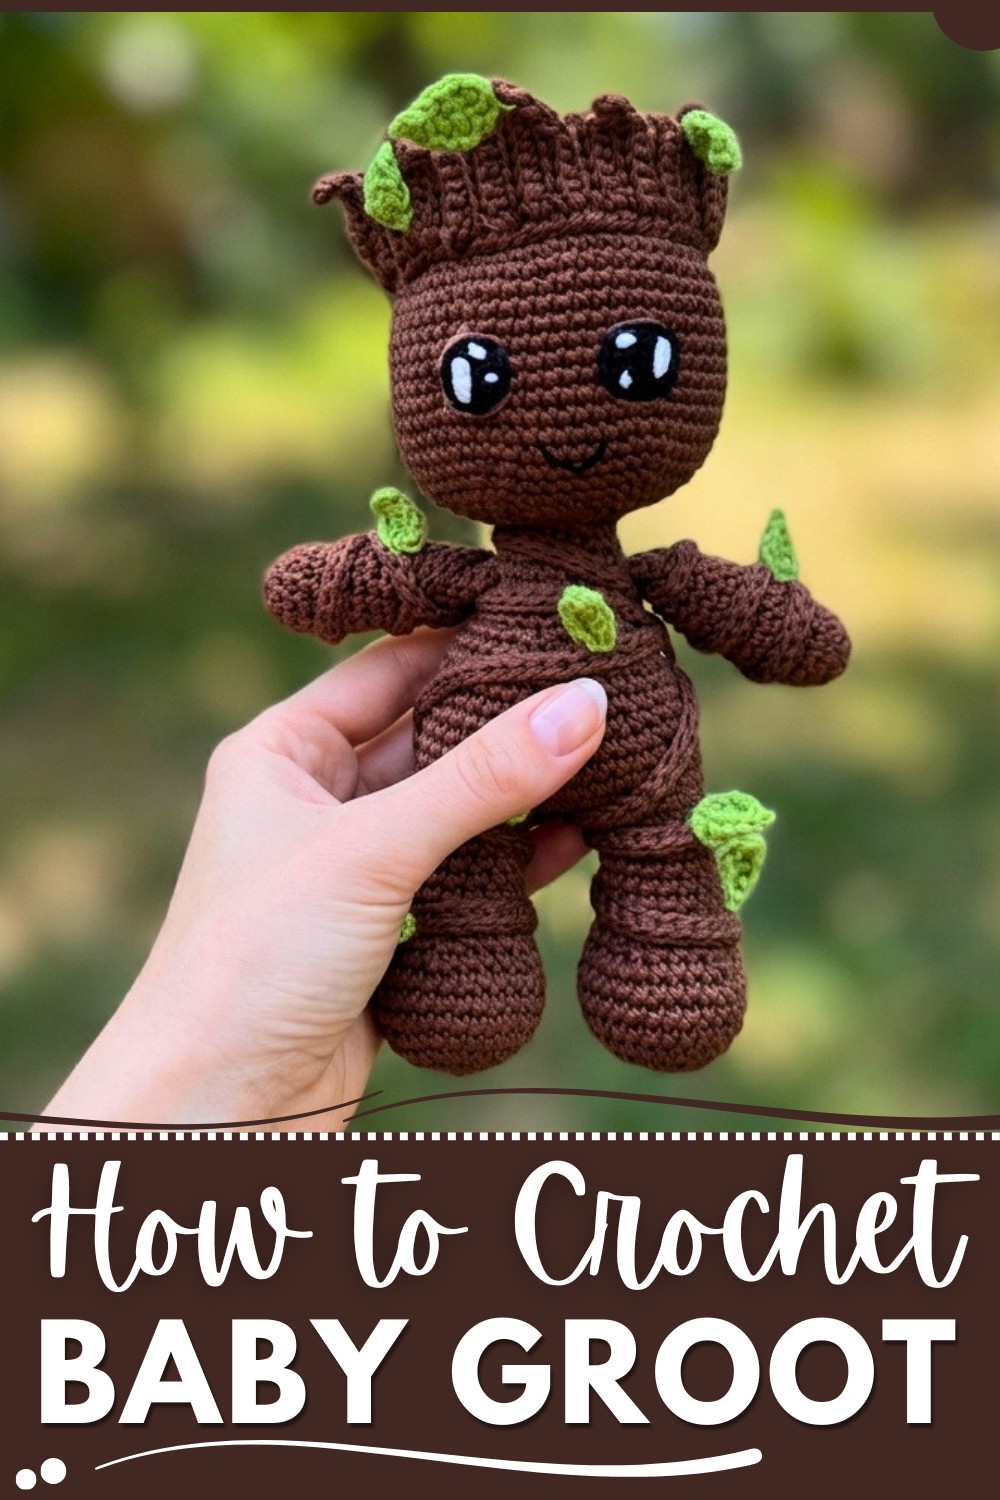
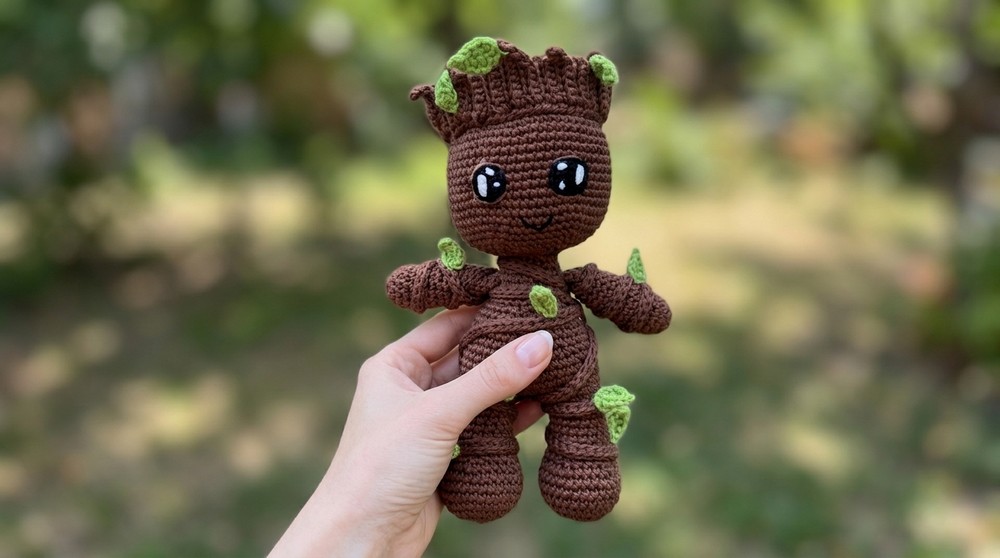
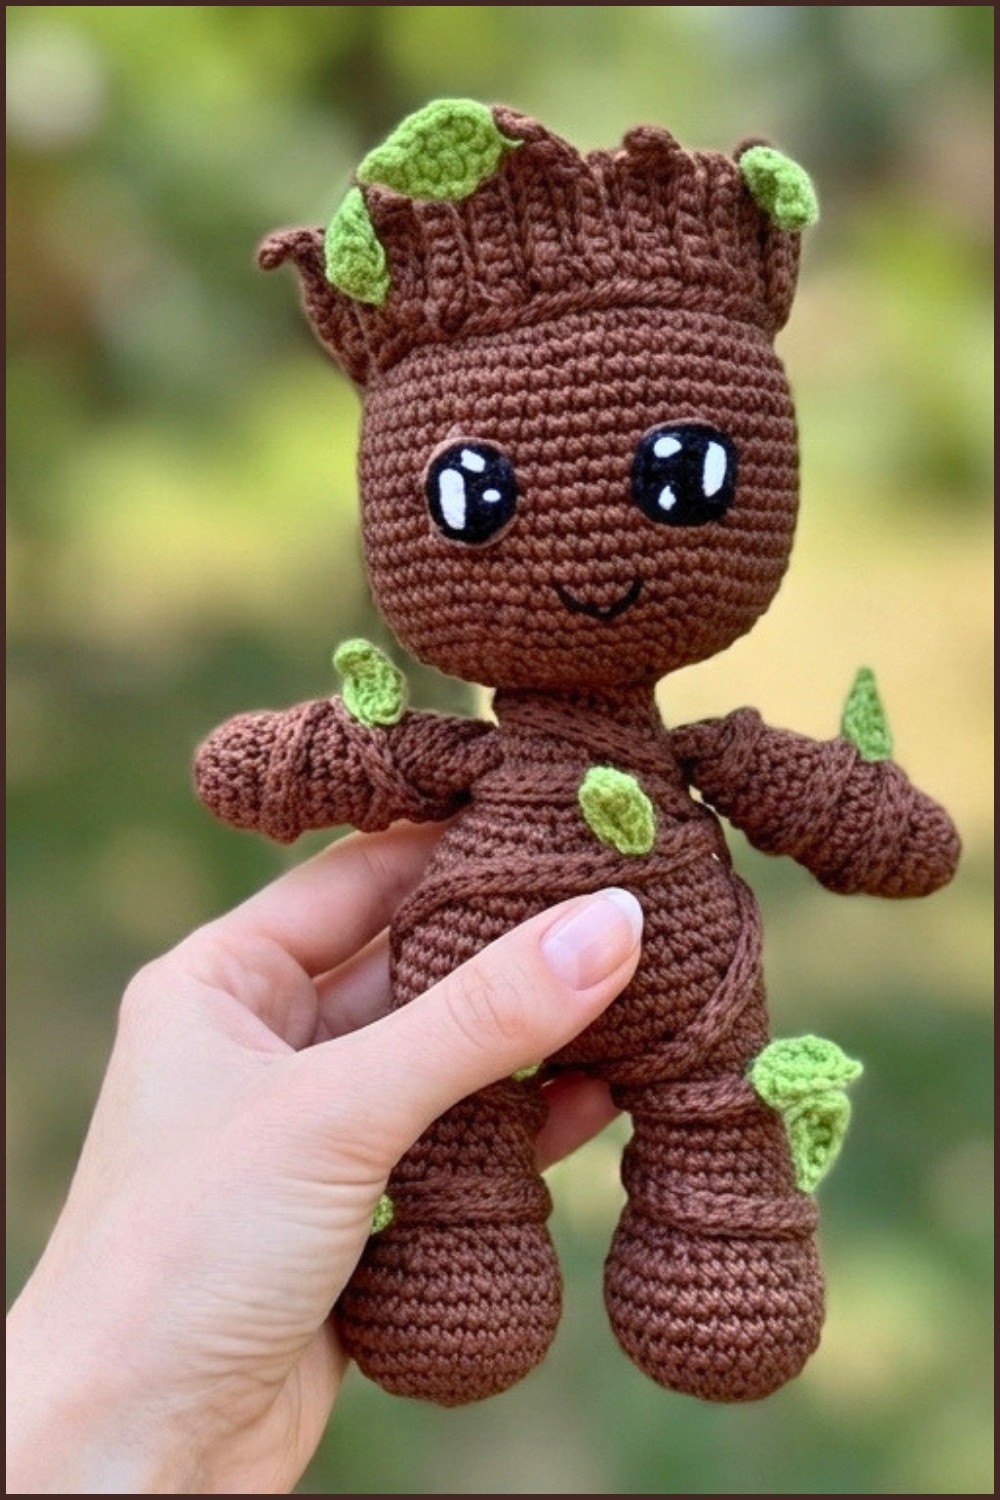
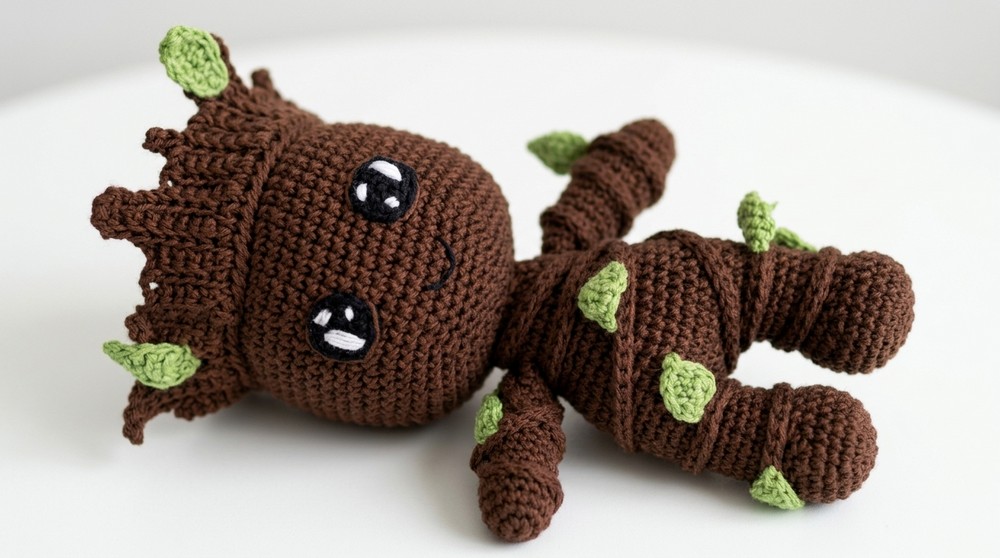
This Baby Groot amigurumi is truly charming, featuring a rounded head detailed to resemble wood grain, expressive eyes, and tiny twig-like arms and legs that capture Groot’s playful personality. Worked with soft cotton or acrylic yarn, the figure has a pleasant texture that feels both sturdy and cuddly. The design’s standout feature is the realistic bark-like appearance achieved through careful color changes and stitch work.
The shape is built by crocheting in rounds, using single crochets with increases and decreases to form the head, body, and limbs. Some finishing touches like embroidery or attaching safety eyes add character to the piece. This pattern is best suited for crocheters with an intermediate skill level due to the detailed shaping and assembly involved, but confident beginners can also give it a try.
Perfect as a gift for fans or a lovely decoration for your home, this Baby Groot amigurumi is more than just a toy, it’s a handmade treasure. It offers both a creative challenge and a chance to grow your crochet skills while making something truly special. If you’re looking for a project with character and charm, this Baby Groot amigurumi pattern might just be the one to inspire you to start crocheting today.
Cute Baby Groot Amigurumi Guide
This guide helps you make a detailed Baby Groot doll that stands about 8 inches tall. It is a fun project with many parts like twigs, & leaves, making it a wonderful gift for any fan.
Tips Before You Start
Colors: Get light brown, dark brown, black, white, and red yarn ready.
Stitches: Keep your stitches tight so the stuffing doesn't poke through.
Stay Organized: This project has many small pieces (twigs, leaves). Use small bags to keep them safe.
Sewing: You will need to sew many parts together, so keep a needle and strong thread nearby.
Helpful Notes
Work in continuous rounds unless the steps say otherwise.
The term "low point" in the instructions means a single crochet (sc) stitch.
The "back loop" and "front loop" steps are very important for making the wood-like texture.
Stuff the head and body firmly as you go to keep the doll looking smooth and round.
How It Was Made (Summary)
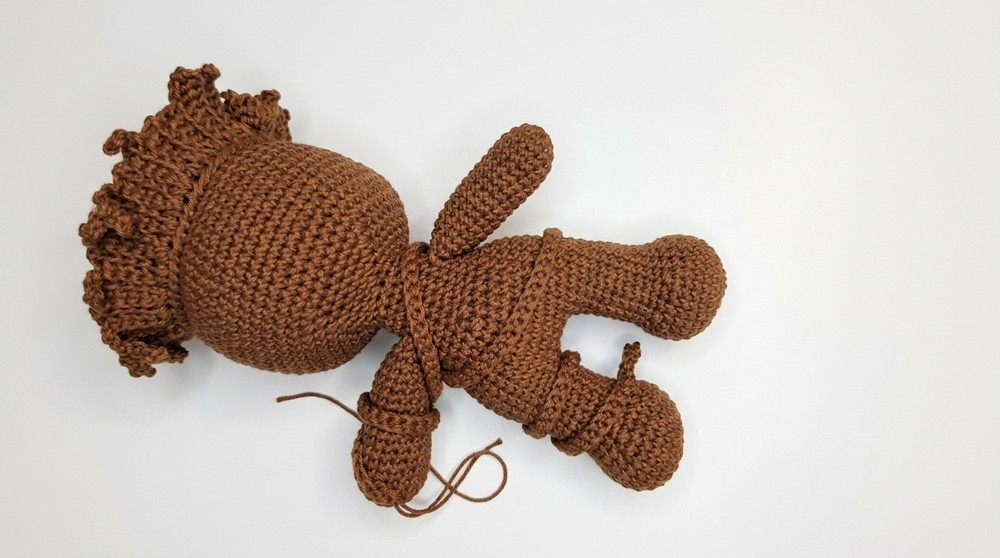
The head and body are made separately in rounds and then sewn together.
The arms, legs, and feet are made as individual parts and attached to the body.
Details like the wood twigs and vines are made using long chains of stitches.
The face is finished with crocheted eyes and embroidery.
Skill Level
Advanced: You should be comfortable with changing colors, using front and back loops, and sewing many parts together.
Finished Size
About 8 inches tall.
Materials
Yarn: dark brown, light green, white, and black.
Hook: 3 mm crochet hook.
Tools: Sewing needle, soft stuffing, wire or pipe cleaner, scissors.
Abbreviations
ch: Chain
sc: Single crochet ("low point")
inc: Increase (2 stitches in one stitch)
dec: Decrease (join 2 stitches into one)
hdc: Half double crochet ("mid-high point")
dc: Double crochet ("high point")
sl st: Slip stitch
BLO: Back loop only
FLO: Front loop only
Special Stitches
Picot Stitch: Used on the leaves to give them a pointy, natural shape.
The Pattern!
1. Head (dark brown)
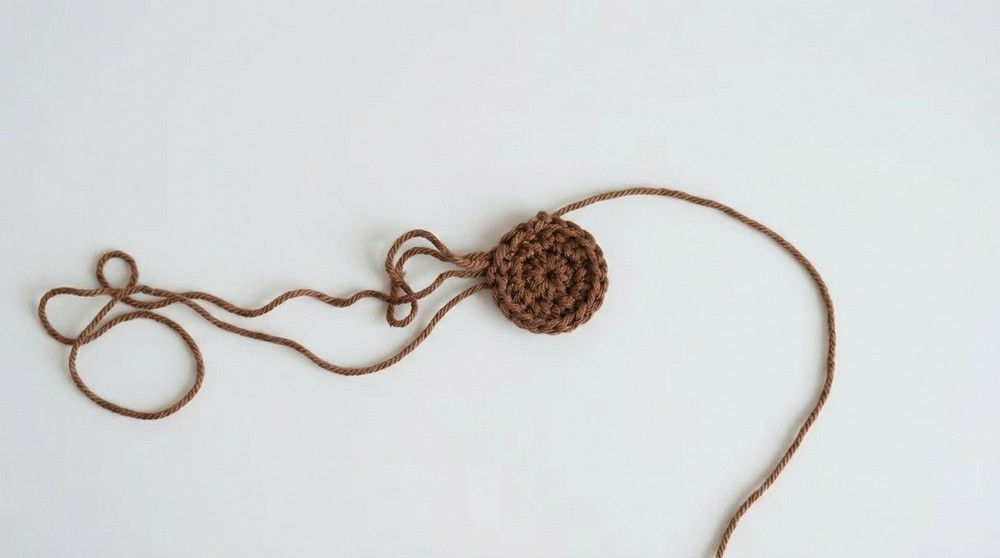
Round 1: MR, 6 sc.
Round 2: Inc in each stitch (12 stitches).
Round 3: [1 sc, 1 inc] repeat 6 times (18 stitches).
Round 4: [2 sc, 1 inc] repeat 6 times (24 stitches).
Round 5: [3 sc, 1 inc] repeat 6 times (30 stitches).
Round 6: [4 sc, 1 inc] repeat 6 times (36 stitches).
Round 7: [5 sc, 1 inc] repeat 6 times (42 stitches).
Round 8: [6 sc, 1 inc] repeat 6 times (48 stitches).
Round 9: [7 sc, 1 inc] repeat 6 times (54 stitches).
Round 10: [8 sc, 1 inc] repeat 6 times (60 stitches).
Rounds 11–12: 1 sc in each stitch (60 stitches).
Round 13: BLO 1 sc in each stitch (60 stitches).
Rounds 14–24: 1 sc in each stitch (60 stitches).
Round 25: [8 sc, 1 dec] repeat 6 times (54 stitches).
Continue decreasing by 6 stitches each round until you reach 18 stitches.
Closing: Stuff the head firmly before you sew it shut.
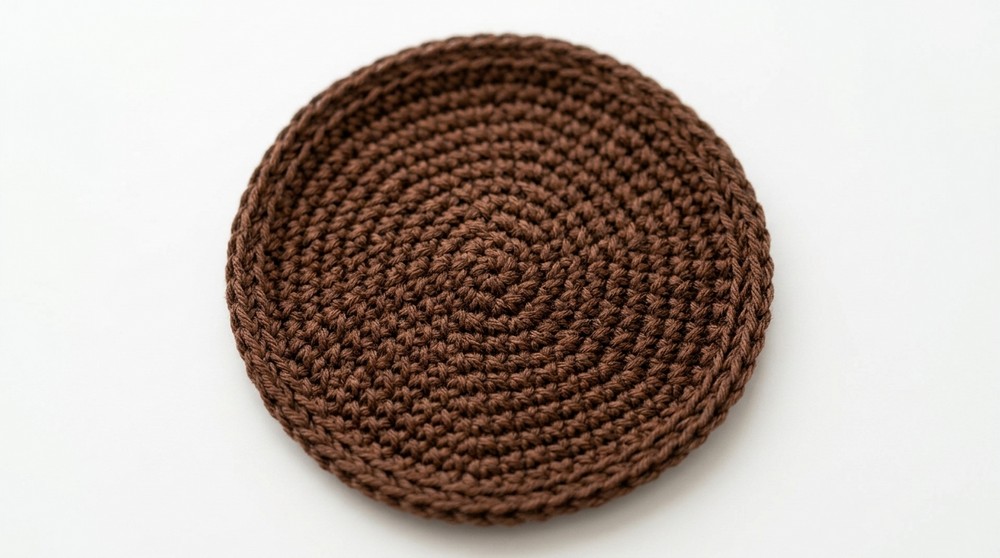
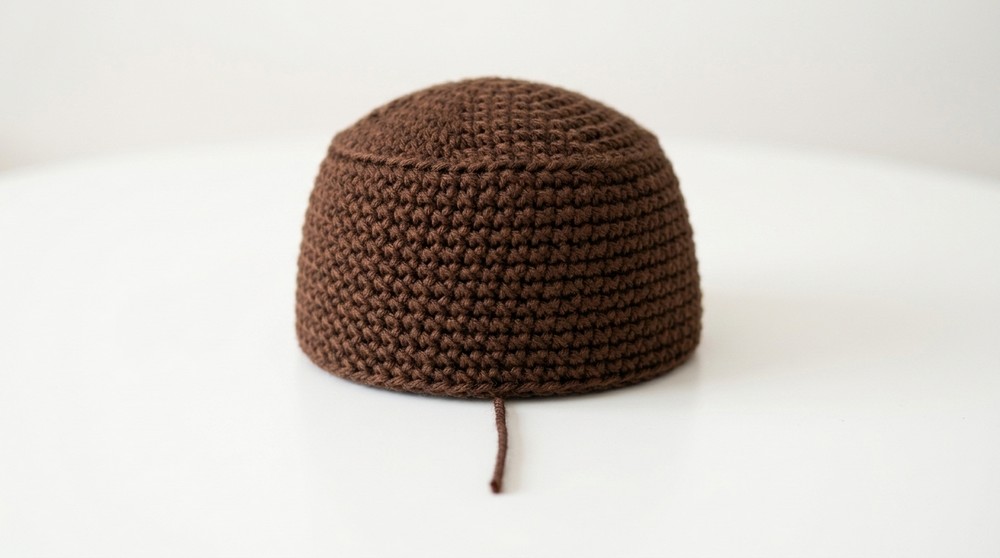
The head is a simple ball shape. The BLO round (Round 13) is special because it creates a line where you will attach the hair twigs later.
2. Arms (Make 2)
Round 1: MR, 5 sc.
Round 2: Inc in each stitch (10 stitches).
Round 3: [1 sc, 1 inc] repeat 5 times (15 stitches).
Rounds 4–15: 1 sc in each stitch (15 stitches).
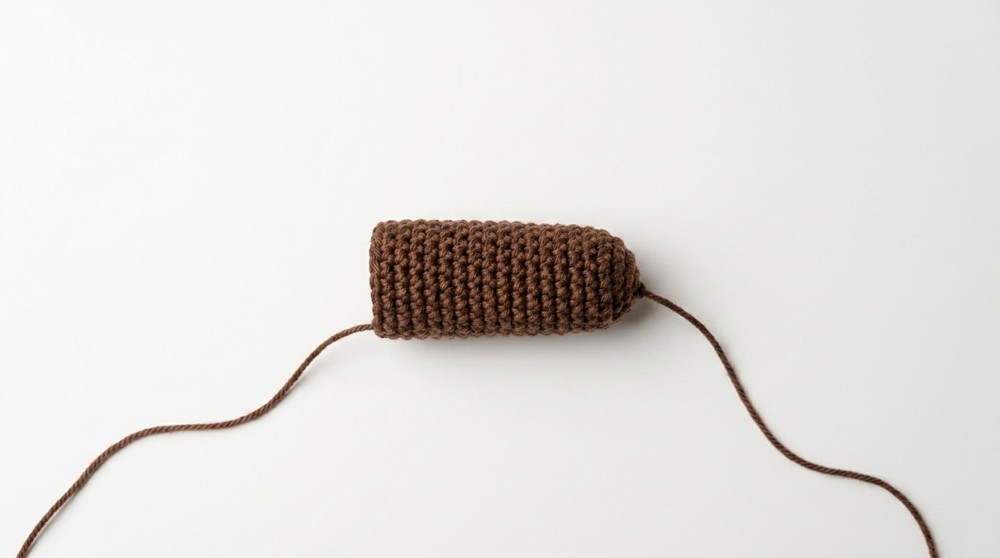
The arms are thin tubes. Stuff them only a little so they stay soft.
3. Body & Legs
Legs: Start with MR, 6 sc, increase until you have 30 stitches. Work 3 rounds even. Decrease down to 18 stitches over two rounds, then work 8 rounds even.
Joining: Join both legs with 3 chains to form the body base (Total: 42 stitches). Work 4 rounds even.
Body Shape: Decrease rounds to 36, 30, and 24 stitches. Work 6 rounds even at 24 stitches. Finish with [2 sc, 1 dec] (18 stitches).
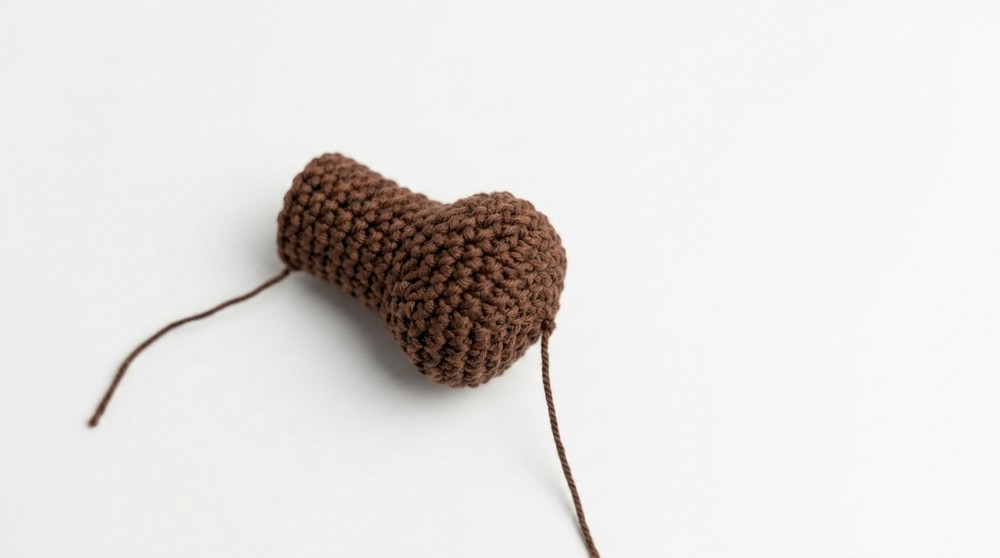
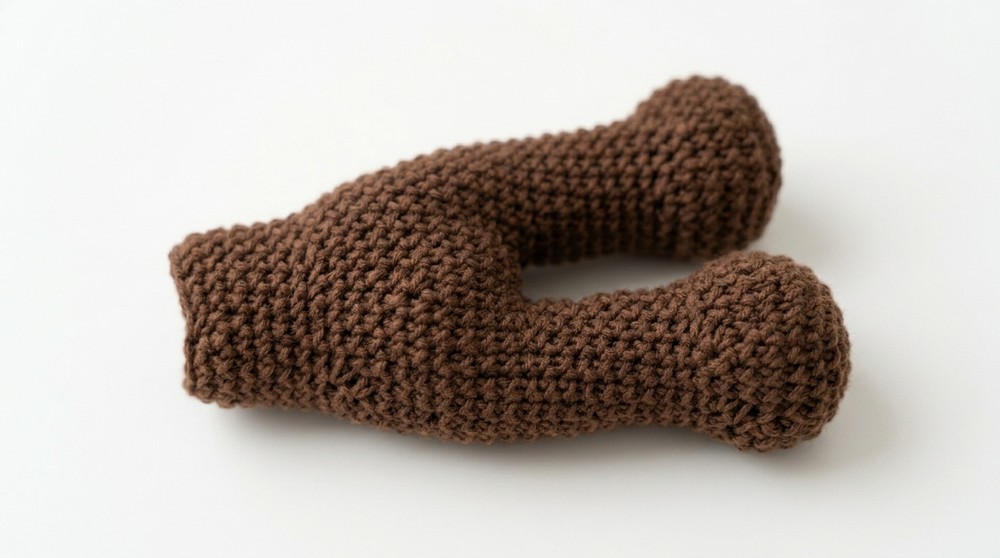
The legs are joined to make the bottom of the body. Keep your count correct here so the doll can stand properly.
4. Twigs & Vines
Head Twigs: Start with ch 6. Work rows of sc in BLO and sc in FLO to make a rough, bark-like look. Make a few of these and sew them to the top of the head.
Body Vines: Ch 151, work back with 150 sc. Make 2. Wrap these around the body and legs, sewing them in place here and there.
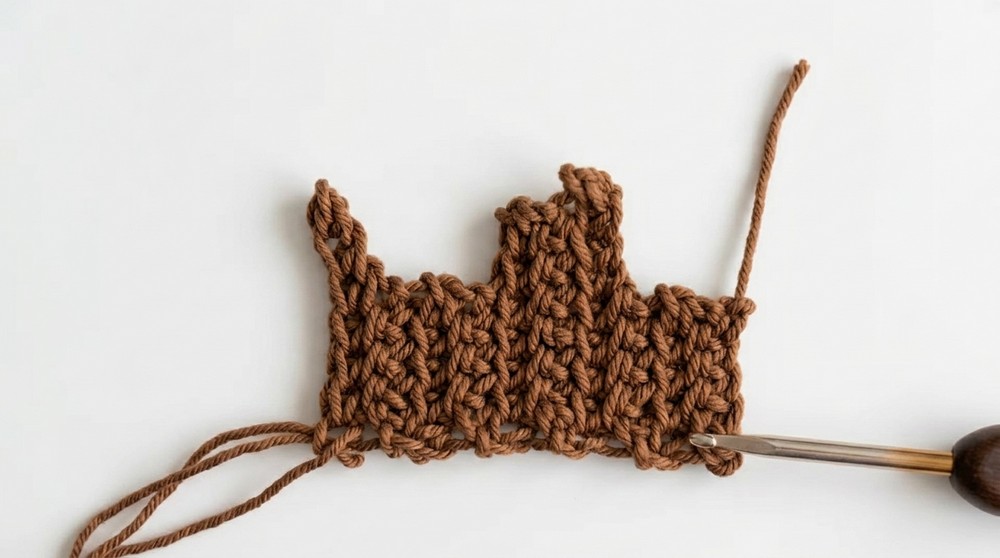
Using both back and front loops creates a bumpy texture that looks just like tree bark.
Assembly & Finishing
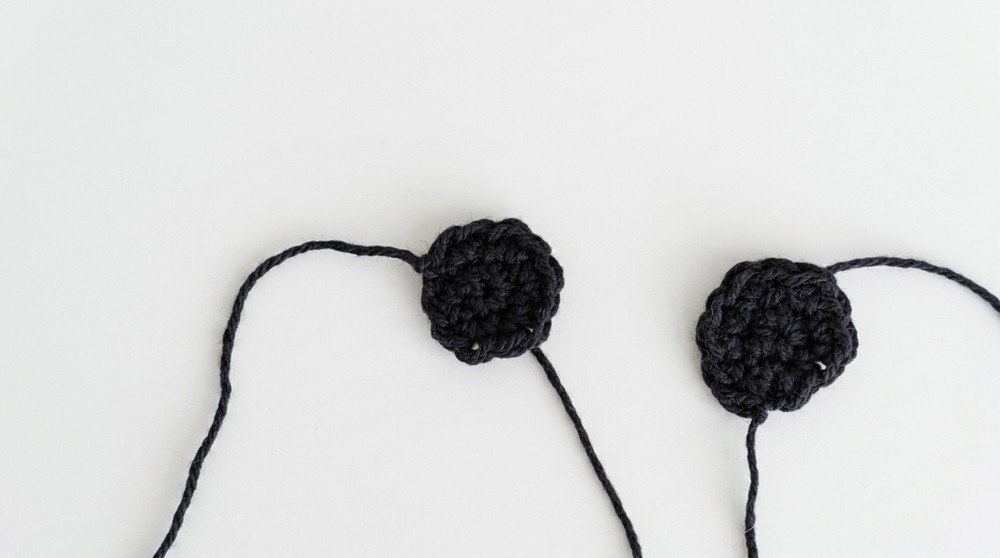
Eyes: Make two circles (MR, 6 sc, inc each st). Sew them to the face. Add a tiny stitch of white thread to make them "sparkle."
Mouth: Embroider a simple line 2 stitches below the eyes.
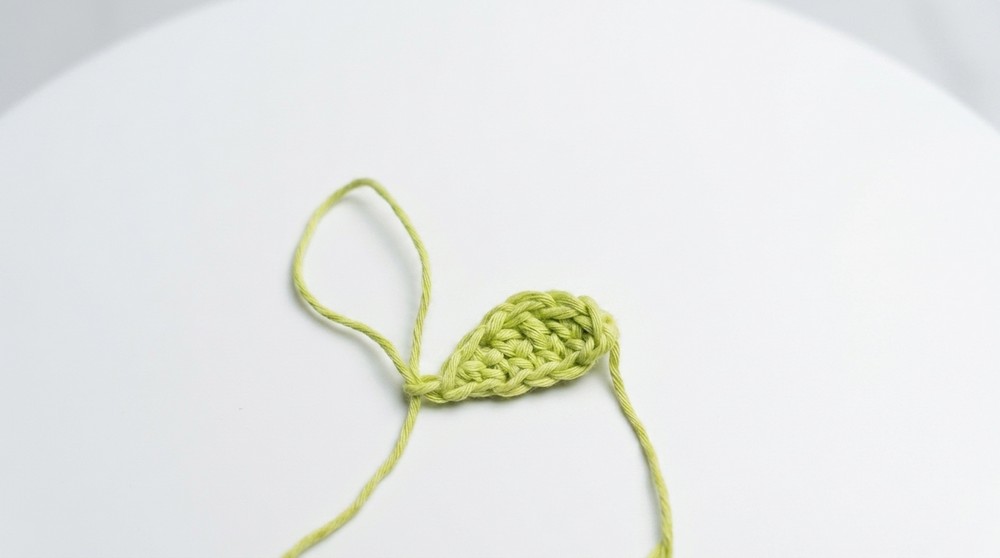
Leaves: Make 16 tiny leaves (ch 6, sc, hdc, dc, hdc, sc back). Sew them all over the body.
Solving Common Problems
Messy Color Changes: If the change between colors looks bumpy, try carrying the new yarn behind the last stitch of the old yarn to make the switch smoother.
Lopsided Look: Use sewing pins to hold all parts in place before you sew. This lets you move the arms or head until everything looks perfect.
What Else You Can Make
Detailed Dolls: This project is a great way to learn how to add textures like bark.
Character Art: You can use these wood-texture steps for any tree-based character.
Wearable Props: The headphone technique is perfect for any doll that needs accessories.
This Groot doll is a fun, big project. By learning how to make the bark texture and how to attach the vines, you are becoming a pro at making complex dolls! Take your time with the sewing; that is when your Groot really starts to look like a real character.