Cuddle up with fun using this Free Crochet Bluey Amigurumi Pattern that brings a lovable character to life for playtime or display with ease.
A cozy afternoon can turn into a rewarding crafting session by creating a lovable Bluey amigurumi, transforming simple yarn into a cheerful toy that captures the essence of everyone’s favorite cartoon pup. This crochet pattern offers an engaging blend of creativity and relaxation, making it suitable for both beginners and experienced crafters. The finished Bluey becomes more than just a toy; it’s a cuddly companion, a charming decor piece, or a thoughtful gift for children and fans of the show. Its bright blue color, adorable shape, and expressive details bring joy and a touch of whimsy to any space.
Vibrant Crochet Bluey Amigurumi Pattern that Feels Joyful

Throughout the process, helpful tips are provided to achieve clean, professional results, including how to change yarn colors for Bluey’s iconic blue fur and white accents. The completed amigurumi offers a sense of accomplishment and joy, whether used for play or display. Crocheting this Bluey not only results in a charming keepsake but also provides a fun, creative escape that celebrates the joy of handmade creations.
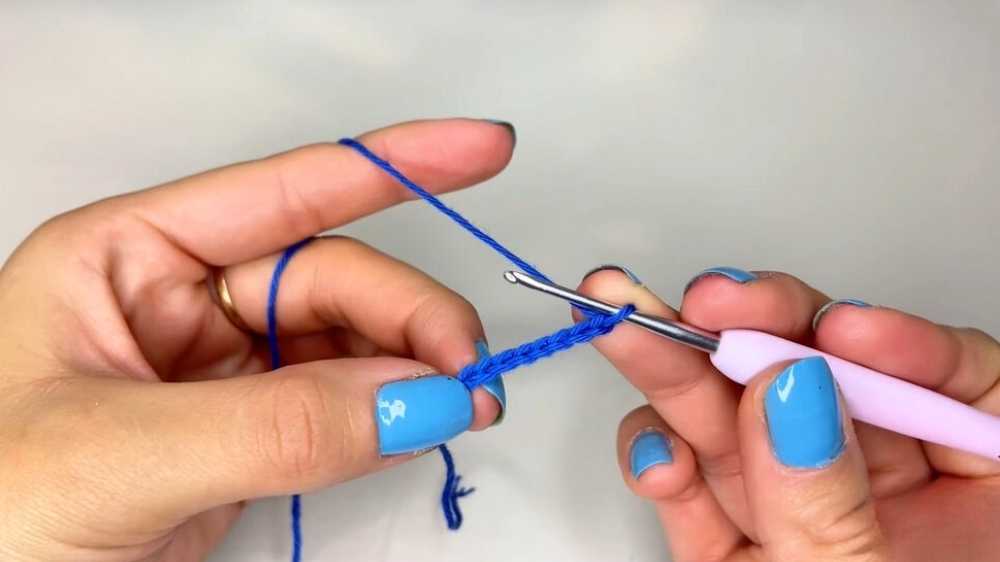
The pattern guides you through straightforward steps, starting with forming the basic shapes, rounds for the body, head, and limbs, using seamless crochet techniques.
Working in rounds with single crochet stitches ensures a smooth and uniform appearance that closely resembles Bluey’s lovable features.
Shaping and stuffing are key to creating a cuddly, firm figure that’s perfect for hugging.
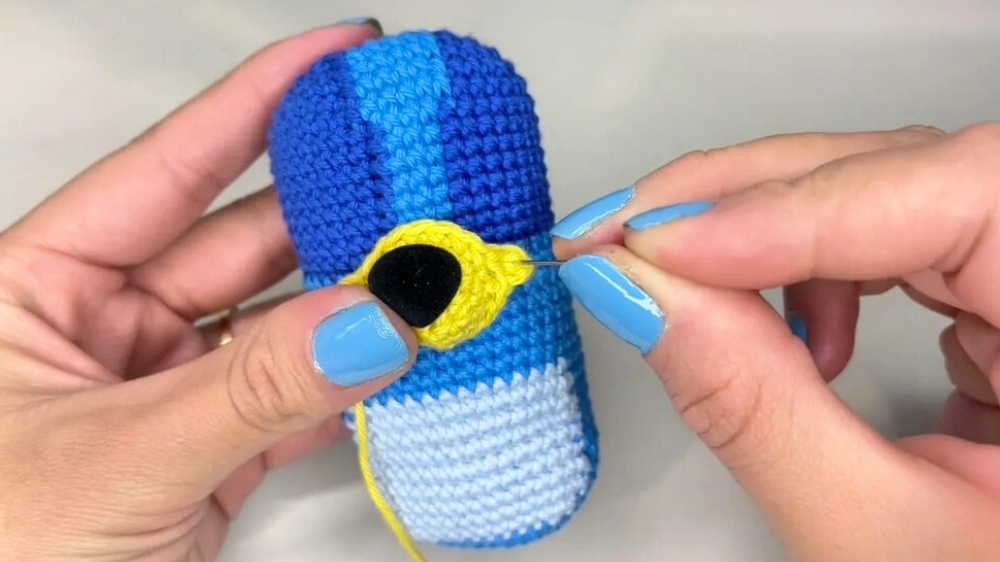
The ears, tail, and facial details are added with simple embroidery or small crochet pieces, giving the toy its expressive personality.
Use
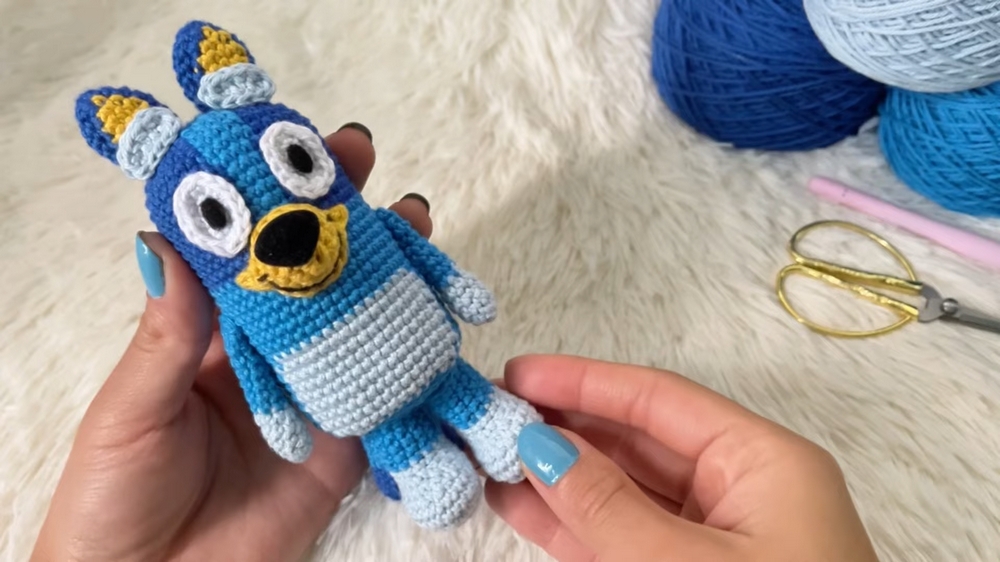
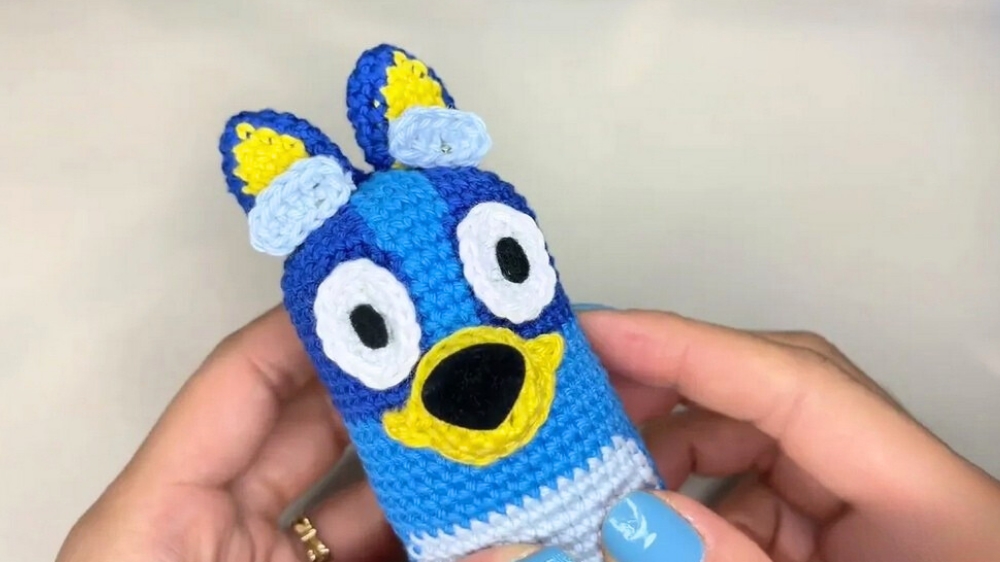
This project is intended to create a finished Amigurumi doll of the character Bluey from the popular children's show Bluey. The finished doll is primarily used as a decorative collectible, a handmade gift, or a small toy. The finished size is approximately 15 cm tall.
Special Feature
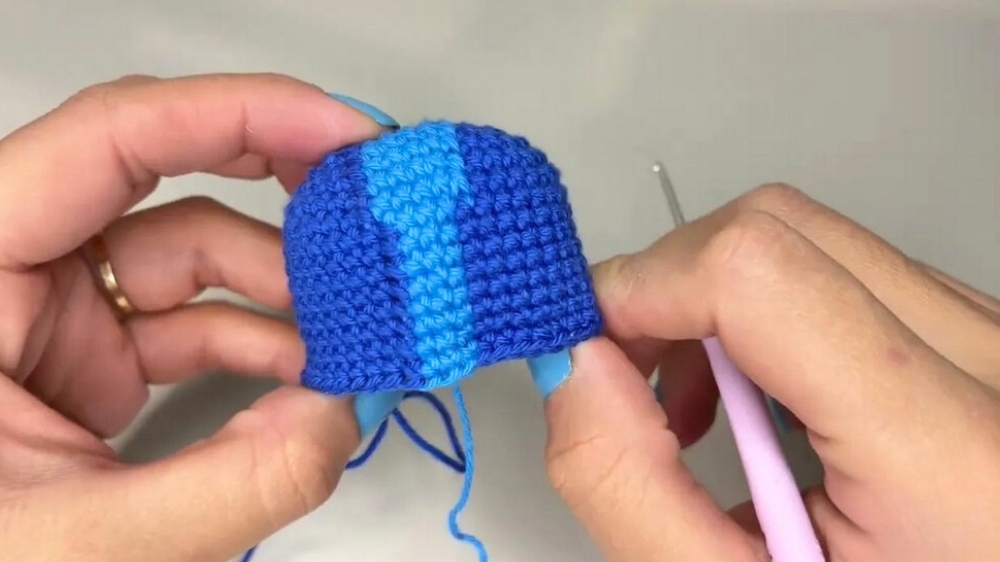
The most prominent special feature of this design is the use of color changes within the rounds (often called tapestry crochet or intarsia technique) across the body. This method eliminates the need to sew on the character's large blue, calypso, and light blue markings, resulting in a cleaner, seamless finish.
Level of Difficulty
This is an Intermediate-level Amigurumi project. It requires prior experience with crocheting in continuous rounds, performing tight color changes, executing invisible decreases, and accurately assembling multiple small, shaped pieces (like the ears, mouth, and eyes).
Tutor's Suggestions
The tutor strongly suggests using a stitch marker to correctly identify the beginning of each round, especially due to the complexity of the color changes and shaping. When performing a color change, ensure you pull the new color through on the last yarn-over of the previous stitch to achieve a neat transition. The instructions are very precise, so follow the stitch count for each round carefully.
Materials
- Yarn: Cotton yarn in the following colors:
- Blue (for the main body)
- Calypso (Teal/Light Blue, for the markings)
- Light Sky Blue (for the feet/paws and head markings)
- Yellow/Orange (for the mouth and ear centers)
- White (for the eyes)
- Optional: Black thread, yarn, or felt for the facial features.
- Hook Size: 2 mm crochet hook.
- Notions:
- Safety nose (approximately 18 mm), or black felt/thread for embroidery.
- Polyester fiberfill stuffing.
- Yarn/Tapestry needle for sewing and finishing.
- Stitch marker.
Step By Step Guide
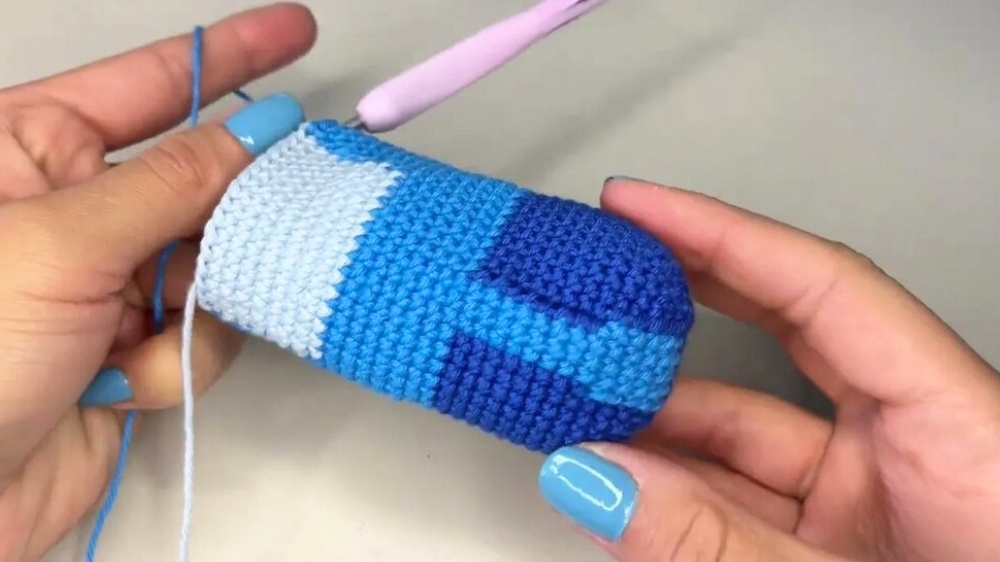
This first segment focuses on creating the main body and head of the Bluey Amigurumi. It starts from the base (feet/paws) and works upward in continuous rounds, utilizing numerous color changes to form the character's distinctive markings. The second part of the tutorial shifts focus to crocheting and assembling all the small details that bring Bluey to life, including the mouth, nose, eyes, ears, and eyebrows.
Conclusion (Part 1)
The main body of Bluey, including the seamlessly crocheted color-work for the torso and head markings, is complete, stuffed, and closed. The second part will focus on creating and attaching all the facial and structural details.
Conclusion (Part 2)
All major external pieces for Bluey’s face, the mouth, nose, eyes, ears, and eyebrows—are now complete and attached to the main body. The tutorial concludes here, mentioning that if there are any final details, they will be covered in a potential third part.
Final Tip
When sewing on small features like the mouth and ears, use pins to secure the pieces in place first. Once positioned correctly, take time to ensure your sewing is neat and tight, as this step is crucial for giving your Amigurumi doll its final, polished look and desired expression.