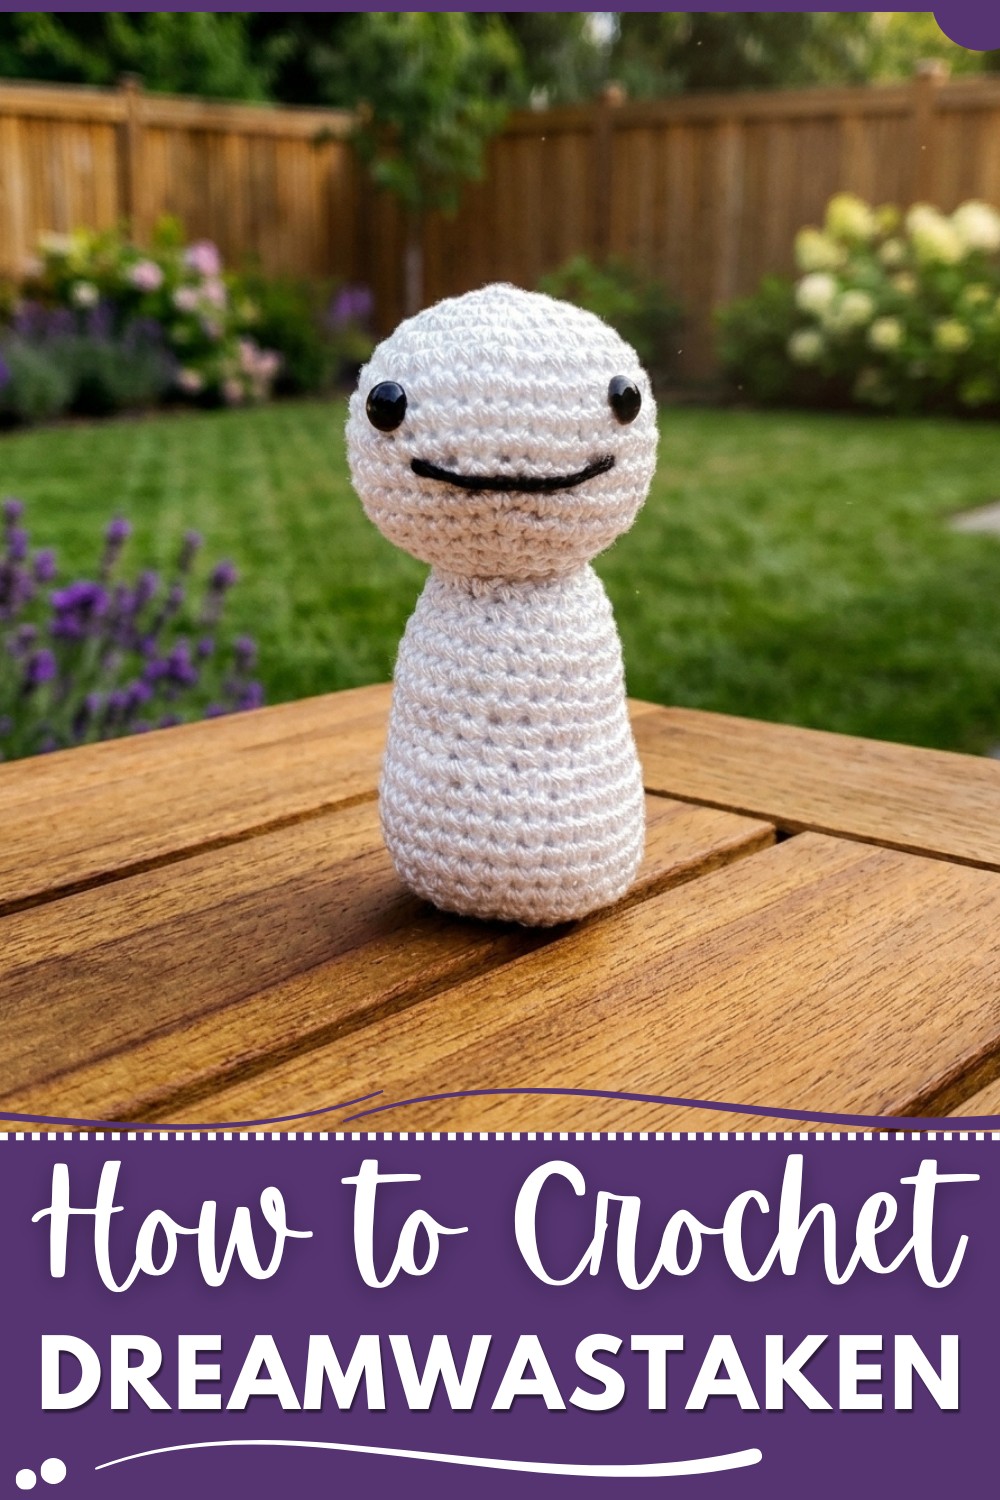
Create a fun and adorable DreamWasTaken amigurumi with this free crochet pattern, perfect for fans wanting to bring their favorite creator to life.
I’ve always enjoyed making little crochet toys, especially when they’re inspired by characters I like. The Free Crochet DreamWasTaken Amigurumi Pattern is a wonderful project for anyone wanting to create a cute doll based on the famous online personality. What’s even better is that with a few simple tweaks, you can turn this pattern into different characters, giving you lots of fun possibilities to explore.
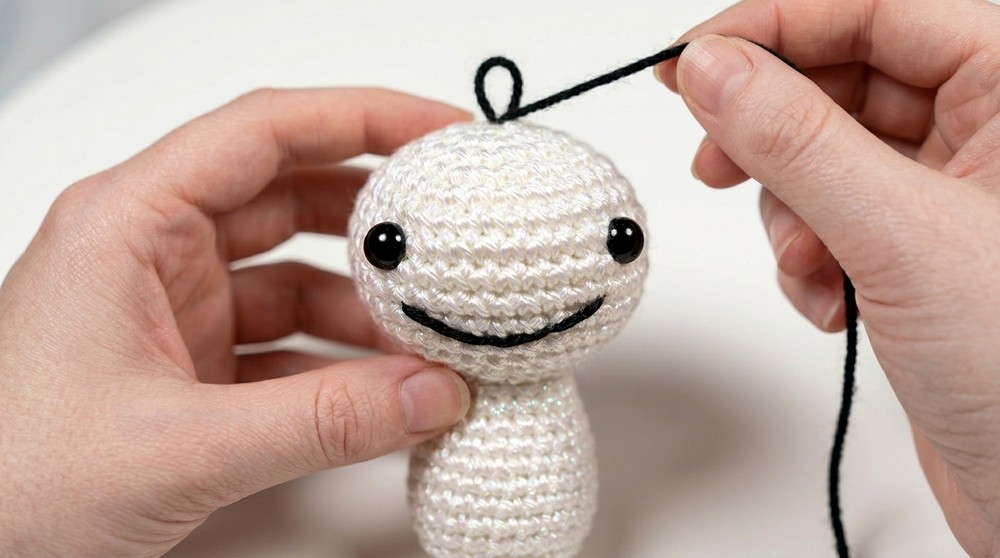
Adorable DreamWasTaken Amigurumi Free Crochet Pattern
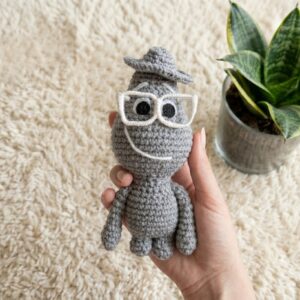
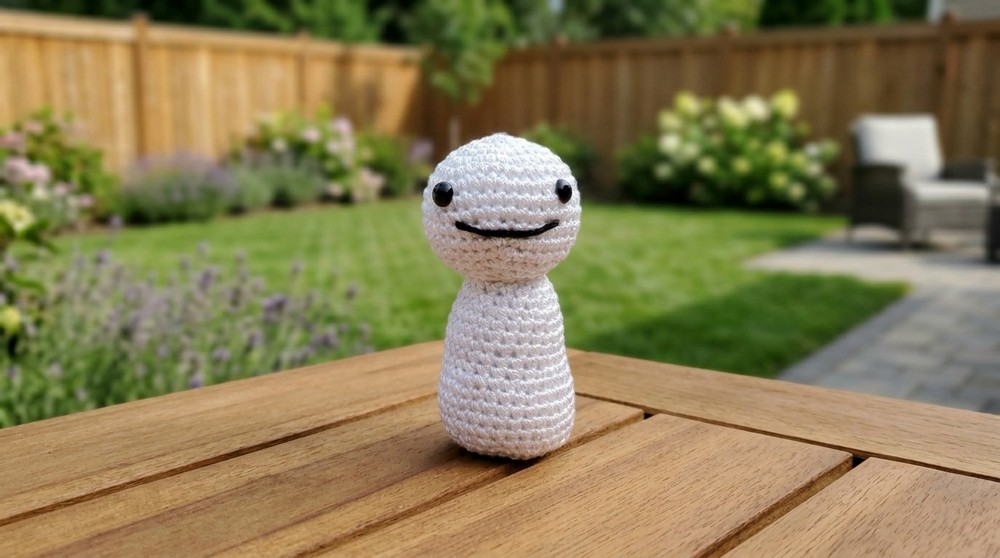
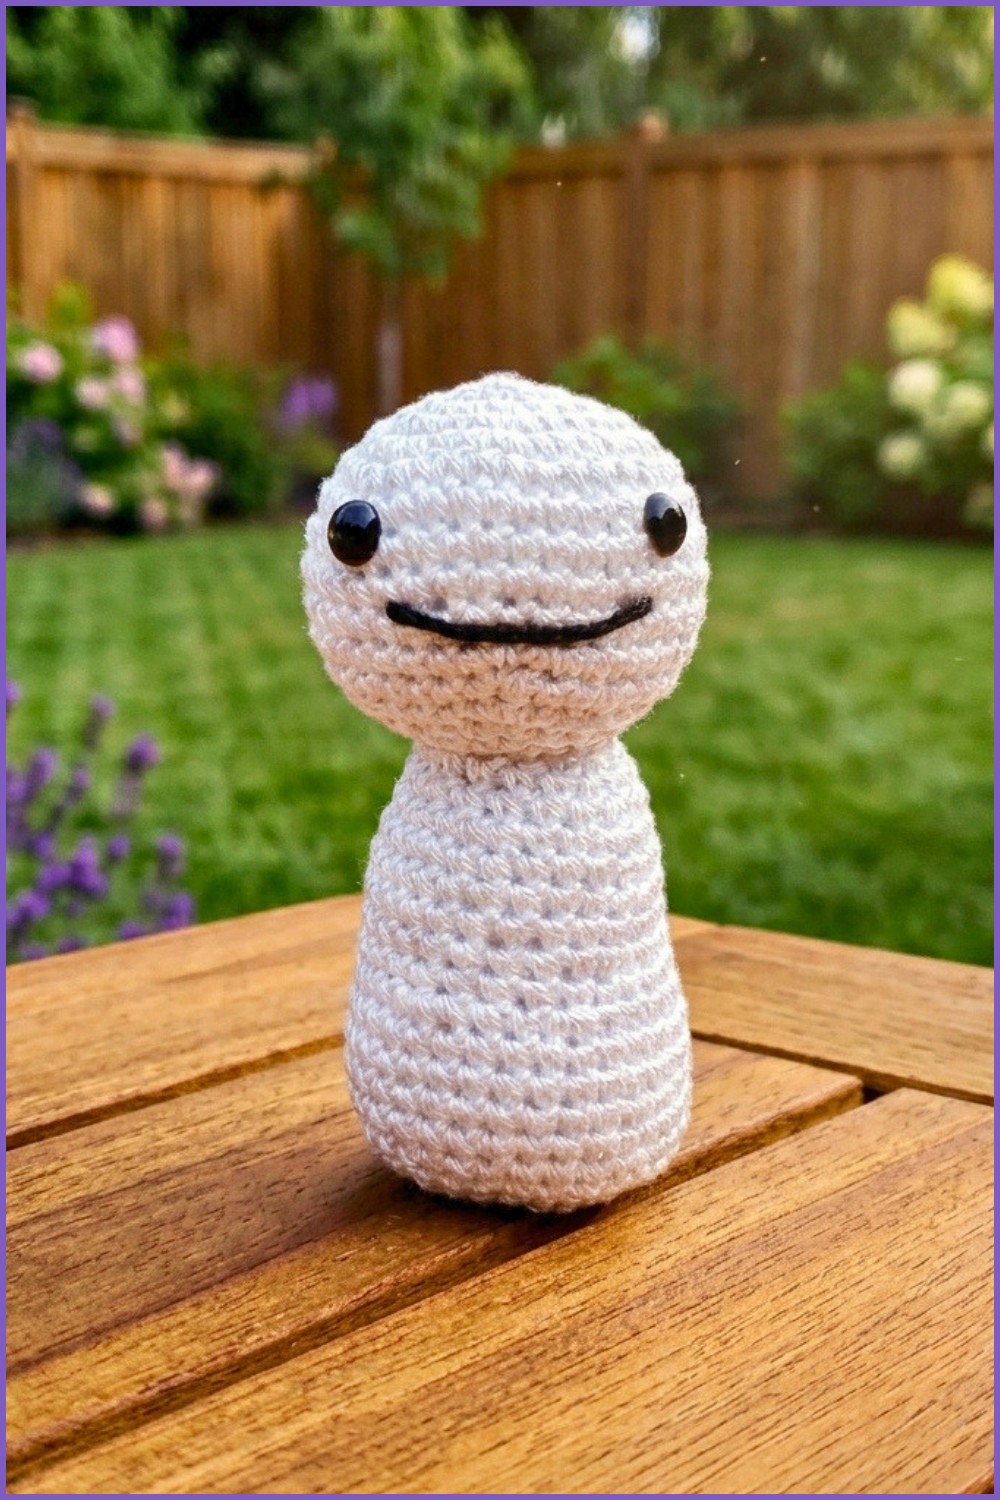
This amigurumi is really delightful to look at. It has a soft, smooth texture thanks to tight crochet stitches, making it perfect for hugging or displaying. The shape is small and rounded, capturing the key features that make DreamWasTaken so recognizable, including his signature colors and cute little face. The style is simple yet charming, perfect for adding personality to your gaming room, desk, or shelf. One of the standout points is how the small details really bring this doll to life.
The toy is made by crocheting separate pieces like the head, arms, and body, which are then carefully sewn together. The pattern mainly uses the single crochet stitch, a basic stitch that creates a firm and tidy fabric. Because it mixes simple stitches with some shaping and assembly, it’s a great pattern for those at a beginner to intermediate level.
This Free Crochet DreamWasTaken Amigurumi Pattern is an excellent gift for fans, a fun collectible, or a cute decoration to keep for yourself. If you love crocheting characters and want a project that’s both enjoyable and creative, this pattern is a great pick to try out and add some personality to your crochet collection.
Dream Minecraft Plush Amigurumi Crochet Pattern
Before You Start
- Read through the pattern fully before beginning.
- Gather all supplies in advance for a smooth, quick project.
- This plush uses only two yarn colors and basic amigurumi techniques.
- Make sure your stitches are tight so no stuffing shows through.
- The pattern is designed for easy customization—change yarn or embellishments as desired!
Pattern Notes
- The head and body are worked separately and sewn together.
- Safety eyes are used but can be replaced by embroidery or felt.
- All rounds are worked in a spiral (use a stitch marker for tracking).
- Stuff firmly but shape pieces gently for a soft, rounded silhouette.
- The plush is shaped like a classic Dream character—simple, round, and expressive.
How I Made the Crochet Pattern
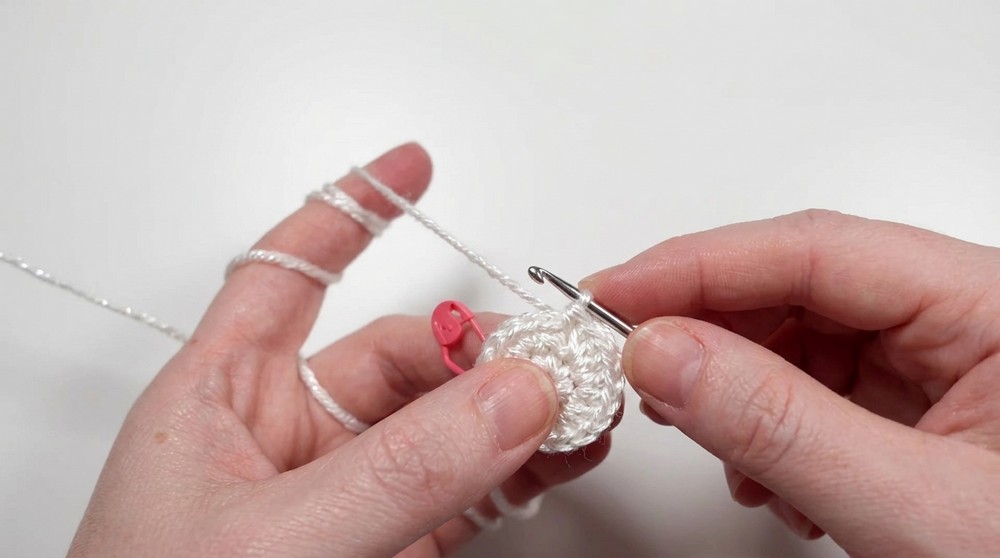
- Started with a magic ring, built the head with classic amigurumi increases.
- Created the body as a slightly elongated "blob" with increase/decrease rounds.
- Used only white and black yarn for authenticity and simplicity.
- Added large spacing for eyes, embroidered a curved smile with black yarn.
- Simplified construction so even beginners can follow and finish quickly.
Skill Level
Beginner/Advanced Beginner
If you’re comfortable with magic ring, single crochet, basic increases/decreases, you can easily make this plush!
Finished Size
- Approx. 4" (10 cm) tall x 2.5" (6.5 cm) wide
- Fits on a desk, shelf, or as a hand-held toy.
Materials
- Worsted weight yarn:
- White (body, head)
- Black (scrap for smile)
- 3.25 mm crochet hook
- Polyfill stuffing
- Small safety eyes (or felt/embroidery for face)
- Yarn needle
- Scissors
- Stitch marker
Measurements / Sizing
- Head: ~2” diameter
- Body: ~2” tall, slightly wider base for “blob” shape
Gauge
- Gauge is not crucial. Tight stitches, so stuffing does not show.
- Sample: 10 sc x 10 rows ≈ 2” x 2” (5x5 cm)
Stitch Abbreviations
- MR = magic ring
- sc = single crochet
- inc = increase (2 sc in one stitch)
- dec = decrease (see Special Stitches)
- ss = slip stitch
- st(s) = stitch(es)
- BLO = back loop only
Special Stitches
Invisible Decrease (dec):
Insert hook under the front loop only of the next two stitches, yarn over, pull through two loops, yarn over, pull through both loops remaining.
The Pattern!
Head (White)
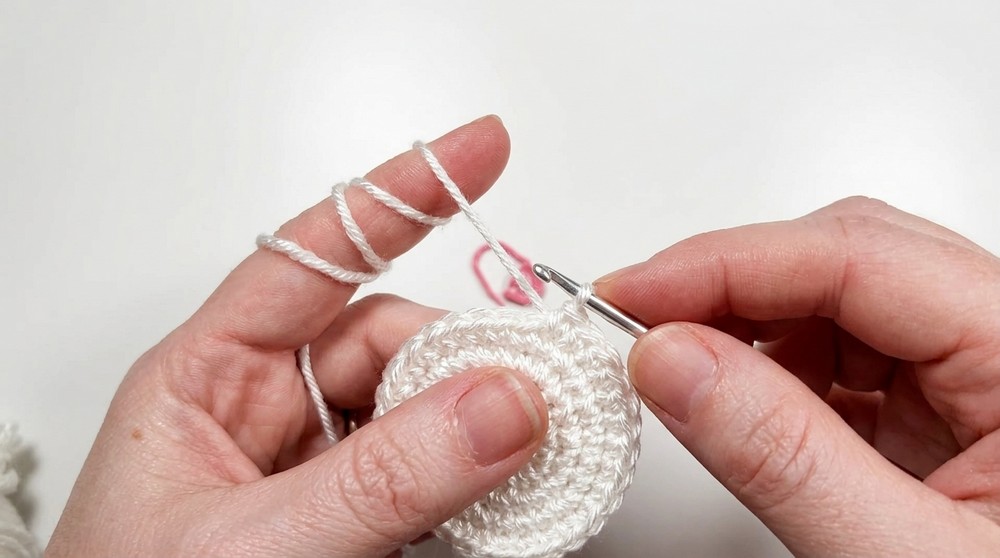
Round 1: MR, 6 sc (6)
Round 2: inc x6 (12)
Round 3: (inc, sc) x6 (18)
Round 4: (inc, sc x2) x6 (24)
Round 5: (inc, sc x3) x6 (30)
Round 6: (inc, sc x4) x6 (36)
Rounds 7–11: sc in each st (36) for 5 rounds
You begin with a magic ring, and work increases to create a round sphere. These rows give Dream’s head its shape. If unsure, just follow the stitch counts for a firm, smooth ball.
Round 12: (dec, sc x4) x6 (30)
Round 13: (dec, sc x3) x6 (24)
*Insert safety eyes evenly spaced between rounds 7 & 8, about 9 stitches apart—Dream’s design has widely spaced eyes for that iconic look. You can add more stuffing at this point.
Round 14: (dec, sc x2) x6 (18)
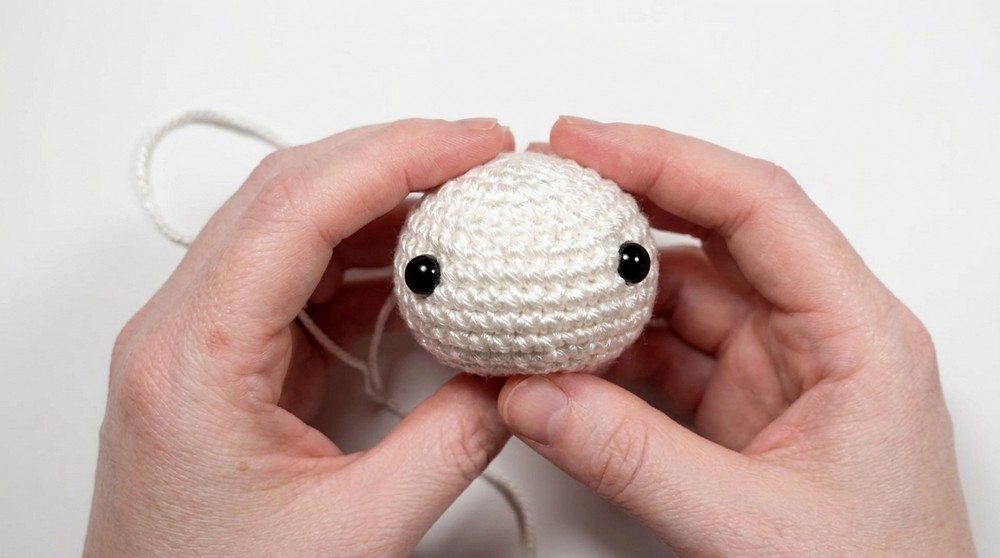
Start stuffing the head, especially between and around the eyes.
Round 15: (dec, sc) x6 (12)
Add more stuffing.
Round 16: dec x6 (6)
Stuff firmly, finish off.
Finishing:
Slip stitch in next st, leave a tail, and use yarn needle to weave through the front loops of remaining 6 stitches. Pull tight to close. Weave through head to secure. Squeeze/shape for a round finish.
If you don’t read patterns: You’re making a ball, closing it up, and adding widely spaced eyes. Stuff as you go; use tight stitches.
Body (White)
Round 1: MR, 6 sc (6)
Round 2: inc x6 (12)
Round 3: (inc, sc) x6 (18)
Rounds 4–6: sc in each st (18) for 3 rounds
Round 7: (inc, sc x2) x6 (24)
Rounds 8–12: sc in each st (24) for 5 rounds
Round 13: (inc, sc x3) x6 (30)
Rounds 14–18: sc in each st (30) for 5 rounds
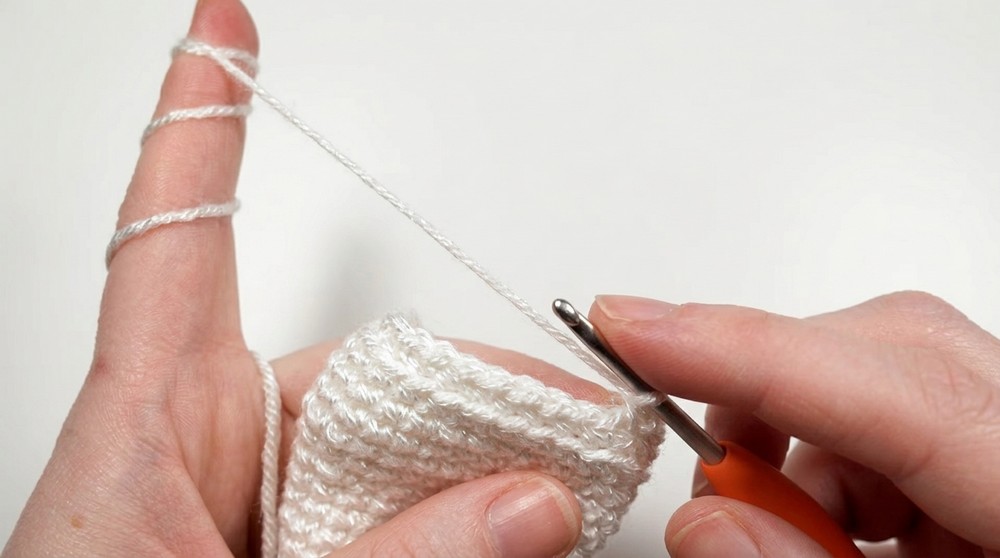
Round 19: BLO sc in each st (30)
Round 19 uses the back loop only for a subtle flatness at the base—Dream’s body is a cute pillow “blob.”
Round 20: (dec, sc x3) x6 (24)
Stuff lightly, leaving room for a flat base.
Round 21: (dec, sc x2) x6 (18)
Continue with stuffing until desired firmness.
Round 22: (dec, sc) x6 (12)
Round 23: dec x6 (6)
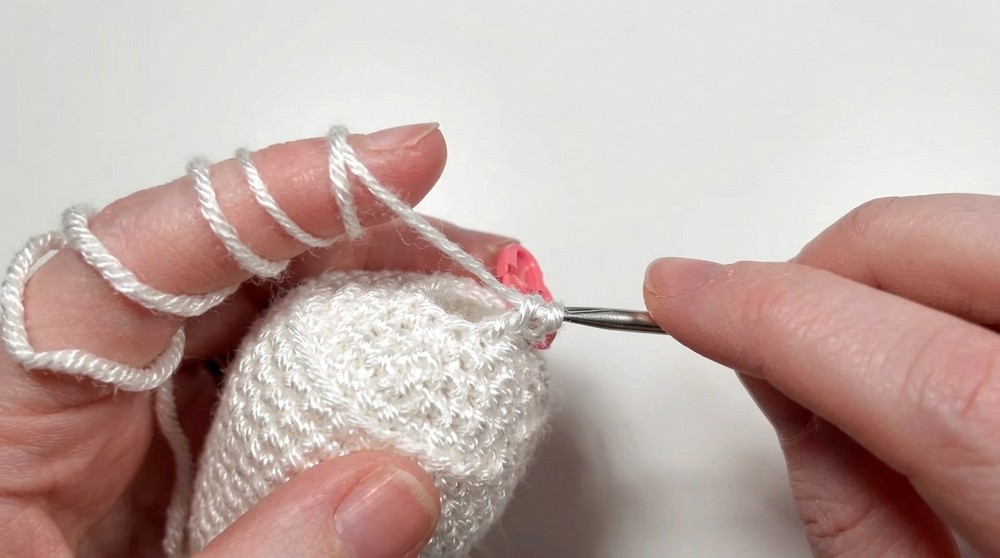
Finishing:
Slip stitch, leave tail for sewing. Use needle to weave through front loops, tighten to close, and weave through bottom for a neat finish.
If you don’t read patterns: The body shapes as a soft, slightly flattened oval—stuff gently, not too firm.
Assembly & Finishing
- Seam head to body using tail and yarn needle, sewing from head base (not very top) to about the 3rd-4th row down on body for a squat look.
- Secure well; shape plush so it sits upright.
- Embroider smile with black yarn, directly under the eyes, coming up from one stitch below the left eye, across to one stitch below the right eye, curving down in the center for a cheerful Dream smile.
- Weave tails inside and gently shape with your hands.
Solution to Common Problems
Body doesn’t sit flat:
Work round 19 in BLO, and avoid overstuffing the base.
Head shape distortions:
Stuff firmly and evenly, especially around the safety eyes.
Smile not looking correct:
Curve downward at the center to create a gentle smile.
What You Can Make By Using These Stitches
- Dream character plush
- Other Minecraft characters (custom faces/colors)
- Mini balls, blobs, desk pets, and pillow charms
- Kawaii amigurumi
- Simple gift toys or keychains
Conclusion
This Dream character plush is a fast, fun, and beginner-friendly crochet project. You’ll use basic amigurumi skills—magic ring, single crochet in the round, invisible decreases, and simple embroidery. With only two colors, the iconic Dream face is easy to recreate, and the “blob” style is perfect for gifts or displays. Experiment with sizes, colors, and shapes for your own variations.