Learn how to stitch an adorable amigurumi chicken with charming details and endless creativity, perfect for gifts, décor, or fun crochet projects.
Skip the typical projects and bring a touch of farmyard charm to your crochet creations with a delightful amigurumi chicken pattern! This irresistibly fun design centers around crafting a playful, squishy chicken that’s as entertaining to make as it is to admire. Amigurumi, the art of crocheting stuffed toys and figures, offers endless possibilities, and a chicken adds a feathered twist to your collection.
Amigurumi Chicken Crochet Idea to Add Whimsy to Your Home
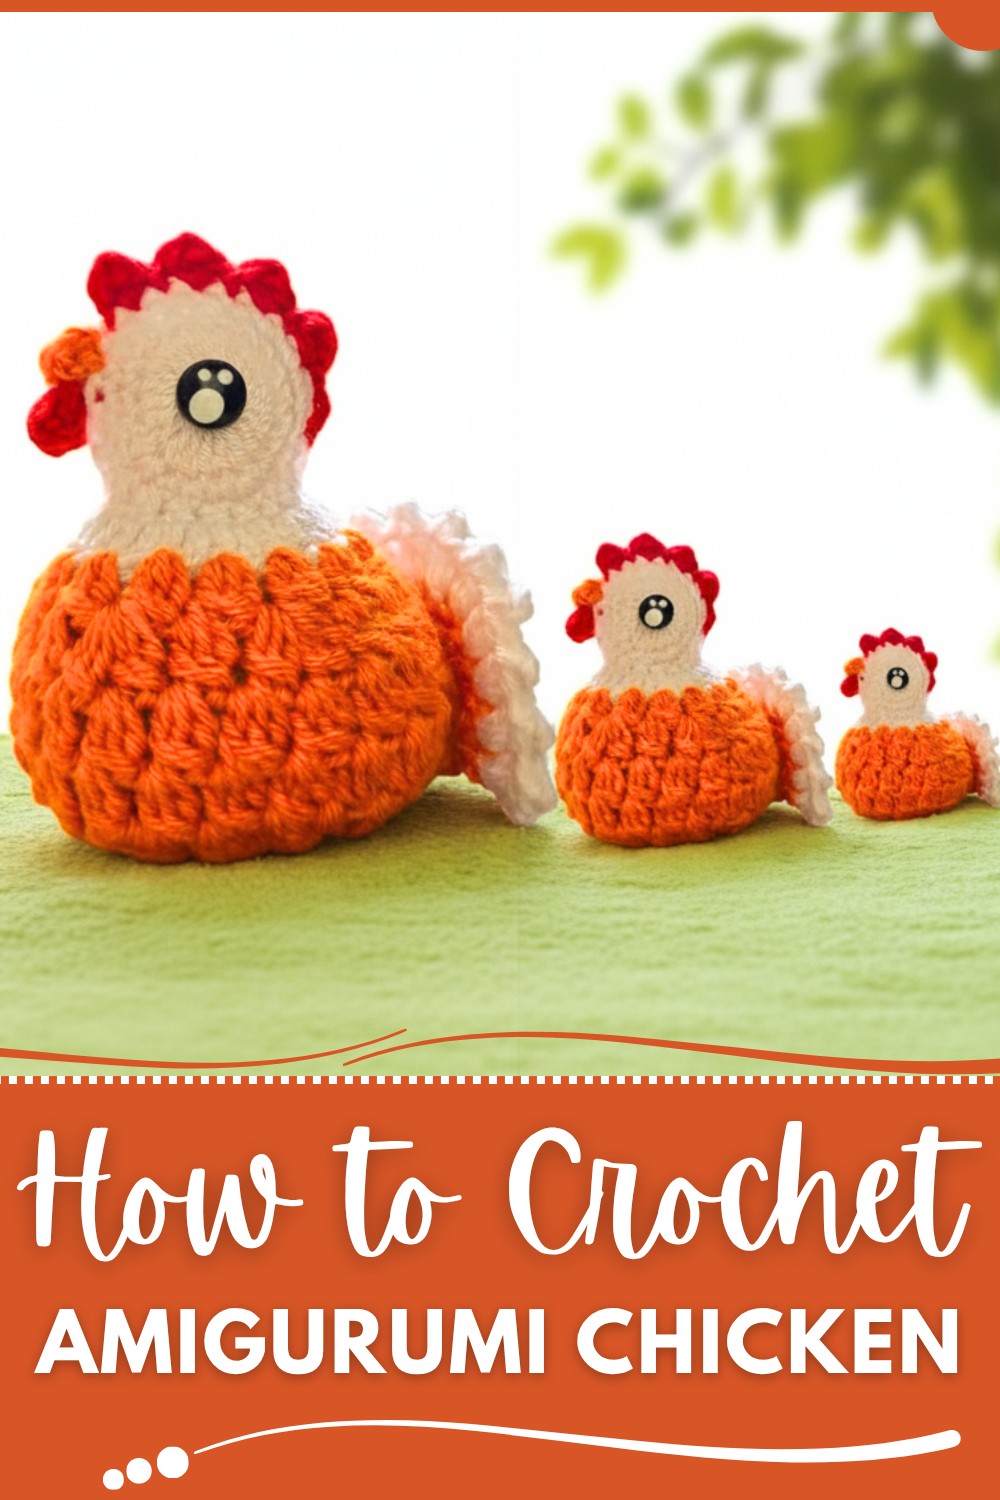
Whether you're looking to create a whimsical kitchen décor piece, a unique gift for animal lovers, or even a quirky desk companion, this project is bound to make you smile. Crocheters of all skill levels can enjoy experimenting with vibrant yarn colors—think bold reds, sunny yellows, or even polka dots—and adding charming details like tiny feet, wings, and expressive eyes.
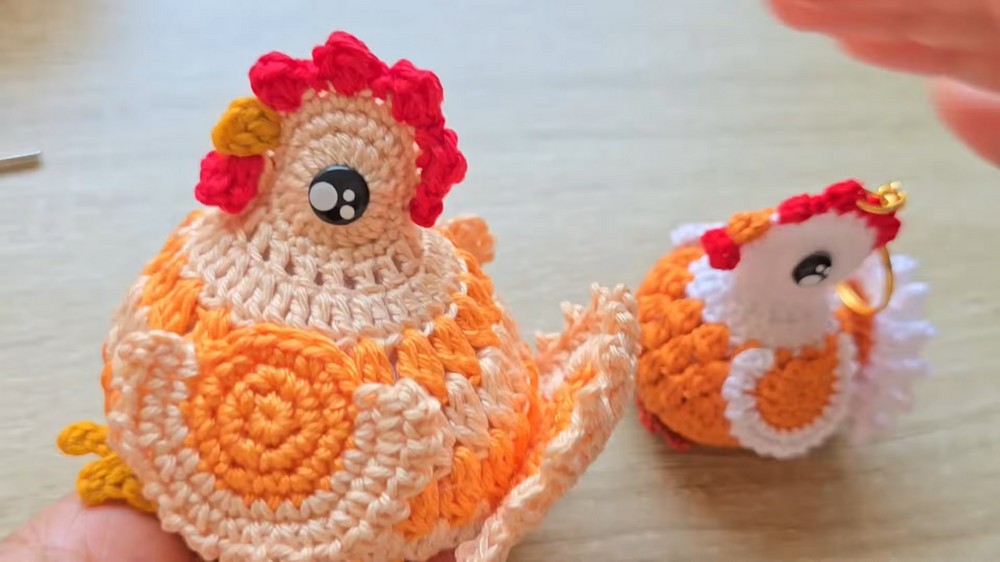
Plus, these chickens are small enough to make quick gifts but detailed enough to challenge your creative side. Perfect for stash-busting and refining your amigurumi skills, the pattern opens up fun opportunities including customizing themes for holidays or personal quirks.
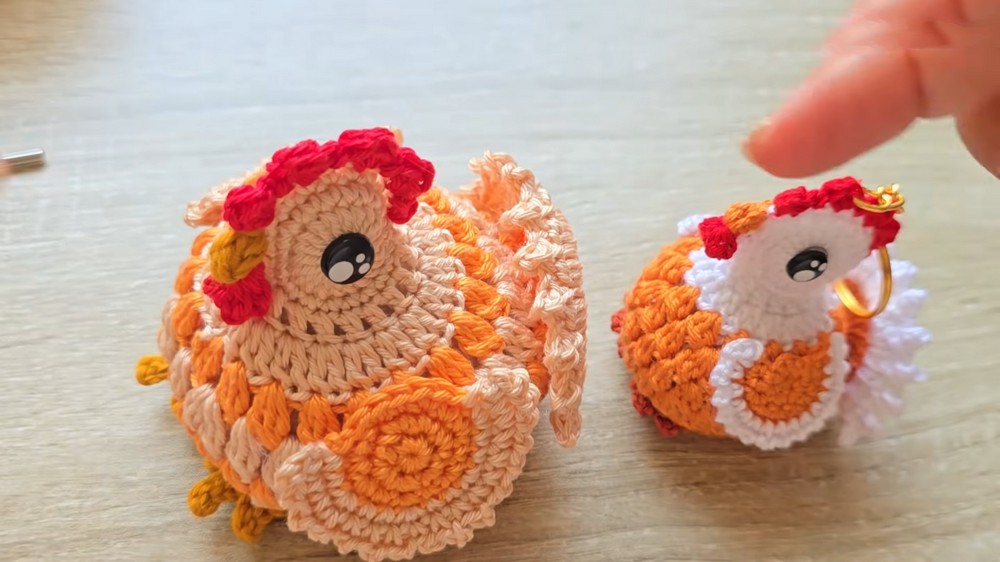
Crochet Hen or Rooster Pattern
Materials
Required Items
- Yarn:
- Acrylic Yarn (#2 Weight): Ensure all yarns used are of similar thickness.
- Main body color: Choose a light or neutral shade (e.g., white or cream).
- Beak and feet: Yellow or orange.
- Comb (top of head): Red or any bright color.
- Wings: Same shade as the body or a contrasting color.
- Thickness should measure 2 mm.
- Acrylic Yarn (#2 Weight): Ensure all yarns used are of similar thickness.
- Hook: 2 mm crochet hook (or a size compatible with your yarn).
- Plastic Safety Eyes: Optional. Use if making the hen decorative or as a toy.
- Scissors
- Tapestry Needle: For weaving in ends and assembling pieces.
- Polyester Fiberfill: For stuffing.
- Silicone Glue: Optional for attaching pieces.
Skill Level
Intermediate
Requires knowledge of working in the round, increasing and decreasing stitches, creating puff stitches, and assembling multiple parts.
Special Techniques Used
- Magic Circle: Creates a clean circular base for seamless stitching.
- Puff Stitch (Bean Stitch): Adds texture and dimension to the hen.
- Slip Stitch: Used for seamless transitions between rounds and sections.
- Foundation Single Crochet: Used to create the feet and comb.
Pattern Instructions
Step 1: The Hen's Body
Round 1:
- Start with a magic circle.
- CH 2 (will not count as a stitch).
- Work 20 DC into the circle and pull the tail tight to close the ring.
- SLST into the first DC to secure.
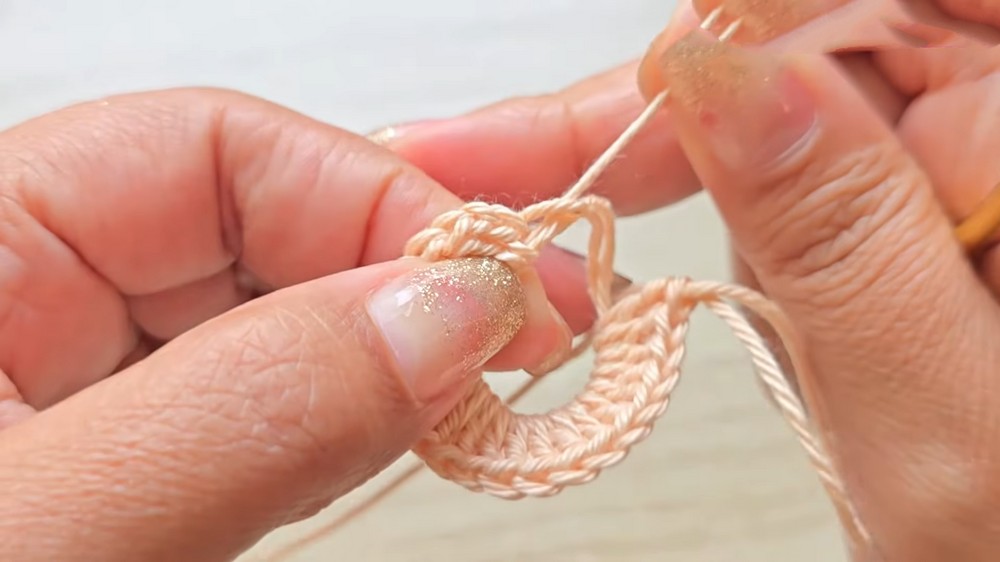
Round 2:
- CH 1, then work 20 SC stitches—1 SC in each space around.
- SLST into the first SC to finish the round.
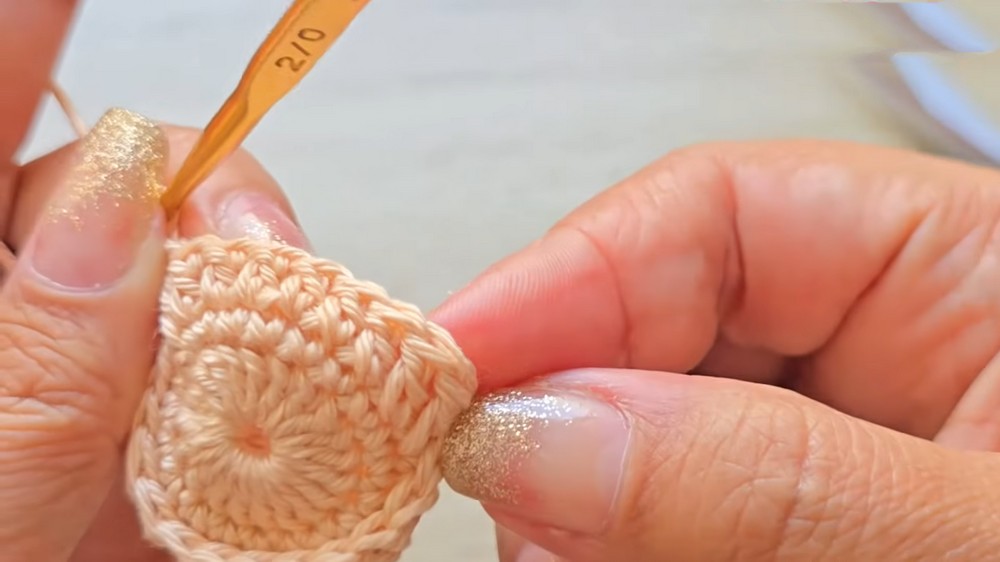
Round 3 (Shaping the Body):
- With the two identical body sections created, hold them together with wrong sides facing inward.
- Match up the stitches and begin crocheting through both layers.
- CH 1, and work SC into each pair of stitches across 13 stitches.
- Leave an opening to insert fiberfill or stuffing later.
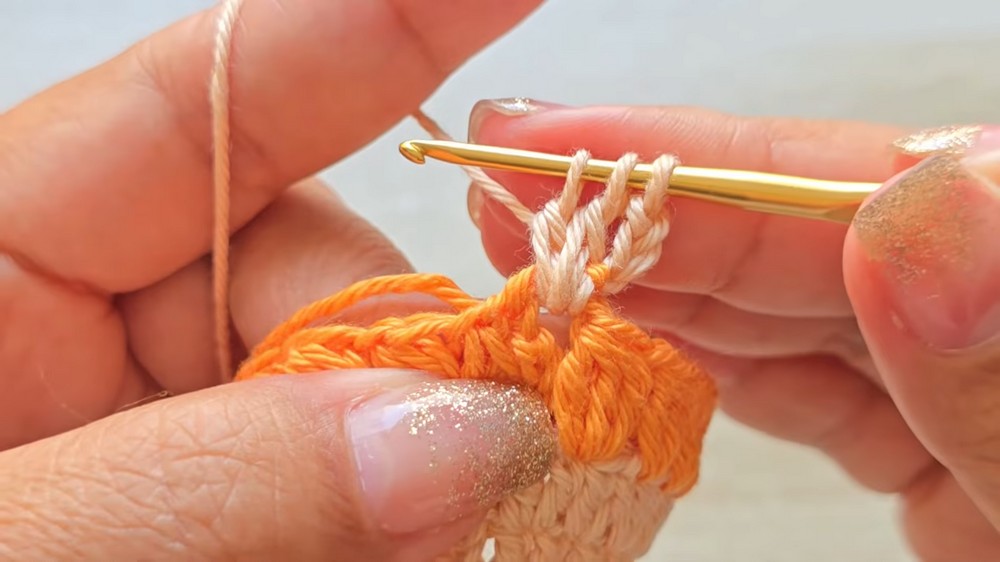
Step 2: Wings (Make 2)
Round 1:
- Create a magic circle.
- Work 6 SC inside the ring. Pull to close tightly and SLST to first stitch.
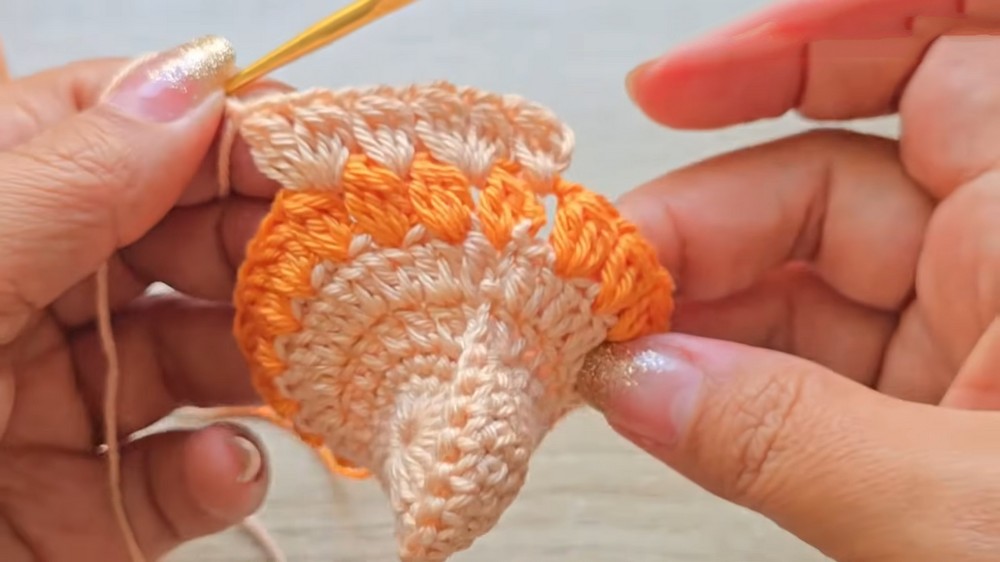
Round 2:
- CH 1, then work 2 SC in each stitch (total = 12 SC).
- SLST to finish the round.
Round 3:
- CH 1, work 1 SC, INC (2 SC in the same stitch) across the round (total = 18 SC).
- SLST to the first SC and fasten off.
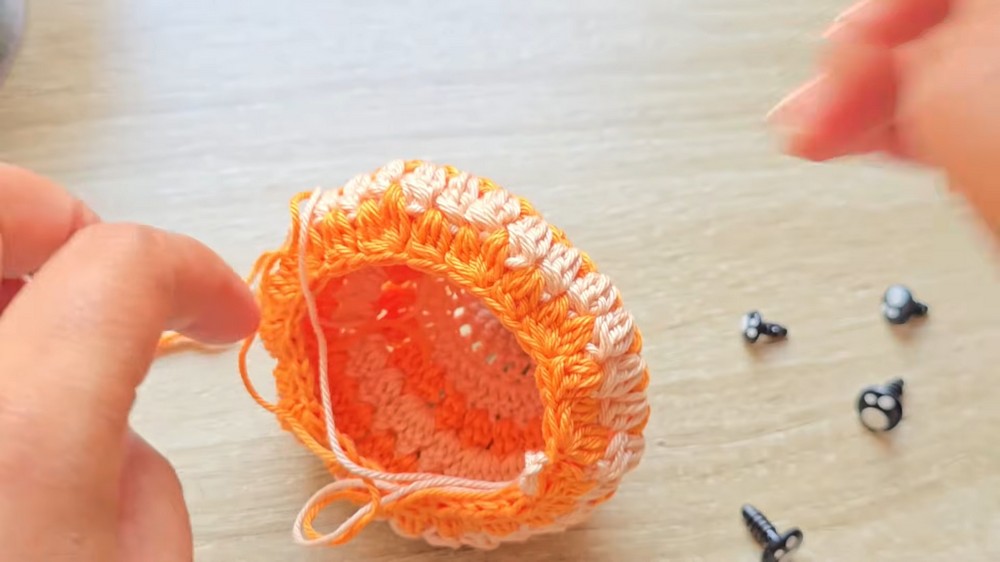
Adding Texture (Wing Edging):
- Attach a contrasting color.
- Start with CH 1, then alternate SC, CH 2 in each stitch to create a decorative edge.
- SLST into final stitch and fasten off.
Step 3: Comb (Top of Head)
Round 1:
- Create a magic circle.
- Work 6 SC inside the ring. Pull to close tightly and SLST to first stitch.
Round 2:
- CH 1, then work 2 SC in each stitch (total = 12 SC).
- SLST into the first SC to finish.
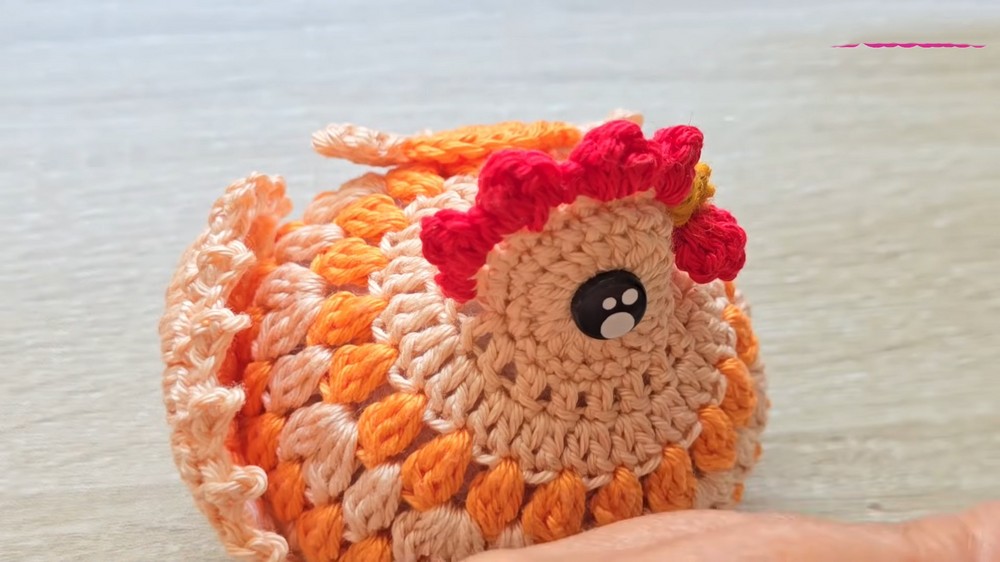
Round 3:
- CH 1, work 1 SC, INC (2 SC in the same stitch) across the round.
- SLST into the first SC and fasten off.
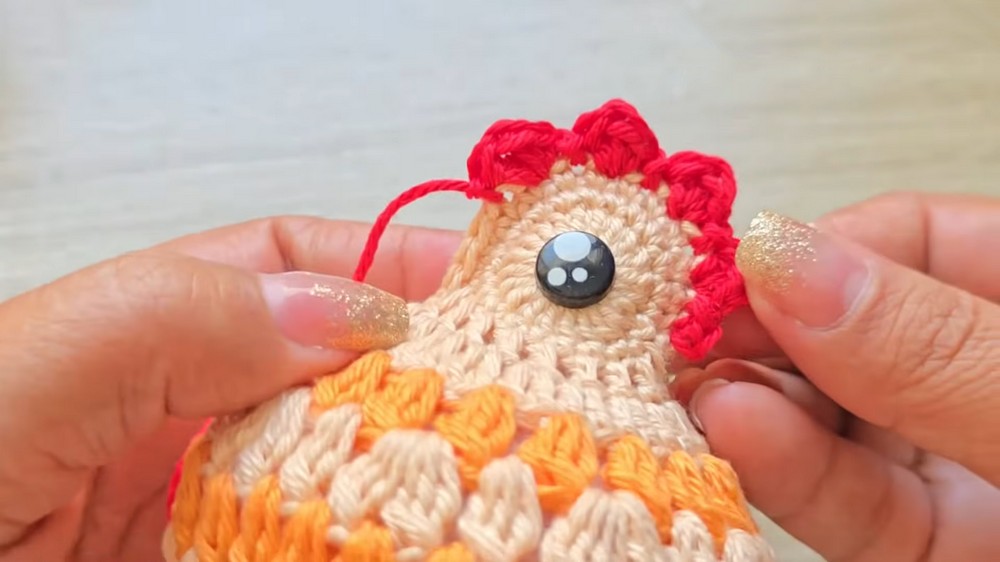
Step 4: Beak
Foundation Chain:
- CH 3 and turn.
- Work 1 SC, 1 DC, both unfinished, then close the stitches together.
- SLST into the next chain to secure.
- Fasten off and weave in ends.
Step 5: Feet (Make 2)
Round 1:
- Create a magic circle.
- Work 6 SC inside the ring. Pull to close tightly and SLST to the first SC.
Foundation Chain for Toes:
- CH 3, skip the first chain, SLST into the next 2 chains.
- SLST back into the base of the foot.
- REP this step for 3 toes.
- Fasten off and weave in ends.
Step 6: Assembly
Stuffing and Closing the Body:
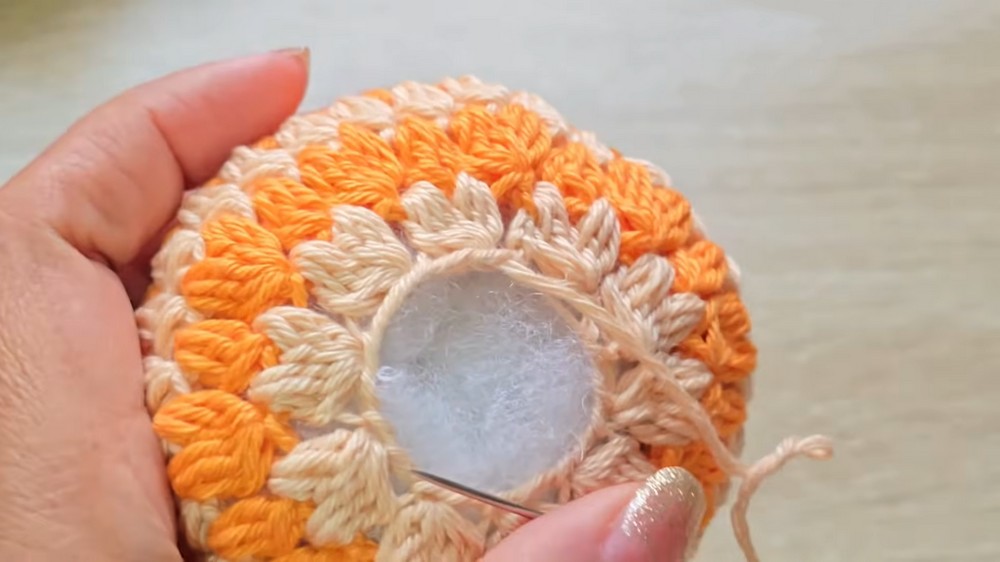
- Fill the hen’s body evenly with fiberfill.
- Push more filling toward the back for a rounded shape.
- Using a tapestry needle, sew the opening shut with SCs while shaping the body.
Attaching Wings:
- Attach wings evenly to the sides of the hen.
- Secure using silicone glue or sew with a tapestry needle.
Securing Comb and Beak:
- Position the comb and beak at the top center of the hen’s head.
- Use glue or thread to secure with small, tight stitches.
Adding Feet:
- Attach feet at the bottom center of the hen’s body.
- Ensure alignment for balance.
Adding Eyes:
- Attach safety eyes to the upper part of the body or embroider them using black yarn.
Finishing the Pattern
- Shaping: Adjust the stuffing and features for symmetry.
- Hiding Ends: Use a tapestry needle to weave in all loose yarn ends.
- Block (Optional): Lightly block the piece to shape and smooth edges.
Final Words
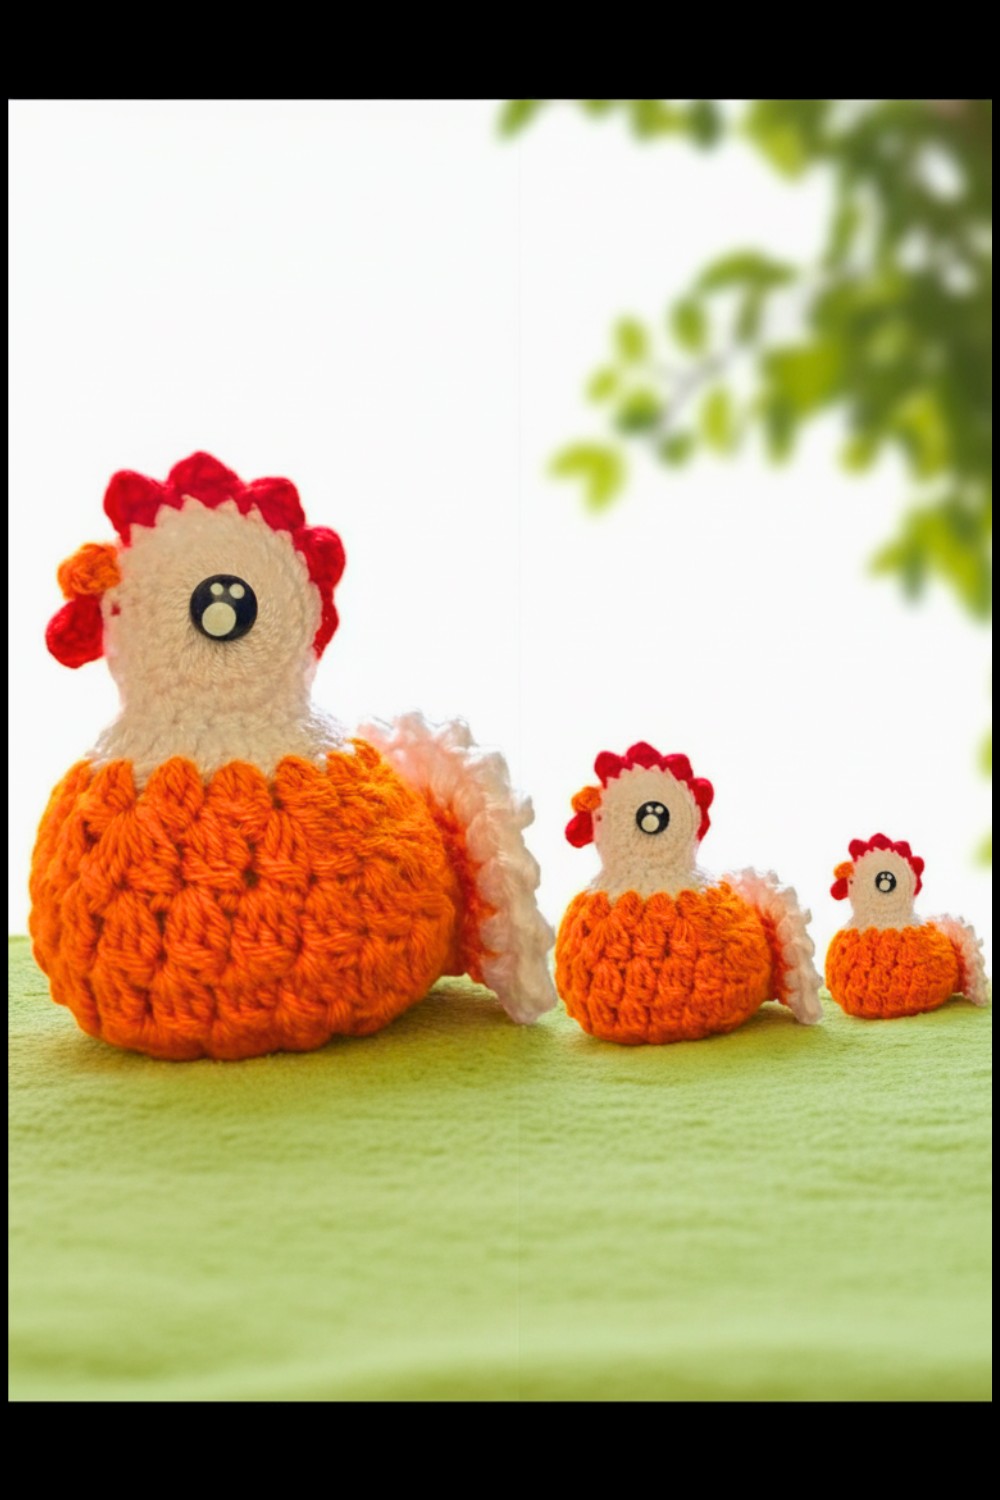
Congratulations! You’ve completed your crocheted hen! This project is perfect for gifting, adding charm to kitchen decor, or crafting as a playful toy.
Tips to Maintain the Pattern
- Customization:
- Change yarn colors to create unique hens.
- Experiment with textures by using variegated or boucle yarn.
- Use Tools Efficiently:
- Silicone glue for quicker assembly.
- Tapestry needles for finer details.
- Care Instructions:
- Hand wash only. Do not stretch while drying.