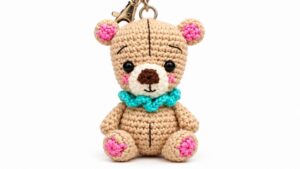
Bring holiday cheer with a charming Crochet Santa Claus that brightens your decorations and makes a perfect handmade gift for loved ones this festive season.
Adding a Christmas feel to your holiday decorations is easy with a Crochet project. This Crochet Santa Claus Christmas Ornament brings a cozy and warm touch to any space. It is soft and light, so it hangs easily without bending branches or adding extra weight.
Mini Crochet Santa Claus Christmas Ornament Free Pattern for Wreaths
The ornament is strong and safe to use around children and pets because it won’t break like glass decorations. This makes it a practical choice for families looking for durable holiday décor that lasts year after year.
Besides being great for hanging on the Christmas tree, the ornament can also decorate wreaths, gifts, or doorways. It adds a personal and friendly vibe wherever it is placed, helping to create a welcoming atmosphere for holiday guests.
These ornaments come in different sizes, so you can pick the one that fits well in your home. The crochet material makes each piece unique and gives a handmade feel that many people enjoy during the holidays.
In summary, the Crochet Santa Claus Christmas Ornament is an easy and lasting way to bring holiday cheer to any room. Its soft and durable design makes it a wonderful addition to your seasonal decorations.
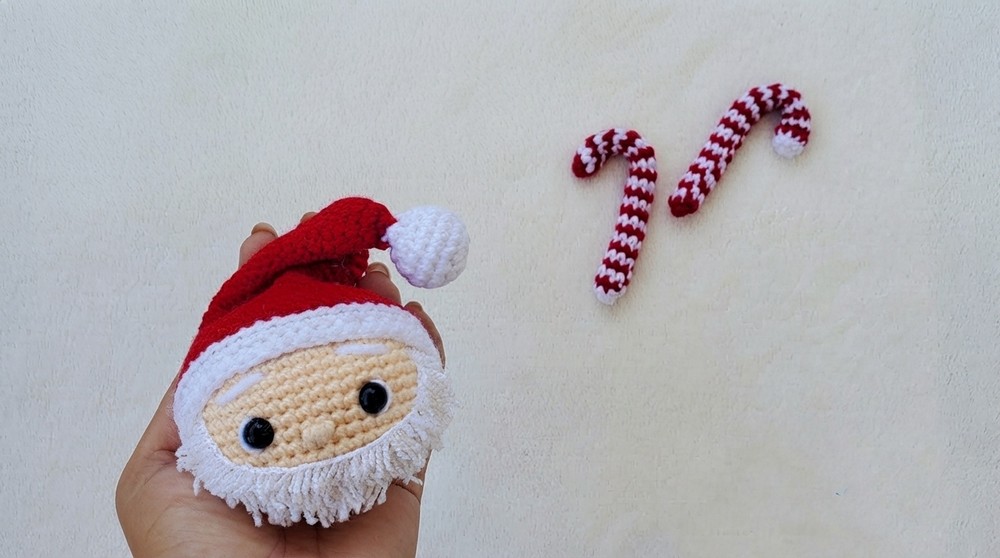
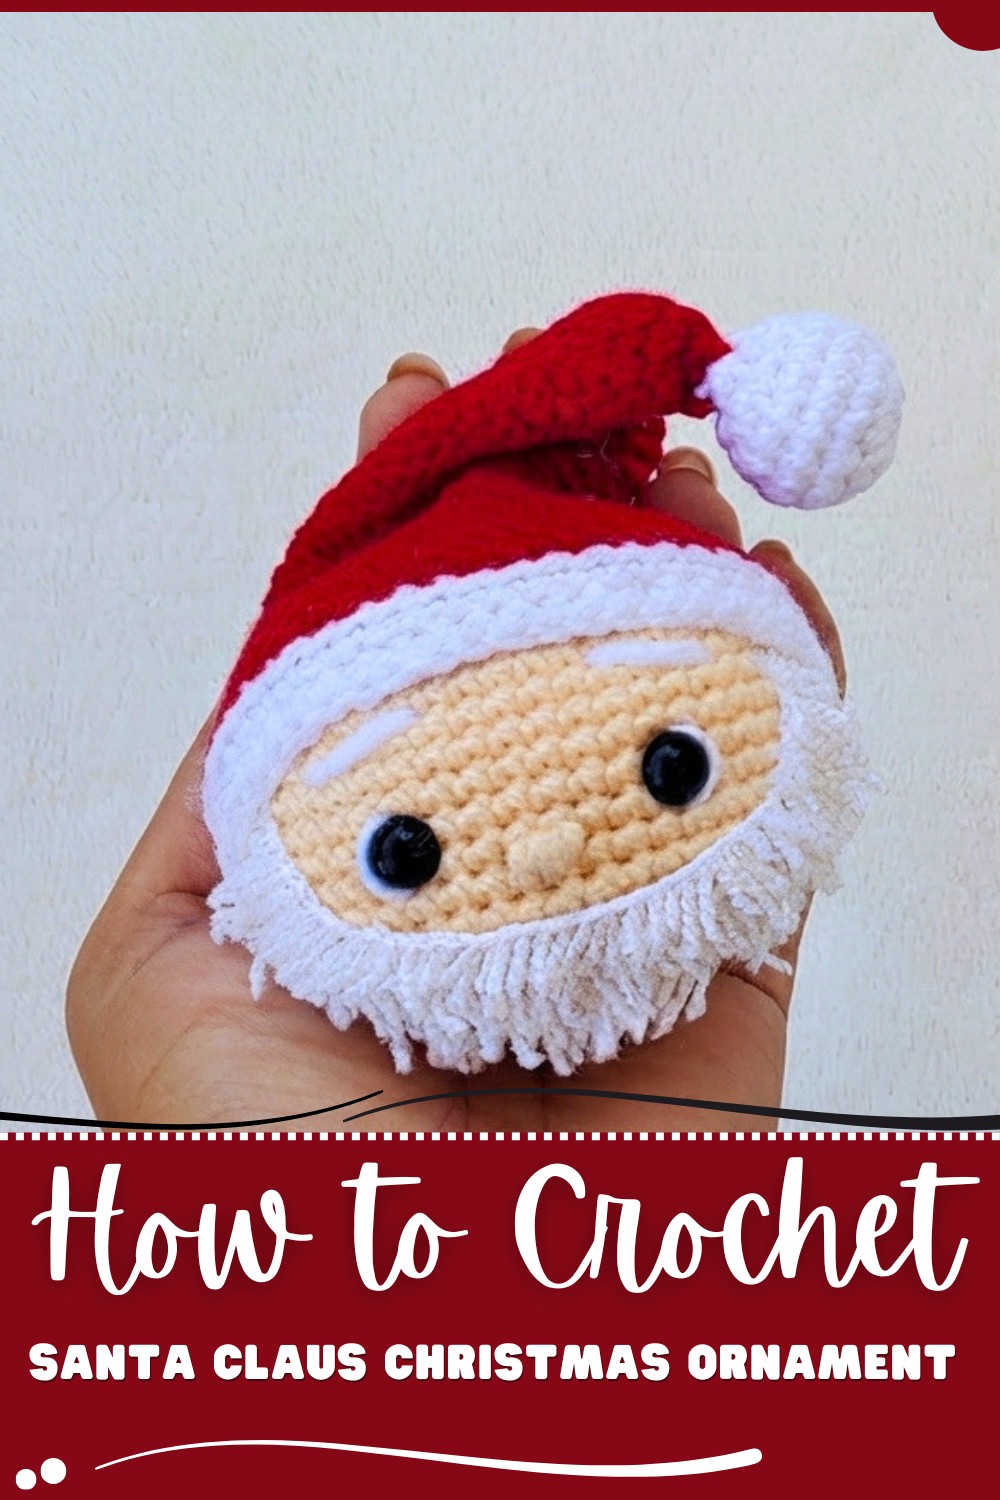
Amigurumi Santa Head Ornament
A charming little Santa head, perfect for decorating your home or Christmas tree. We’ll cover the head, hat, fluffy beard, and embroidered facial details using simple materials and techniques.
Pattern Highlights
• Crocheted in Rounds:
Head and hat are worked seamlessly in continuous rounds.
• Distinct Sections:
Head, cap, pompom, beard, and face details are created and assembled for a classic Santa look.
• Furry Beard:
Uses plush or furry thread, sewn carefully to the face in rows for a luxuriant beard.
• Detailed Features:
Eyebrows, nose, and expressive embroidery are added with worsted & fine thread.
• Customizable:
Easy to adjust size or colors, turn into ornament or décor piece.
Notes
- Use a marker to track the first stitch of each round for accuracy.
- The beard is applied at the end—use fine sewing thread so stitches are as invisible as possible.
- Placement of safety eyes is important for the adorable Santa look—count rounds for correct positioning.
- The head and hat are stuffed and firmly closed to avoid distortion.
- If making as an ornament, attach a festive thread or ring securely to the top.
Skill Level
Adventurous Beginner/Intermediate:
Must be comfortable with amigurumi technique: increasing, decreasing, working in the round, and simple embroidery.
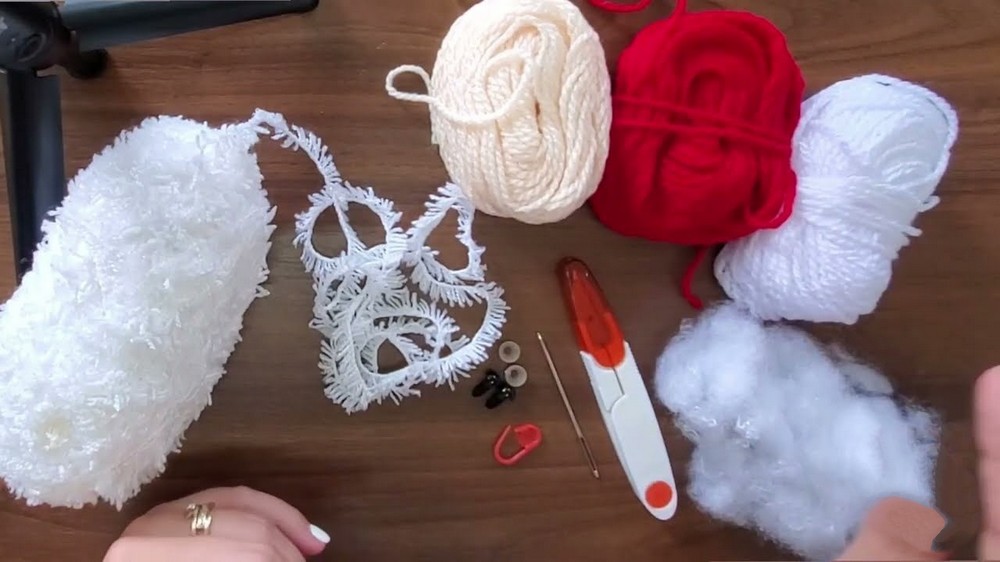
Materials
- 2.5 mm crochet hook
- Yarn: worsted or sport weight in red, white, and “skin” color
- Plush or furry thread (white/cream) for beard
- Synthetic fiberfill stuffing
- 8 mm safety eyes (2)
- Stitch marker
- Yarn needle for sewing and embroidery
- Fine sewing thread (for beard attachment)
- Scissors
- Optional: Gold/red/white thread or ring for hanging
Measurements / Sizing
- Santa Head: Approx. 10 cm (4 in) tall (including pompom)
- Santa Hat Circumference: Fits head snugly at widest part
- Beard: Sized to fit from ear to ear, 4–5 rows deep, covering chin
Gauge
- Gauge is not critical, but be sure your stitches are tight enough to prevent stuffing from showing through.
Stitch Abbreviations
| Abbreviation | Term |
|---|---|
| ch | chain |
| sc | single crochet |
| inc | increase (2 sc in one st) |
| dec | decrease (sc2tog) |
| sl st | slip stitch |
| rnd(s) | round(s) |
Special Stitches
- Magic ring: Adjustable loop for amigurumi starts.
- Invisible decrease: Insert hook in front loop of next two stitches, pull through and sc to close—minimizes holes.
- Back loop only: Insert hook only under back loop of the stitch (for hat brim shaping).
Crochet Guide
Santa Head
Rnd 1:
- With skin color, make a magic ring. 6 sc in ring. (6)
Rnd 2:
- [1 sc in next st, 3 sc in next st] x 3, [1 sc in next st, 3 sc in next st] x 2. (14)
Rnd 3:
- 3 sc, 2 inc, 5 sc, 2 inc, 2 sc. (18)
Rnd 4:
- 2 sc, [1 sc, inc] x3, 3 sc, [1 sc, inc] x3, 1 sc. (24)
Rnd 5:
- 2 sc, [2 sc, inc] x3, 3 sc, [2 sc, inc] x3, 1 sc. (30)
Rnd 6:
- 3 sc, inc, 3 sc, inc, 3 sc, inc, 3 sc, inc, 3 sc, inc, 3 sc. (36)
Rnd 7:
- 3 sc, inc, 4 sc, inc, 4 sc, inc, 3 sc, inc, 4 sc, inc, 4 sc. (42)
Rnd 8:
- 6 sc, [inc, 3 sc] x3, 9 sc, [inc, 3 sc] x3, 3 sc. (48)
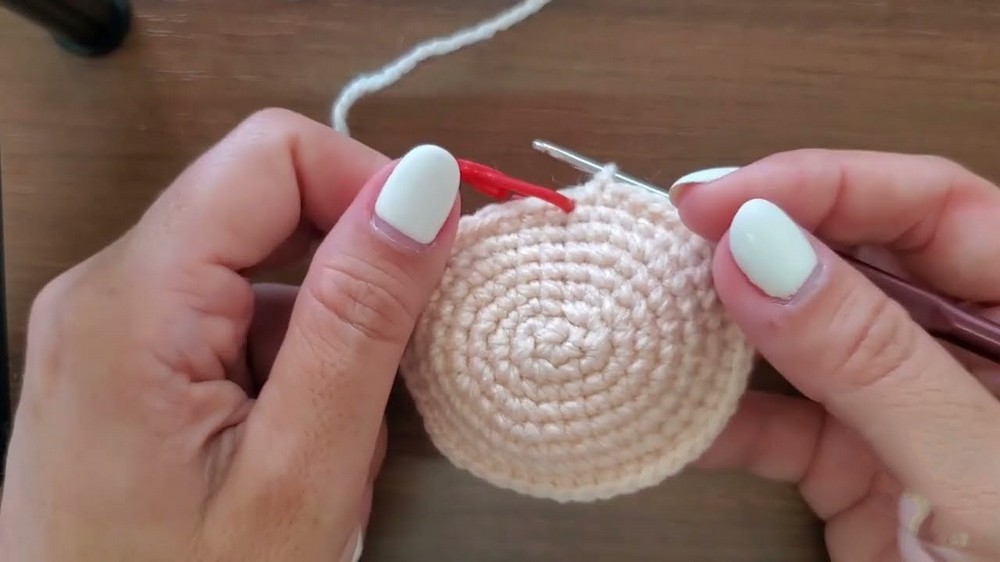
Rnd 9–18:
- sc in all 48 sts (10 rounds). (48)
Rnd 19:
- 6 sc, [dec, 3 sc] x3, 9 sc, [dec, 3 sc] x3, 3 sc. (42)
Rnd 20:
- 3 sc, [dec, 4 sc] x3, 3 sc, [dec, 4 sc] x3, 4 sc. (36)
Now position 8mm safety eyes between rounds 12 and 13, 9 stitches apart.
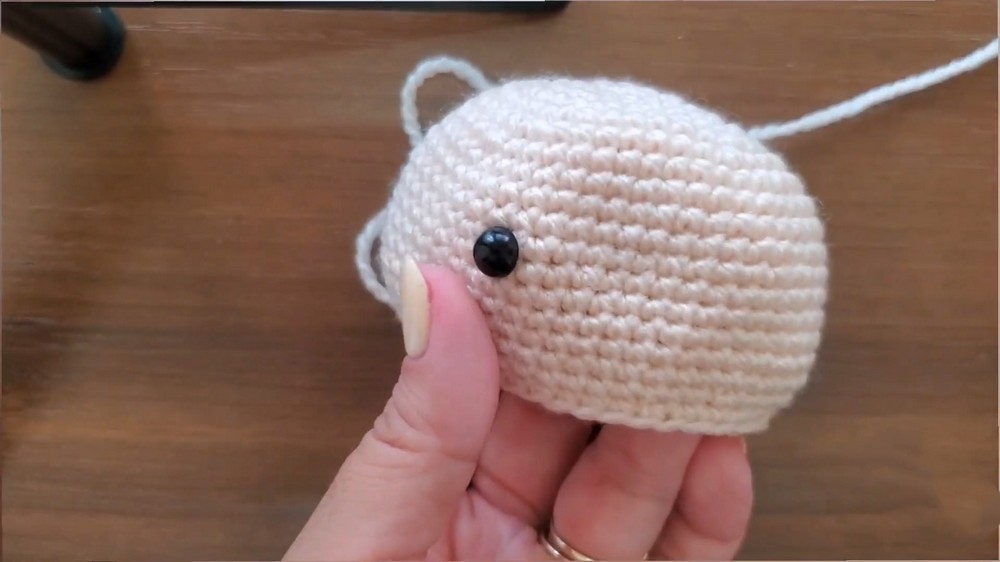
Rnd 21:
- 4 sc, [dec, 3 sc] x3, 3 sc, [dec, 3 sc] x3, 2 sc. (30)
Rnd 22:
- 2 sc, [2 sc, dec] x3, 3 sc, [2 sc, dec] x3, 1 sc. (24)
Rnd 23:
- [sc, dec] x8. (16)
— Stuff head firmly.
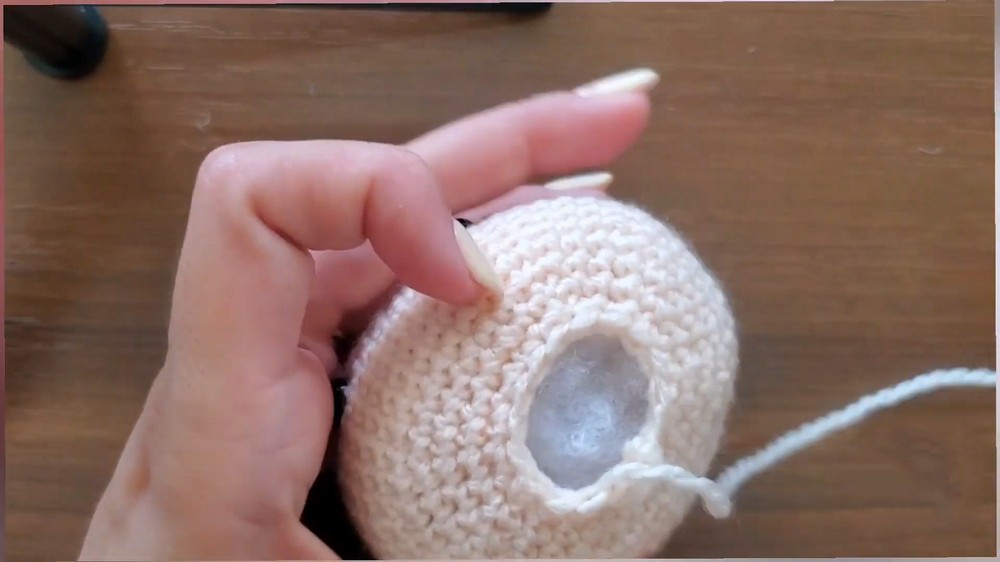
Rnd 24:
- [dec] x8. (8) Finish stuffing, close hole using yarn needle, picking up front loops of each remaining st and pulling tight. Weave thread discreetly to finish.
Santa Hat
Brim:
- With white yarn, ch 48. Join to first ch with sl st. (48)
Rnd 1–2:
- Sc in each st around. (48)
Rnd 3:
- Switch to red yarn, work 1 round sc in back loops only. (48)
Rnd 4–5:
- Sc in each st around. (48)
Rnd 6:
- [10 sc, dec] x4. (44)
Rnd 7–8:
- Sc in each st around. (44)
Rnd 9:
- [9 sc, dec] x4. (40)
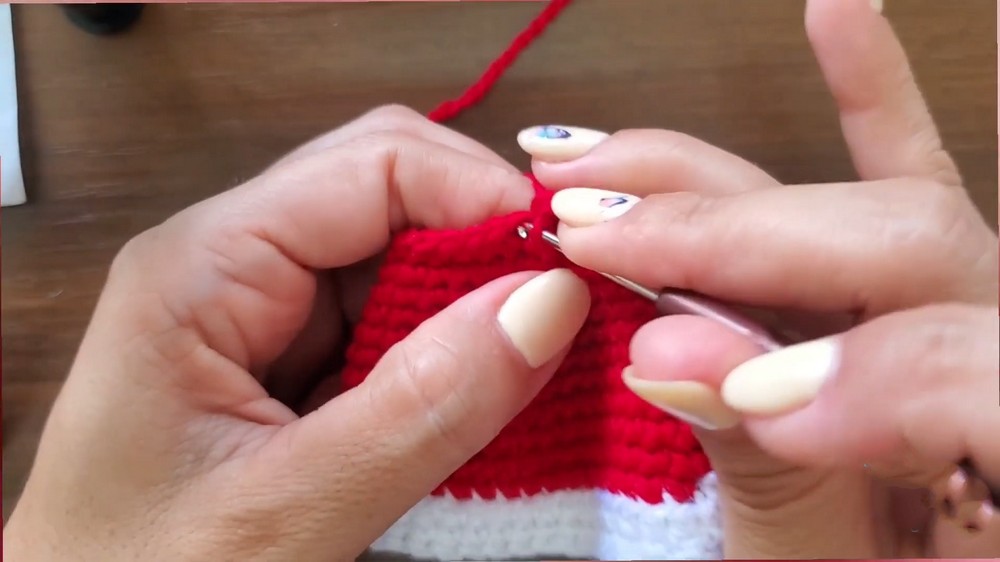
Rnd 10:
- Sc in each st around. (40)
Rnd 11:
- [8 sc, dec] x4. (36)
Rnd 12:
- Sc in each st around. (36)
Rnd 13:
- [7 sc, dec] x4. (32)
Rnd 14:
- Sc in each st around. (32)
Rnd 15:
- [6 sc, dec] x4. (28)
Rnd 16:
- Sc in each st around. (28)
Rnd 17:
- [5 sc, dec] x4. (24)
Rnd 18–20:
- Sc in each st around. (24)
Rnd 21:
- [4 sc, dec] x4. (20)
Rnd 22–24:
- Sc around. (20)
Rnd 25:
- [3 sc, dec] x4. (16)
Rnd 26:
- Sc around. (16)
Rnd 27:
- [2 sc, dec] x4. (12)
Rnd 28:
- Sc around. (12)
Rnd 29:
- [sc, dec] x4. (8)
Rnd 30–31:
- Sc around. (8)
Rnd 32:
- [2 sc, dec] x2. (6)
Finish and leave long tail to sew pompom.
Pompon
Rnd 1:
- Magic ring, 6 sc. (6)
Rnd 2:
- 2 sc in each st (6 inc). (12)
Rnd 3:
- [sc, inc] x6. (18)
Rnd 4–5:
- Sc around. (18)
Rnd 6:
- [sc, dec] x6. (12)
Stuff, then:
Rnd 7:
- [dec] x6. (6)
Leave tail for sewing, close with yarn needle.
Assembly & Finished Size
- Attach hat to Santa’s head by sewing or gluing.
- Sew pompom securely to tip of the hat.
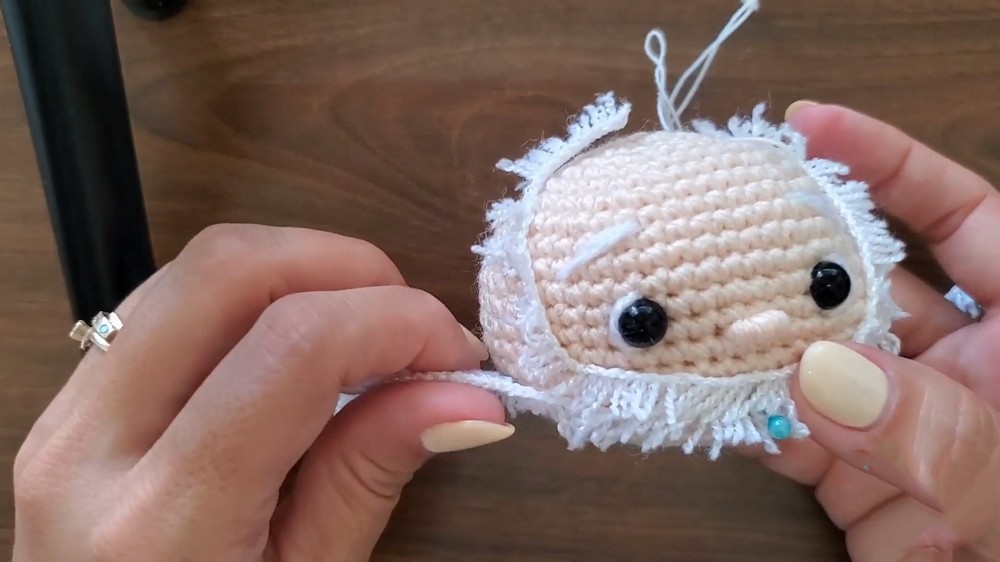
- Use plush thread for the beard:
- Arrange around Santa’s chin and cheeks (use pins to hold).
- Secure with discrete small stitches across five or more points.
- Add as many beard “rows” as needed for desired fullness.
- Embroider:
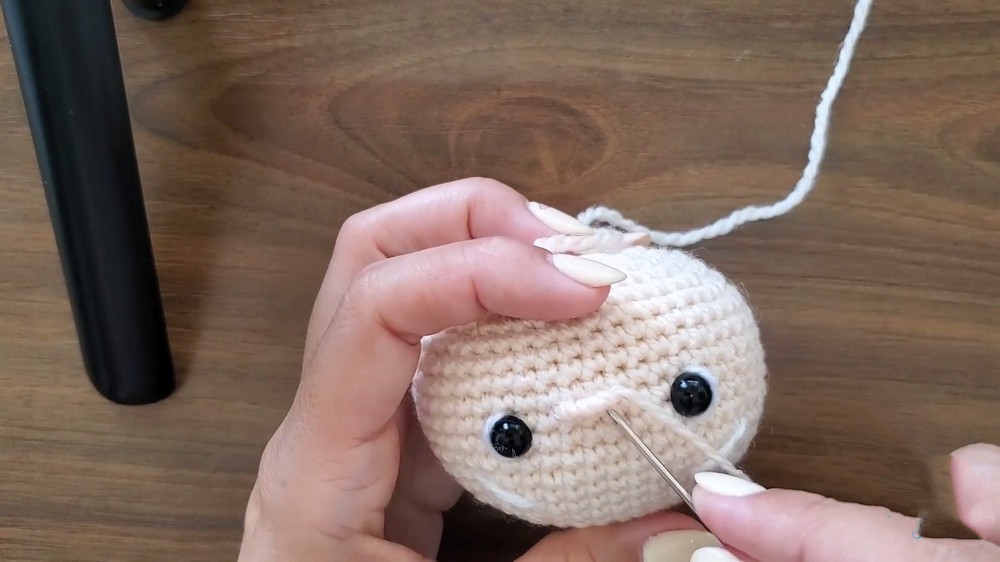
- Eyebrows: Short thick diagonal lines above eyes, second longer line below, using knitting thread.
- Nose: Embroider a horizontal satin stitch between eyes, coil yarn over it for a rounded nose.
- Secure all ends, arrange beard hairs neatly, and attach a hanging ring or thread.
Finished size:
Santa head (with hat and beard) is about 10–12 cm tall.
Conclusion and Ending Words
Crocheted Santa head is complete—a wonderful addition to your holiday decor or as a handmade gift. With a fluffy beard, twinkling eyes, and a classic red hat, this ornament embodies Christmas spirit!