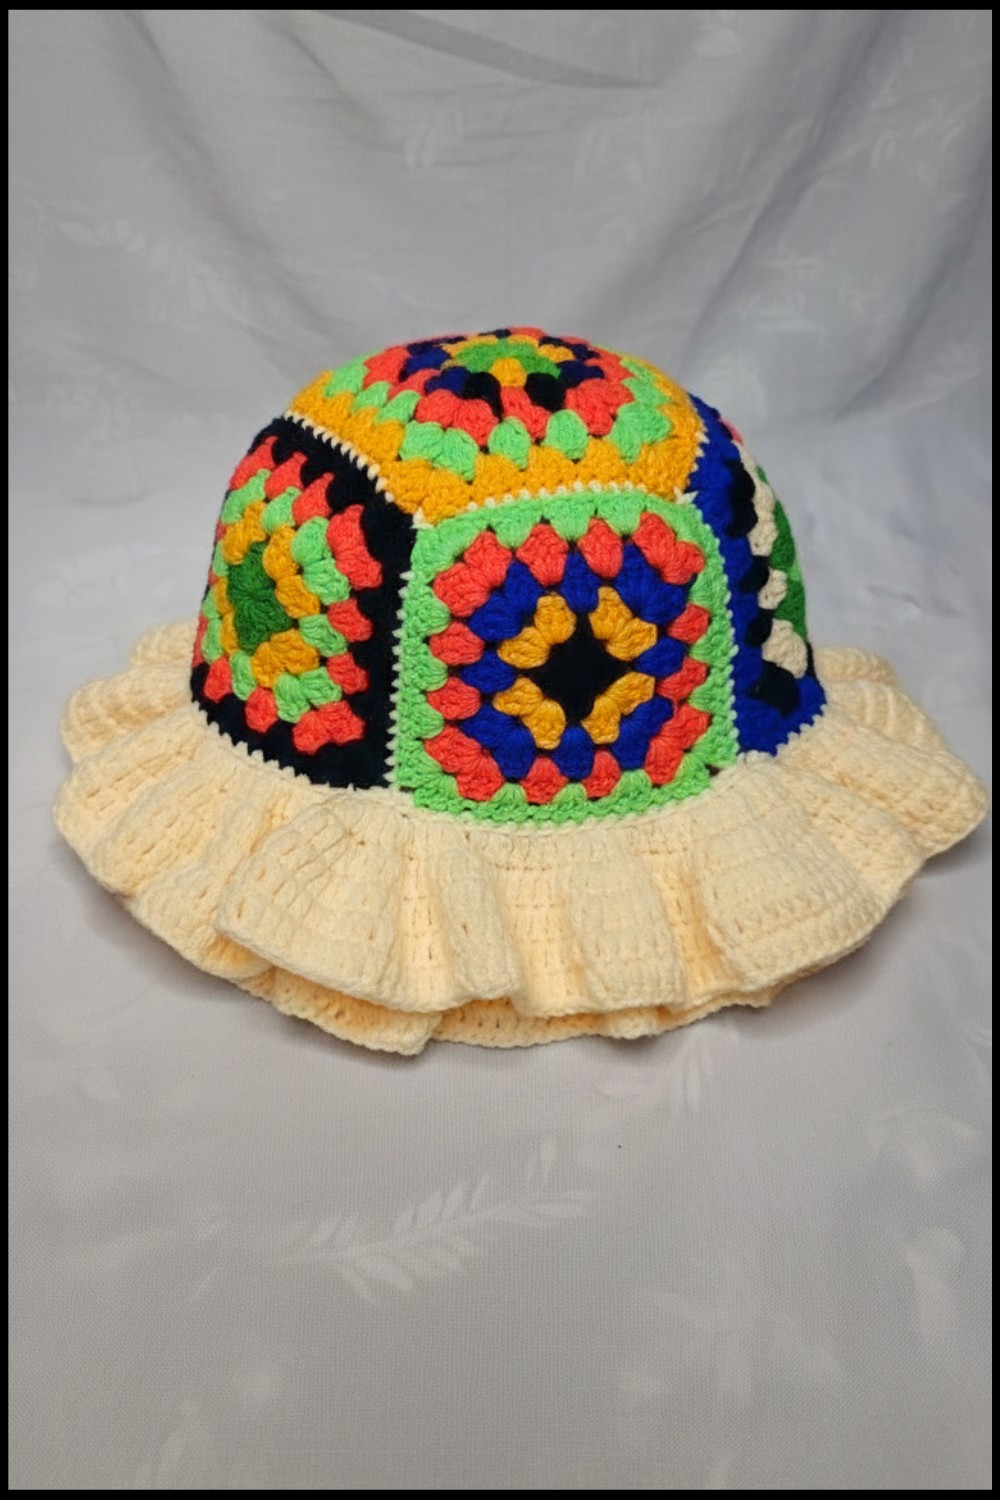
Slip on pure comfort with free crochet granny square bucket hat pattern that adds charm and color for anyone to enjoy on sunny or rainy days.
Let your eyes catch the shapes and colors that are full of life in every part of the hat. The Crochet Granny Square Bucket Hat pattern turns soft yarn into tiny squares that build a bright and friendly brim wrapping your head in warmth and style. It looks like a garden of cheerful flowers and blocks joined together making it truly special. You can wear this hat for sunny and rainy days because it shields your eyes and keeps you comfortable wherever you are.
Free Classic Crochet Granny Square Bucket Hat Pattern for Everyone
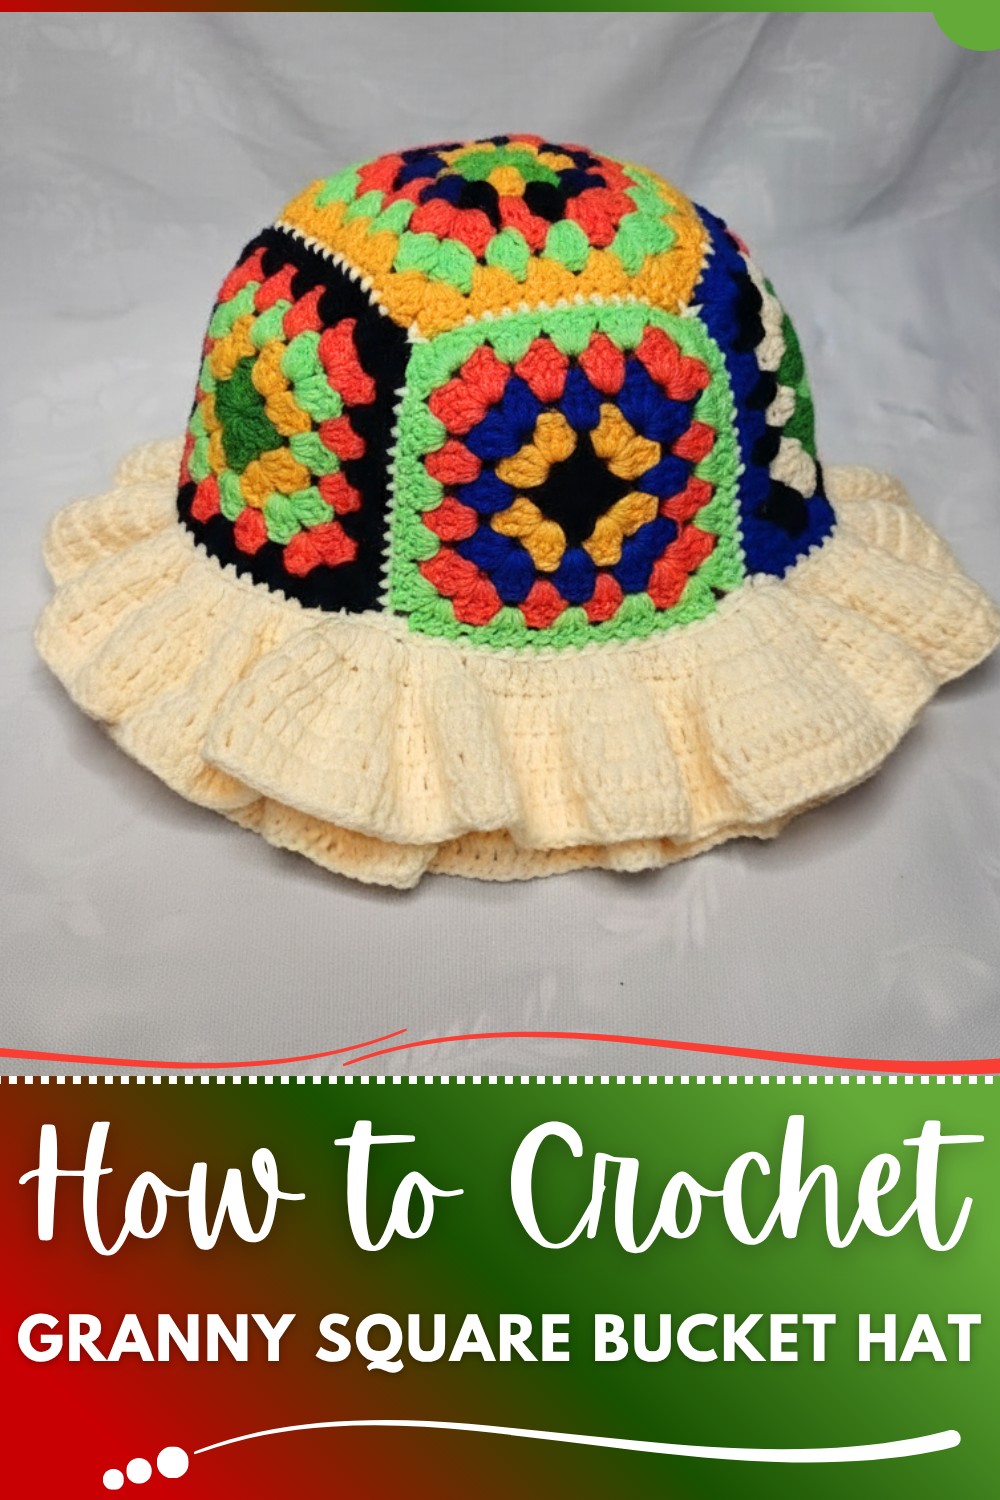
The fit feels gentle around your head and the colors can match your favorite clothes or be bold and fun. With easy-to-follow steps anyone can use this pattern to make something beautiful for themselves or for family. The design is playful and strong so the hat stays neat and holds its shape. People often use this hat for outdoor walks and picnics because it feels good and looks fresh.
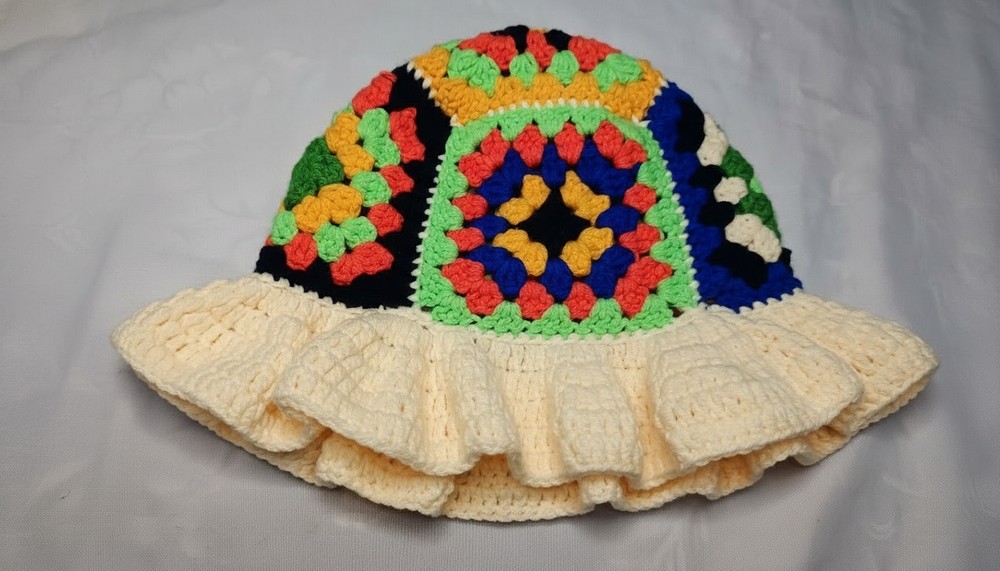
Granny Square Bucket Hat Crochet Pattern
Materials
- Yarn: Worsted weight acrylic yarn in desired colors (at least 5 colors for a multicolor look)
- Hook: 4.5 mm crochet hook (or recommended size for your yarn)
- Other:
- Scissors
- Measuring tape
- Yarn needle (for weaving in ends)
- Stitch marker (optional)
Key Abbreviations (US Terms)
- ch: chain
- sl st: slip stitch
- sc: single crochet
- dc: double crochet
- st: stitch
- sp: space
- yo: yarn over
Special Notes
- Each hat is made using five granny squares measuring approximately 4.5" x 4.5" each.
- Adjust the number of rows in the granny square to match this measurement or your preferred hat size.
- You may change color each round for a patchwork look, or keep it single-colored as desired.
- The brim is worked in the round after joining granny squares.
- All increases and joins are made using standard granny square and single crochet techniques.
- All rounds are joined with a slip stitch unless indicated.
Instructions
1. Making a Granny Square (Make 5)
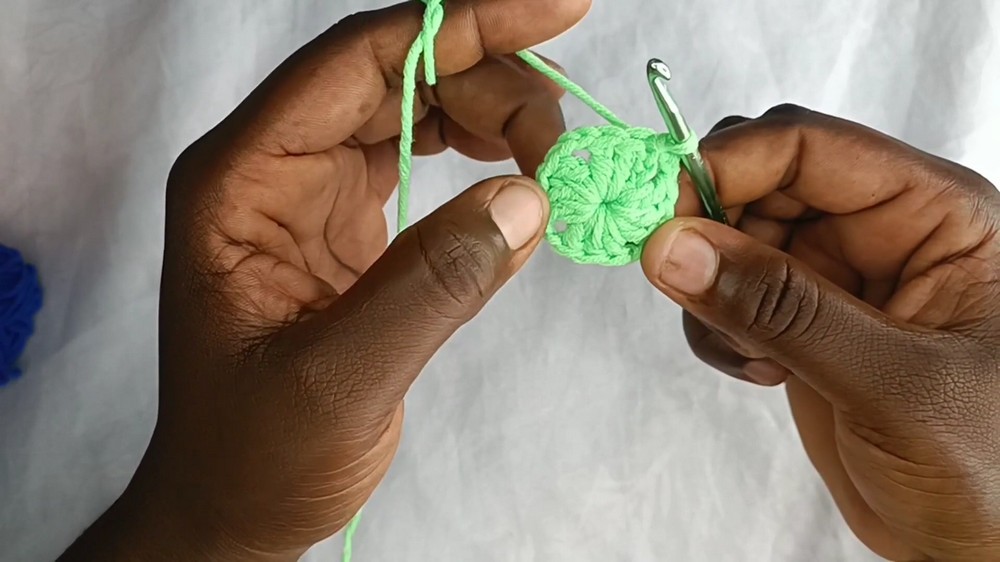
Round 1
- Make a slip knot.
- Ch 4, join with a sl st to the first ch to form a ring.
- Ch 3 (counts as 1st dc), 2 dc in ring, ch 2.
- [3 dc in ring, ch 2] 3 times (you should have 4 groups of 3 dc with ch-2 corners).
- Sl st to top of starting ch-3 to join.
- Fasten off. Pull tight, weave in ends, and pull the center to close the hole.
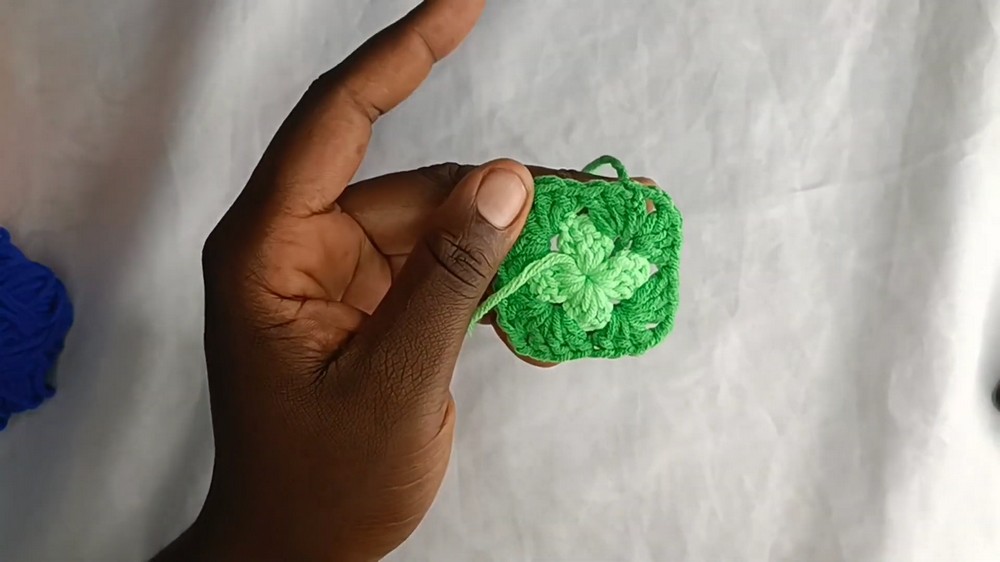
Round 2 (Join new color in any ch-2 corner)
- Join new yarn, ch 3 (counts as dc), 2 dc in same corner sp.
- In next corner: (3 dc, ch 2, 3 dc) in same corner sp.
- Continue: [3 dc in corner sp, ch 2, 3 dc in same sp] for each remaining corner.
- After last set, sl st to top of starting ch-3. Fasten off and weave in ends.
Round 3 and 4 (Add new color each round as desired)
- Join new color into any sp between clusters. Ch 3 (counts as dc), 2 dc in same sp.
- For side spaces: 3 dc in each sp between clusters.
- In each corner: (3 dc, ch 2, 3 dc) in ch-2 corner.
- Continue around, join with sl st at end of round. Fasten off, weave in ends.
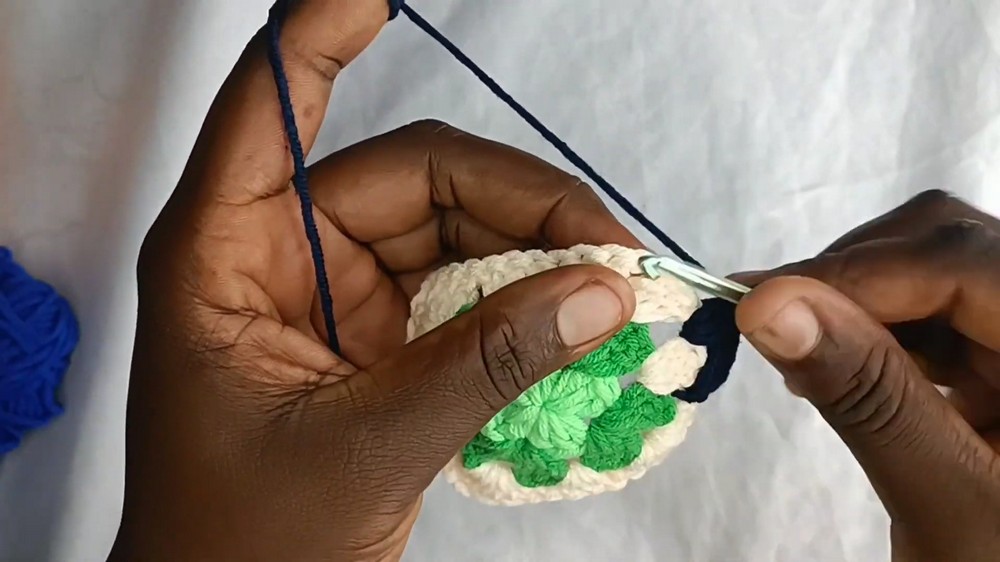
Round 5 (repeat above)
- Continue pattern of 3 dc in each side sp, and (3 dc, ch 2, 3 dc) in corners, until your granny square reaches 4.5 inches in width. Usually this requires 5 rounds. Fasten off and weave in all ends.
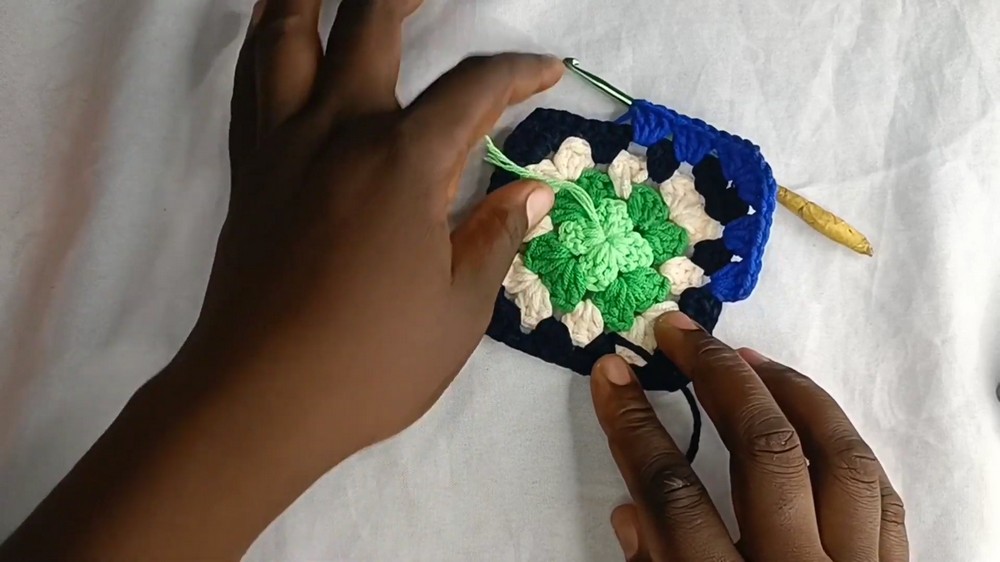
Tip: If using thinner yarn, add extra rounds to reach desired size.
2. Assembling the Hat Panels
- Arrange 5 granny squares in a cross format (1 center, 4 sides).
- With right sides facing together and joining color, slip knot and join yarn in the corner of two adjacent squares.
- Join squares:
- Work sc through both squares, matching stitches exactly (work through both layers).
- Continue along one side only, stopping before the corners if not joining all at once.
- Do not join corners until adding a new square.
- Continue to join the 4 side squares to the center square, one by one, in a cross shape.
- After joining all sides, join remaining side edges of side squares to each other (forming a “bucket” shape for the crown).
- Weave in all ends. Turn right side out.
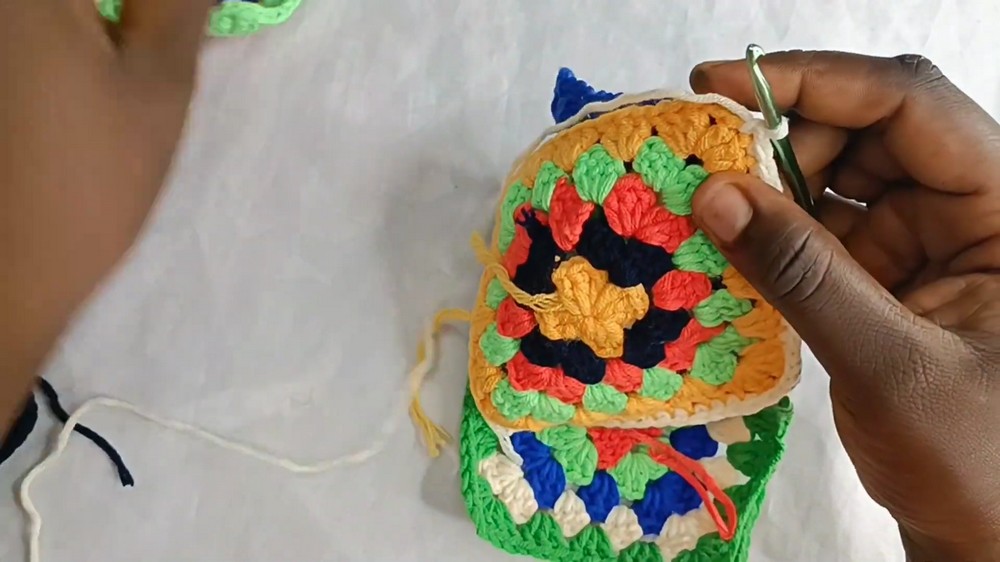
3. Creating the Joining Seam
- To close the open crown, join side seams in the same way as above:
- Insert yarn into the corners, sc through both squares.
- Continue down the entire edge, matching and joining all.
- Repeat for each unattached side until hat crown is fully formed and closed.
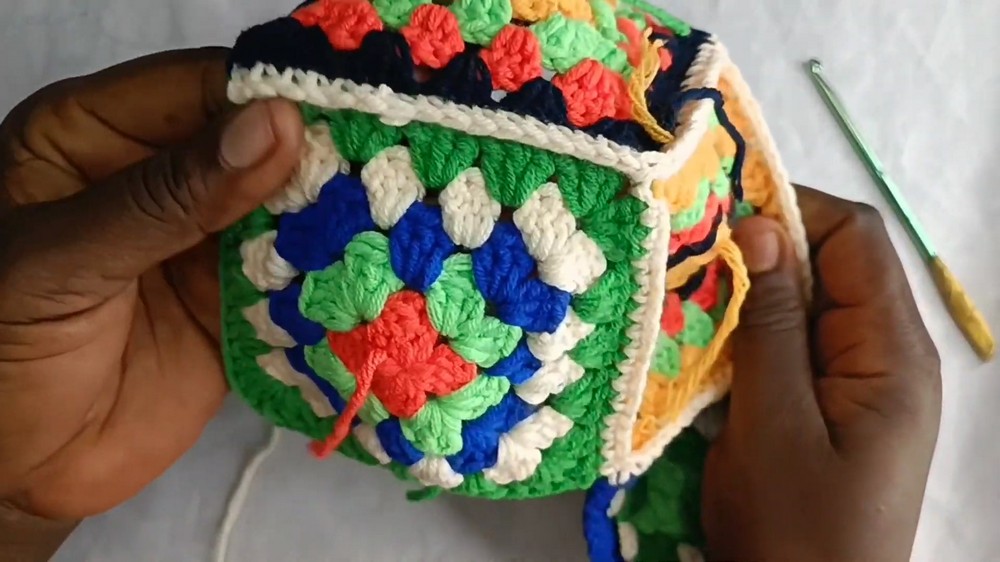
4. Working the Hat Brim
Brim Set-Up Round (Single Crochet)
- Attach yarn at any point along hat edge, ch 1 to secure.
- Work 1 sc in each st around the base of the hat:
- Work loosely and evenly; place stitch marker if needed to mark start of round.
- Join with sl st to the first sc at the end of the round.
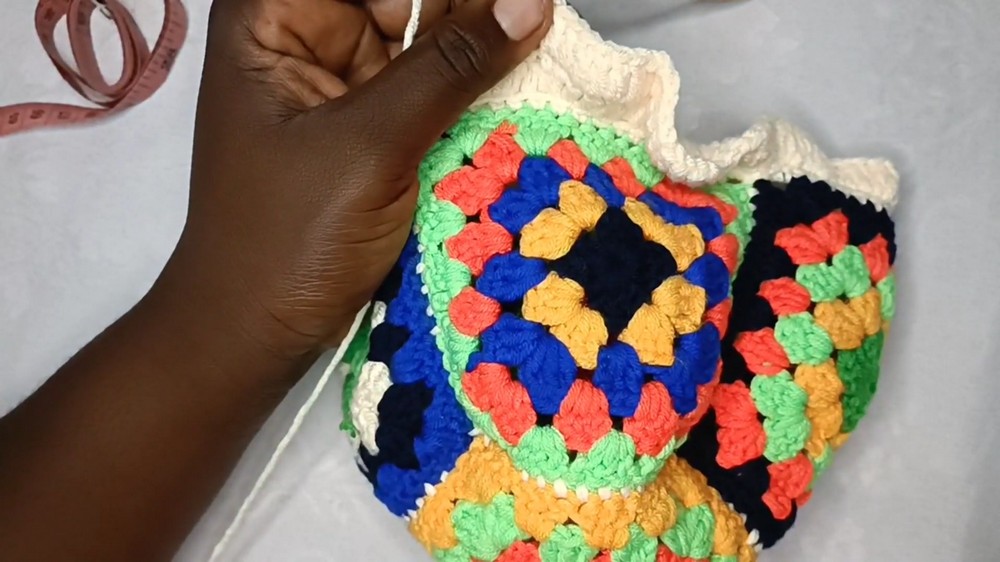
Brim Round 1 (Begin Double Crochet and Increases)
- Ch 3 (counts as first dc).
- [In back loop only] dc in next st.
- Next st: 2 dc in same st (increase).
- Alternate: dc in next st, 2 dc in next st; repeat around the brim.
- Join with sl st to starting ch-3.
Brim Round 2
- Ch 3.
- Dc in next 2 sts, then 2 dc in next st (increase). (Work in both loops for all dcs from now.)
- Repeat: dc in next 2 sts, 2 dc in next st around.
- Join with sl st to starting ch-3.
Brim Round 3
- Ch 3.
- Dc in next 3 sts, then 2 dc in next st (increase).
- Repeat: dc in next 3 sts, 2 dc in next st around.
- Join with sl st to starting ch-3.
Brim Rounds 4 & 5 (No Increases)
- Ch 3.
- Dc in each st around.
- Join with sl st to starting ch-3.
- Repeat for total of 2 rounds (or to desired brim length).
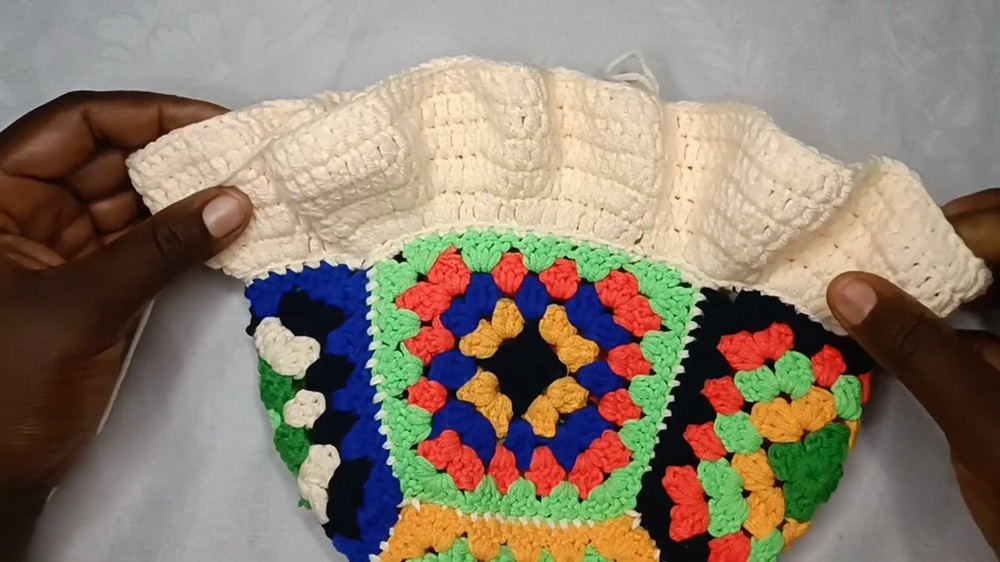
Brim should be about 3 inches wide after 5 rounds; add more rounds if you want greater sun coverage.
5. Finishing
- Fasten off yarn and weave in all ends with a yarn needle.
- Turn hat right side out, gently shape brim.
- Optional: Lightly block the granny squares or brim for sharper shape if desired.
Conclusion
You have now successfully crocheted a trendy granny square bucket hat using a fun mix of colors and the classic granny square technique! This hat is excellent for using yarn scraps, creating unique color stories, and making a practical, fashionable accessory.
Pattern Corrections & Tips
- Square Size: Ensure all granny squares are exactly the same size for the best shape. Adjust with additional rounds if necessary.
- Joining: For a flatter seam, use slip stitch instead of single crochet if you prefer. Always join with right sides together for a neater outer finish.
- Brim Shape: If brim starts to ruffle, reduce number of increases; if it curls in, add more.
- Custom Fit: For larger or smaller hats, increase/decrease square size or add/remove a round of brim.
- Finishing: Blocking finished hat can help smooth and shape the brim for a professional look.