
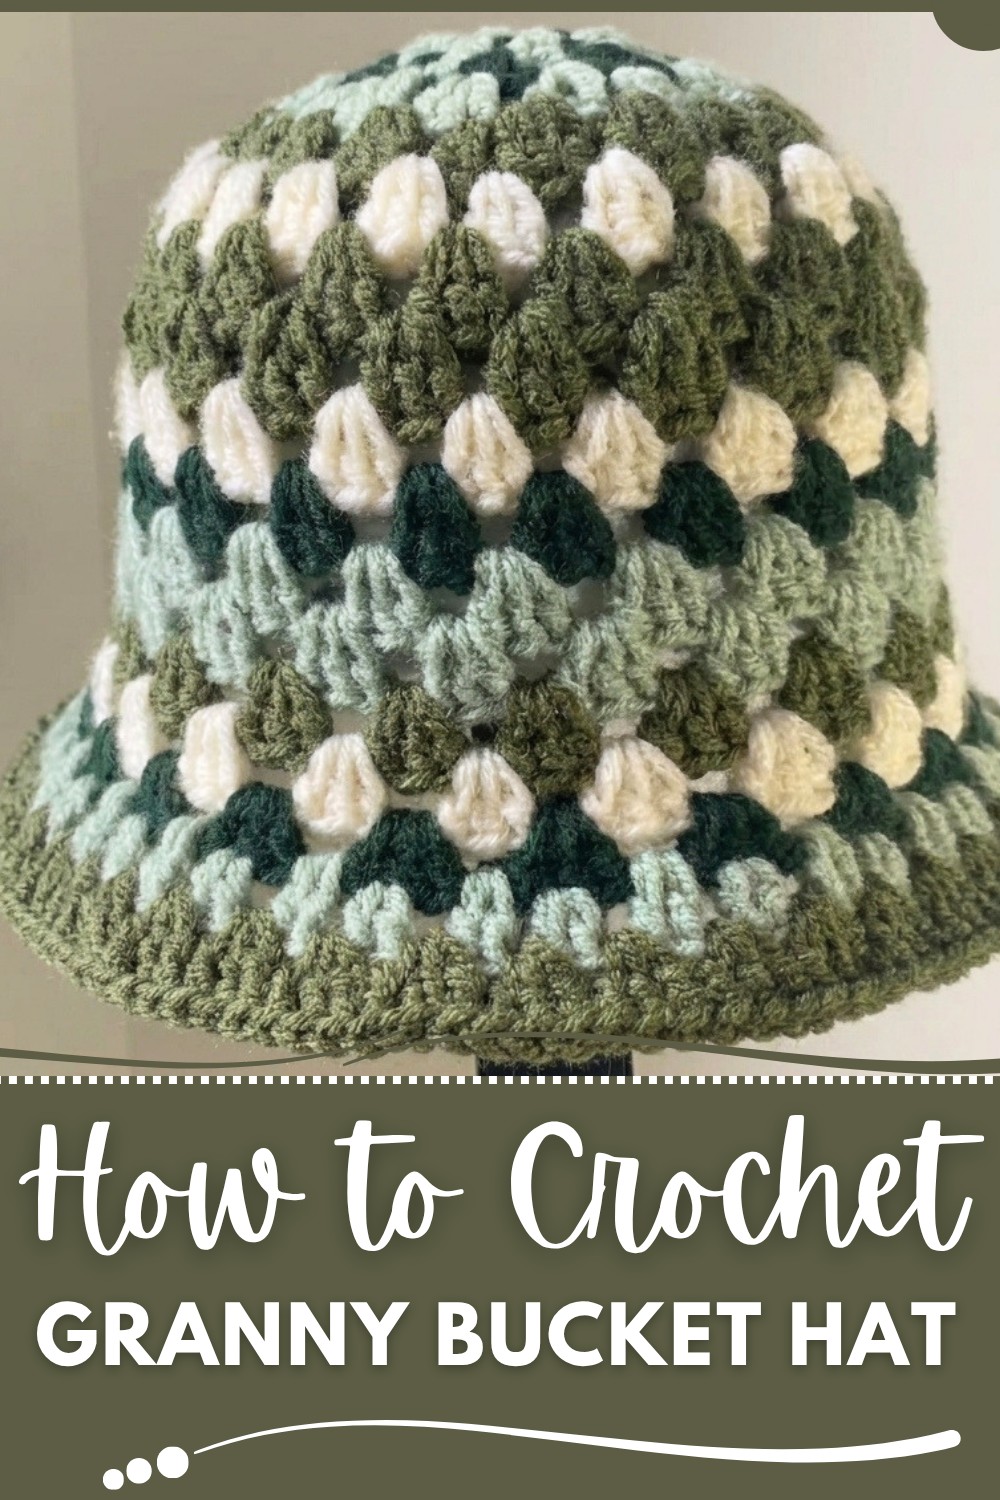
Build a unique crochet bucket hat with this clear and concise tutorial, showcasing granny-style clusters, customizable designs, and practical tips for faster results.
Stepping out on a sunny day with a lightweight, colorful hat that not only shields you from the sun but also turns heads wherever you go. This charming creation is brought to life with the free crochet granny bucket hat pattern. The hat features soft textures, vibrant granny-style clusters, and a wide brim that adds both elegance and practicality to your look.
Colorful Crochet Granny Bucket Hat Pattern in Simple Steps
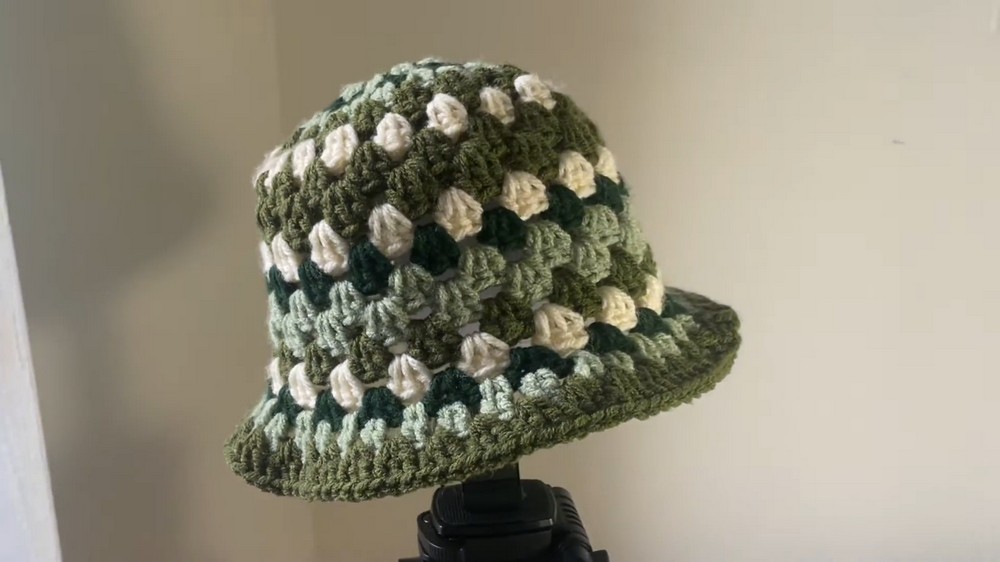
Whether you’re heading to the beach, enjoying a casual outing, or looking for a unique gift idea, this crochet hat design ticks all the boxes. It’s crocheted using basic stitches like double crochets and chains, making it an easy and enjoyable project for anyone, even beginners.
The journey starts with a magical round at the top, grows into a neat body, and finishes with a lovely brim that frames your face beautifully. With endless color options and customizable sizing, this bucket hat is more than just functional, it’s a piece of art that complements your style with effortless charm.
Crochet Bucket Hat Pattern
Skill Level:
Beginner to Intermediate
Materials:
- Yarn:
- Weight 4 (medium) yarn, in four colors of your choice.
- Example: Acrylic yarn for durability and elasticity.
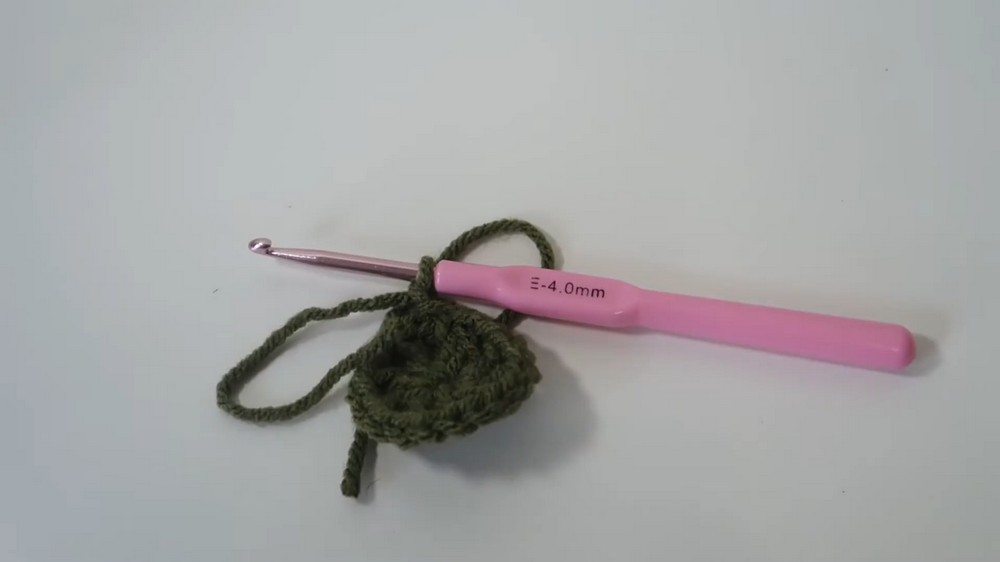
- Crochet Hook:
- 4mm crochet hook (adjust if using thinner/thicker yarn).
- Scissors.
Special Techniques:
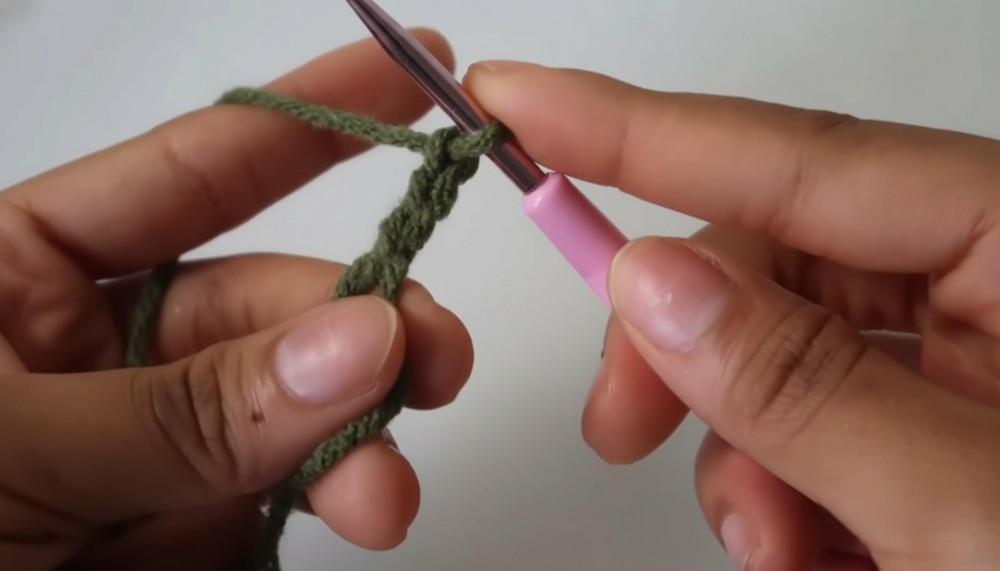
- Magic Circle: A secure way to start a crochet project in the round.
- Double Crochet (dc): Used throughout the pattern.
- Slip Stitch (sl st): For joining rounds.
- Color Changes: Adding new yarn colors to create stripes and colorful accents.
Pattern Instructions
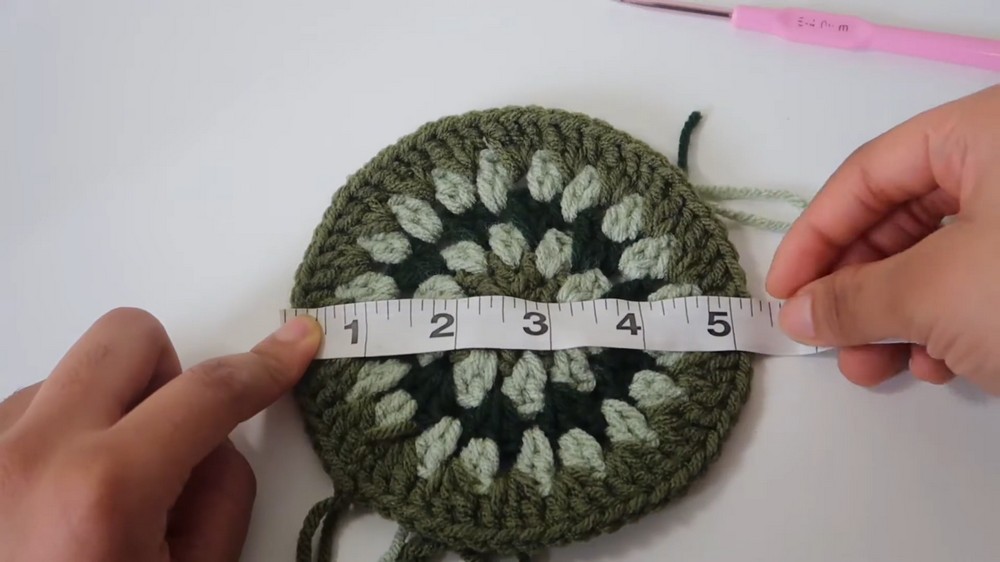
Part 1: Crown (Top of the Hat)
The crown begins as a flat circle worked with increases.
Round 1:
- Start with a magic circle.
- Chain (ch) 3 (counts as your first double crochet).
- Ch 1 (creates a space between stitches).
- Place 1 double crochet (dc), ch 1 into the magic ring.
- Repeat the above step until you have 10 dc stitches, including the starting ch 3.
- Close the magic circle tightly by pulling the tail of the yarn.
- Slip stitch (sl st) into the third chain of the starting ch-3 to join the round.
Round 2:
- Change color: Cut the previous yarn, pull through, and attach your new color.
- Insert your hook into any chain-1 space.
- Ch 3 (counts as a dc) and place 1 dc into the same space.
- Into each chain-1 space around, place 2 dc.
- Slip stitch into the third chain of the starting ch-3 to close the round.
Round 3:
- Change yarn color and attach into any chain space.
- Ch 3 (counts as a dc).
- Place 2 more dc into the same space (3 dc in total for that space).
- In every chain space around, place 3 dc.
- Slip stitch into the third chain of the starting ch-3 to close.
Round 4:
- Change yarn to the new color.
- Find the middle stitch (center of 3-dc clusters from Round 3).
- Insert your hook into the middle stitch, ch 3.
- Place 2 dc into the middle stitch, then move to the next cluster and place 2 dc into the middle stitch.
- Repeat this all the way around.
- At the end of Round 4, you should have 20 pairs of expanded stitches.
Part 2: Body of the Hat
This is the straight cylindrical section that gives the hat its structure.
Rounds 6–15:
- Change yarn color and attach it into any space.
- Ch 3 (counts as a dc).
- Place 2 more dc into the same space (3 dc in total for that space).
- Place 3 dc into every space all around.
- This part has no increases. Repeat the same stitch placement for 10 rows.
- Measure the height of the body: The side section should be approximately 6 inches tall.
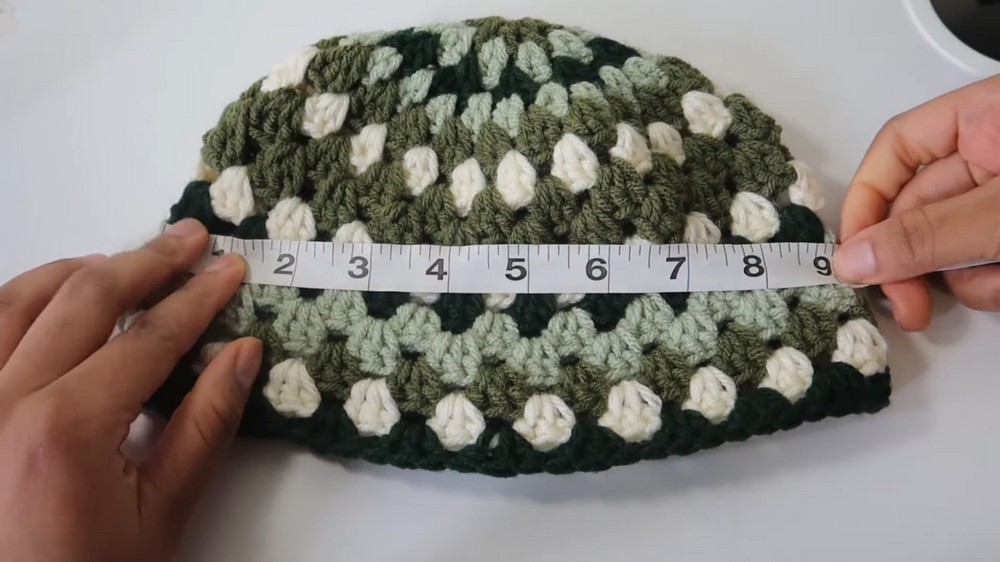
Part 3: Brim
The brim adds flare by increasing stitches, creating the characteristic wide edge of a bucket hat.
Round 16:
- Attach the new color and ch 3.
- Place 1 dc into the same stitch (increase).
- In the next space, place 2 dc.
- Move to the middle stitch of the previous row's dc cluster and place 2 dc into the stitch as well.
- Continue alternating increases (2 dc into spaces or middle stitches) until you’ve completed the round.
- Slip stitch into the third chain of the starting ch-3 to close.
Round 17:
- Attach the new color.
- Ch 3 (counts as a dc).
- Place 2 more dc into the same space.
- In every space around (created from Round 16), place 3 dc.
- Repeat for the entire round.
- The brim should begin to measure 12 inches wide and flare outward.
Finishing Steps
- After completing Round 17, sl st into the third chain and chain 3 to secure your work.
- Cut the yarn and pull through the loop to fasten off.
- Use a darning needle or crochet hook to weave in all loose ends on the inside of the hat.
- Block your hat: Wet block or steam block to ensure your stitches settle uniformly and the brim flares as desired.
Final Measurements
- Top (Crown): 5 inches diameter
- Body: 6 inches height
- Brim: 12 inches wide
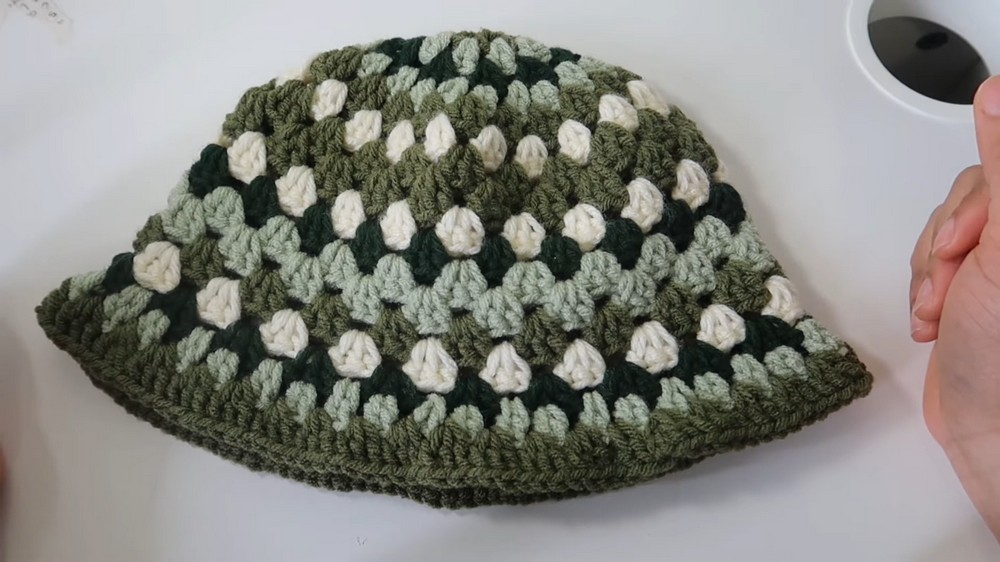
Conclusion
Congratulations on completing your crochet bucket hat! This colorful, lightweight hat is both functional and fashionable. It’s perfect for sunny outings or as a personalized gift. You can customize with additional rows, smaller brims, or alternate patterns to suit your personal style.
Tips for Maintenance
- Care Instructions: Hand wash in cool water and lay flat to dry to preserve the shape of the brim.
- Customization:
- Use cotton yarn for a firmer texture and ideal summer wear.
- Add embellishments like flowers, buttons, or embroidery for a unique touch.


