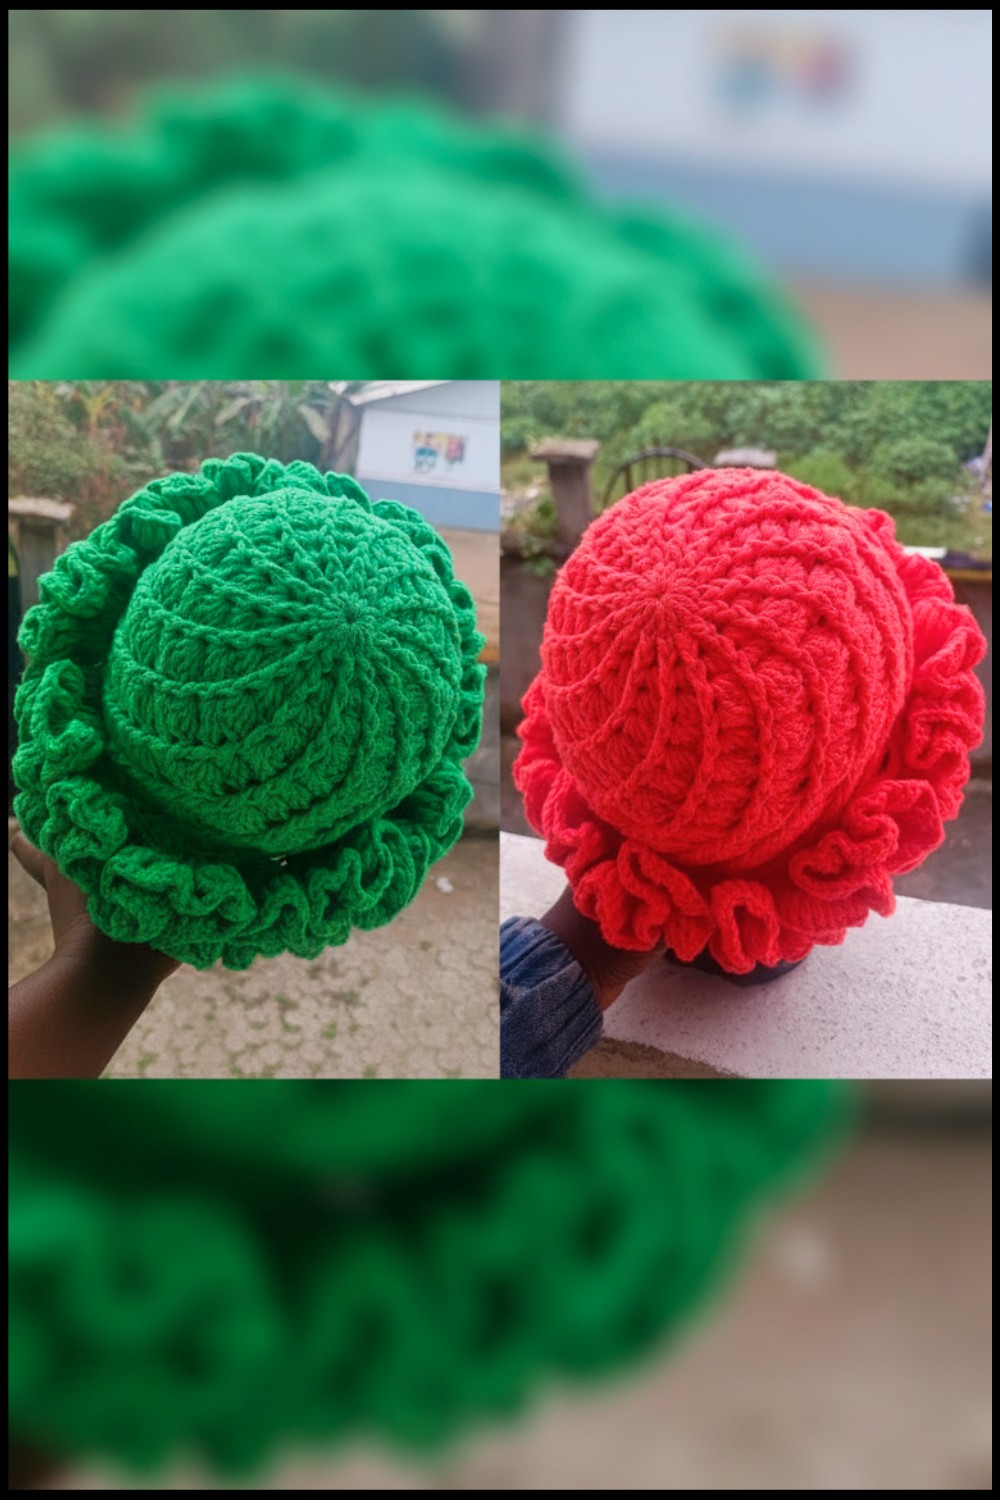
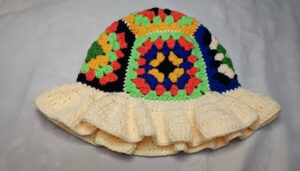
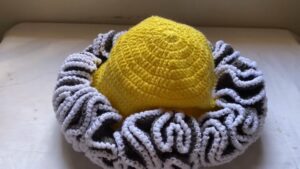
Fill your day with joy using free crochet spiral ruffle hat pattern that's simple and easy for everyone to make and perfect for any occasion.
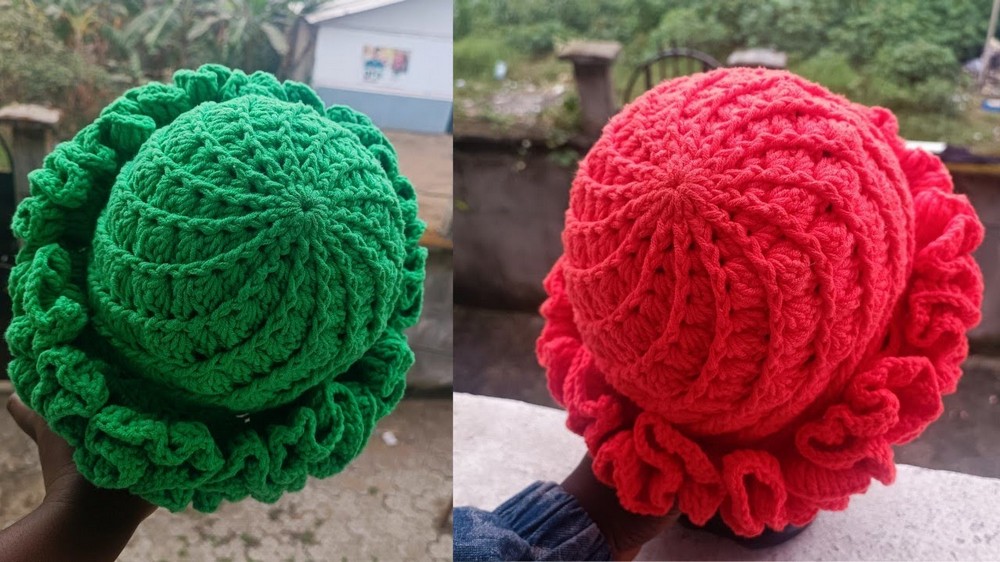
Imagine you see a hat with lively swirls and gentle waves that bring smiles wherever it goes. The Crochet Spiral Ruffle Hat pattern is made to be soft and light so anyone can wear it with ease and feel cozy all day. Its wavy ruffles give a playful look that makes you stand out in a crowd and helps you shine at every event. When you look at this hat, you notice the gentle spiral shapes that add a unique touch of beauty to your style.
Free Crochet Spiral Ruffle Hat Pattern for All Ages
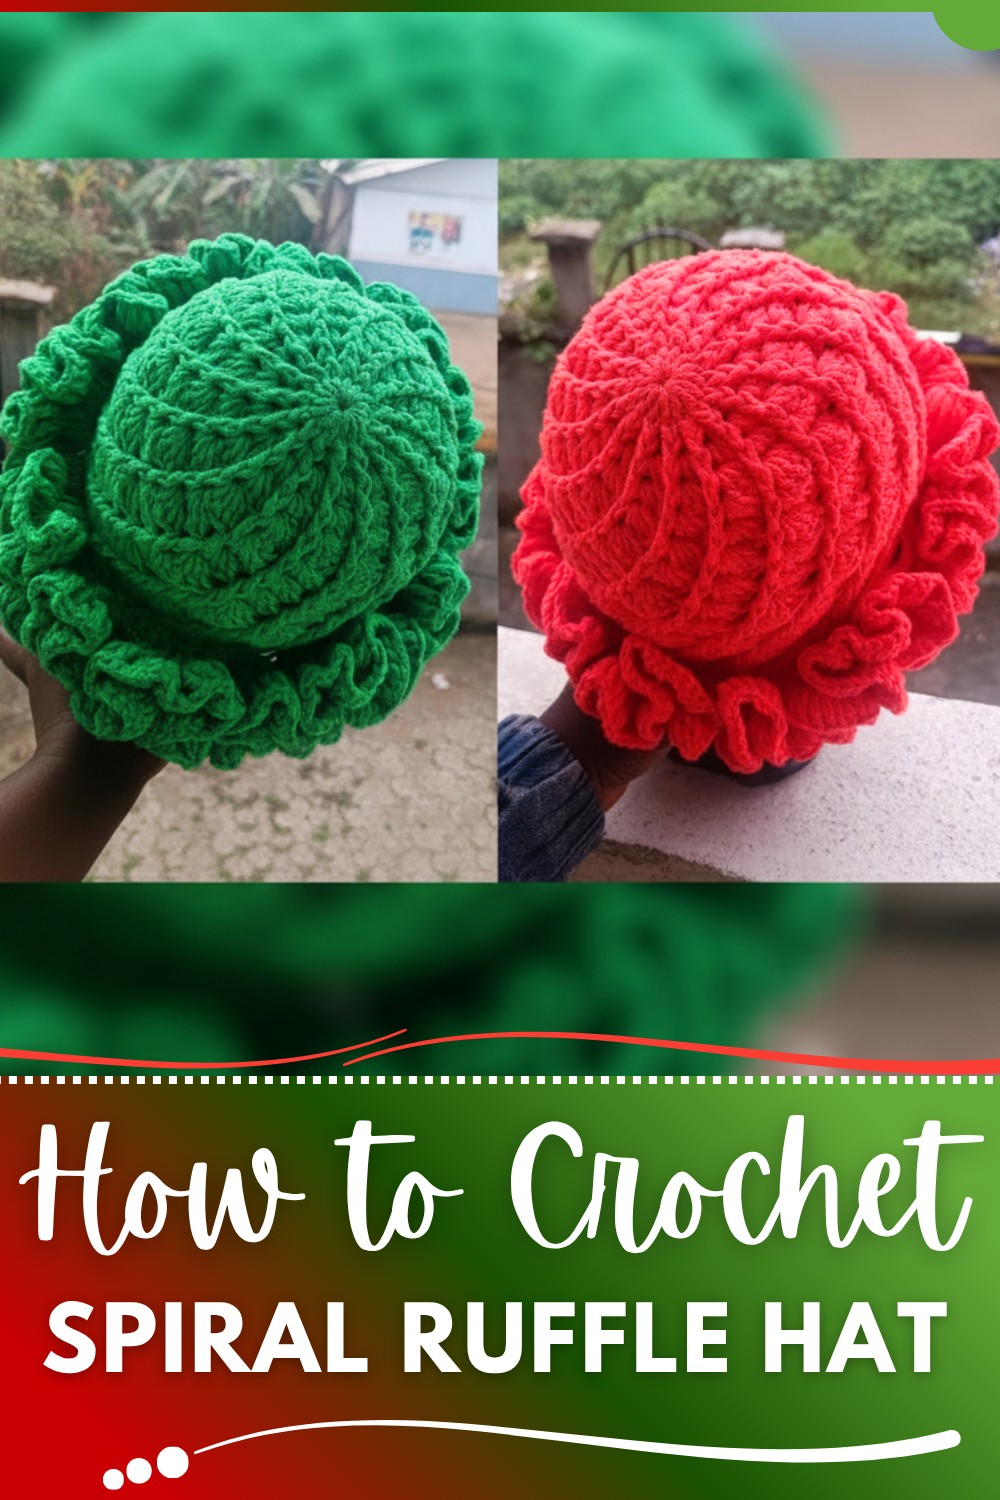
You can use this hat for keeping warm in cool weather or for making an outfit feel special on any day. The bright colors and ruffles make it fun for children and grown-ups alike. With simple steps in the pattern, you can have a hat that fits perfectly and shows your personality. This cheerful hat is a great present for friends and family and brings extra charm wherever you go.
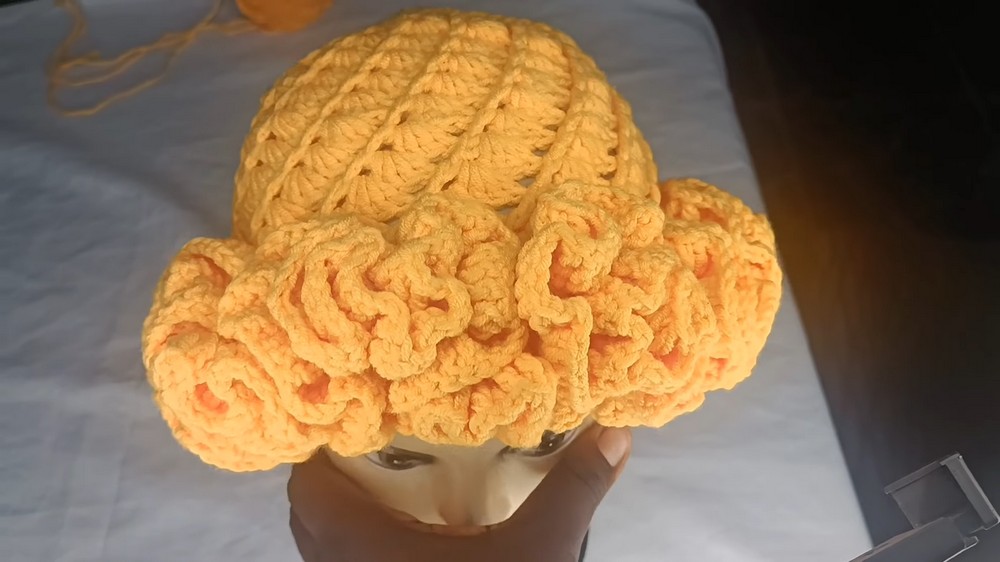
Spiral Ruffle Hat Crochet Pattern
Materials
- Yarn: Acrylic, 5-ply; approximately 250g (5 skeins, 50g each)
- Hook: 4.5 mm crochet hook
- Other:
- Scissors
- Measuring tape
- Yarn needle or darning needle (for weaving in ends)
- Stitch marker (optional)
Key Abbreviations (US Terms)
- ch: chain
- st: stitch
- sl st: slip stitch
- sc: single crochet
- dc: double crochet
- tr: triple (treble) crochet
- fpdc: front post double crochet
- fpsc: front post single crochet
- yo: yarn over
Special Notes
- The crown and body are worked in the round. Do not join at the end of each round unless specified; use a stitch marker or work with care not to lose rounds.
- Increases are made by inserting additional stitches between post stitches, as noted.
- For all “front post” stitches, insert your hook around the post of the stitch, not in the top loops.
- All ruffle stitches are made into individual stitches (not between stitches).
- The pattern is designed to create thick, dramatic ruffles.
Instructions
1. Crown Circle
- Make a slip knot.
- Ch 4, join with a sl st to form a ring.
- Ch 3 (counts as first dc).
- Work 14 dc into the ring (for 15 dc total with beginning ch-3), working over the tail.
- Sl st to top of beginning ch-3 to close round.
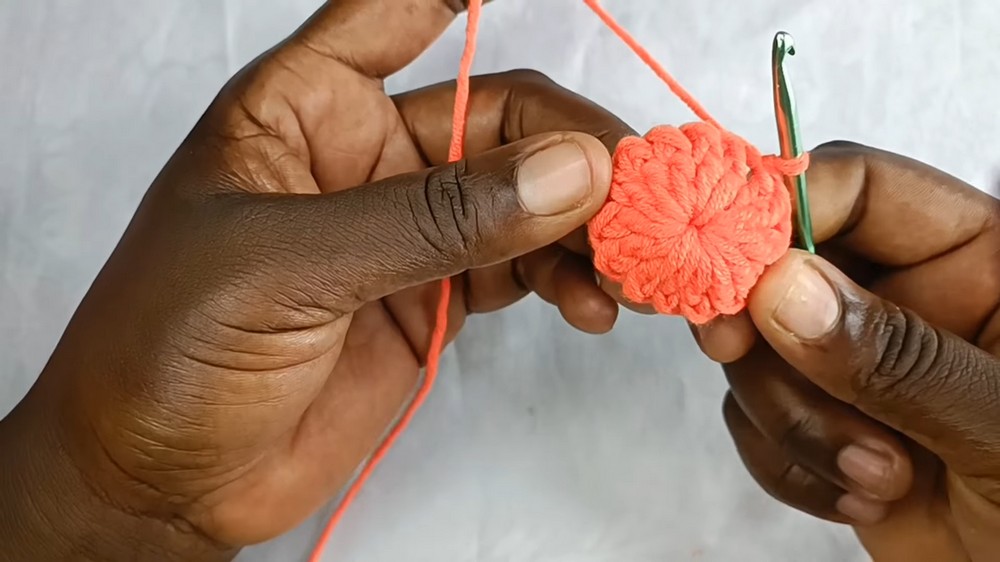
2. Front Post Round
- Ch 2 (serves as starting chain for the next round).
- Starting in the next st and around every dc:
- Fpdc: Yarn over, insert hook from back to front around the post of the next dc, yo, pull up a loop, yo, pull through two, yo, pull through two.
- Repeat fpdc in every st around (15 fpdc).
- Sl st to top of starting ch-2 to close the round.
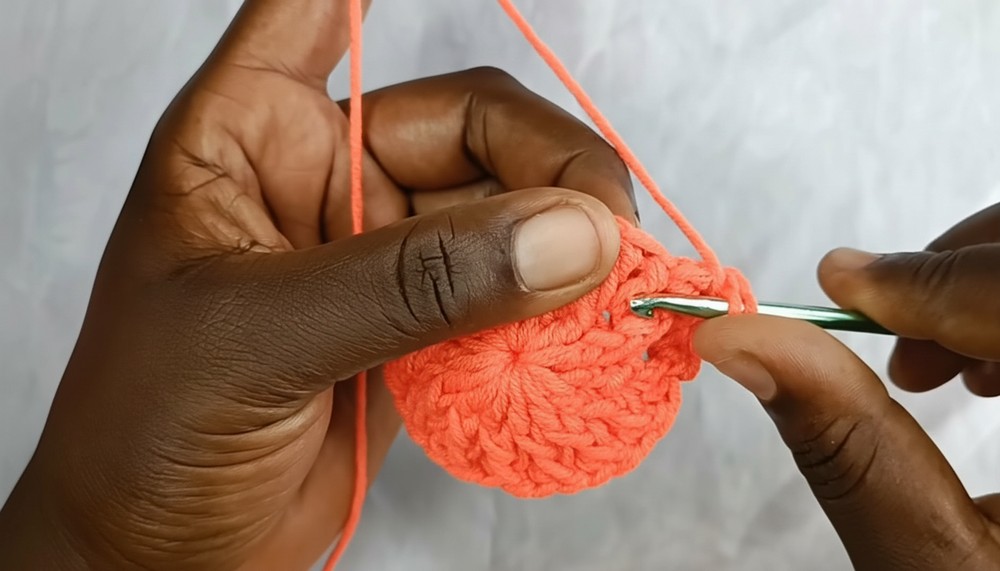
3. Increase Body with Spiral Post Pattern
Setup for Pattern
- Each round begins with a fpsc, ch 2.
Round 1: Alternating Regular dc and fpdc
- Fpsc (front post single crochet) in joining st of previous round, ch 2.
- Alternate:
- Regular dc in the space after each post st (i.e., in the gap or space, not atop a st).
- Fpdc in every post st from previous round.
- Repeat: [dc in space, fpdc in post st] all the way around.
- Sl st to starting ch-2 to join.
Round 2: Increasing to 2 dc Between Posts
- Fpsc, ch 2.
- 2 dc in the space between post st and dc from previous round.
- Skip the dc of previous round, fpdc in next fpdc.
- Repeat around: [2 dc in space, fpdc in fpdc], skipping the intervening dc.
- Sl st to starting ch-2.
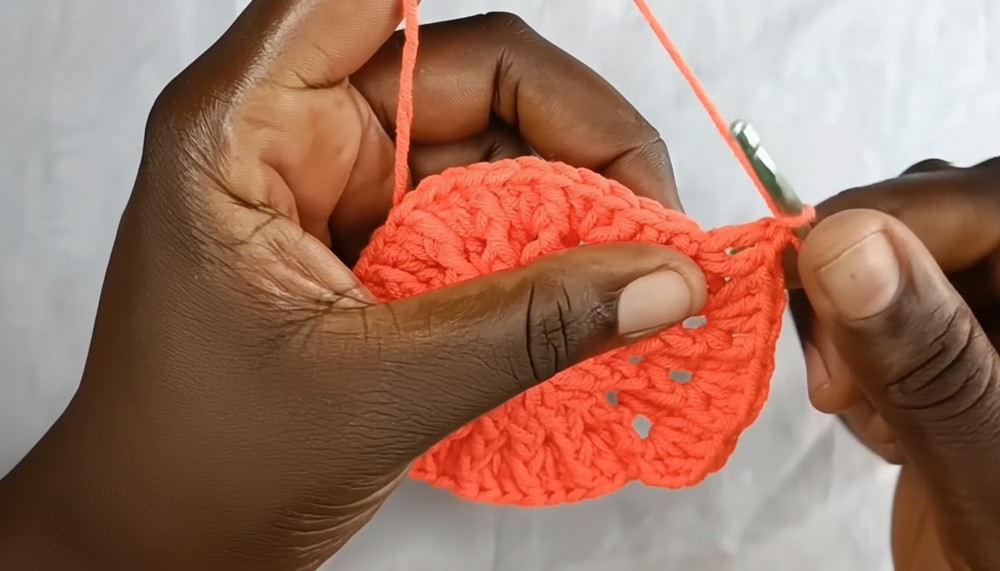
Round 3: 3 dc Between Posts
- Fpsc, ch 2.
- 3 dc in the space after the fpdc.
- Skip previous dc(s), fpdc in next fpdc.
- Repeat around.
- Sl st to starting ch-2.
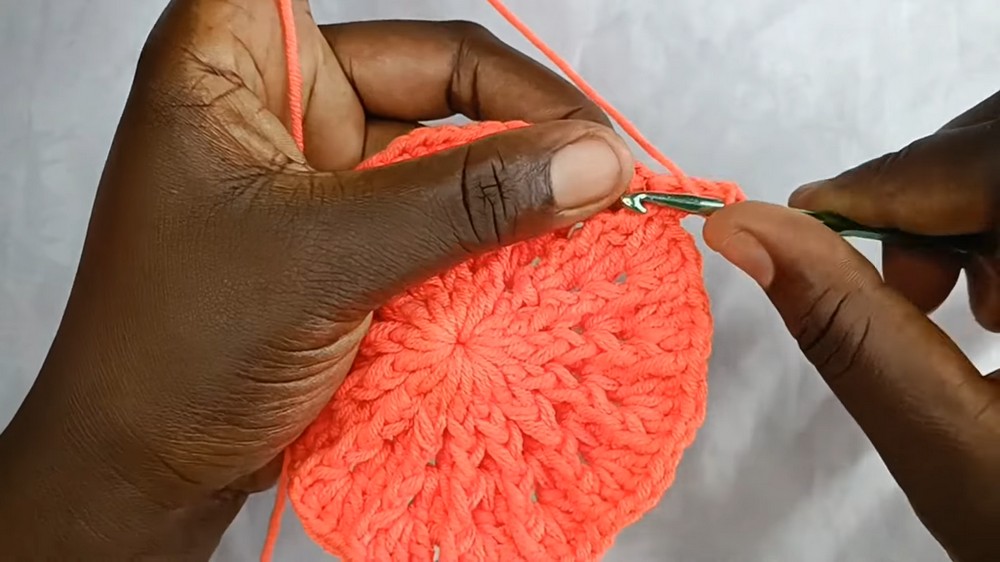
Round 4: 4 dc Between Posts
- Fpsc, ch 2.
- 4 dc in the space after the fpdc.
- Skip previous dc group, fpdc in next fpdc.
- Repeat around.
- Sl st to starting ch-2.
Round 5: Continue with 4 dc Between Posts (No More Increases)
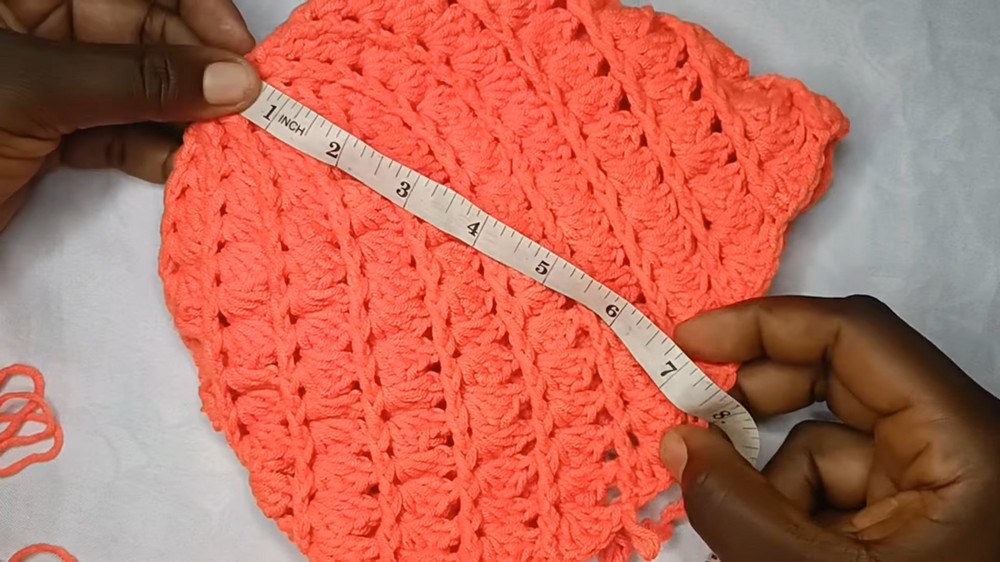
- Repeat previous round ([fpsc, ch 2, 4 dc, fpdc]) until hat body measures approx. 7 inches from crown center (stretched slightly).
Tip: Try the hat on before proceeding to ensure desired fit before ruffle.
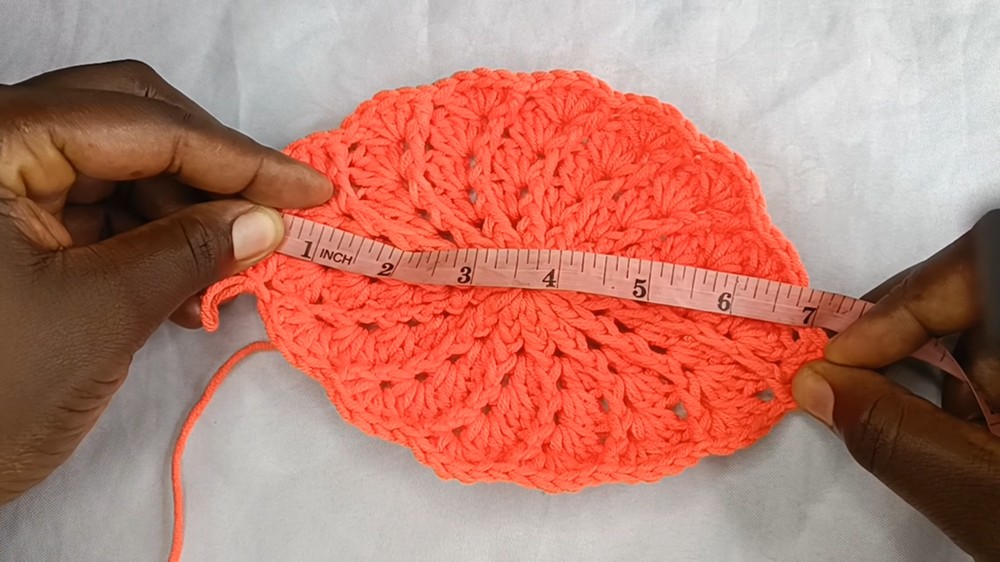
4. (Optional) Additional Body Rounds
- If your hat measures less than 7 in., repeat Row 5 until desired depth.
5. Single Crochet Edging
- Work 1 sc in every stitch around the last round.
- Join with a sl st to the first sc.
6. Ruffle Brim
Ruffle Round 1 (Super Thick Ruffles)
- Ch 4 (counts as first tr).
- 4 tr in same stitch (5 tr in st).
- Into each next st, work 5 tr in the same st (i.e., 5 tr in every stitch) around.
- Sl st to top of starting ch-4 to close the round.
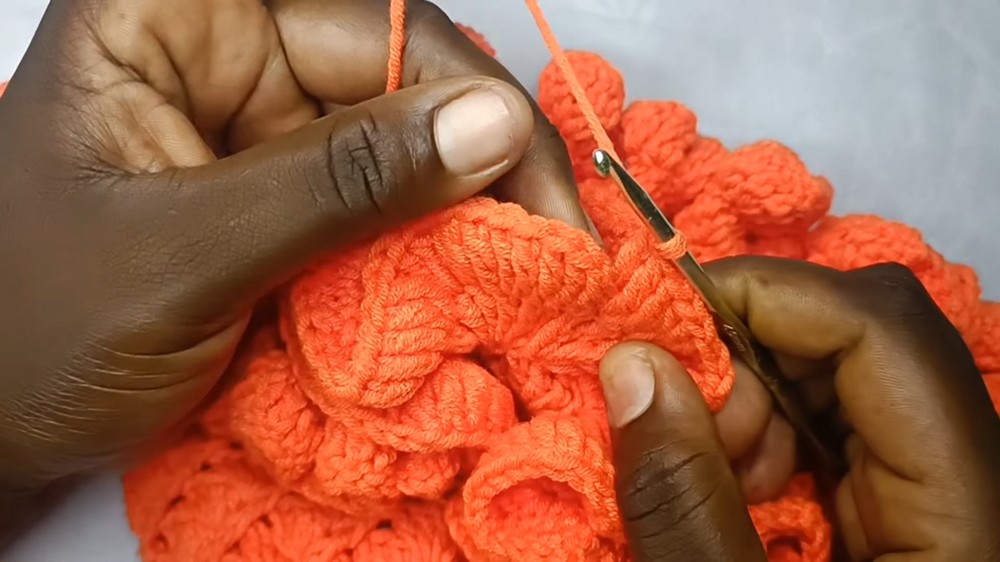
Ruffle Round 2 (Layered Ruffles)
- Ch 4 (counts as first tr).
- 2 tr in same stitch (3 tr in st).
- In every next stitch, work 3 tr in the same st (3 tr in each st) around.
- For even thicker ruffles, do 4 tr per st; for lighter ruffles, do 2 tr per st.
- Sl st to starting ch-4.
- Finish off: ch 1, cut yarn, weave in all ends.
Conclusion
You have completed a dramatic spiral ruffle hat with plush ruffles and a comfortable, eye-catching fit. The structured post stitch technique gives the hat body and style, while the thick ruffle brim elevates the playful look. Hat should measure 7–7.5 in. deep and brim will extend outward with dense ruffles.
Pattern Corrections & Tips
- Go into Spaces, Not Stitches: Regular dc are always placed in the spaces between front post stitches, not atop any stitch.
- Post Stitches: Always work fpdc/fpsc around the post of the dc or previous fpdc, never in the stitch’s top loops.
- Ruffle Fullness: To adjust volume, vary the number of tr per st in each ruffle round.
- Gauge: Stretch hat gently as you measure; acrylic yarn will stretch when worn.
- Customization: Adjust the number of plain body rounds for a deeper or shallower hat.
- Finishing: Use a yarn needle to weave in ends invisibly under the post stitches and ruffles.