
Spark up your table decor with Crochet Sunny Coaster Pattern weaving radiant sunburst detail and lively texture that turns simple yarn into cheerful handmade accents.
It is not just a plain table accessory that sits unnoticed, because this small handmade piece can completely change the mood of a space. A Crochet Sunny Coaster Pattern is a creative design where yarn is worked in circular or sunburst-style rounds to form a bright coaster that protects tables while adding a cheerful decorative touch. The project is simple, using basic stitches that repeat in smooth rounds, making it easy to follow and enjoyable for both beginners and experienced crocheters. Each round slowly builds the sun-like shape, which feels satisfying as the pattern grows evenly and beautifully.
Free Crochet Sunny Coaster Pattern for Quick Crochet Practice
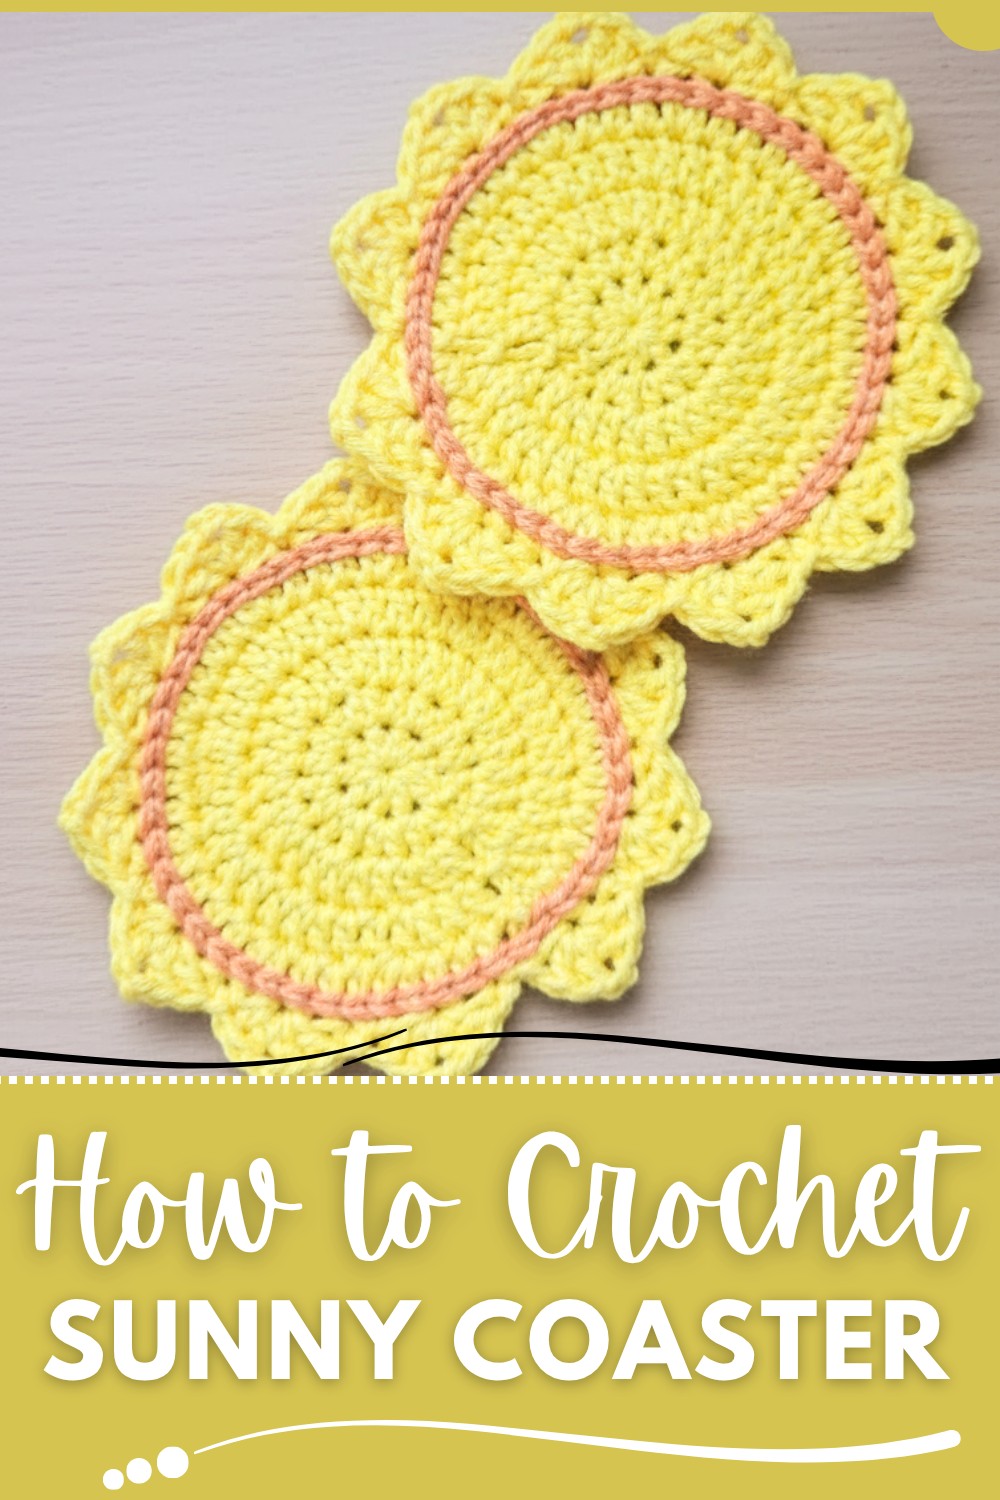
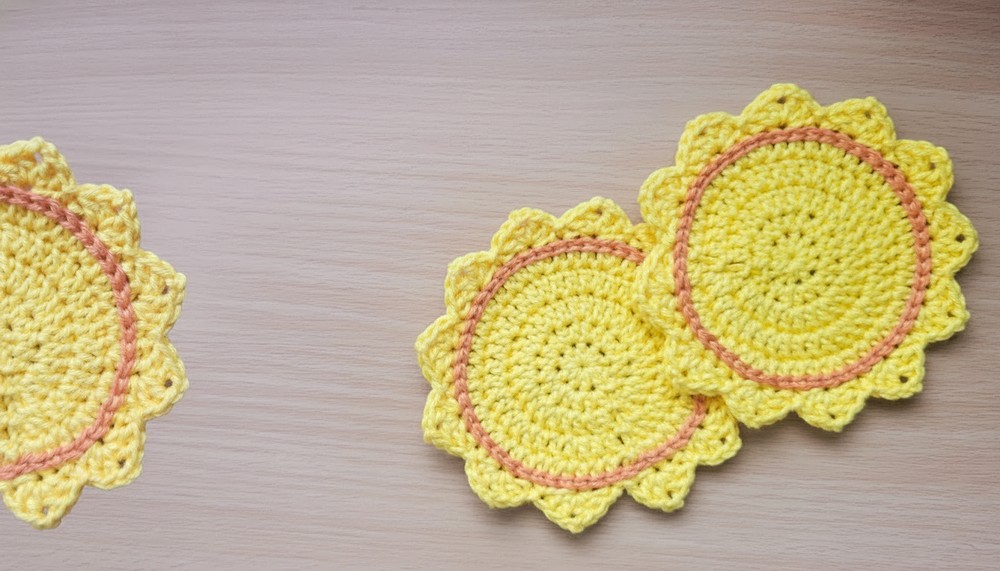
The coaster has a lively appearance with a glowing center and radiating edges that resemble sun rays, giving it a warm and playful look. Different color choices can change its personality completely - golden yellow and orange create a bright sunny effect, while soft pastels or mixed shades give a modern and artistic feel.
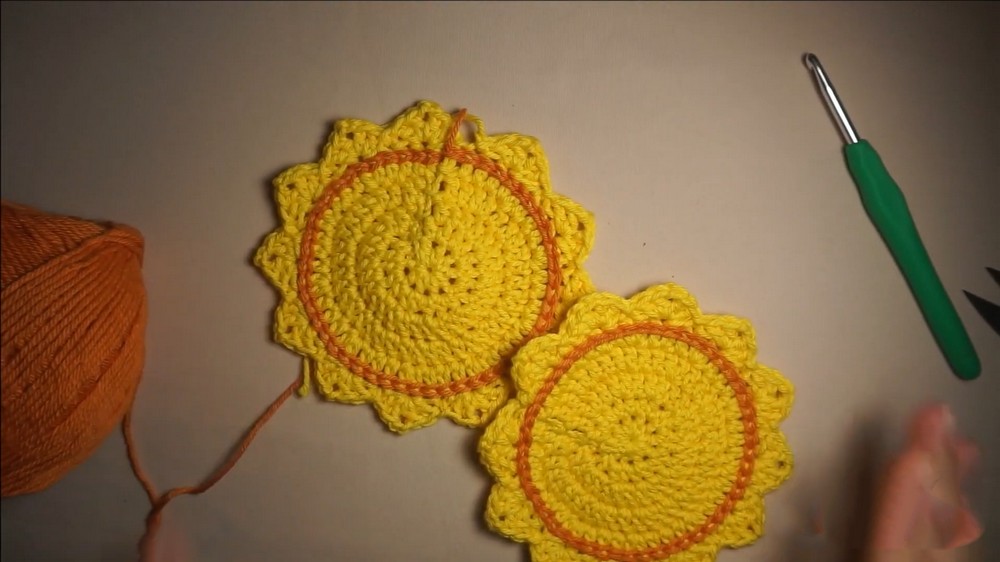
It is useful for holding cups, mugs, and glasses in everyday use, and also works well as a handmade gift or decorative item for kitchens, tea tables, and cafes. A fun idea is to make a matching set in different colors or pair them with other crochet table pieces for a coordinated handmade collection.
Crochet Sunny Coaster Pattern
This step-by-step pattern will guide you in creating a vibrant sunny coaster, perfect for adding a cheerful touch to your summer table décor. This design involves a mixture of half double crochet, double crochet, and a decorative edging. Suitable for intermediate crocheters, this pattern uses US crochet terminology and is presented in a clear format for ease of understanding.
Materials
- Yarn:
- Yarn Weight: Medium (Size 4) acrylic or cotton yarn (recommended for durability).
- Colors: Yellow (main) and orange (decorative detail).
- Crochet Hook:
- Size: 4.5 mm (US 7)
- Notions:
- Scissors.
- Yarn needle (for weaving in ends).
- Optional:
- Stitch markers (useful for marking the start of rounds).
Skill Level
Intermediate to Advanced: Requires understanding of magic rings, working in rounds, increasing stitches, and adding decorative edging.
Key Abbreviations
| Abbreviation | Meaning |
|---|---|
| ch | Chain |
| sl st | Slip Stitch |
| sc | Single Crochet |
| hdc | Half Double Crochet |
| dc | Double Crochet |
| yo | Yarn Over |
| st(s) | Stitch(es) |
Special Notes
- Magic Ring: The coaster begins with a magic ring technique, which creates a tight and neat starting point for circular patterns.
- Stitch Markers: Optional but recommended for marking the beginning of each round.
- Gauge: Maintain consistent tension to ensure an even, flat result.
Pattern Instructions
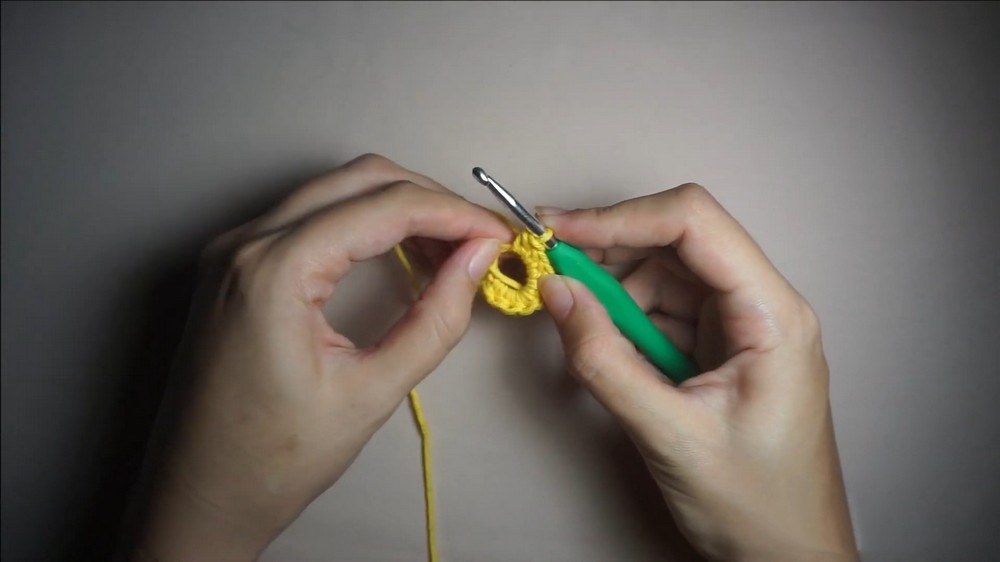
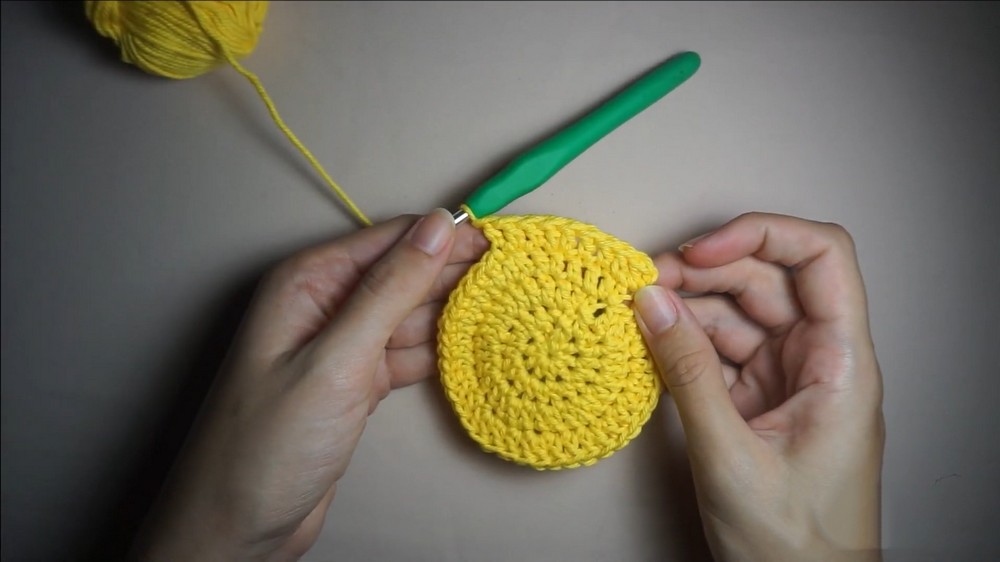
Center Circle (Rounds 1 & 2)
- Round 1:
- Create a magic ring.
- Chain 2 (ch 2, counts as 1 hdc).
- Work 9 hdc into the ring (10 hdc total, including ch 2).
- Pull the tail tight to close the ring.
- Slip stitch (sl st) into the starting ch 2 to close the round.
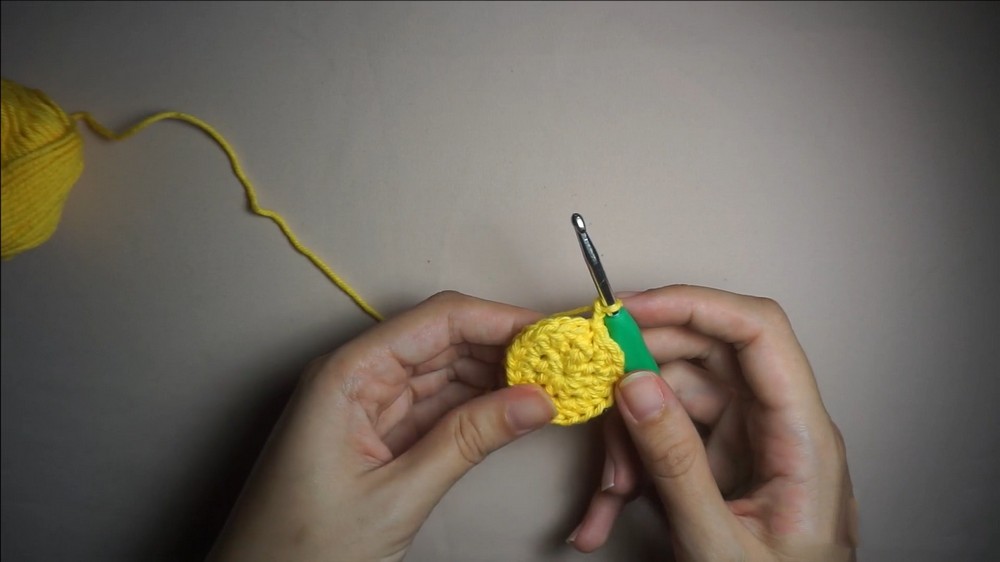
- Round 2:
- Chain 2 (ch 2, counts as 1 hdc).
- Work 2 hdc into each st around (20 hdc total).
- Optional: Use a stitch marker to mark the beginning of the round.
- Slip stitch (sl st) into the starting ch 2 to close the round.
Expanding the Circle (Rounds 3-5)
- Round 3:
- Chain 2 (ch 2, counts as 1 dc).
- Work 1 dc into the same st.
- Follow the pattern: 2 dc into the next st, 1 dc into the next st (repeat around).
- Slip stitch (sl st) into the starting ch 2 to close the round (30 dc total).
- Round 4:
- Chain 2 (ch 2, counts as 1 dc).
- Work 1 dc into the same st.
- Follow the pattern: 2 dc into the next st, 1 dc into each of the next 2 sts (repeat around).
- Slip stitch (sl st) into the starting ch 2 to close the round (40 dc total).
- Round 5 (Final Circle Expansion):
- Chain 2 (ch 2, counts as 1 dc).
- Work 1 dc into the same st.
- Follow the pattern: 2 dc into the next st, 1 dc into each of the next 3 sts (repeat around).
- Slip stitch (sl st) into the starting ch 2 to close the round (50 dc total).
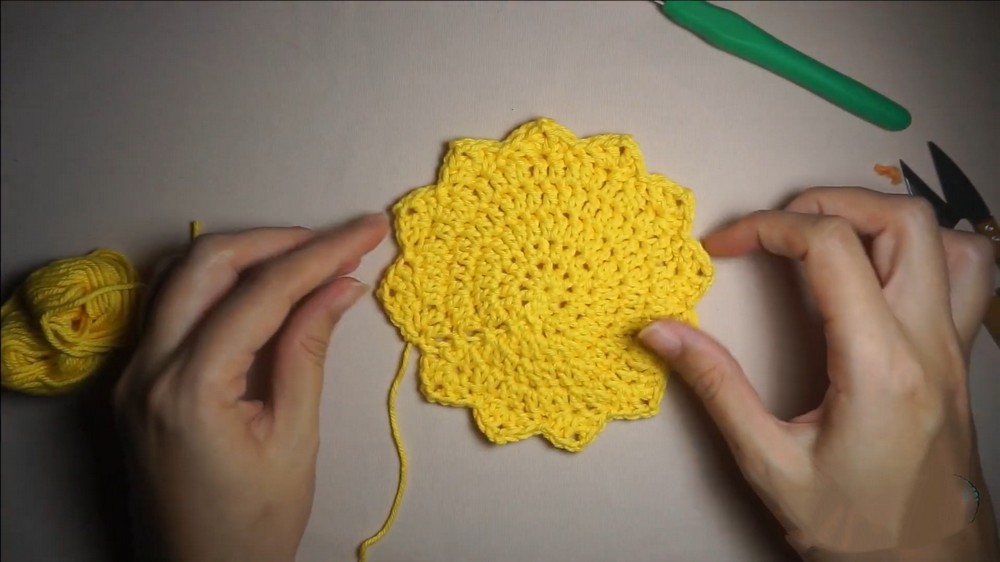
Decorative Triangles (Final Round)
- Final Round:
- Chain 1 (ch 1).
- Skip 1 st, work 2 dc, ch 2, 2 dc into the same st (creates the triangular point).
- Skip 1 st, sl st into the next st (anchors the triangle).
- Repeat this pattern around: Skip 1 st, [2 dc, ch 2, 2 dc] into the same st, skip 1 st, sl st into the next st.
- Slip stitch (sl st) into the last st, chain 1, and fasten off.
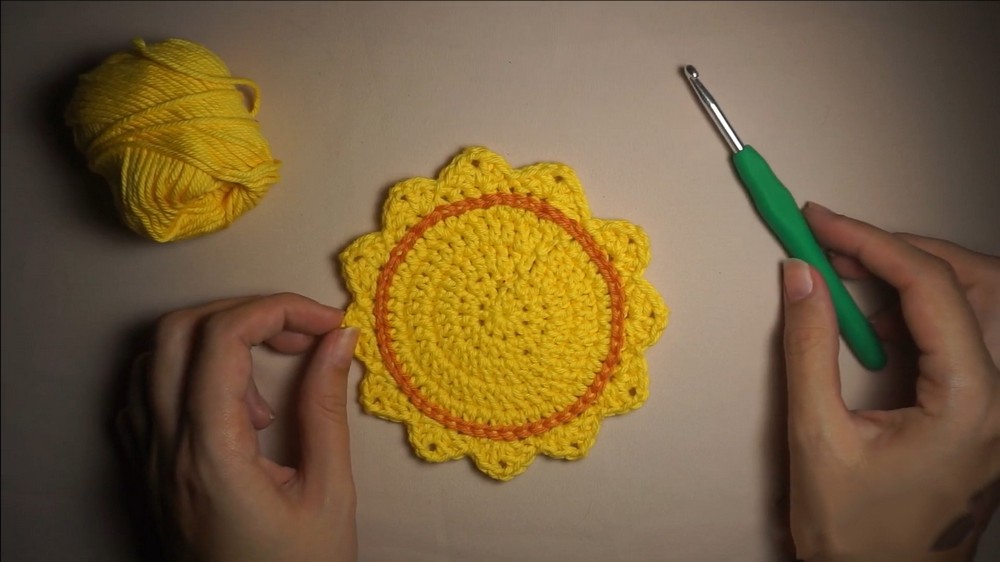
Adding the Orange Detail
- Orange Edging:
- Attach orange yarn to any dc stitch from Round 5.
- Insert the hook between two adjacent dc stitches, grab the yarn from behind, and pull through.
- Work sl st between each pair of dc stitches around.
- Optional: Hide the tail by working it into the stitches as you go.
- Finishing the Edge:
- When you reach the start of the round, fasten off the yarn and weave in any remaining ends with a yarn needle.
Finishing the Coaster
- Shape and Smooth: Block the coaster for a more polished look. Pin it into shape on a flat surface, lightly mist with water, and allow it to dry completely.
- Weave in Ends: Use a yarn needle to securely hide all loose yarn tails.
Tips and Suggestions
- Tension Control: Maintain steady tension to prevent the coaster from curling. If curling occurs, try loosening your stitches or use a slightly larger hook.
- Customization:
- Experiment with color combinations to match your décor.
- To create a larger coaster or placemat, continue expanding the center circle with additional rounds.
- Care Instructions: These can be machine washed on a gentle cycle (for acrylic yarn). Lay flat to dry.
Conclusion
Congratulations! You’ve created a radiant Sunny Coaster that adds a touch of warmth and personality to your table setting. This design is perfect for gifts, home decorations, and summer gatherings. With every stitch, you’ve poured creativity into crafting something unique—wear it with pride!


