Snag smiles everywhere using this Free Crochet Kitty Keychain Pattern that's featuring cute whiskers and fun crochet vibes to jazz up your keyring.
There’s something incredibly satisfying about creating small, adorable projects that you can carry with you every day. A free crochet kitty keychain Pattern is one of those delightful little treasures that brings a touch of charm and personality to your keys, bags, or backpacks. The free crochet kitty keychain pattern offers a fun and quick way to crochet a cute feline friend that’s both functional and decorative.
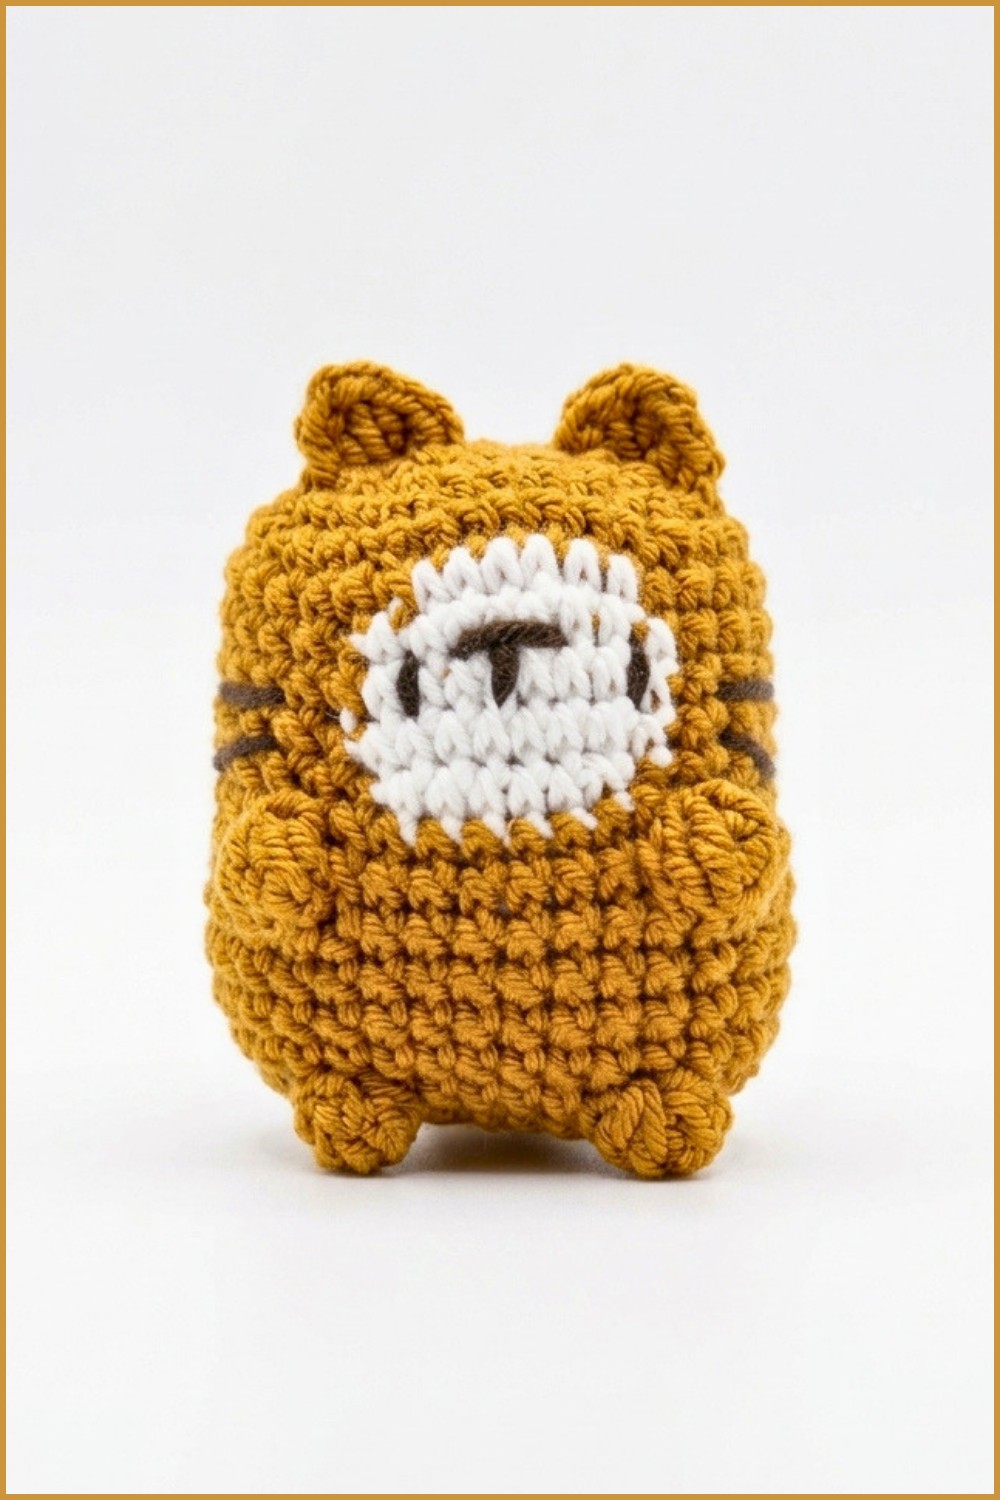
This tiny kitty keychain features a soft and plush texture, rounded shapes, and sweet details like perky ears and embroidered eyes that give it plenty of character. Its compact size makes it perfect for holding your keys or clipping to your purse as a whimsical accessory. The keyring attachment is sturdy and practical, making sure your kitty stays close by wherever you go.
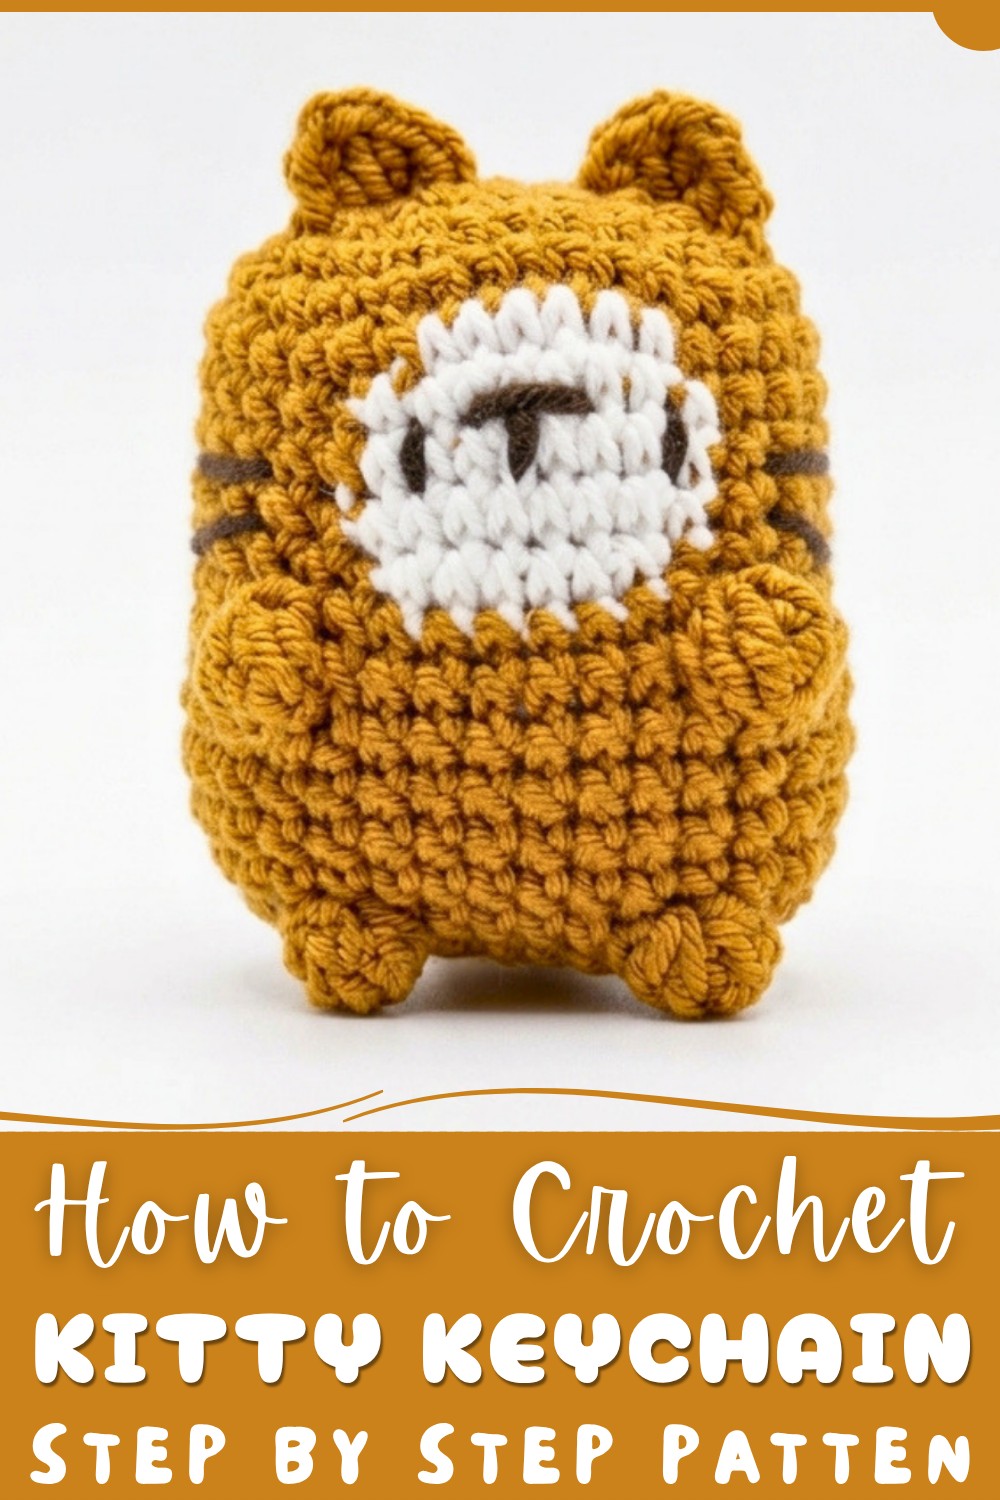
Kitty Keychain Free Crochet Pattern Perfect Gift Idea
One of the best things about this project is how customizable it is. You can choose any yarn color to create different fur shades, add little bows or collars, or even experiment with facial expressions to give your kitty a unique personality. This makes each keychain truly special and tailored to your style or gift recipient.
Ideal for crocheters who enjoy amigurumi or small projects, this pattern is suitable for those with a little experience but also welcoming to confident beginners. You’ll practice shaping techniques, simple embroidery, and attaching parts securely—all valuable skills to add to your crochet repertoire.
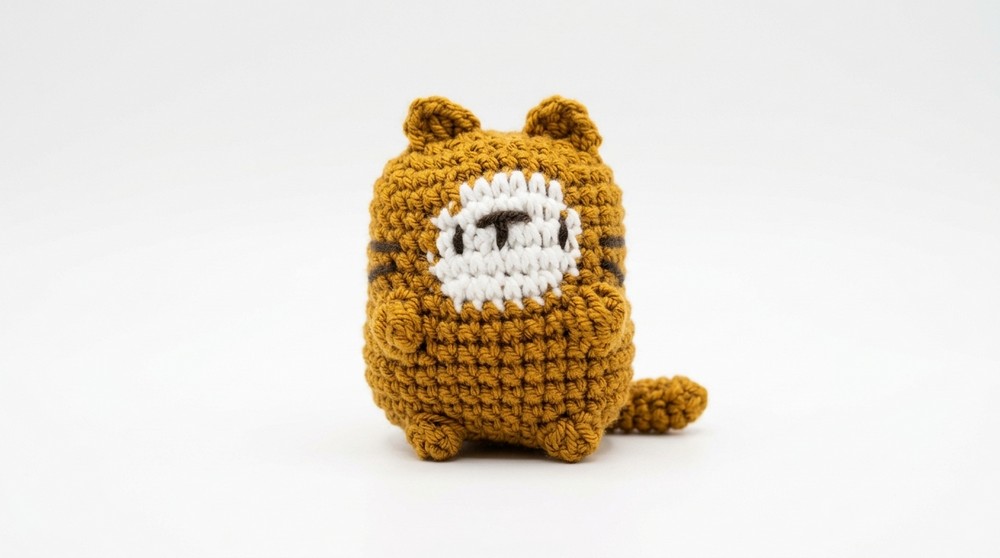
Overall, the free crochet kitty keychain pattern is a charming way to create something practical yet cute, perfect for gifting or keeping as a personal token. It’s a lovely project that balances creativity and usefulness, making it a joy for any crochet enthusiast to make.
Crochet Kitten Keychain Free Pattern
Welcome to this crochet tutorial where you will learn to make a cute kitten keychain. This step-by-step pattern guides you through forming the tail, body with color changes, limbs, ears, and expressive facial features. Stuffed for a plush finish and completed with a keyring attachment, this kitten makes a charming accessory suitable as a gift or personal keepsake.
Pattern Highlights
- Compact keychain size: Perfectly sized for keys or bag accessories.
- Tail construction: Magic ring base with consistent rounds for a slender shape.
- Body shaping: Progressive increases and color changes to define the torso and belly.
- Hands and legs: Constructed with textured popcorn stitches adding dimension.
- Color transitions: Seamless integration of white yarn for belly detailing.
- Ear formation: Simple and symmetrical crochet ears attached securely.
- Facial embroidery: Detailed eyes, nose, and whiskers embroidered for personality.
- Stuffed and finished: Soft silicone filling enhances form, with secure closure.
Notes
- Use stitch markers to denote the start of each round and increase points.
- Maintain consistent tension to ensure an even fabric and proper shape.
- For color changes, hook the new yarn in the final yarn over of the last stitch before switching.
- Popcorn stitches provide a raised texture for paws. Keep clusters tight for definition.
- Embroidery is done after assembly for better placement and control.
- Hide yarn ends inside the amigurumi body to maintain a neat appearance.
Skill Level
This project targets intermediate crocheters comfortable with:
- Working in continuous rounds (amigurumi style)
- Magic ring starts
- Color changes mid-round
- Increases and decreases for shaping
- Popcorn/cluster stitches
- Basic embroidery and assembly
Materials
- Yarn: Base color (tan, brown, or gray), white yarn for belly and markings
- Crochet hook: Size suitable for chosen yarn (commonly 3.5 mm – 4.5 mm)
- Stuffing: Silicone or polyester fiberfill
- Tools: Stitch marker, tapestry needle, scissors
- Extras: Keyring for final attachment
Measurements / Sizing
- Finished keychain stands approximately 7–9 cm tall, depending on yarn and hook used.
Gauge and Stitch Pattern
- Gauge is flexible, but maintain tight enough stitches to prevent stuffing visibility.
- Pattern primarily uses single crochet (sc) stitches along with increases, decreases, and popcorn stitch clusters.
Stitch Abbreviations
- ch: chain
- sc: single crochet
- dc: double crochet
- hdc: half double crochet
- inc: increase (2 sc in one stitch)
- popcorn: cluster of 4 dc at same point, joined at top
- sl st: slip stitch
Special Stitches
- Magic Ring: For starting tail and body rounds with a closed center.
- Popcorn Stitch: Four double crochets (dc) worked in one stitch and joined at the top to form a raised cluster, used to form paws.
- Color Change: Technique of switching yarn colors mid-round with smooth joins.
The Crochet Pattern!
1. Tail (Base Color Yarn)
Rounds 1 to 8:
- Using base color yarn, create a magic ring.
- Round 1: Work 6 single crochet (sc) into the magic ring. Tighten. (6 stitches)
- Rounds 2–8: Work one sc in each stitch around (6 stitches per round). Use a stitch marker to identify the start of each round and maintain stitch count along 8 total rounds.
- At the end of round 8, fasten off leaving a long tail for assembly. Weave the tail inward and secure neatly.
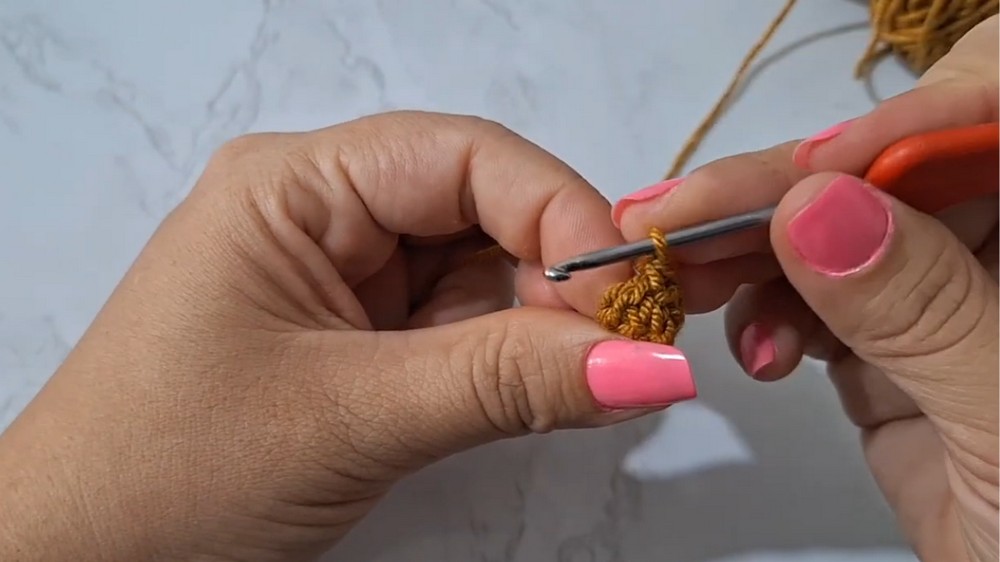
2. Body (Base Color and White Yarn)
Foundation Chain and Round 1:
- Chain 7 loosely.
- Work into the chain foundation returning along the chain:
- In the second chain from hook, make an increase of 2 sc into the same stitch.
- Continue with 4 single crochet (sc) stitches, one in each of the next four chains.
- In the last chain, place 4 sc into the same stitch.
- Work back on the opposite side of the chain with 4 sc and an increase in the last chain. Total stitch count for this round will be 24. Place a stitch marker at the first stitch to mark the round's start.
Round 2:
- Work increases at four points evenly spaced, with 4 sc between each increase. Total stitches after round 2: 32.
Rounds 3:
- Repeat increases to maintain 32 stitches, progressively enlarging the body shape.
Color Changes (Rounds 4–8):
- Round 4: Work 21 sc in base color yarn.
- Transition to white yarn, work 6 sc with white, but do not complete the last stitch fully; hold open for switching back.
- Switch back to base color, work 5 sc to complete round.
- Rounds 5, 6, and 7 repeat this color pattern with minor adjustments in the number of white and base color stitches (approximately 8 white stitches centered, base color on sides).
- Round 8 mirrors round 4's stitch count and color transition.
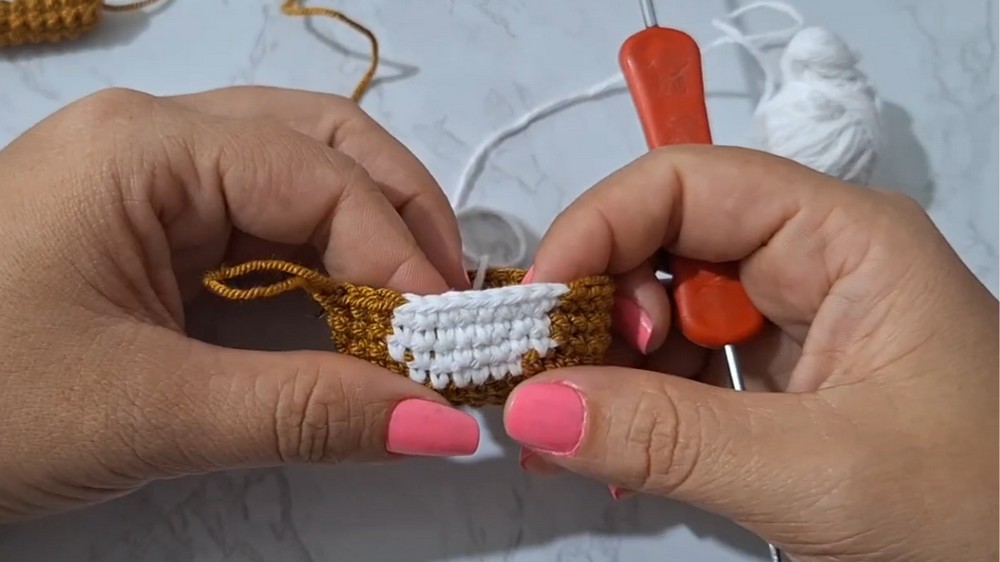
Round 9:
- Work 32 single crochet (sc) entirely in base color yarn; secure and cut white yarn as it will no longer be used.
3. Hands / Arms (During Round 10)
- At appropriate points on the round, create hands using popcorn stitches:
- Form clusters of 4 double crochets (dc) at the same stitch point, leaving loops unclosed until final step.
- Pull through all loops to close the cluster for a puffed paw effect.
- Work 8 sc stitches around to shape the hand.
- Repeat for the second hand symmetrically.
4. Legs and Tail Attachment (Round 15)
- Create legs by making popcorn stitches similar to hands.
- Attach tail securely to the body by sewing the 3 tail stitches to the lower back of the body.
- Continue shaping body rounds around the legs, using increases and decreases as needed.
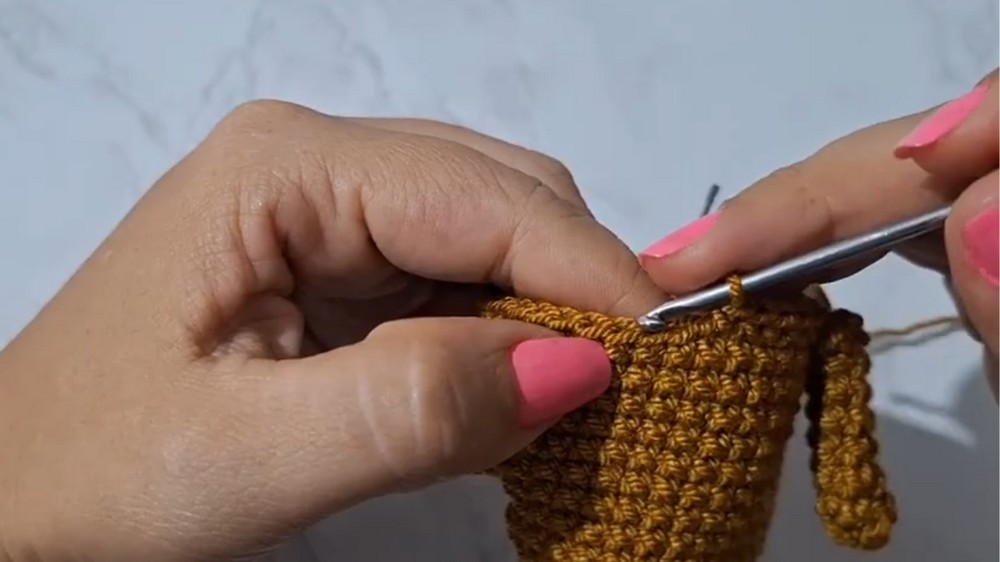
5. Stuffing and Closing
- Before closing the final rounds, fill the body with silicone or fiberfill stuffing firmly to maintain shape and fullness.
- Use a tapestry needle and yarn tail to sew the opening closed neatly, pulling taut to avoid gaps.
- Knot securely and weave in loose yarn ends inside the figure.
6. Ears (Made After Body Completion)
- Position ears symmetrically on the top of the head.
- Chain 1, then work into the marked stitch or appropriate space:
- 1 sc, 1 half-double crochet (hdc), 1 double crochet (dc), 1 half-double crochet (hdc), and 1 sc all into the same stitch to form a curved triangular ear.
- Cut yarn leaving a tail for sewing.
- Attach ears securely with yarn needle.
7. Face Embroidery
- With darker yarn and tapestry needle, embroider eyes as two small dots equally spaced on the face.
- Create a small nose centered between eyes by stitching a tight centered knot or small shape.
- Embroider whiskers on both cheeks with short, diagonal stitches extending outward from near the nose.
- Optionally, add subtle blush with fabric paint or colored pencil.
- Hide all yarn tails inside the body for a polished finish.
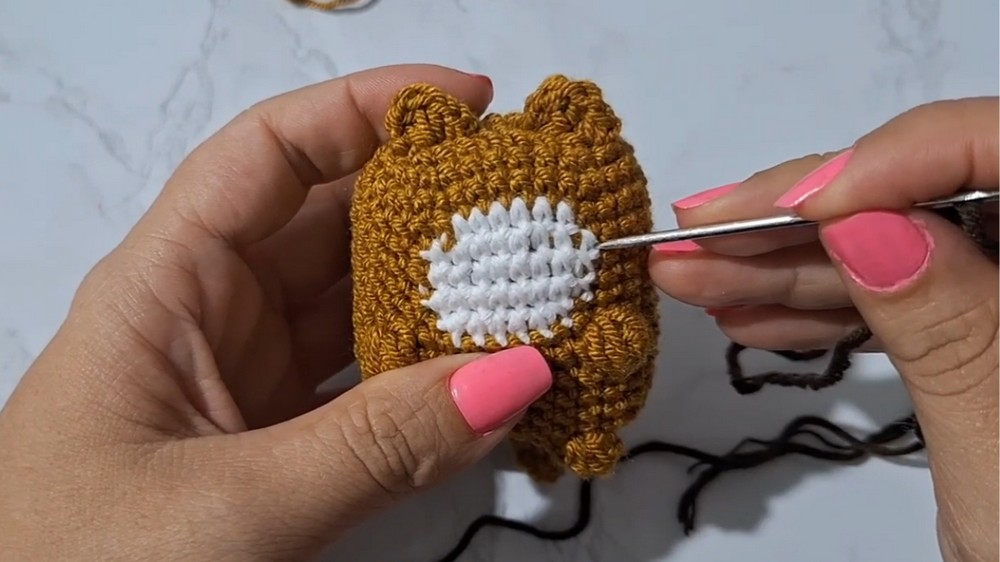
Assembly & Finished Size
The assembled kitten keychain measures approximately 7 to 9 cm tall. Its formed body features a smooth color transition on its belly, with puffed hands and legs adding dimension. Ears frame the head giving a warm feline silhouette. The embroidered face adds expressive personality. The stuffed structure is lightweight and durable for everyday keychain use or decorative charm. Attach the keyring to a sturdy position on the body or tail for ease.
Conclusion
This crochet kitten keychain pattern delivers a compact yet detailed amigurumi ideal for intermediate crocheters eager to practice shaping, color work, and embroidery. Through systematic increases, popcorn stitch clusters, and neat color transitions, the project balances technique and creativity. Features such as attached limbs and embroidered facial expressions complete a lovable piece with a professional finish. Adapt yarn choices or sizes for customization and gifting. The clear, thorough instructions promote confidence and enjoyment throughout the creative process.