Celebrate little moments with this Crochet Flower Free Pattern, a fun project for thoughtful presents, colorful bouquets, and home decor.
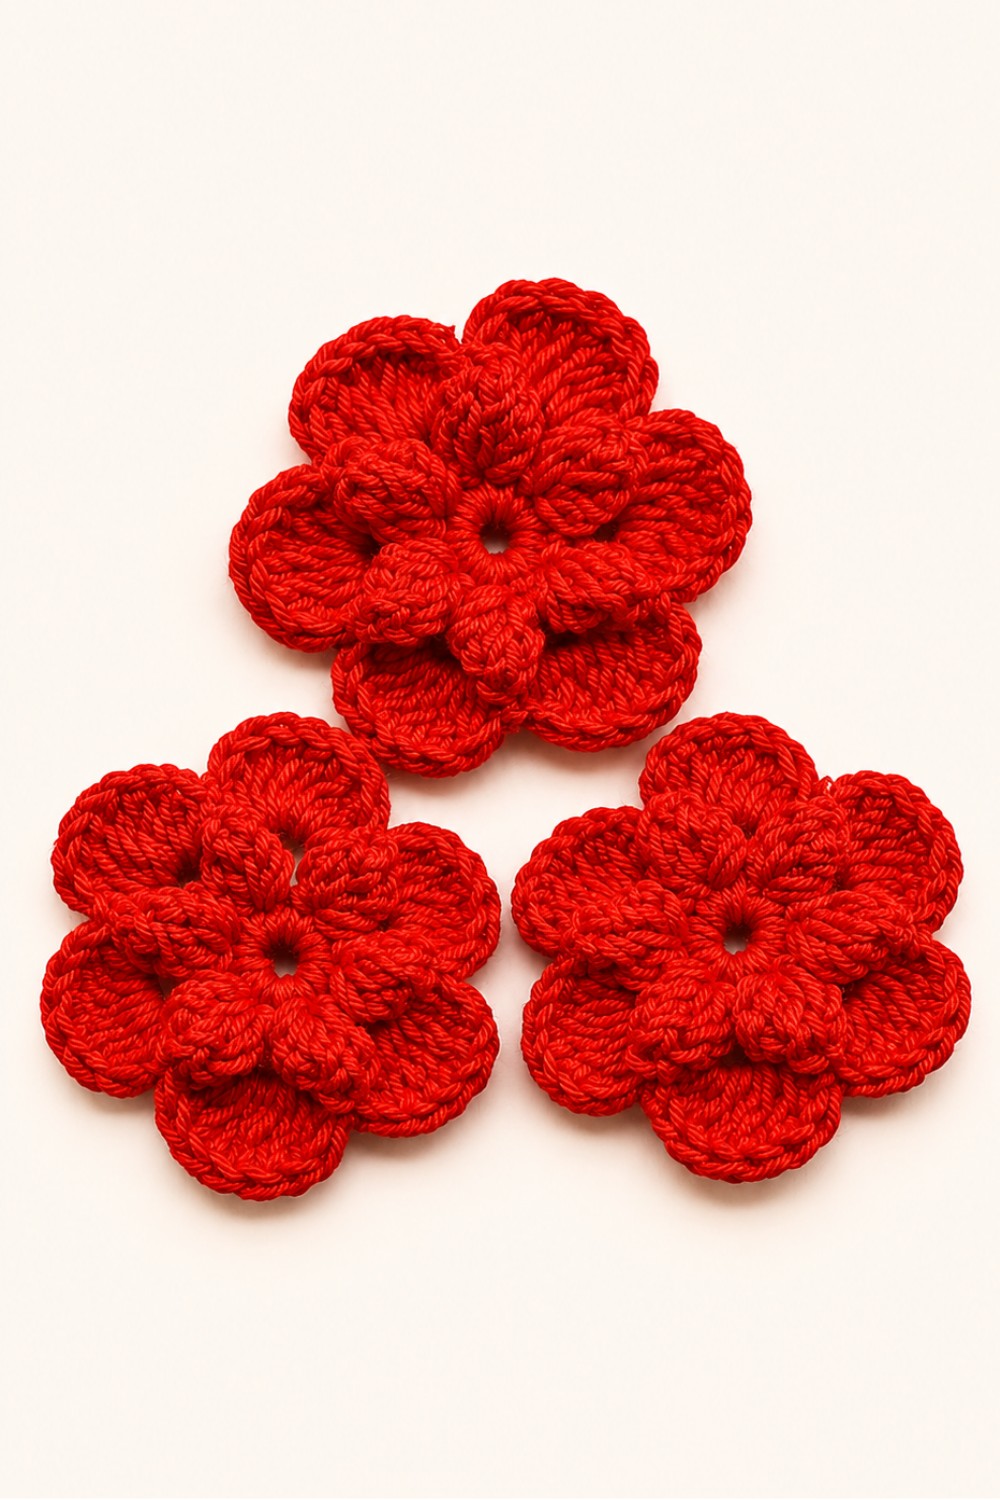
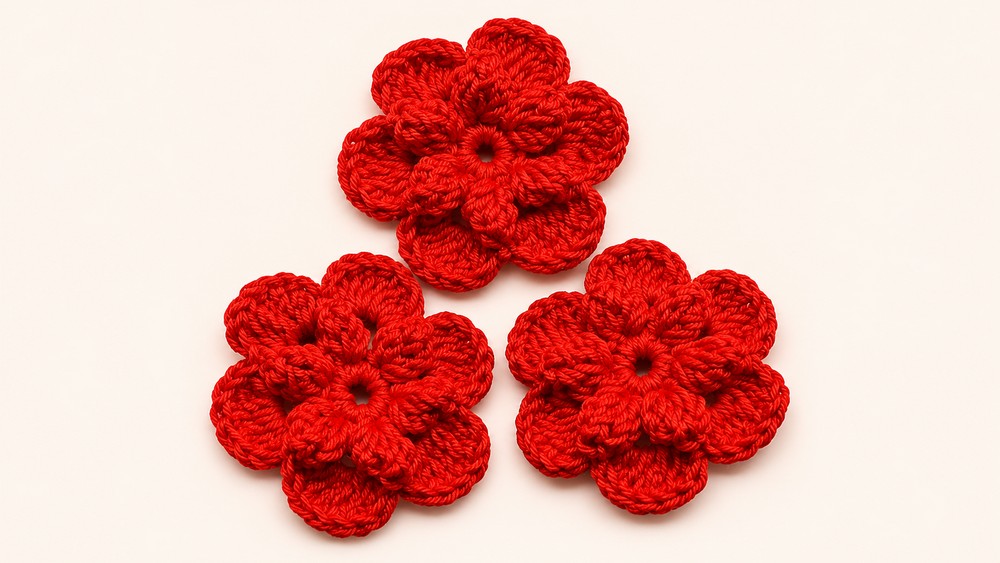
Have you ever noticed how a small flower can brighten up an entire room or outfit? Imagine holding a delicate, colorful flower made from yarn that looks just as lovely as a real bloom. This charming finished piece has a soft texture and sweet, rounded petals that catch the eye. It fits perfectly on bags, hats, scarves, or as a beautiful decoration around the home. The Crochet Flower Pattern, designed by Mônica Guimarães and shared on her YouTube channel Mônica Moda Crochê, shows you exactly how to create these pretty flowers. Full credit goes to Mônica for the original tutorial and design, which makes following along simple and fun.
Dainty Crochet Flower Free Pattern For Bags And Accessories
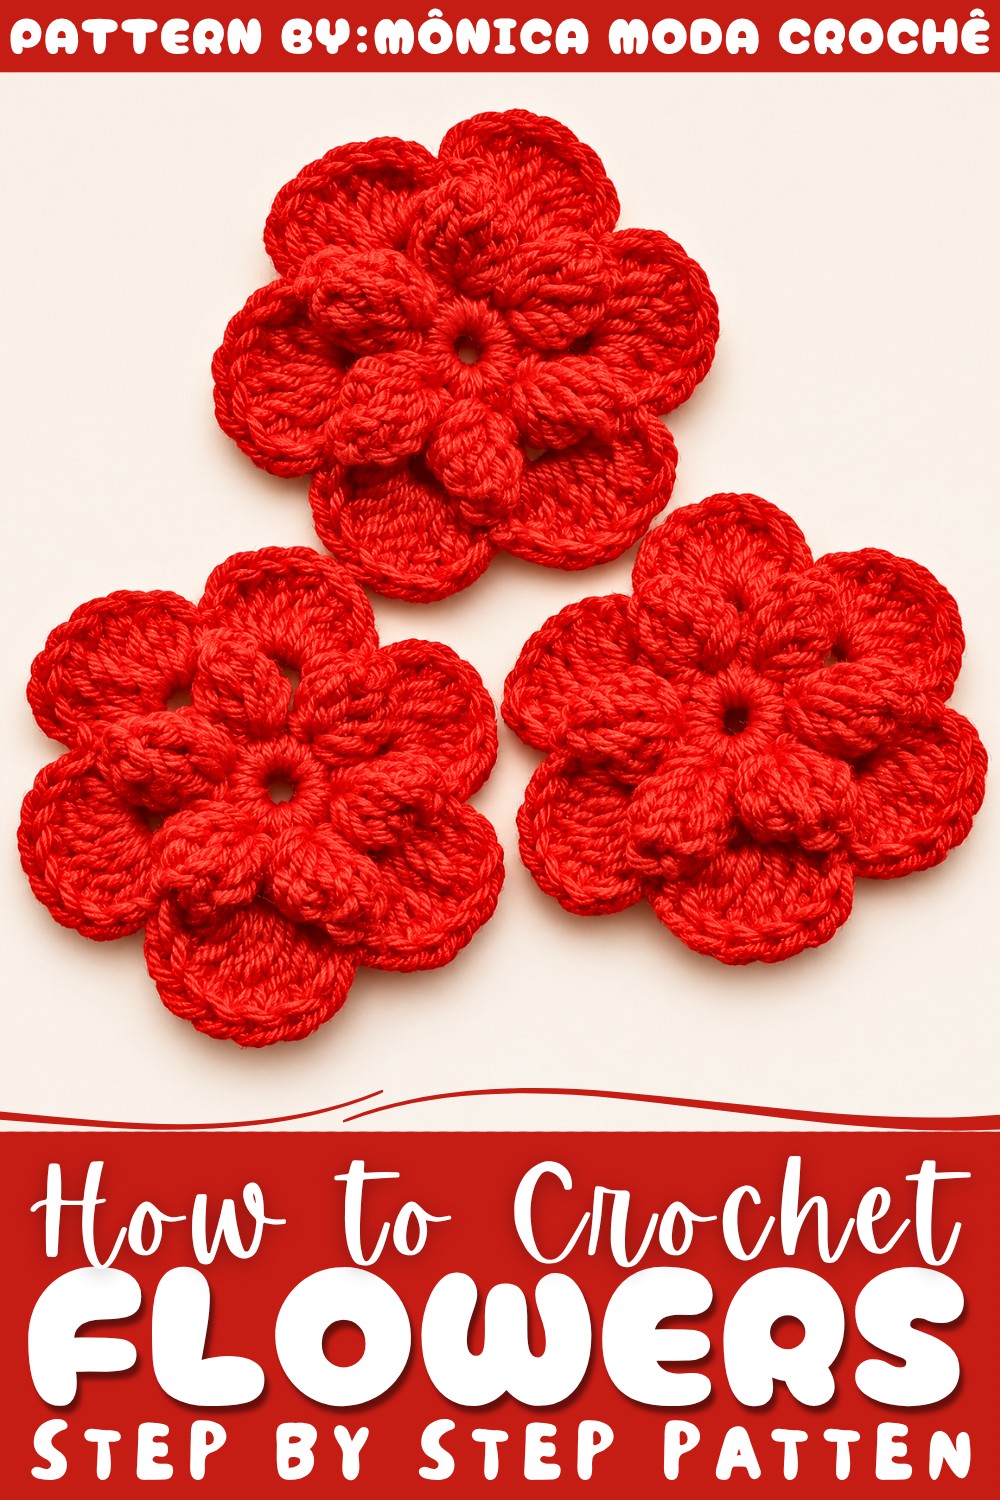
The flowers made from this pattern have a friendly, welcoming vibe because of their smooth curves and bright colors. They add warmth and personality wherever they are placed. You could make one flower or a bunch to create a colorful bouquet that never wilts. Plus, these crocheted flowers are easy to customize, so you can pick your favorite colors and change their size to suit your needs. Whether you want to add a homemade touch to your clothes or make unique gifts for friends, these flowers are a perfect choice.
This Crochet Flower Pattern is designed so beginners can enjoy making it without feeling overwhelmed. Each flower gives you a chance to practice simple stitches and see quick results, which is very satisfying. When you finish, you’ll feel proud holding a pretty decoration made with your own hands that can brighten up any day. Ready to try it yourself? Follow this easy pattern and start making your own lovely crochet flowers. Have fun creating something beautiful.
Whimsical Crochet Flower Free Pattern
In this pattern, we focus on creating a vibrant and elegant crochet flower, as demonstrated thoroughly in Mônica Guimarães’ instructional video. Using classic techniques, the project builds a dimensional flower motif that can serve as an embellishment for garments, accessories, or home décor. The pattern centers around a sequence of foundational stitches, textural popcorn clusters, and bold petals, resulting in a striking decorative accent. Every step in the construction of this flower is carefully defined, yielding consistent results even for those relatively new to crochet. This project’s approachable size and adaptability make it a superb addition to a crafter’s repertoire.
Quick Overview of Pattern
- Work a closed foundation ring using chain stitches.
- Shape the flower’s core with a round of single crochet.
- Form the first round of textured petals with popcorn stitches (comprised of double crochets).
- Add the outer petal layer for fullness.
- Optional: Sew or glue a pearl in the flower’s center.
Notes
- Maintain consistent stitch tension for a symmetrical flower.
- When working popcorn stitches, ensure you pull the working loop securely for uniform definition.
- The pattern uses UK terminology in some places; for this guide, U.S. terminology is consistently used.
- For attaching a pearl, use a needle and matching thread through the center circle.
Skill Level
Beginner to Advanced Beginner
Anyone familiar with foundational crochet stitches and working in the round can achieve this pattern. Some simple shaping and texture techniques are covered.
Materials
- Amigurumi yarn (red color as shown in the video, but any color desired)
- Nickel-plated crochet hook, size 4 (2.5 mm to 3 mm, adjust as needed for yarn)
- Small scissors
- Yarn needle for finishing
- (Optional) Pearl bead for center embellishment, plus needle and thread
Measurements / Sizing
- Flower width: Approximately 3.5–5 cm (adjusts with yarn/hook)
- Height: Flat, approximately 1–1.5 cm
- The motif is suitable for appliqué or stand-alone decoration
Gauge
Not crucial for this motif. For best results, work tightly enough that petals hold their shape but loosely enough for ease of assembly.
Stitch Abbreviations
| Abbreviation | Name |
|---|---|
| ch | chain |
| sl st | slip stitch |
| sc | single crochet |
| dc | double crochet |
| popcorn | popcorn stitch |
Special Stitches
Popcorn Stitch:
Work five double crochets into the same stitch/space, drop the loop from your hook, insert the hook into the top of the first double crochet, and pull the dropped loop through to “pop” and secure the cluster.
The Crochet Pattern
Foundation Circle
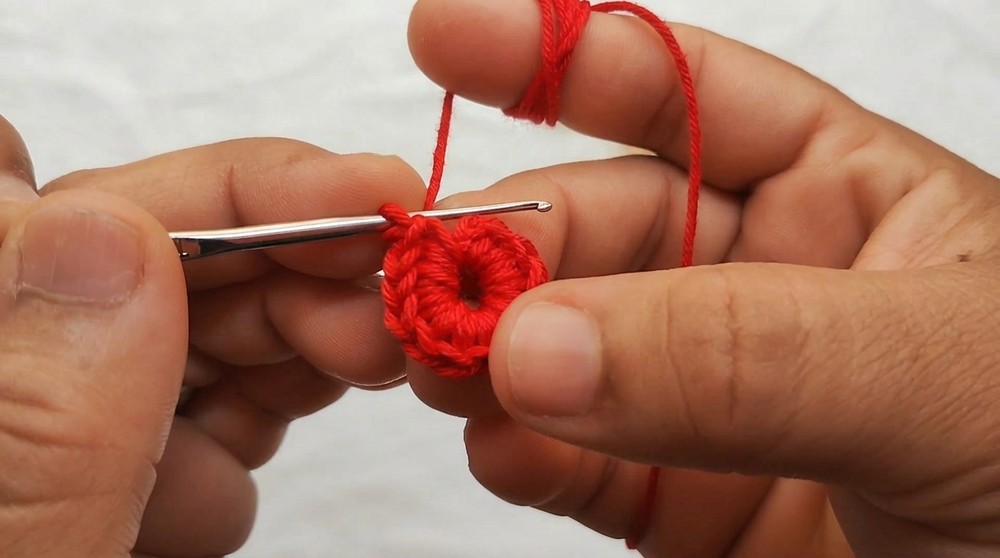
Round 1: Creating the Ring
- Begin by making 6 ch (chain stitches).
- Join with a sl st (slip stitch) into the first ch to form a ring.
Base Stitches for Petals
Round 2
- Ch 1 to rise to the round.
- Work 12 sc (single crochet) into the center of the ring; ensure you crochet over the tail for a neat finish.
- Join with a sl st into the first sc to close the round.
Popcorn Stitches (First Petal Round)
Round 3: Building the Popcorn Petals
- First Petal (Popcorn Cluster):
- Ch 3 (these chains count as your first dc).
- Work 5 dc (double crochet) into the same stitch/space.
- Remove your hook from the working loop, insert it into the 3rd chain from the start of the petal, pick up the loop, and draw it through to form the popcorn.
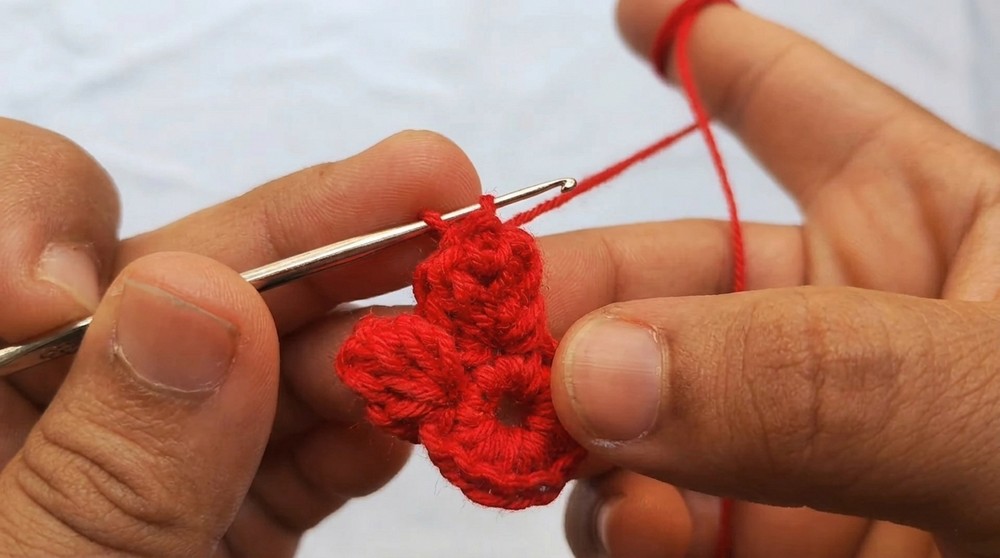
- Next Petals:
- Ch 4 (creates a bridge between petals).
- Skip 1 sc from the previous round.
- In the next sc, work 5 dc into the same stitch.
- Drop the loop, insert the hook into the top of the first dc of this cluster, pick up the working loop, and pull it through, closing the popcorn.
- Repeat the process: Ch 4, skip 1 sc, 5 dc in next sc, form popcorn as before.
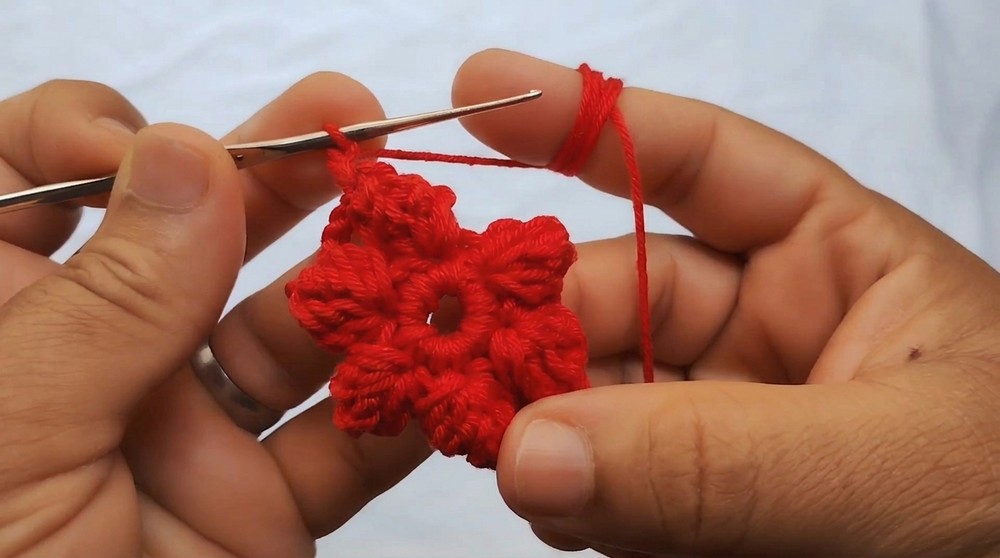
- Continue this sequence until you have 6 popcorn petals.
- At the end, join using a sl st into the top of the first popcorn to close the round.
Final Petal Layer
Round 4: Shaping the Full Petals
- Move into the next open space (the ch-4 space between popcorns).
- In this space, work 1 sc.
- Still in the same space, work 6 dc.
- Then, in the same space, add 1 more sc.
- For each remaining ch-4 space: Repeat the pattern—1 sc, 6 dc, 1 sc.
- Work all around, filling each ch-4 space with this combination for a full, rounded petal effect.
- At the end of the round, join with a sl st into the first sc of the round.
Completion
- Ch 1, cut the yarn, and pull through securely.
- Use your yarn needle to weave in all ends on the flower’s back.
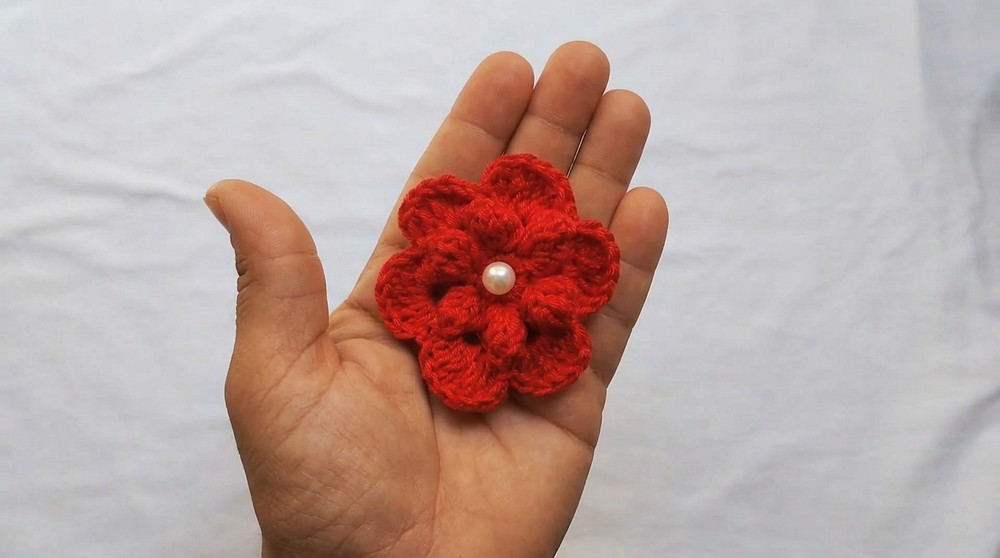
- (Optional) Thread a pearl bead and sew or glue it neatly in the center.
Assembly & Finished Size
After completing your last stitch and weaving in ends, gently reshape each petal so they lie evenly with balanced tension. The finished flower typically measures about 3.5–5 cm across. Attach a pearl in the center if you wish for an extra decorative touch. This motif can be sewn onto hats, bags, scarves, or any desired project.
Conclusion and Ending Words
Completing this compact crochet flower provides an engaging opportunity to reinforce foundational skills while producing a decorative result. The sequence of simple rounds transitions smoothly from ring formation, through textural popcorn stitches, to well-defined outer petals, culminating in a motif suitable for hundreds of creative applications. Whether used as a stand-alone decoration or as an accent on handmade gifts, the piece embodies both simplicity and charm. Through careful attention to tension and consistent stitch placement, even those newer to crochet will find satisfaction in achieving clean, crisp shapes. Adding a pearl elevates the final presentation, offering a personal touch. Apply this motif wherever a pop of color or a textured highlight is desired, celebrating the classic beauty of handwork and the joy of small-scale creativity.