Bring sunny charm to crochet time with this Free Crochet Chick Amigurumi Pattern that's featuring easy steps and sweet details for spring decor or keepsakes.
Free Crochet Chick Amigurumi Pattern for Spring and Easter
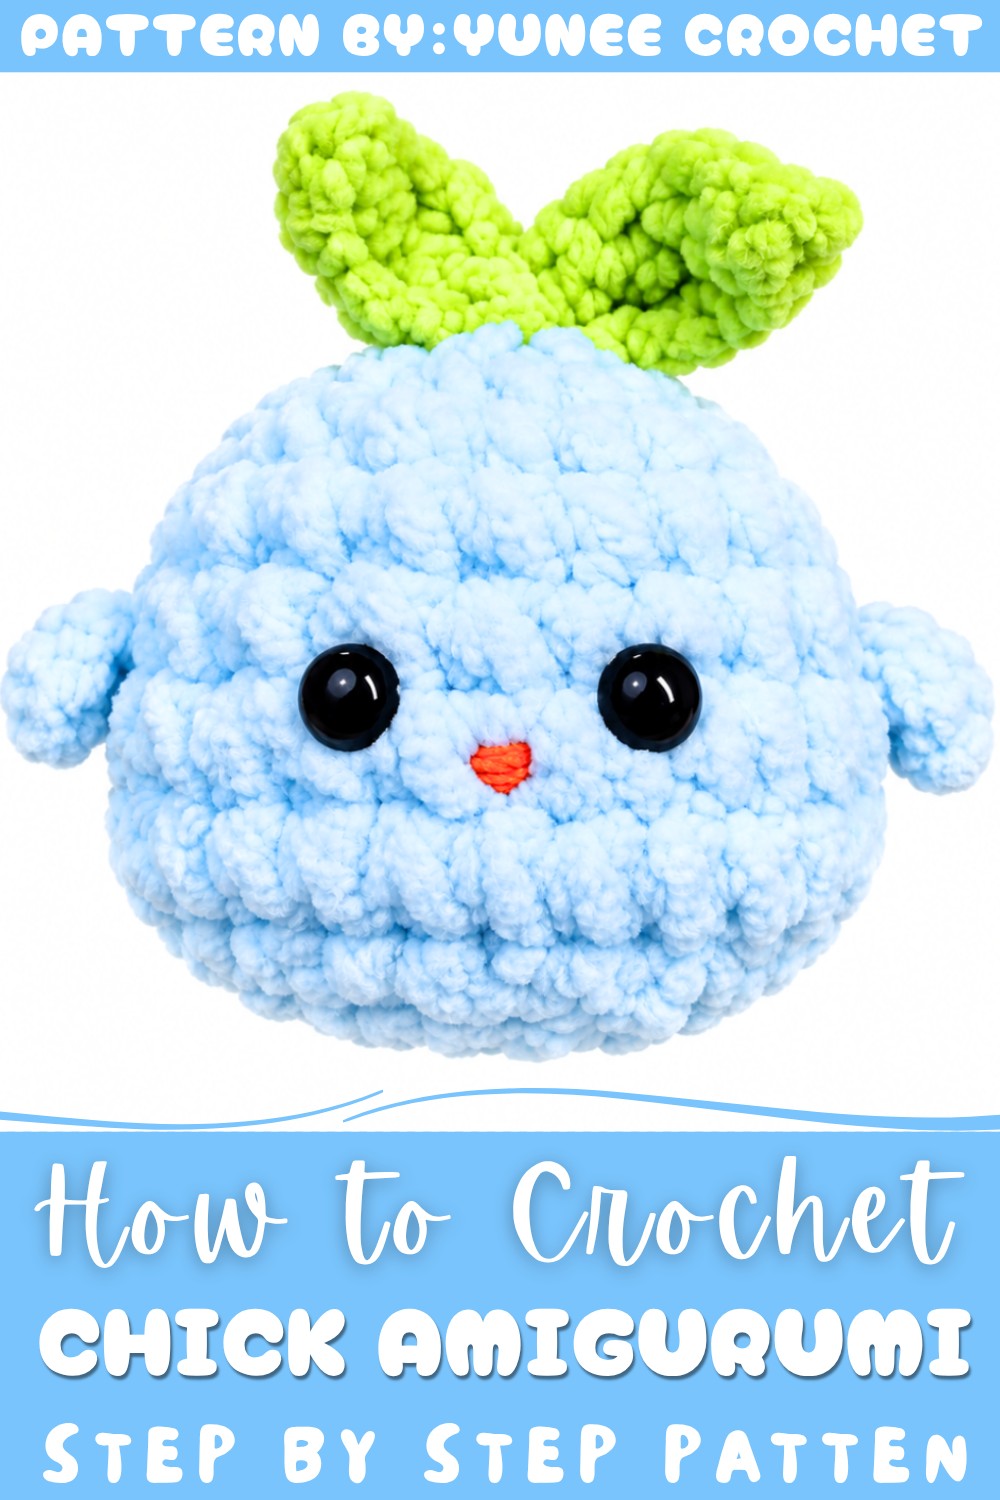
Cute Little Chick Crochet Pattern
This detailed crochet guide helps you create an adorable little chick using plush velvet yarn. The pattern includes step-by-step instructions for crocheting the chick’s body, wings, and sprout, finishing with assembly tips to bring the character to life.
Pattern Highlights
- Entire amigurumi built from the bottom up, starting with a magic ring
- Body shaped using increases and decreases for a rounded form
- Two small wings crocheted separately and sewn on for added dimension
- Cute sprout accent crafted with chains and slip stitches for a lively detail
- Safety eyes and embroidered beak for facial features
- Soft plush velvet yarn produces a cuddly, tactile finish
Notes
- The pattern is worked in continuous rounds unless otherwise stated
- Use a stitch marker to track the beginning of each round
- Increase (inc): work 2 single crochets in the same stitch
- Decrease (dec): single crochet two stitches together
- Always stuff firmly but gently to maintain the shape without distorting stitches
- Sew wings between rounds 5 and 6 on the body
- Use glue to attach safety eyes securely, then embroider the beak with yarn or thread
Skill Level
This pattern is suitable for beginner to intermediate crocheters who are comfortable with basic amigurumi techniques including magic rings, increases, decreases, working in the round, and basic embroidery.
Materials
- Plush velvet yarn (color of your choice)
- Crochet hook size 2.5 mm
- Safety eyes (size appropriate to your model)
- Synthetic stuffing (fiberfill)
- Yarn needle for sewing and embroidery
- Scissors
Measurements / Sizing
The finished chick measures approximately 6-8 cm tall depending on your tension and yarn choice, making it perfect as a small stuffed toy or decorative figure.
Gauge and Stitch Pattern
Gauge is not critical for this plush amigurumi but aim for tight single crochet stitches to prevent stuffing from showing. Using a 2.5 mm hook with plush velvet yarn generally creates a firm fabric suited for stuffing.
Stitch Abbreviations
| Abbreviation | Explanation |
|---|---|
| ch | chain |
| sc | single crochet |
| inc | increase (2 sc in one stitch) |
| dec | decrease (single crochet 2 stitches together) |
Special Stitches
- Magic ring: Creates a tight adjustable loop for starting rounds without holes
- Decrease: Worked by inserting hook into next stitch and next following stitch, yarn over and pull through, yarn over and pull through all loops on hook (single crochet two together)
- Slip stitch (sl st): Insert hook into specified stitch, yarn over and pull through both stitch and loop on hook
Crochet Pattern – Step-by-Step Instructions
Body (Chick)
Round 1:
- Create a magic ring and work 6 single crochet (6 sts) into the ring
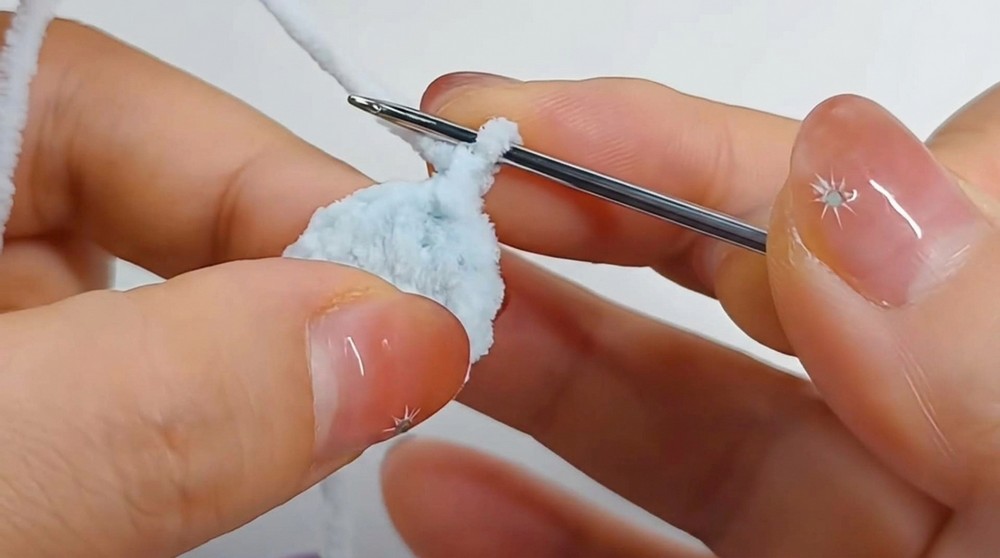
Round 2:
- Increase in every stitch: 2 single crochets per stitch (12 sts)
Round 3:
- Repeat 1 sc, 1 inc around (18 sts)
Rounds 4-5:
- Work 1 single crochet in every stitch around (18 sts for each round)
Round 6:
- Work 4 sc, 4 inc, 1 dec, 4 inc, 4 sc (25 sts)
- Explanation:
- 4 sc: single crochet in next 4 stitches
- 4 inc: increase (2 sc in each of next 4 stitches)
- 1 dec: decrease (single crochet 2 stitches together)
- 4 inc: increase (2 sc in each of next 4 stitches)
- 4 sc: single crochet in next 4 stitches
- Explanation:
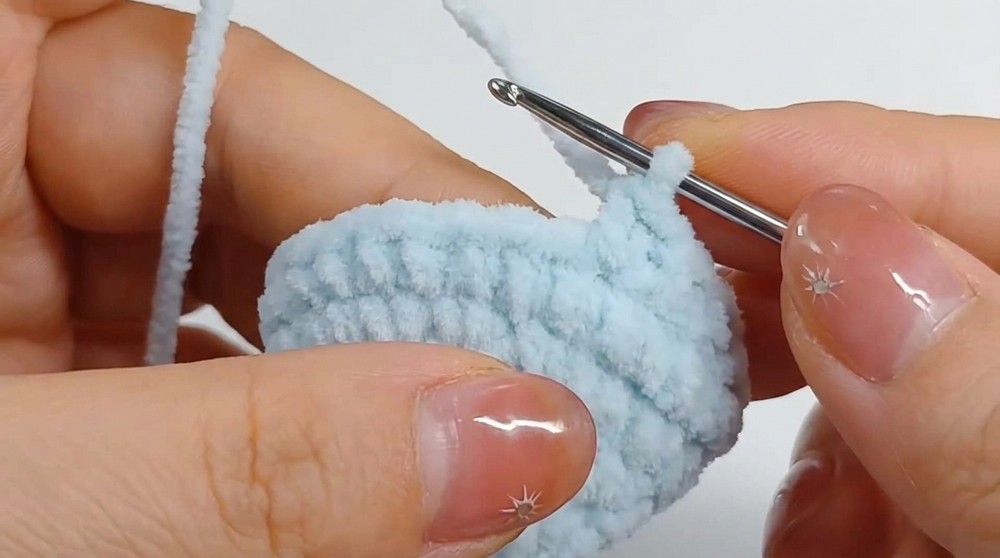
Round 7:
- 1 sc in each stitch around (25 sts)
Round 8:
- Work 4 sc, 4 dec, 1 sc, 4 dec, 4 sc
- Explanation similar to round 6 but replacing increases with decreases (to 17 sts)
Round 9:
- Repeat 1 sc, 1 dec around, finishing with 1 final dec (12 sts)
Closing the Body
- Stuff the body firmly with fiberfill
- Close the opening by sewing the edges together.
- Pass your needle through outer loops only of each stitch around the opening.
- Pull the yarn tightly to close the hole snugly.
- Fasten off and hide ends inside
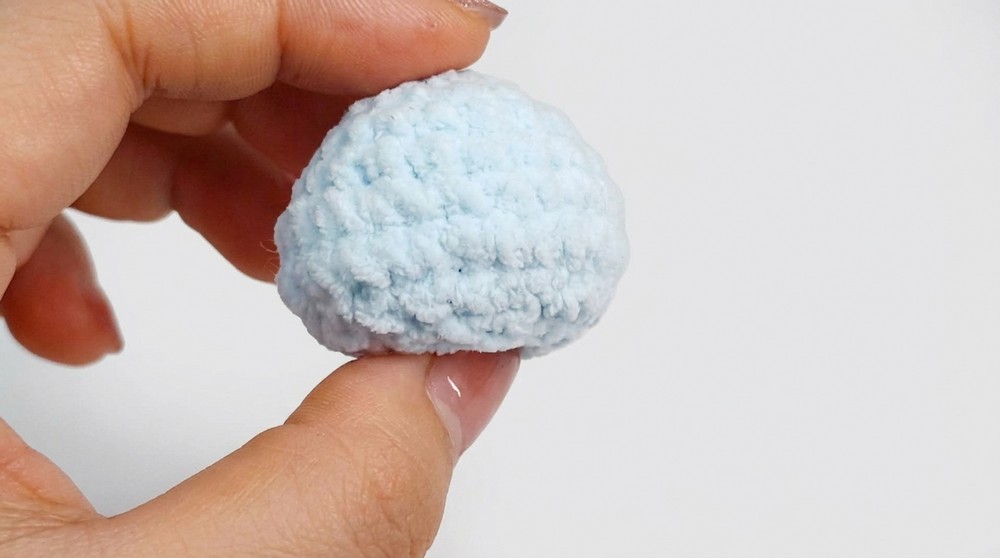
Wings (Make two)
- Chain 2
- Work 1 single crochet into the second chain from hook (total 1 sc)
- Finish and leave a tail for sewing
- Sew each wing between Round 5 and Round 6 on the body, positioning symmetrically on either side
Sprout (Head Top Accent)
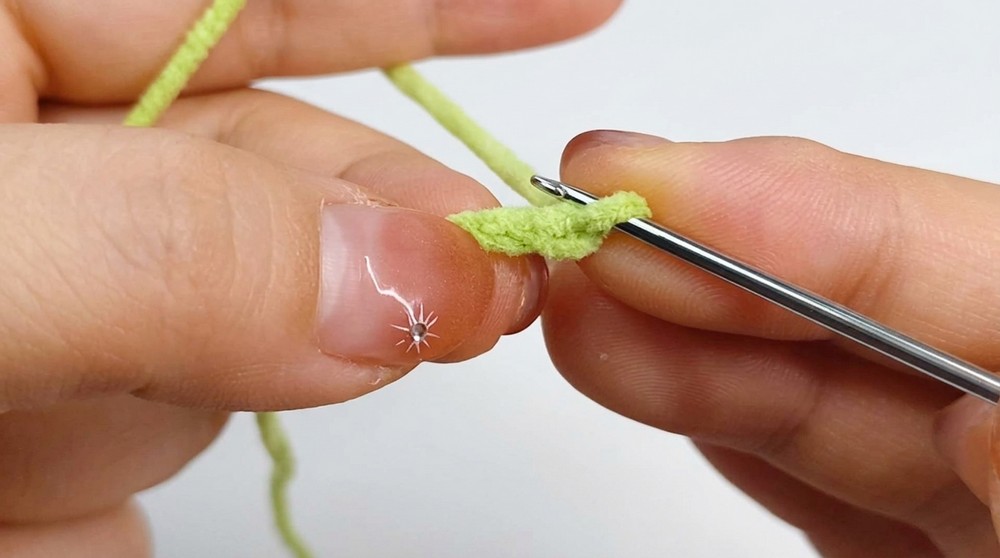
- Chain 4
- Slip stitch in second chain from hook,
- Then 1 sc in next chain,
- Slip stitch in last chain.
- Chain 4 again and repeat the sequence above
- Once completed, sew the sprout to the top of the chick’s head
Final Touches
- Glue the safety eyes securely onto the head at your preferred position
- Embroider the beak below the eyes using yarn and a yarn needle
- Use simple stitches in orange or yellow yarn to mimic a small chick beak
Assembly & Finished Size
Once all parts are completed:
- Attach the wings securely on the body between rounds 5 and 6
- Sew the sprout firmly at the top of the head
- Position and firmly affix safety eyes with glue to prevent displacement
- Embroider the beak for a sweet facial expression
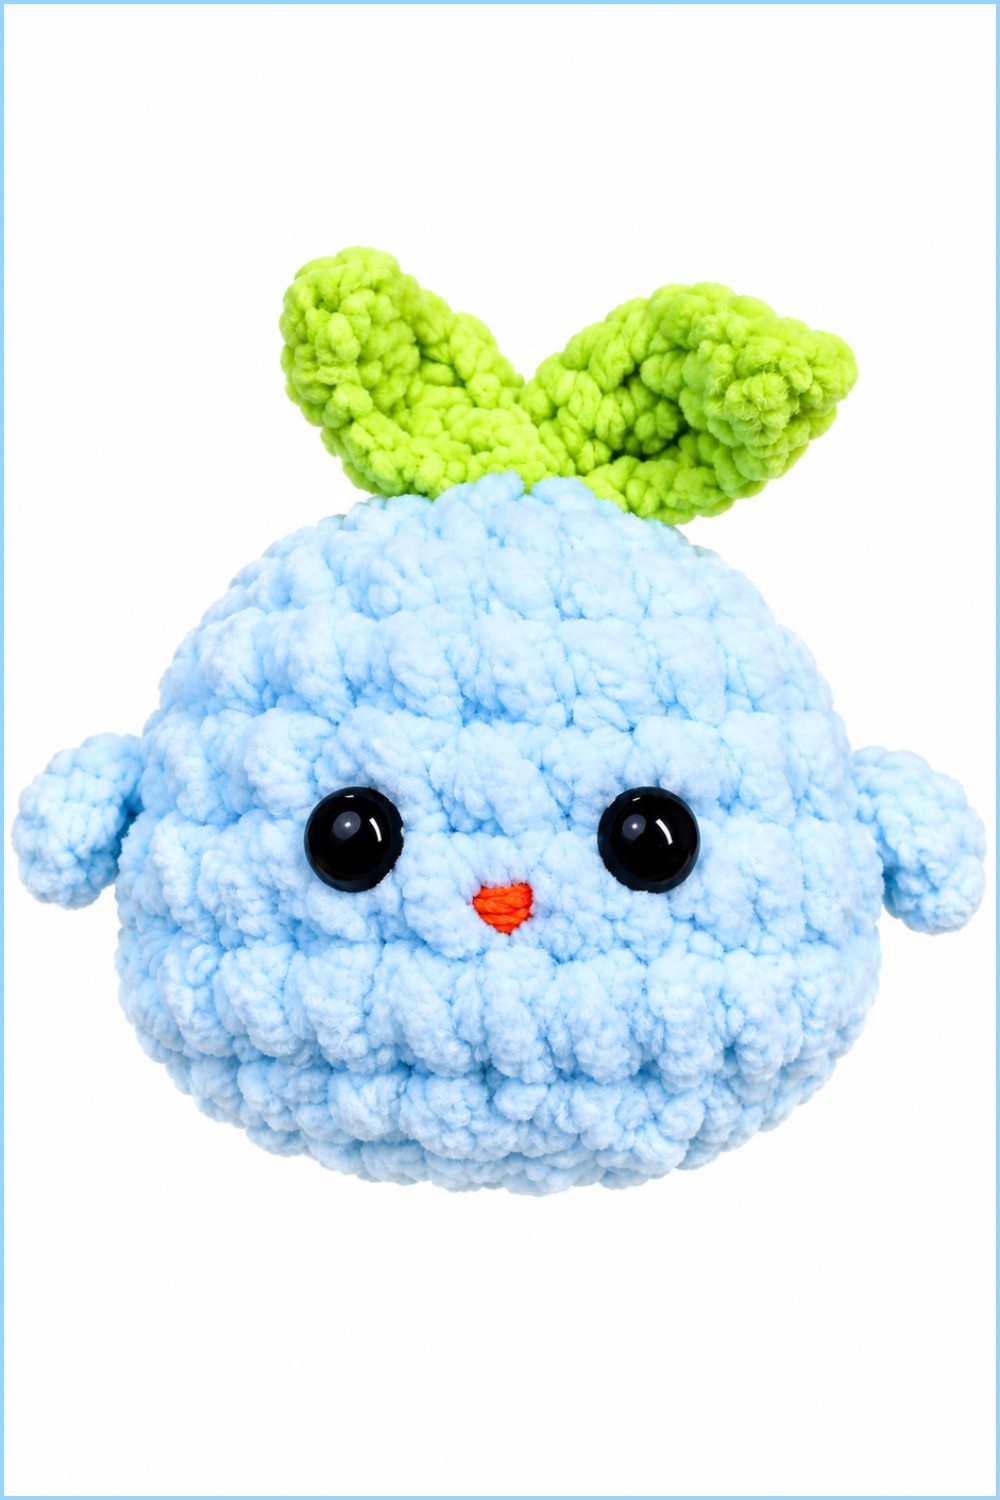
- The fully assembled chick measures approximately 6 to 8 cm tall, perfect for small gifts or charming decor
Conclusion
This crochet pattern for a little chick offers a fun and rewarding project that uses basic amigurumi techniques alongside creative shaping for an adorable result. The textured plush velvet yarn provides a soft and cuddly finish, perfect for gifts or collectibles. With careful attention to increases, decreases, and assembly, your chick will stand out with charming features like its tiny wings and lively sprout.