Refresh your fall decorations with this free crochet pumpkin pattern that's featuring intricate details that capture the spirit of harvest and warmth perfectly.
Seasonal decor brings cozy warmth and festive spirit into your home during the autumn months. Trying a Free crochet Pumpkin pattern allows you to make a charming rustic ornament that works as a tabletop centerpiece or fireplace mantle display. Thanks to clear video guidance from Hook & Loop Crochet Tutorials, making these autumnal items becomes a fun project for makers of all skill levels. This handmade piece make delightful gifts for autumn dinner hosts, neighbors, or teachers who love seasonal decorations.
The finished piece features a plump, ridged body with a textured surface that captures the look of a fresh garden harvest. Rich orange tones give it a classic autumn appearance, while a neat wooden stem or crocheted vine adds a rustic touch to the top. Its compact, round shape sits flat on any surface, making it easy to style in groups or place inside decorative baskets.
Easy Free Crochet Pumpkin Pattern for Beginners
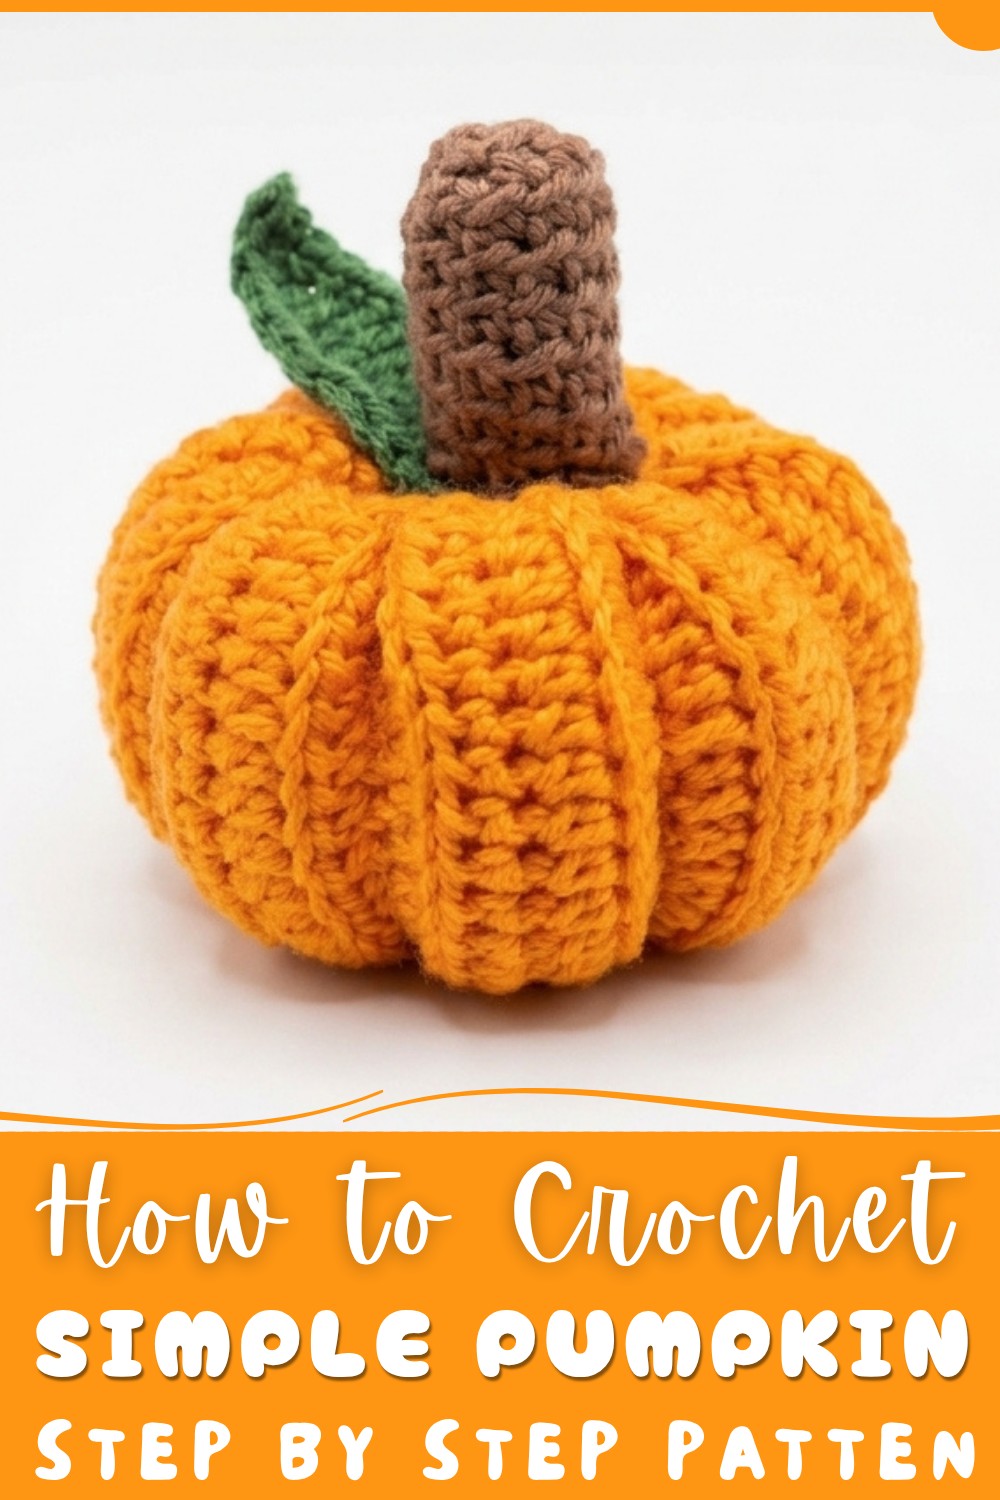
Making this small festive item is a wonderful way to use leftover yarn scraps during your seasonal prep. You can experiment with cream, sage green, or deep cinnamon shades to match your home color theme.
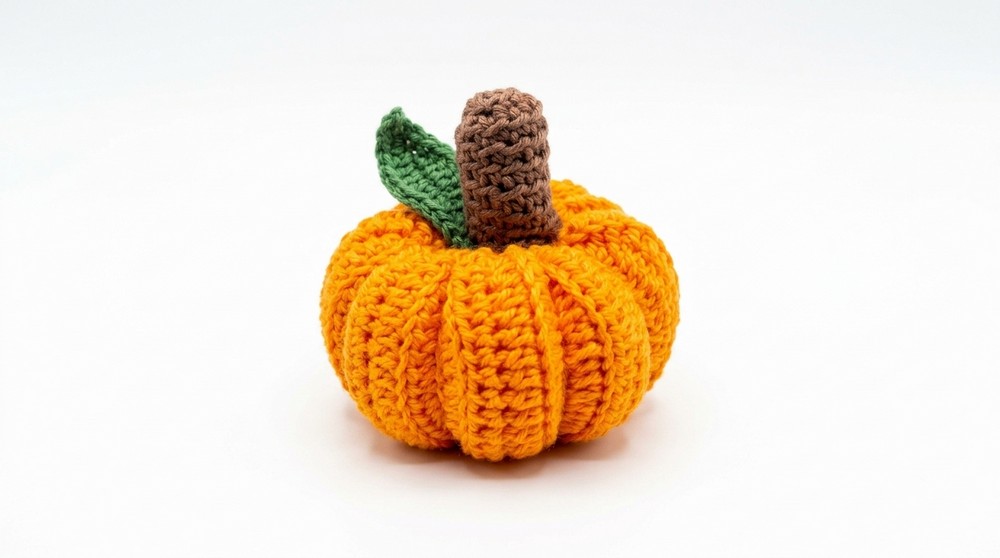
Handmade yarn pumpkin offer an easy way to bring seasonal cheer and cozy texture into your living space year after year. This lightweight, durable decoration store safely and add a welcoming touch of autumn warmth to your seasonal celebrations.
Crochet Cute Halloween Pumpkin Pattern
This detailed crochet pattern guides you step-by-step in creating a charming pumpkin perfect for Halloween home décor. With clear instructions for the pumpkin body, leaf, and stalk sections, this project is ideal for adding a handmade seasonal touch to your space.
Pattern Highlights
- Traditional pumpkin shape created by layering and sewing rows of half double crochets worked in back loops only
- Leaf crafted with a combination of single crochet, half double crochet, double crochet, and treble stitches creating an organic textured leaf
- Stalk crocheted as a small ribbed tube using back loops for a realistic finish
- Finished pumpkin is stuffed for plushness and volume
- Incorporates weaving and sewing techniques for assembly and shaping
- Perfect Halloween-themed decoration or gift
Notes
- Work the pumpkin body rows in the back loops only to create ridges resembling pumpkin segments
- Edge stitches are joined using slip stitches to close work neatly each round
- Use a stitch marker and tapestry needle to aid in assembly and finishing
- Stuff the pumpkin and components progressively to maintain shape and fullness
- Leaf shaping involves various crochet stitches for texture variation and natural detailing
- Assemble parts by sewing securely onto the pumpkin body
Skill Level
This pattern is suitable for intermediate crocheters with knowledge of:
- Creating slip knots and chains
- Half double crochet (hdc), single crochet (sc), double crochet (dc), treble crochet (tr), and slip stitch (sl st)
- Working in rows and rounds
- Working stitches into back loops only
- Basic shaping with increases and decreases
- Weaving in tails and sewing pieces together
Materials
- Three colors of yarn (any worsted weight cotton or acrylic suitable for home décor work well)
- Scissors
- Crochet hook appropriate for your yarn
- Stitch marker
- Tapestry needle for sewing and weaving ends
- Cotton or polyfill stuffing
Measurements / Sizing
The finished pumpkin size varies depending on yarn and hook size, but typically measures approximately 15-20 cm in diameter. It's large enough for a decorative piece on shelves, tables, or mantels.
Gauge and Stitch Pattern
Gauge is flexible; however, even tension is encouraged to maintain texture and segment definition. Working half double crochet stitches only in the back loops produces ridged rows that simulate pumpkin grooves.
Stitch Abbreviations
| Abbreviation | Explanation |
|---|---|
| ch | chain |
| sl st | slip stitch |
| sc | single crochet |
| hdc | half double crochet |
| dc | double crochet |
| tr | treble crochet |
Special Stitches
- Back loop only (BLO): Working into only the back loop of the stitch to create texture and ridges
- Slip stitch join: Used to join the end of rows or rounds to maintain shape
- Multiple dc/tr stitches in one stitch: For adding texture as in the leaf pattern
Complete Step-By-Step Crochet Pattern
Pumpkin Body
Starting:
- Make a slipknot.
Foundation Chain:
2. Chain 25.
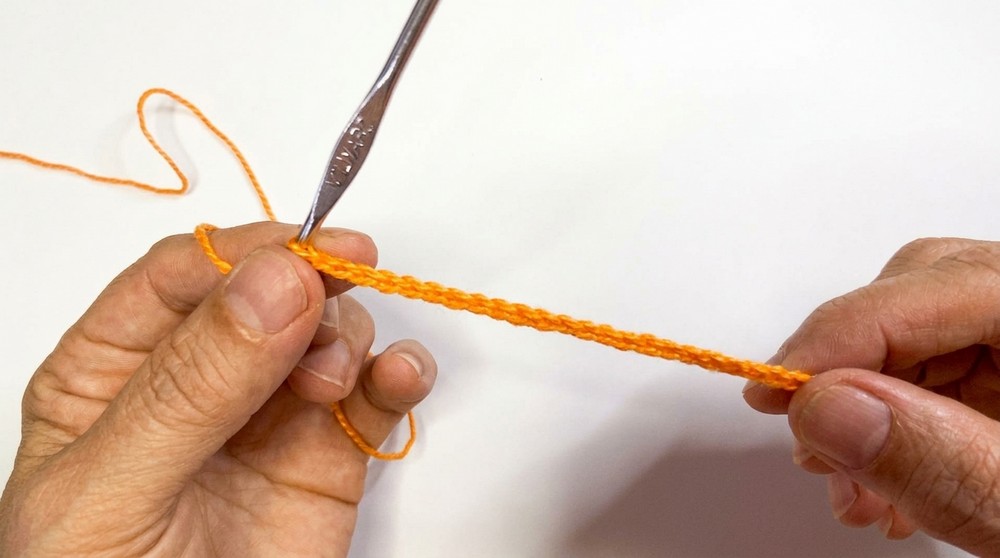
Row 1:
3. Skip the first chain from the hook.
- Work one half double crochet (hdc) into each chain stitch across (24 hdc).
Row 2:
5. Chain 2, turn your work.
- Work 1 hdc into the back loop only (BLO) of each stitch across.
Rows 3 to 30:
7. Repeat Row 2—chain 2, turn, and work 1 hdc in the back loop only of each stitch for a total of 30 rows worked this way. These rows form the pumpkin’s ridged texture.
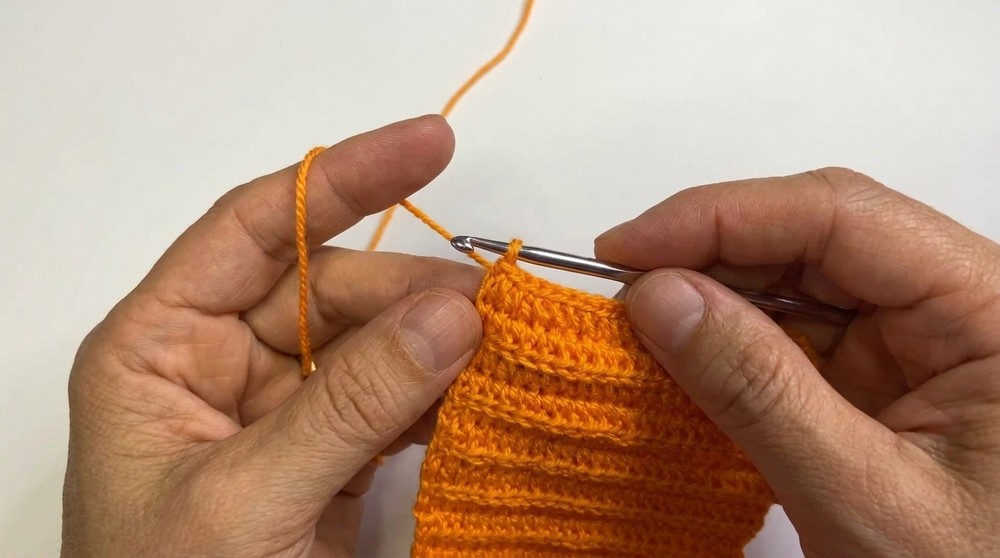
Closing the Pumpkin:
8. Fold the rectangular piece in half lengthwise to form the pumpkin shape.
- Using slip stitches (sl st), sew along the open edge by making 1 sl st in each stitch, closing the side seam together.
Finishing:
10. After closing, sl st around the top edge to tighten and secure the shape.
- Pull the yarn tail tight and cut it.
- Weave in any remaining tails neatly inside the pumpkin.
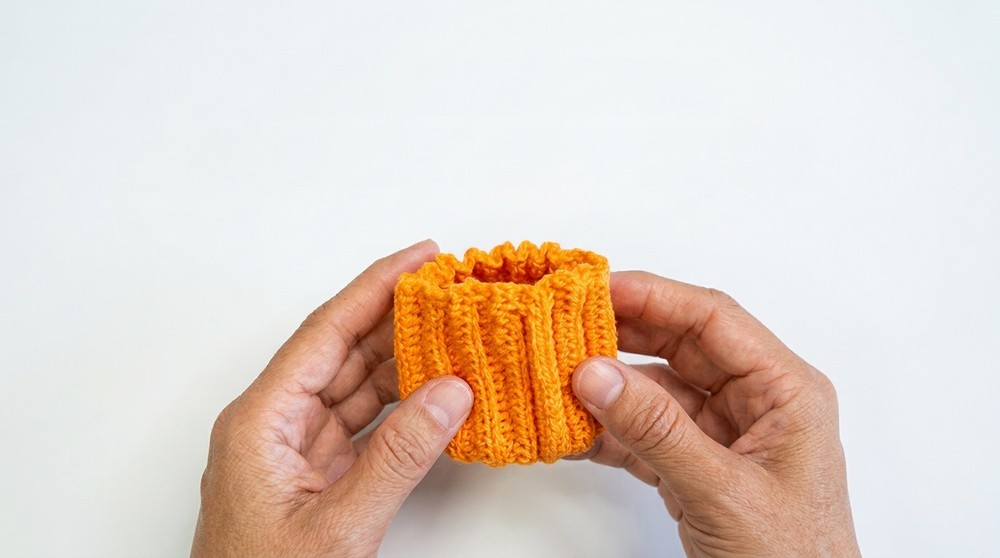
Shaping the Pumpkin:
13. Thread a long length of yarn onto a tapestry needle.
- Sew around the pumpkin body horizontally, slightly pulling after each stitch to create the distinctive “slices” or pumpkin segments. This stitching helps create the round pumpkin shape by cinching the middle.
Stuffing:
15. Begin stuffing the pumpkin with cotton or polyfill.
- Stuff gradually, adding layers moving upward to achieve a firm but round shape.
- Continue sewing the slices as you stuff, adjusting tightness for even sections.
Leaf
Starting:
18. Make a slipknot for your leaf yarn.
Foundation Chain:
19. Chain 10.
Row 1:
20. Work 1 single crochet (sc) in 2nd and 3rd chains from hook.
- Work 1 half double crochet (hdc), twice.
- Work 1 double crochet (dc), twice.
- Work 1 double crochet, once more.
- Work 1 treble crochet (tr), then 3 treble crochets in next stitch for added fullness.
Creating Leaf Stem:
25. Chain 5.
- Skip 1 stitch.
- Work 1 slip stitch (sl st) in each of the next 4 chains.
Row 2:
28. Work a slip stitch in the middle of the treble crochet stitches to add texture.
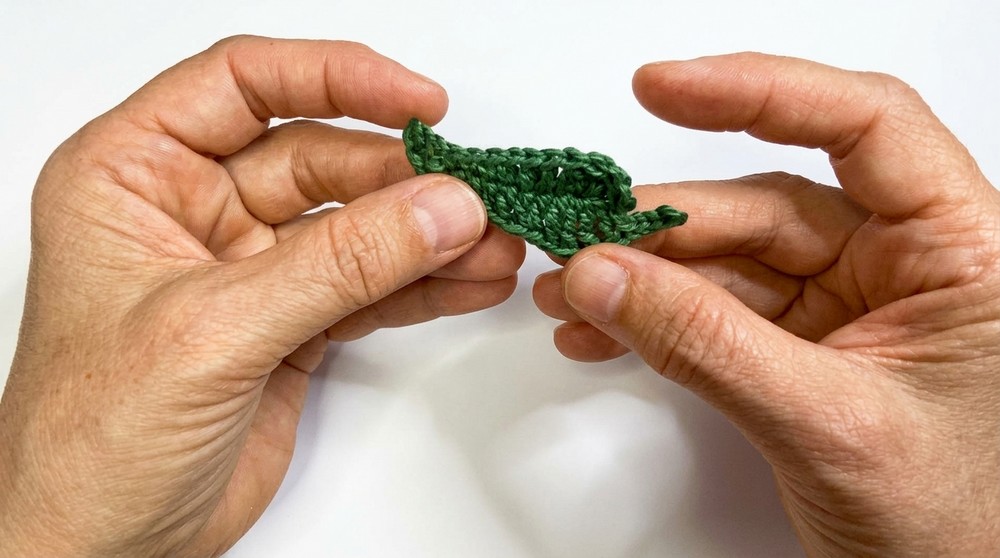
- Work 3 treble crochets in a row.
Row 3:
30. Work 1 tr, 2 double crochets (dc), 2 half double crochets (hdc), and 2 single crochets (sc) in sequence to complete the leaf shape.
Leaf Edge:
31. Chain 3.
- Work 1 single crochet in the 2nd and 3rd chains of the previous chain.
- Slip stitch into the first single crochet of the previous row to finish the leaf edge.
- Pull yarn tight and cut.
- Weave in the tails securely.
Stalk
Starting:
36. Make a slipknot.
Foundation Chain:
37. Chain 4.
Forming the Ring:
38. Slip stitch into the first chain to form a small ring.
Row 1:
39. Chain 1 and work 6 single crochets (sc) into the small ring.
- Slip stitch to join.
Row 2:
41. Work 1 single crochet (sc).
- Place a stitch marker at this point to track rounds.
Row 3:
43. Work 2 single crochets.
Row 4-5:
44. Repeat alternating 1 and 2 single crochets to form a slightly textured stalk.
Rows 6:
45. Work 1 single crochet in each stitch but only into the back loops for texture.
- Continue this for a total of 6 rows.
Finishing:
47. Slip stitch, pull yarn tight, cut, and weave in tails.
Attaching the Leaf and Stalk
- Position the leaf and stalk on the top of the pumpkin body.
- Sew both securely onto the pumpkin using yarn and tapestry needle.
- Make sure to attach firmly to prevent loosening over time.
Final Stuffing and Finish
- Add any final stuffing touches to ensure the pumpkin holds its shape properly.
- Shape and adjust slices with the yarn tails sewn in step 14 as needed for a smooth appearance.
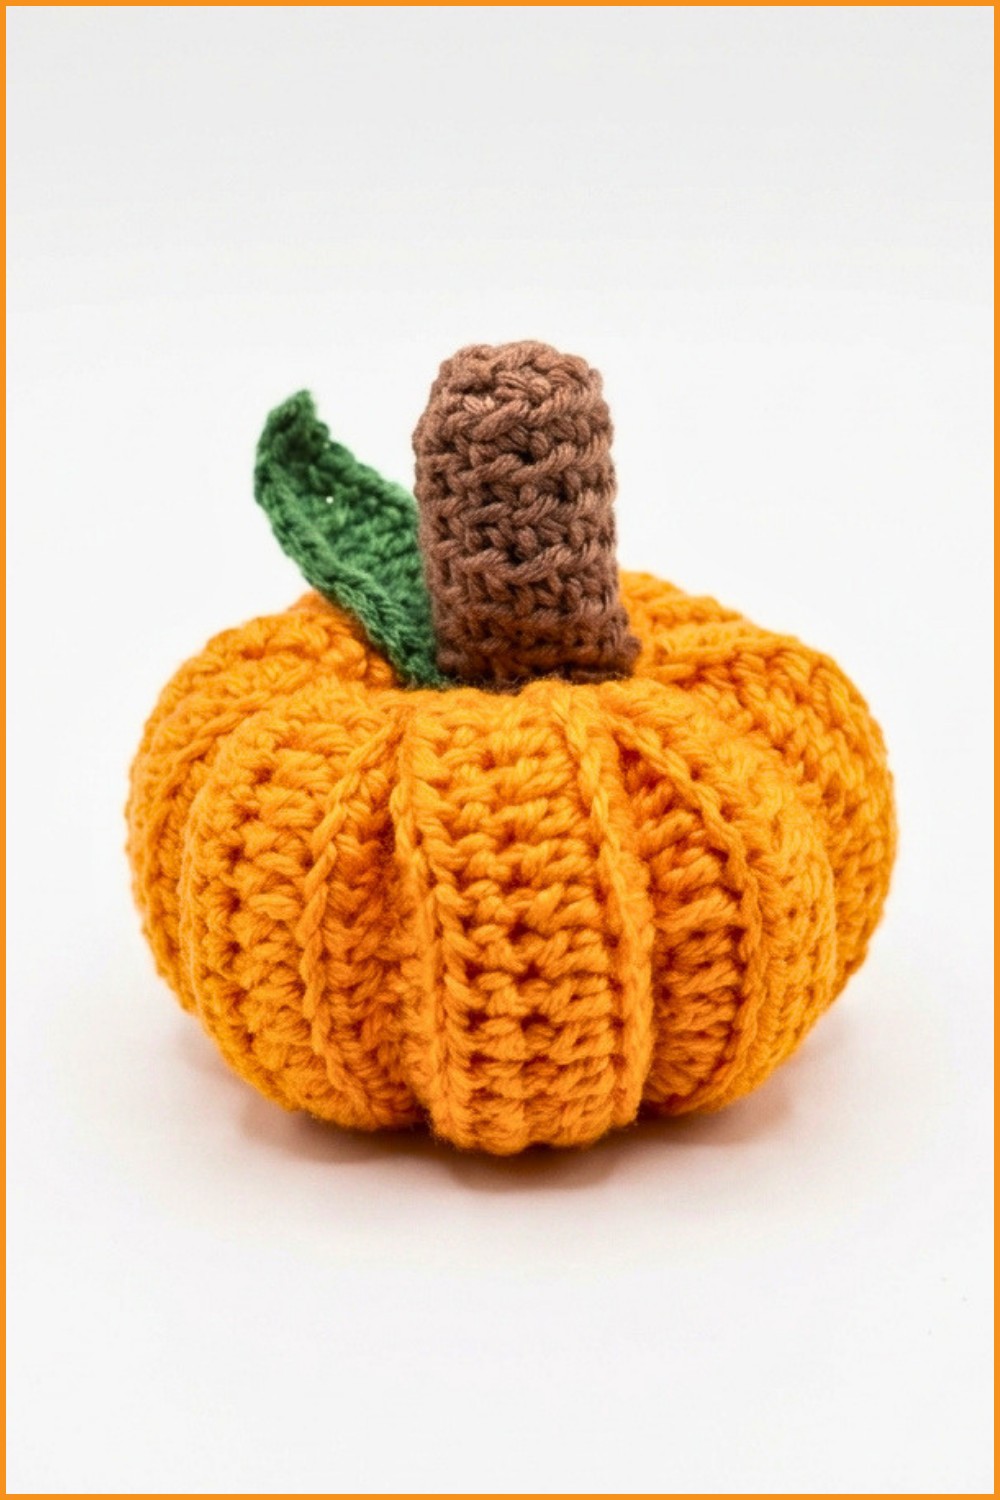
Assembly & Finished Size
The completed pumpkin measures roughly 15-20 cm in diameter, perfect for seasonal decorations on shelves or tabletops. The combination of back loop ridges and sewn "slice" shaping creates a plush, dimensional figure. The securely attached leaf and stalk add character and authenticity.
Conclusion
Your charming hand-crocheted pumpkin is now complete! This project elegantly combines fundamental crochet techniques such as working in back loops only, various stitch types, and careful assembly to create a fun and festive decoration. Whether for your own Halloween décor or as a heartfelt gift, this crochet pumpkin will brighten up any space with its handmade warmth and seasonal charm.