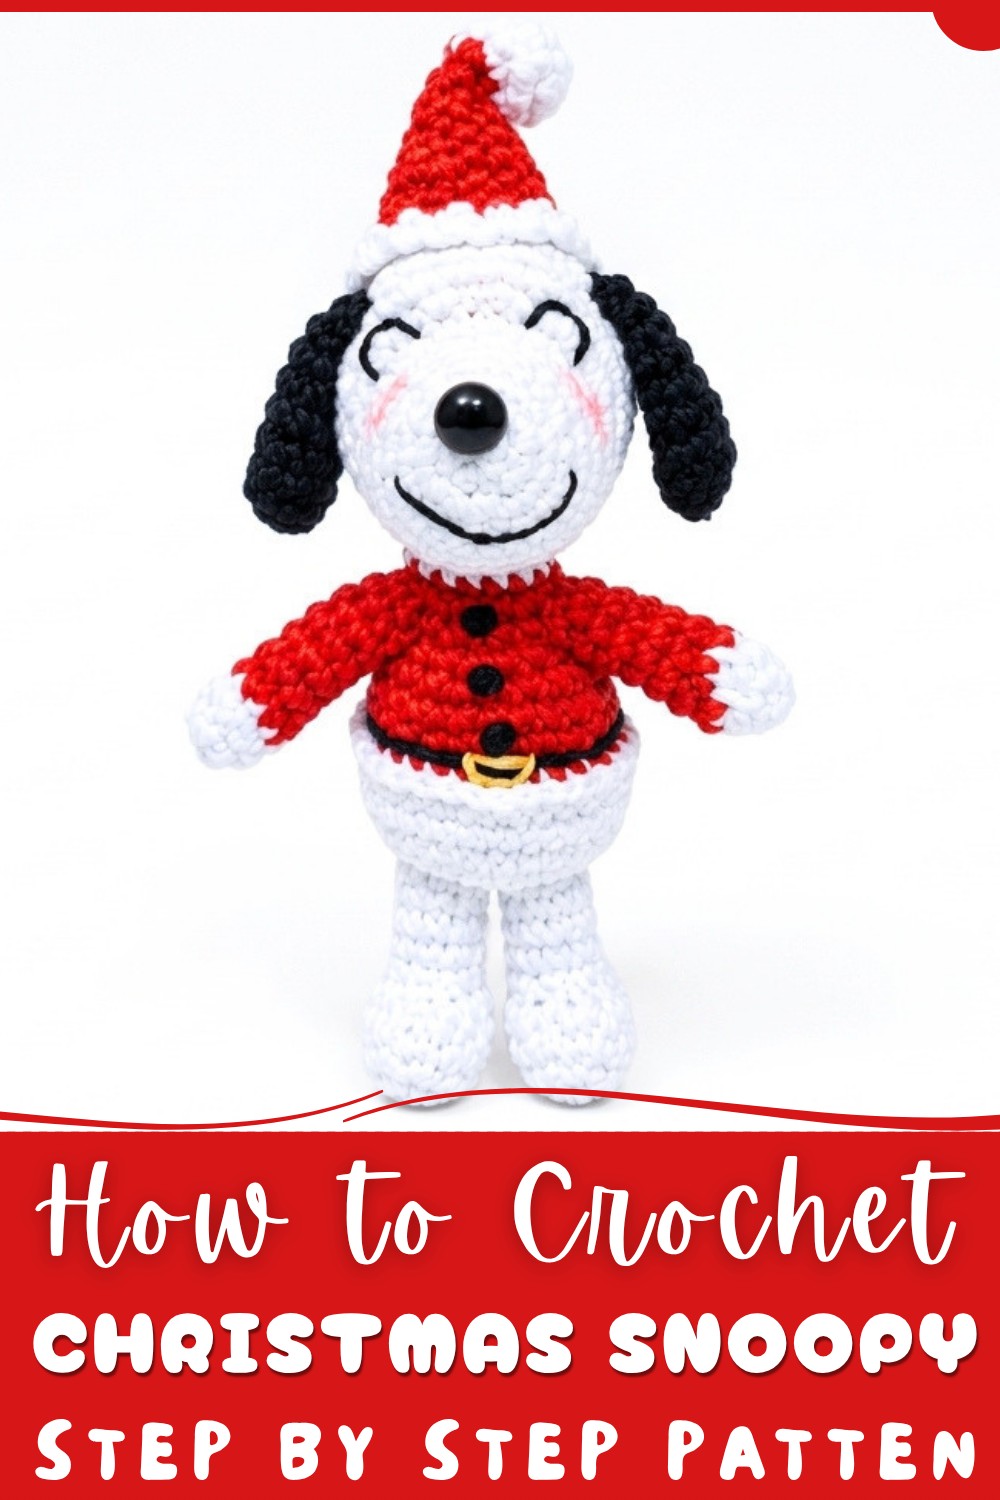
Decorate holiday corners with Free Crochet Christmas Snoopy Pattern that's featuring simple steps and playful details that bring cozy Christmas charm home.
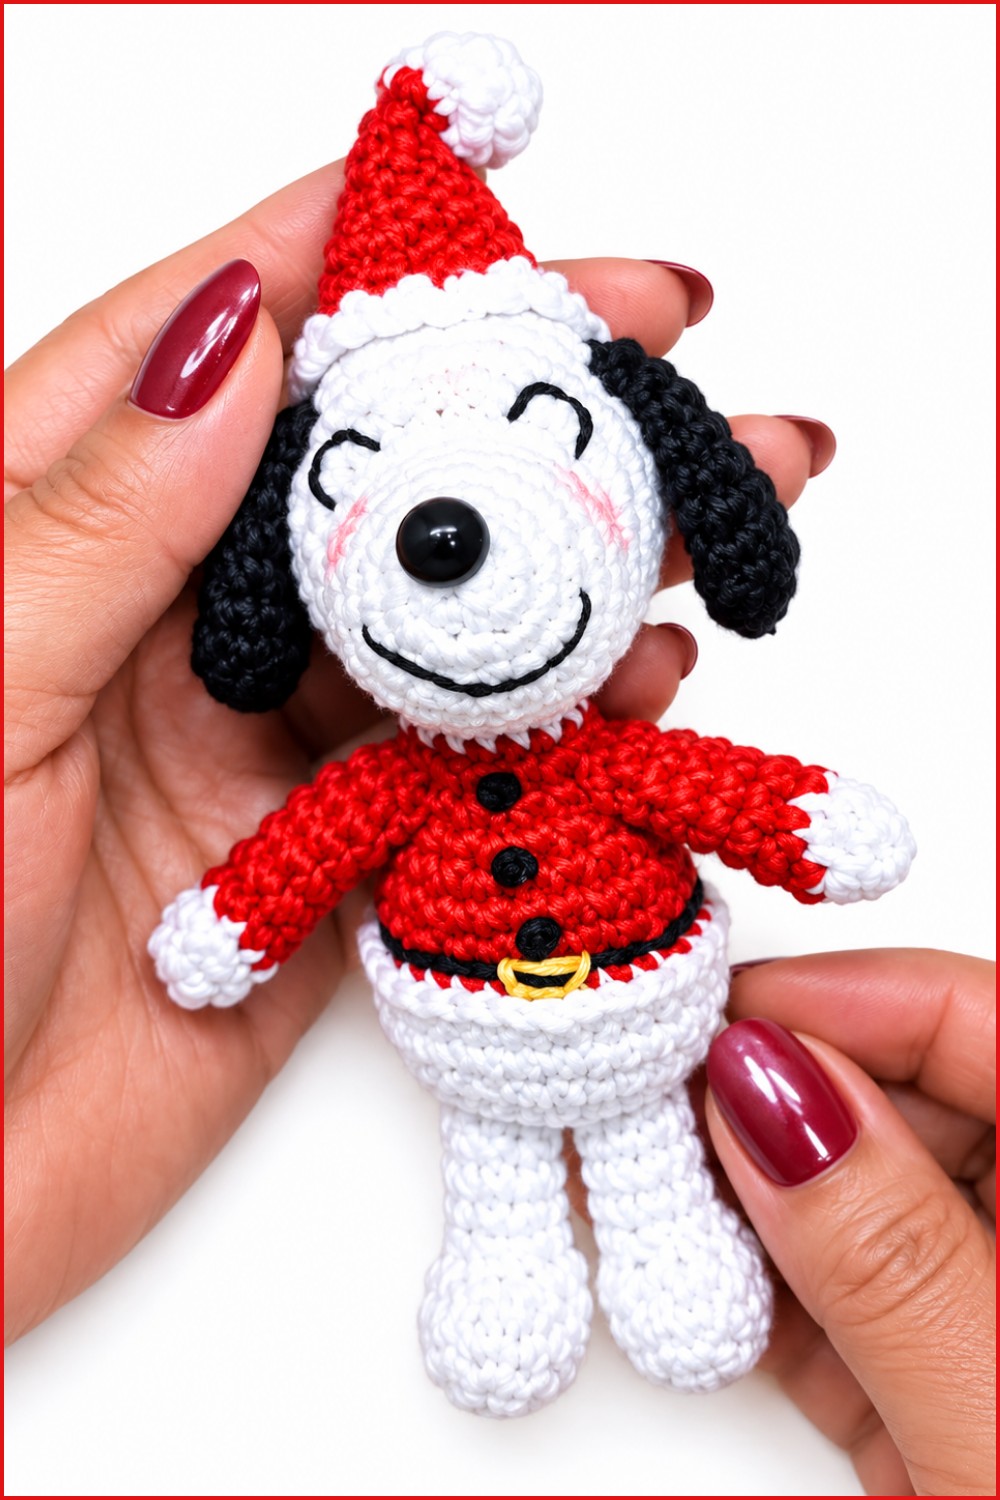
A cheerful holiday project can bring a sweet touch to any Christmas space, and the Free Crochet Christmas Snoopy Pattern is a lovely choice for fans of classic characters. The finished crochet Snoopy has a soft, rounded shape and a playful look that feels warm and festive. For a helpful visual guide, the tutorial comes from the GUMILUPIS CROCHET YouTube channel and presents the project in a clear, easy-to-follow way.
The design features a cute Snoopy figure in a simple Christmas style. A rounded body, floppy ears, friendly face, and small details give the piece plenty of charm. The compact size makes the finished crochet figure easy to place on a shelf, desk, bedside table, or holiday display.
Free Crochet Christmas Snoopy Pattern for Festive Decor
A crochet Snoopy can also add fun to a Christmas tree area, gift table, crochet corner, or child’s room. Placing the figure beside wrapped presents or other holiday decorations can create a cozy seasonal scene. The familiar character style makes this project a sweet choice for Snoopy fans, children, and anyone who enjoys cute Christmas decorations.
The project offers a fun way to make a handmade holiday piece with a personal touch. Simple crochet work combined with small details can create a finished figure full of Christmas spirit. Different yarn colors can match existing decorations, while classic colors can keep the familiar Snoopy appearance.
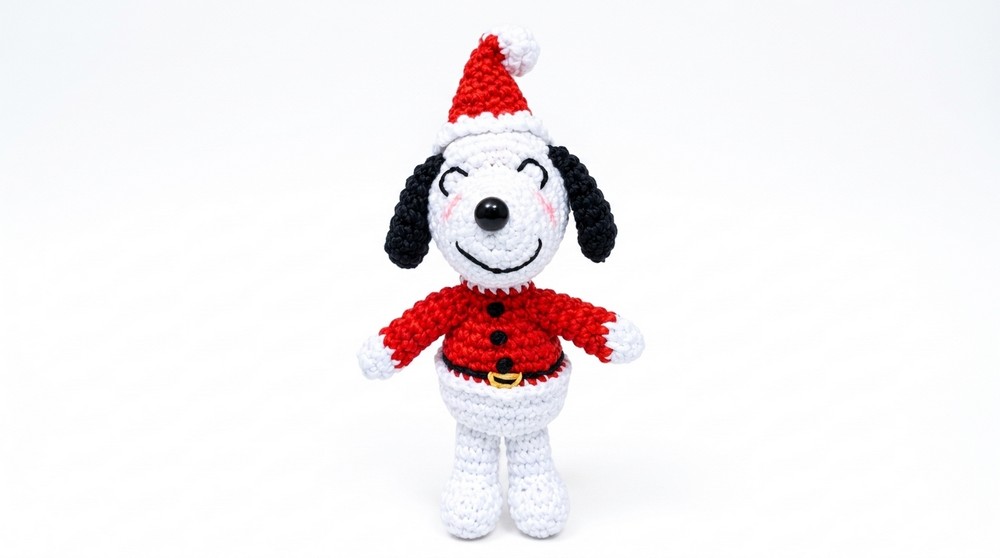
Another great feature is the many ways to enjoy the finished piece. The crochet Snoopy can decorate a home, brighten a holiday collection, or become a thoughtful handmade present. The project can also suit crocheters who enjoy making character inspired decorations.
Placed near a Christmas tree or added to a festive display, this crochet figure brings a gentle smile and cozy holiday feeling. The Free Crochet Christmas Snoopy Pattern offers a charming way to add handmade warmth to the Christmas season.
Christmas-Themed Snoopy Amigurumi Crochet Pattern
This detailed crochet pattern guides you through creating a delightful Christmas-themed Snoopy amigurumi inspired by the tutorial from GUMILUPIS CROCHET. Follow along with clear step-by-step rounds to crochet every component, from the feet to the iconic Santa hat. This pattern includes all the shaping instructions and color changes necessary to create your festive Snoopy.
Pattern Highlights
- Work includes multiple parts: feet, arms, body, head, ears, and Santa hat
- Uses both continuous rounds and color changes with white, red, black, and yellow yarn
- Captures Snoopy’s classic features with an 8mm safety eye nose and signature Christmas hat
- Incorporates increases, decreases, and working in back loops for texture
- Finished product is an adorable, huggable holiday ornament or toy
Notes
- This pattern is worked primarily in the round with a magic ring start for most pieces
- Use a stitch marker to track rounds
- Increase (inc) means two single crochet stitches in one stitch
- Decrease (dec) means crocheting two stitches together
- Color changes should be done carefully for neat transitions (especially red body sections and the Santa hat)
- Stuff firmly to maintain shapes, particularly the head and body
- Make sure to close pieces tightly as you finish each section
Skill Level
Suitable for Intermediate crocheters familiar with magic rings, increasing, decreasing, color changes, and working in the round.
Materials
- Sinfonia hilaza yarn in these colors:
- White
- Red
- Black
- Small amount of yellow
- Crochet hook 2.0mm – 2.2mm (Tulip recommended)
- 8mm safety eye (for nose)
- Stitch marker
- Tapestry needle
- Scissors
- Fiberfill stuffing
Measurements / Sizing
This Snoopy amigurumi measures approximately 9-10 cm tall when finished, ideal as a holiday ornament or gift.
Gauge and Stitch Pattern
Gauge is not critical, but hooks and yarn thickness should produce firm single crochet stitches to prevent stuffing from showing. Use the recommended hook size with 2mm hilaza yarn for best results.
Stitch Abbreviations
| Abbreviation | Description |
|---|---|
| ch | chain |
| sc | single crochet |
| inc | increase (2 sc in the same stitch) |
| dec | decrease (crochet two stitches together) |
| sl st | slip stitch |
Special Stitches
- Magic ring: The starting method for rounds to create a tight beginning without holes
- Working in back loops only: Used to create ridges or textures, notably in the body’s red section
Complete Step-by-Step Crochet Pattern
1. Feet (Make 2)
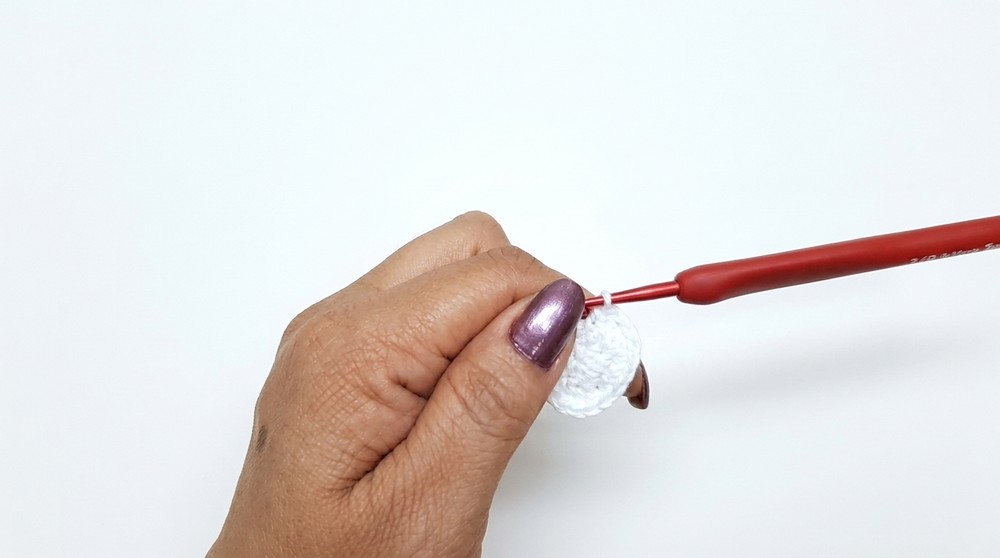
- Chain 5, then work around the chain to form an oval shape.
Round 1:
- 3 sc in the last chain
- Continue along other side: 1 sc, inc in last stitch
- Total stitches: 10
Round 2:
- 1 inc (2 sc in one stitch), 3 sc, 2 inc, 3 sc, 1 inc
- Total stitches: 14
Round 3:
- 14 sc around (14 sts)
Round 4:
- 4 sc, 4 dec (crochet 2 stitches together), 3 sc
- Total stitches: 10
Round 5:
- 3 sc, 2 dec, 3 sc
- Total stitches: 8
Rounds 6-8:
- Work 8 sc around each round
- Finish and fasten off leaving tail for sewing
2. Arms (Make 2)
Round 1:
- Magic ring with 8 sc
Round 2:
- 8 sc around
Rounds 3-8:
- Change to red yarn
- 8 sc around each round, maintaining stitch count
- Finish off and leave yarn tail for assembly
3. Body
Round 1:
- Magic ring with 6 sc
Round 2:
- 6 inc (12 sts)
Round 3:
- (1 sc, 1 inc) repeat 6 times (18 sts)
Round 4:
- (2 sc, 1 inc) repeat 6 times (24 sts)
Round 5:
- (3 sc, 1 inc) repeat 6 times (30 sts)
Rounds 6 & 7:
- 30 sc around each round
Round 8:
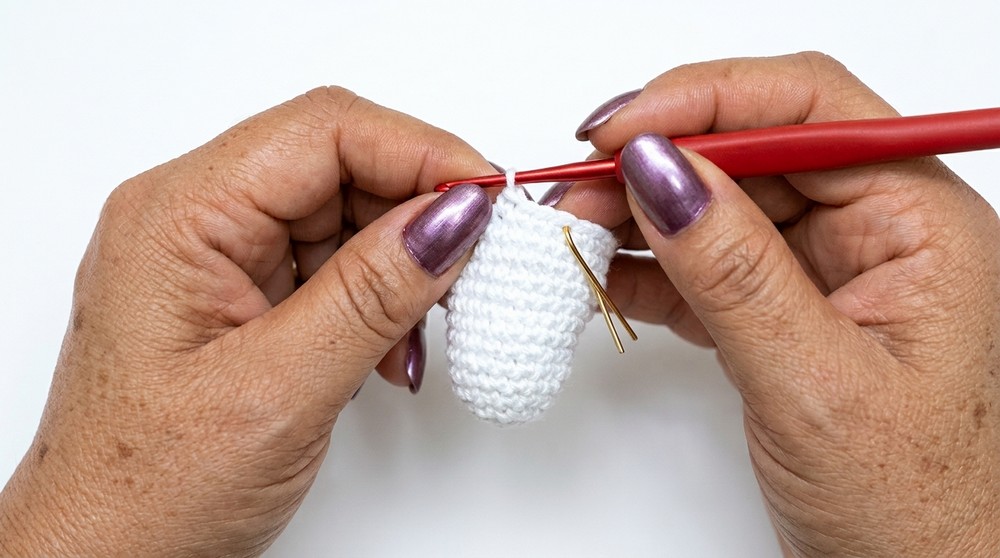
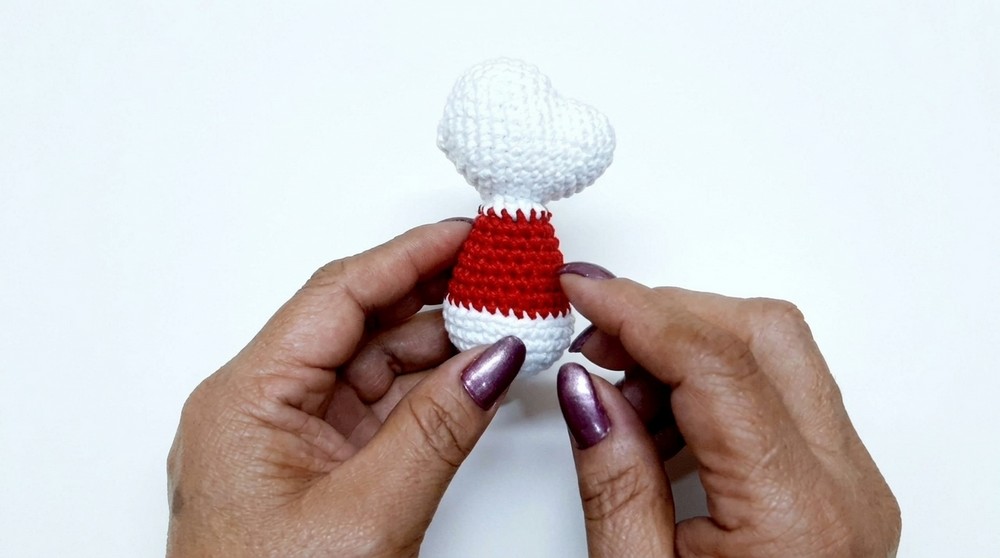
- Switch to red yarn
- 30 sc worked in back loops only (creates texture)
Round 9:
- (4 sc, 1 dec) repeat 5 times (25 sts)
Round 10:
- 25 sc around
Round 11:
- (3 sc, 1 dec) repeat 5 times (20 sts)
Round 12:
- 20 sc around
Round 13:
- (2 sc, 1 dec) repeat 5 times (15 sts)
Round 14:
- 15 sc
Round 15:
- Switch to white yarn
- 15 sc
- Finish off and leave a long tail for sewing
4. Head
- Work as the body initial rounds up to Round 2 (12 sts)
Round 3:
- 12 sc
Round 4:
- (1 sc, 1 inc) repeat 6 times (18 sts)
Rounds 5 & 6:
- 18 sc each round
Round 7:
- 6 sc, 6 inc (24 sts)
Round 8:
- 6 sc, (1 sc, 1 inc) repeated 6 times, 6 sc (30 sts)
Rounds 9 to 13:
- 30 sc each round
Round 14:
- (3 sc, 1 dec) repeated 6 times (24 sts)
Round 15:
- (2 sc, 1 dec) repeated 6 times (18 sts)
Round 16:
- (1 sc, 1 dec) repeated 6 times (12 sts)
Round 17:
- 6 dec to close the head tightly
- Stuff firmly before closing
5. Ears (Make 2)
Round 1:
- Magic ring with 6 sc
Round 2:
- 6 inc (12 stitches)
Rounds 3 to 6:
- 12 sc each round
Round 7:
- (1 sc, 1 dec) repeated 4 times (8 sts)
Rounds 8 & 9:
- 8 sc each round
- Close flat using a needle and sew onto the head
6. Santa Hat
Round 1:
- Magic ring with 6 sc
Round 2:
- (1 sc, 1 inc) repeated 3 times (9 sts)
Round 3:
- (1 sc, 1 dec) repeated 3 times (6 sts)
Round 4:
- Switch to red yarn
- 6 sc
Rounds 5 to 11:
- Increase gradually each round to reach 16 sts total
Border:
- Switch to white yarn
- Chain 2, slip stitch in each stitch around to form a neat white edging for the hat
Assembly & Finishing
- Use an 8mm safety eye for the nose, placing it centered on the face before closing the head
- Sew the feet, arms, and ears firmly to the body and head using matching yarn and a tapestry needle
- Attach the Santa hat securely on top of the head
- Stuff all parts firmly but carefully to avoid distortion
- Use yarn tails to weave in ends neatly and securely
Finished Size
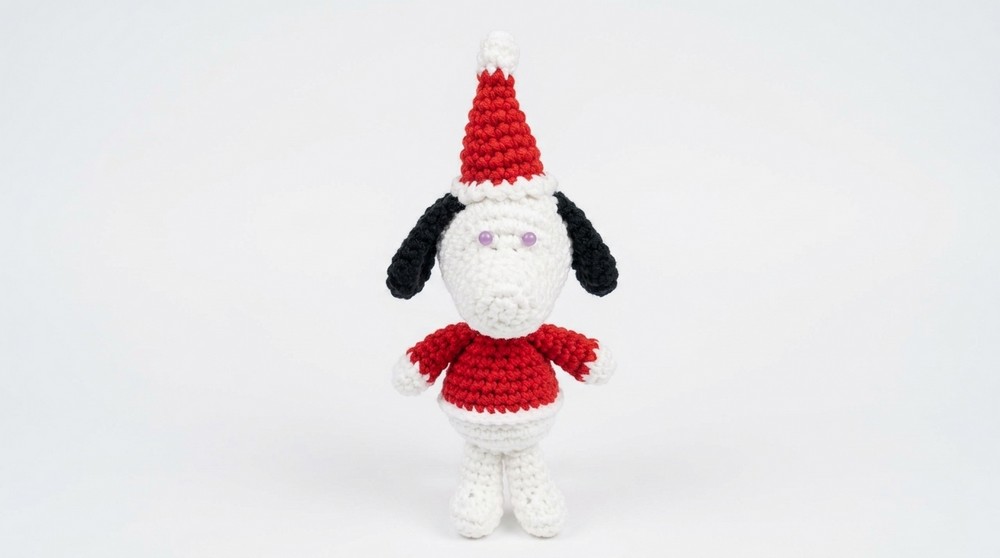
The finished Snoopy measures approximately 9 to 10 cm tall, perfect for gifting or hanging as a Christmas ornament.
Conclusion
This Christmas-themed Snoopy amigurumi combines classic amigurumi shaping with festive flair, highlighting color changes, texture work, and charming detailing. By following this detailed, round-by-round pattern, you will create a lovable holiday figure full of character and spirit. Whether as a present or your own seasonal decoration, this project is sure to bring joy and holiday cheer.