The magic of handmade décor lies in its ability to transform any space into something uniquely personal and warm. Whether you’re decorating a Christmas tree or sprucing up your holiday table, a crochet swirl ornament adds a playful touch with its dynamic shape and colorful design.
This free pattern is simple to follow, making it a perfect project for crafters of all levels. The ornaments can be customized with vibrant or subtle color combinations to suit your aesthetic, and they’re an excellent way to use leftover yarn creatively. From hanging in garlands to topping thoughtful gifts, these ornaments blend beauty and functionality, letting you add charm and cheer to your holiday traditions effortlessly.
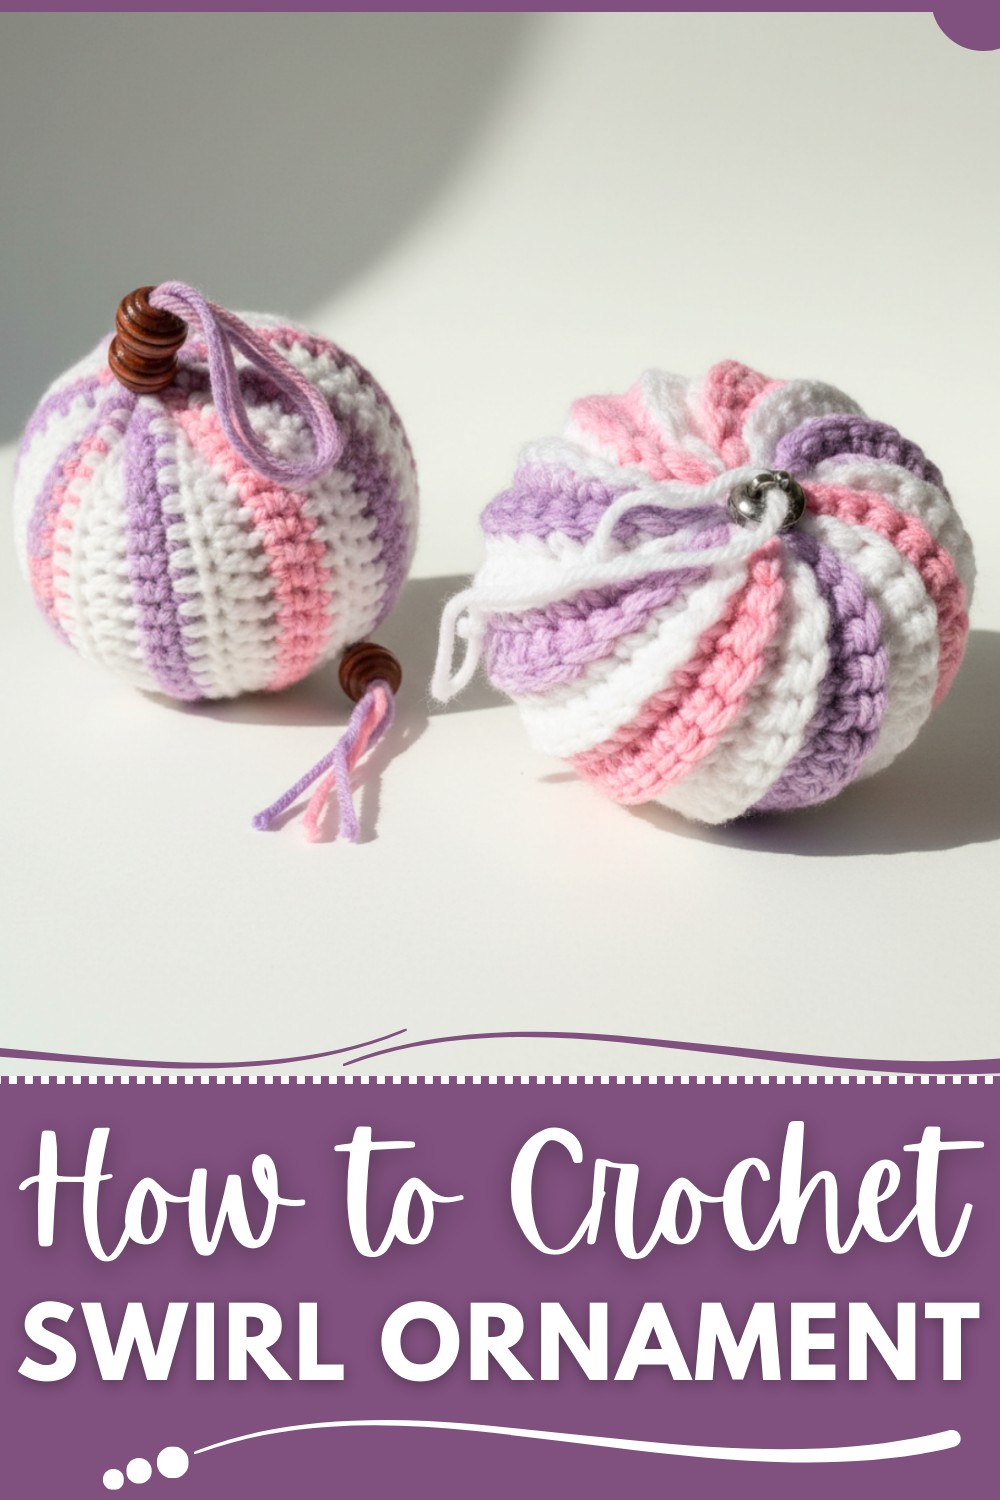
How to Crochet Swirl Ornaments for a Festive Touch
Materials
- Yarn:
- Acrylic or cotton yarn (bright colors or any desired shades).
- Suggested yarn: Hobby Lobby yarn.
- Amount: Small amounts of 2 different colors (e.g., Lilac and Baby Pink color).
- Hook:
- Size 5.5 mm (US I/9) crochet hook.
- Adjust hook size for smaller or larger ornaments.
- Stuffing:
- Polyfill (Fiber stuffing).
- Decorative Accessories:
- Beads: Assorted wooden or plastic beads for embellishment.
- Ornament topper: Recycled ornament toppers or a yarn-crafted loop.
- Other Supplies:
- Scissors.
- Darning needle.
- Stitch Marker (optional, for row tracking).
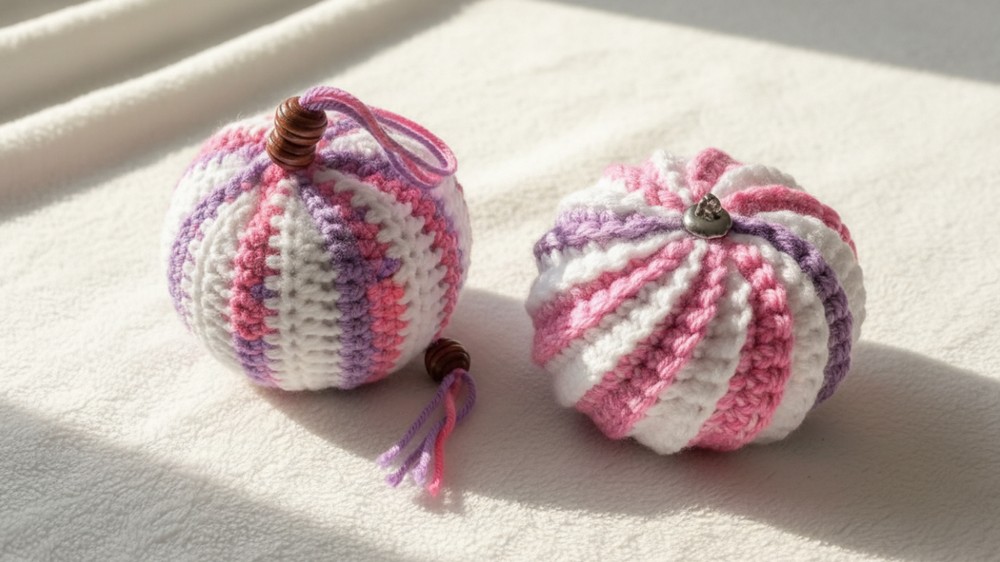
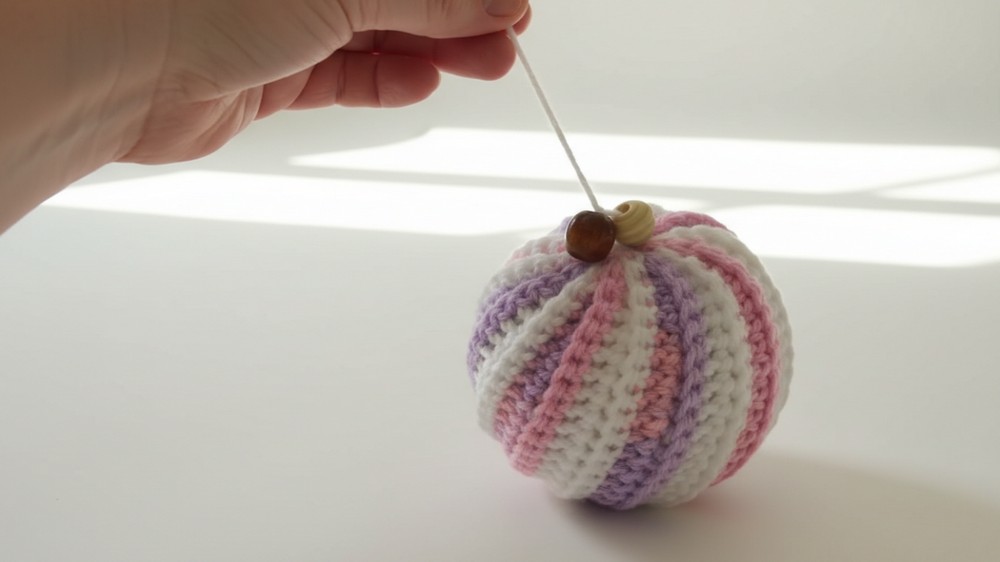
This vibrant and unique swirly ornament is a perfect addition to your holiday decorations. The swirling effect is achieved by alternating normal rows and rows with decreases while working in the back loop. The pattern is versatile, as you can customize the colors, size, and decorative elements to suit your preferences.
Gauge
Gauge is not critical for this project since it is worked according to preference. Adjust rows for desired ornament size.
Finished Size
- Approximately 10 inches long strip before assembly.
- Final size varies, depending on the number of rows and stuffing used, with an approximate height of 3–4 inches after forming the ornament.
Abbreviations (US Terminology)
- CH: Chain
- SC: Single Crochet
- BLO: Back Loop Only
- ST: Stitch
Notes
- Working in Back Loop (BLO):
- To create the swirl effect, stitches are worked into the back loop of each stitch. This technique makes the fabric flexible for forming a shape.
- Decreases and Additions:
- Alternating a skipped stitch at the start of certain rows and adding a stitch at the end generates the shifting texture to cause the swirl effect.
- Color Changes:
- Two rows of each color are worked alternately for a striking pattern. The method allows easy switching without cutting yarn ends each time.
- Assembly:
- The final piece is folded and sewn tightly to form a spherical ornament. Ensure proper stuffing for a smooth finish.
- Customization:
- Vary the size and colors based on your preference. Add decorative elements like beads or tags to personalize.
Pattern Instructions
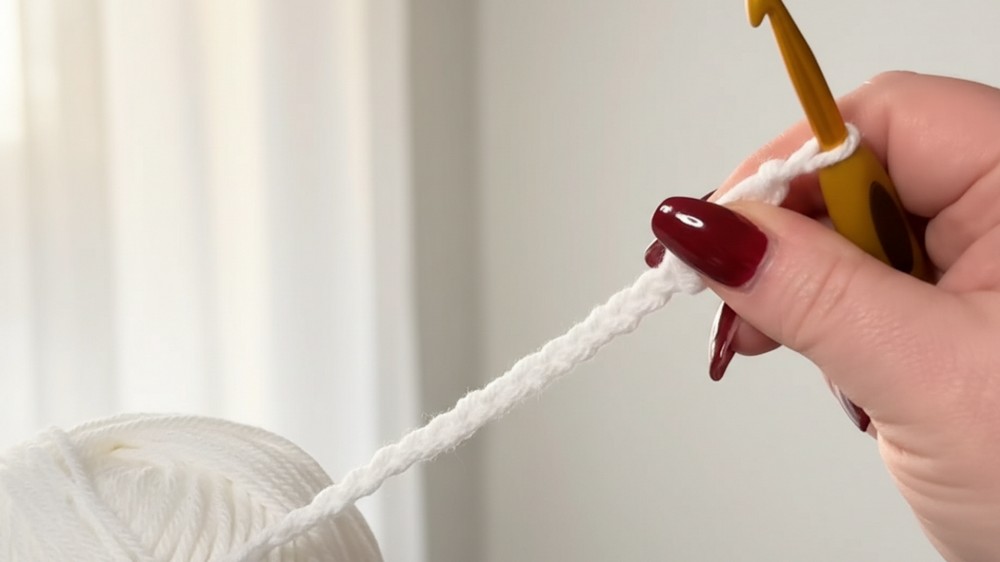
Step 1: Foundation Chain
- Create a slip knot.
- CH 23 (this includes an extra height for the swirling effect).
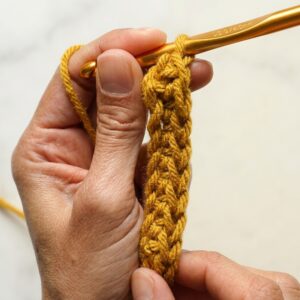
Step 2: Base Row
- Insert your hook into the second chain from the hook and work SC.
- Continue working SC into each stitch across.
- Total stitches: 22 SC.
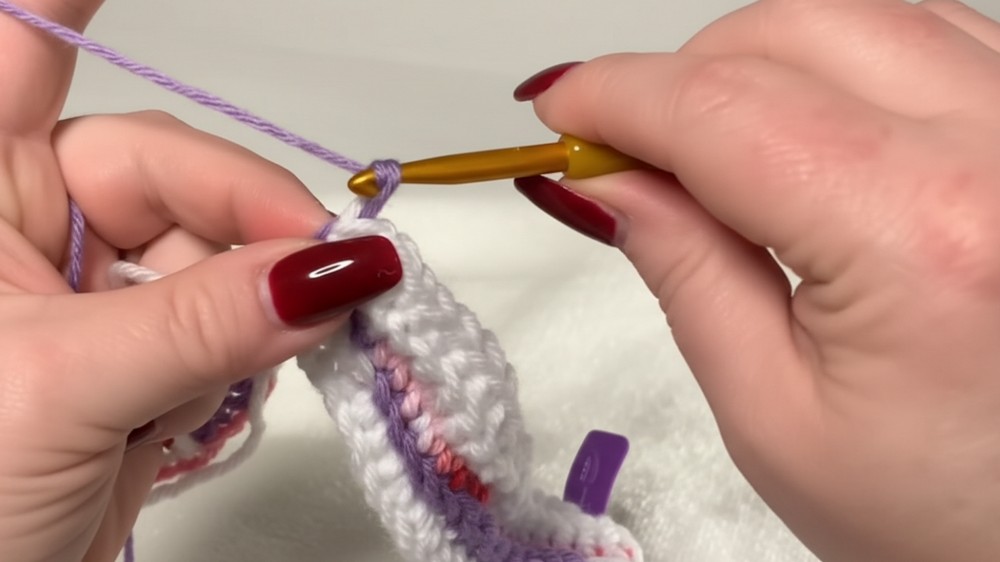
Step 3: Start the Swirl Effect
Row 1 (Color 1 – Normal Row):
- Attach your second color of yarn (do not cut previous yarn).
- Chain 1, turn your work.
- Work SC into the back loop only (BLO) in each stitch across. Maintain a total of 22 stitches.
Row 2 (Color 1 – Decrease Row):
- Chain 1, turn your work.
- Skip the first stitch. Insert your hook into the second stitch, working an SC (BLO) across.
- When you reach the last stitch, add a stitch by crocheting 2 SC into the same stitch.
- Total stitches: 22 SC.
Row 3 (Color 2 – Normal Row):
- Switch back to the first yarn color without cutting the current yarn.
- Chain 1, turn your work.
- Work SC (BLO) across all stitches (do not skip or add stitches).
- Total stitches: 22 SC.
Row 4 (Color 2 – Decrease Row):
- Chain 1, turn your work.
- Skip the first stitch and begin the row with the second stitch, working SC (BLO).
- Work to the end, adding 2 SC into the final stitch.
- Total stitches: 22 SC.
Repeat Rows
Continue alternating rows (2 normal rows followed by 2 decrease rows). For every color switch, crochet two rows. Repeat this until the piece measures 10 inches in length or to your desired size.
Step 4: Assembly
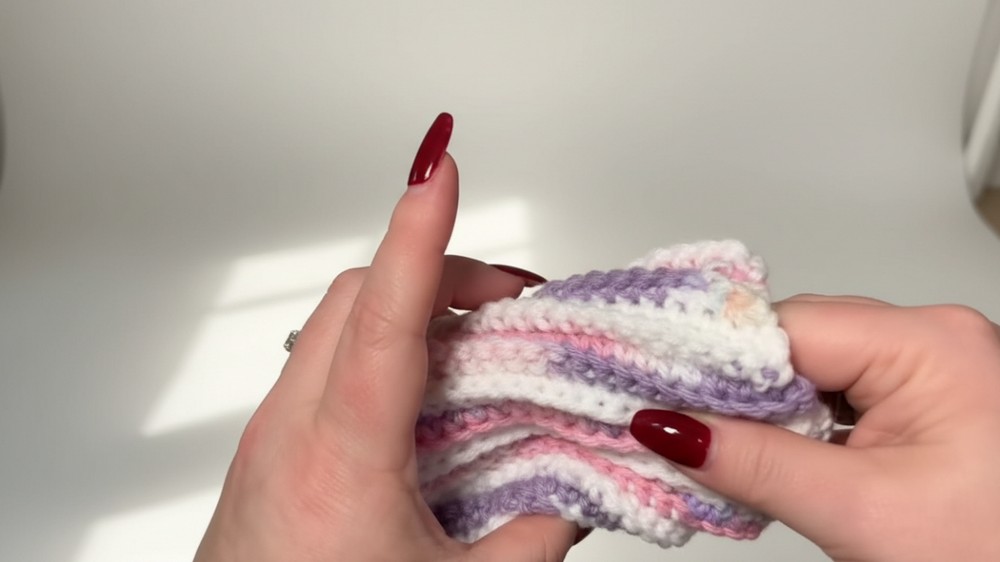
Forming the Swirl
- Fold the crocheted strip inward like an accordion. As you fold, observe how the alternating stitch rows cause the fabric to twist naturally into a swirl.
- Using a darning needle with a long yarn tail, sew the long edges together using a whip stitch.
- Turn the piece inside out so the seam is hidden.
Closing the Bottom
- With the darning needle, weave the yarn tail in and out around the bottom edge, pulling tightly to cinch it closed, similar to closing the top of a beanie.
Stuffing
- Fill the ornament with polyfill for structure and volume. Break apart the stuffing to ensure smooth filling with no uneven clumps.
Closing the Top
- Weave the remaining yarn around the top edge using the same method as the bottom edge. Cinch tightly.
Step 5: Decoration Options
- Bead Attachment:
- Thread wooden beads onto the darning needle and secure them into place at the top or bottom.
- You can also make bead strands to hang from the bottom for extra flair.
- Ornament Topper:
- Attach a recycled ornament topper with hot glue or sew a yarn loop for hanging.
- Customization:
- Add tags, buttons, or decorative charms to the ornament for personalization.
Conclusion
Your Swirly Ornament is now complete! The vibrant alternating colors and swirling pattern bring a festive and dynamic touch to any holiday display. This ornament is perfect for gifting or adding charm to your décor. Experiment with colors, beads, or embellishments to make this ornament truly unique. Enjoy sharing your handmade holiday magic, and happy crocheting!
Uses
- Gift as part of a set of ornaments.
- Thread holiday-themed ribbons or bows onto the ornament.
- Use metallic yarn for an elegant shimmer effect.