Add a fun twist to your accessories with this free crochet pizza keychain pattern, designed with easy-to-follow steps for crocheters of all skill levels.
Looking for a fun and unique accessory to brighten up your everyday items? The Free Crochet Pizza Keychain pattern is a delightful way to add a touch of whimsy to your keys or bags. Shaped like a charming triangular pizza slice, this keychain features playful “toppings” created through textured stitches that give it a lively and appealing look.
Free Amigurumi Pizza Keychain Pattern – Cute Accessory
This small project stands out thanks to its vibrant colors and fun shape, making it an eye-catching conversation starter. The texture mimics the look of melted cheese and scattered toppings, creating a realistic yet cute effect. You can easily customize the size by choosing different yarn weights or adjusting your hook size, making it perfect for both tiny charms and slightly larger accents.
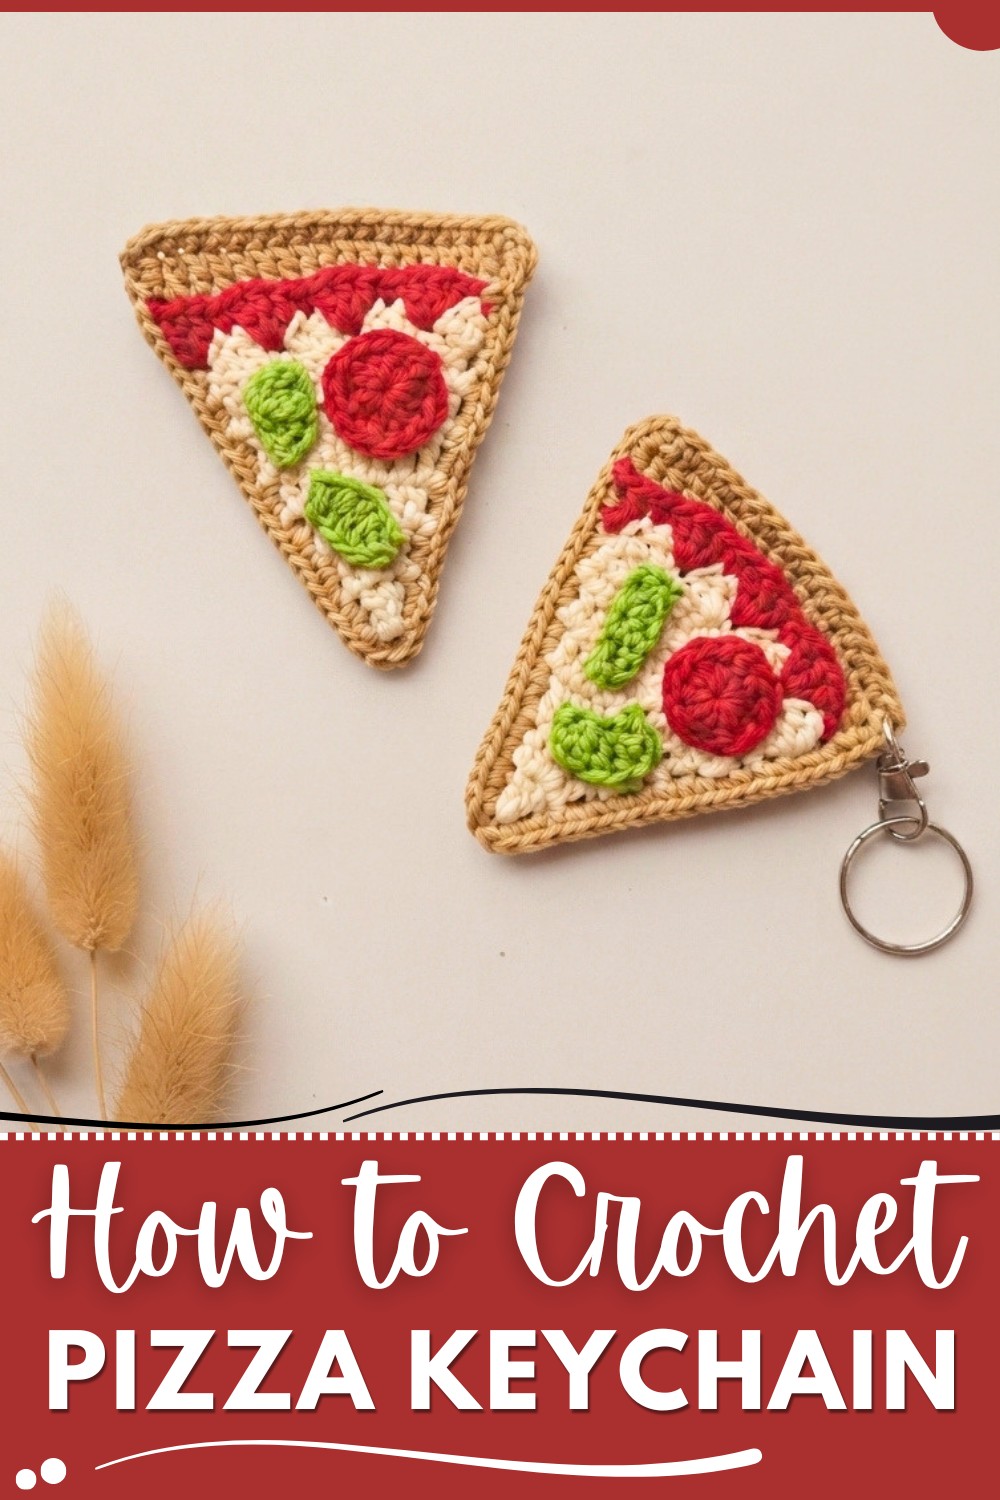
The pattern uses simple crochet stitches worked in rounds or rows, then joined together carefully to keep the shape neat. For the best results, using smooth cotton or cotton-blend yarn is a great choice because it highlights the stitch definition and helps the keychain maintain its shape over time. Avoid fluffy or overly soft yarns that might obscure the detailed texture.
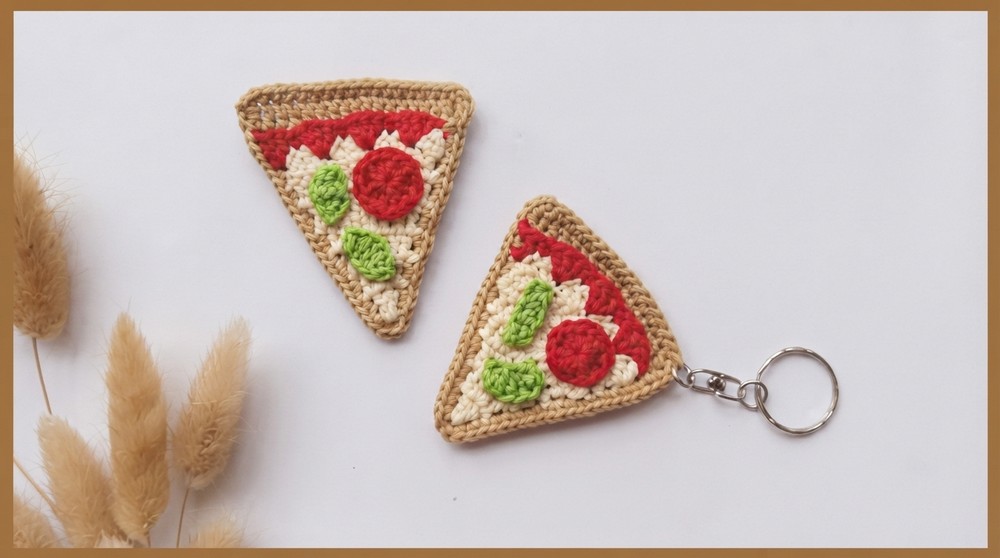
This playful design was created with the idea of adding a little joy and creativity to everyday essentials. It makes a fantastic gift for friends who love quirky handmade items and is suitable for a variety of occasions, from birthdays to casual surprises. With endless possibilities to mix colors or add embellishments like tiny beads or embroidery, it’s a project that invites your own personal touch.
If you want something quick, cute, and practical to crochet, this pizza keychain pattern is sure to inspire smiles and showcase your crocheting skills in a fun way.
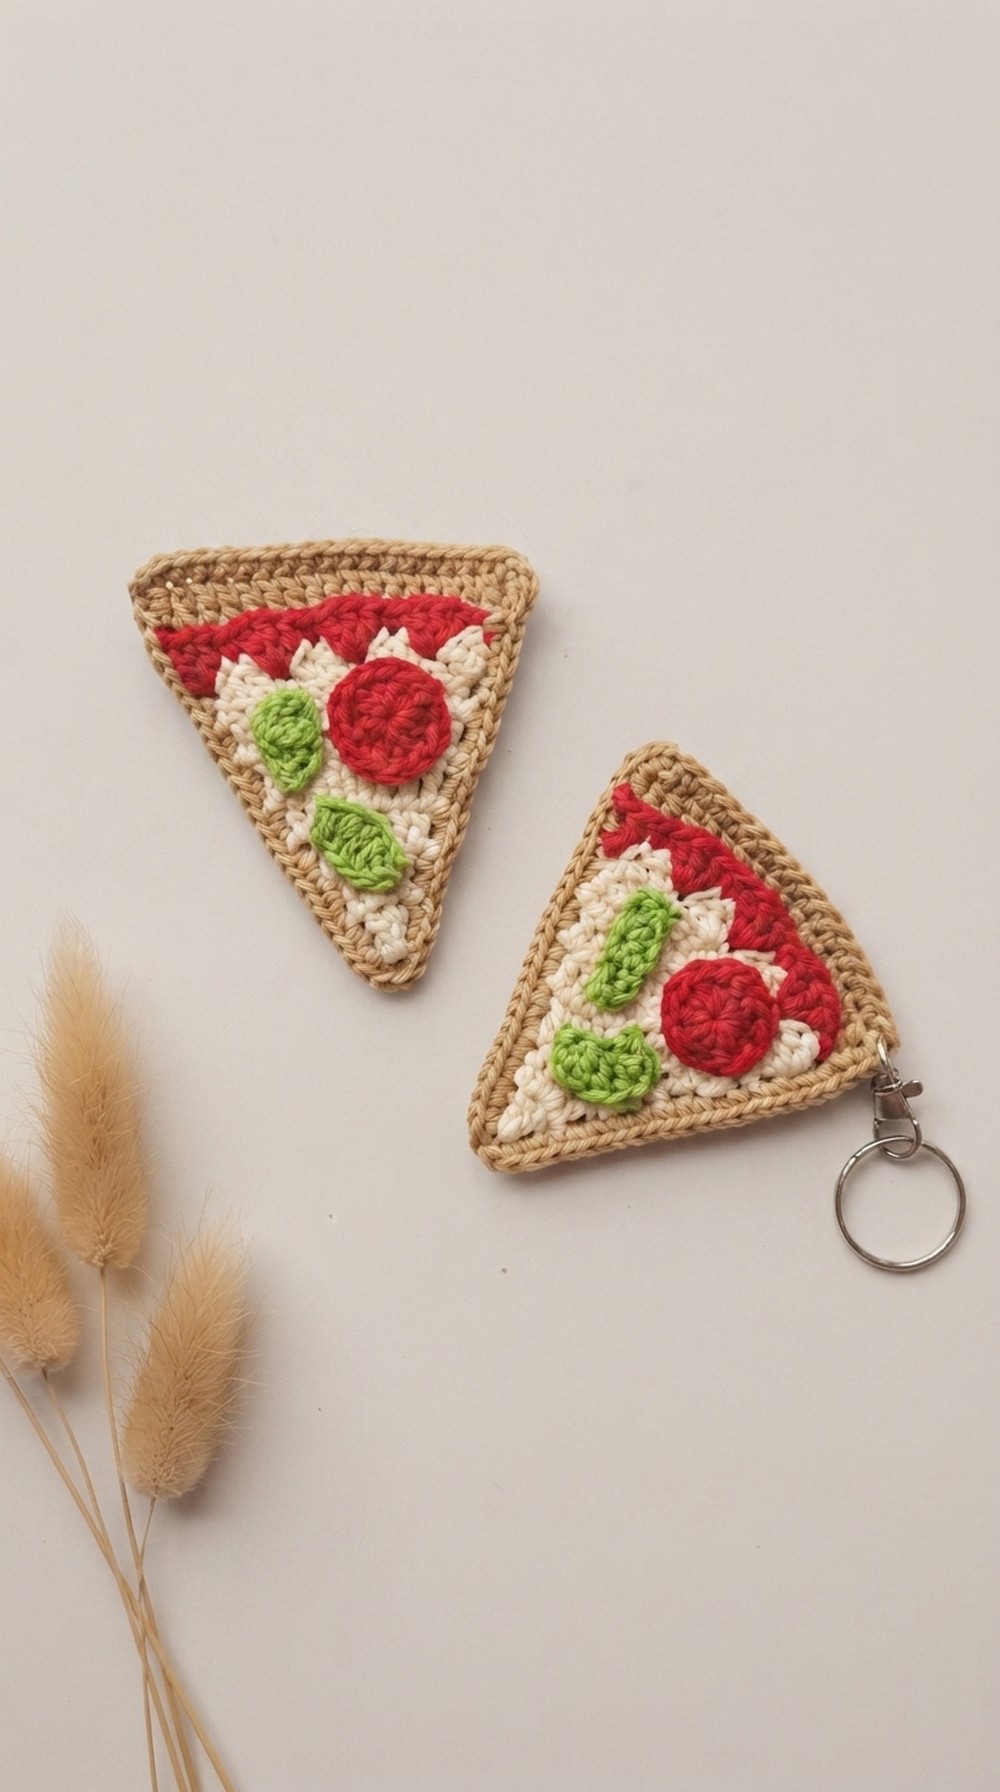
Pizza Keychain/Angpao Crochet Pattern
Introduction
Create a whimsical pizza keychain/angpao using four colors of Poly Cherry polyester yarn. This project is made in distinct sections: cheese, crust, sauce, and toppings, then finished by sewing the layers together and adding your keychain hardware.
Quick Overview Of Pattern
- Crochet the "cheese" triangle using yellow yarn with increasing double crochet rows
- Add decorative sauce and toppings using red and green yarn
- Make a second triangle in mocha color for the pizza crust, with similar increases
- Seam the cheese and crust sides together with single crochet
- Edge, finish, and add keychain hardware
Notes
- Turning chains count as the first double crochet unless otherwise stated
- Keep stitch count per row for even triangle shape
- Toppings (pepperoni/sausage and veggie) are made separately and sewn on
- The border and assembly use single crochet through two layers
Skill Level
Beginner – Advanced Beginner
Materials
- 4 colors of Poly Cherry polyester yarn: yellow (cheese), red (sauce & pepperoni), green (veggie), mocha (crust)
- 3 mm crochet hook
- Scissors
- Tapestry needle
- Keychain hardware
Measurements / Sizing
- Finished pizza slice: approx. 7–9 cm (depends on yarn tension and hook)
Gauge
- Not critical for this small accessory
Stitch Abbreviations
| Abbreviation | Stitch |
|---|---|
| ch | chain |
| sl st | slip stitch |
| sc | single crochet |
| hdc | half double crochet |
| dc | double crochet |
| MR | magic ring |
| st(s) | stitch(es) |
Special Stitches
- Magic Ring (MR): Begin with an adjustable loop to work initial stitches into.
- Increase (inc): Work 2 stitches into the same stitch.
The Crochet Pattern
Part 1: The Cheese (Yellow Yarn)
Round 1
- Make a Magic Ring.
- Ch 3 (counts as dc), 3 dc into ring.
- Pull ring tight. (Do not join—the piece is worked in rows.)
Round 2
- Ch 3, turn.
- 1 dc in first st, 2 dc in each of next two sts. (6 sts)
Round 3
- Ch 3, turn.
- 1 dc in next, 1 dc in next, 2 dc in next, 1 dc in next, 2 dc in last st. (8 sts)
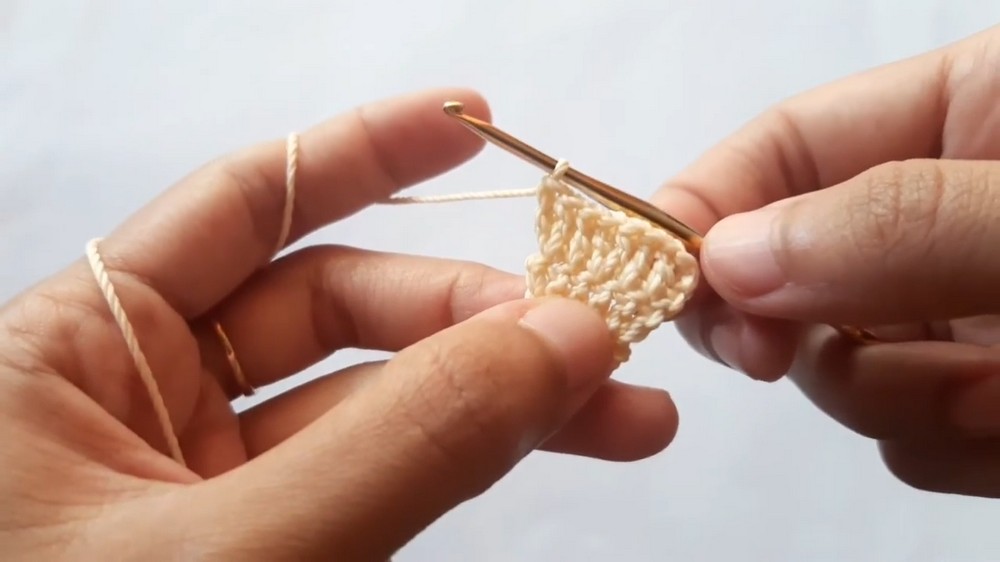
Round 4
- Ch 3, turn.
- 1 dc in each of first 3 sts, 2 dc in next st, 1 dc in next 2 sts, 2 dc in last st. (10 sts)
Round 5
- Ch 3, turn.
- 1 dc in each of next 4 sts, 2 dc in next st, 1 dc in next 3 sts, 2 dc in last st. (12 sts)
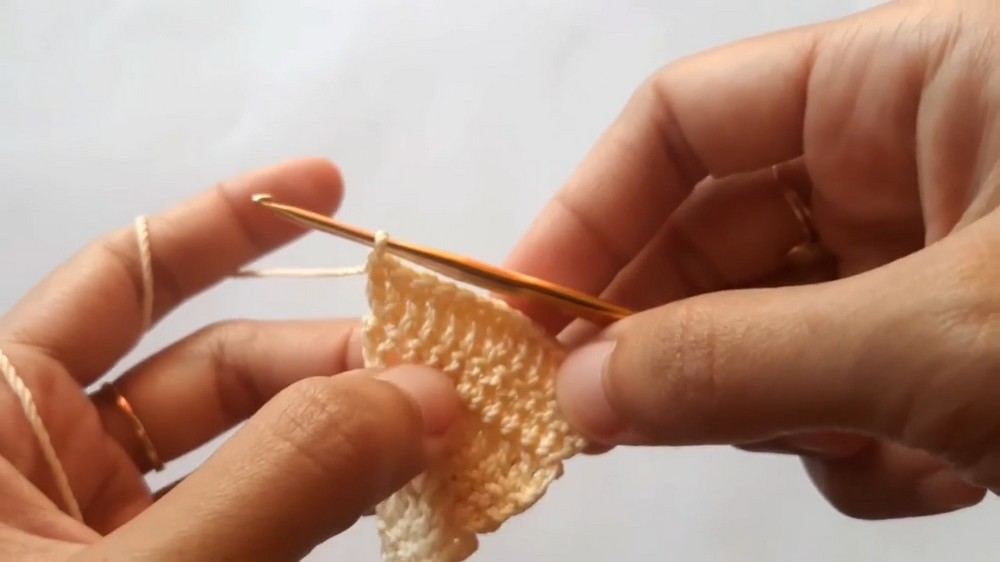
Round 6
- Ch 3, turn.
- 1 dc in next 5 sts, 2 dc in next st, 1 dc in next 4 sts, 2 dc in last st. (14 sts)
Border
- Ch 2, 2 dc in first hole,
- Skip 2, sc in next (3rd) chain,
- Ch 2, 2 dc in same hole
- Repeat from * to * 3 times in total along the border.
- Finish with 1 sc, fasten off and weave ends.
Part 2: Sauce & Toppings (Red & Green Yarn)
Sauce
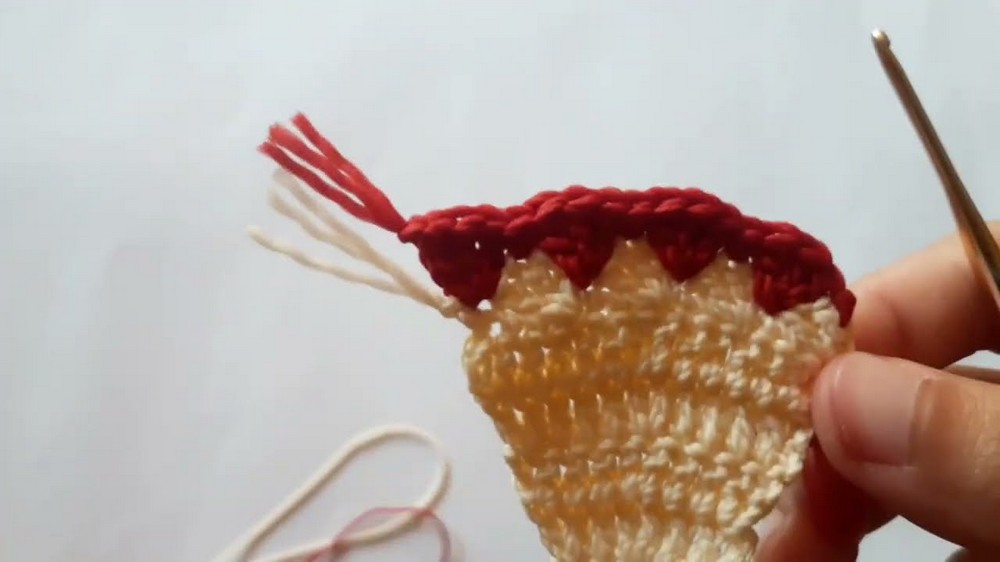
- Attach red yarn to top edge.
- (3 dc into the sc of the previous row, 1 sc into the next dc)
- Repeat this combo 3 times across the top.
Sausage/Pepperoni (Red)
- MR, Ch 3, 11 dc inside ring.
- Sl st to join. Fasten off.
- Make as many as desired.
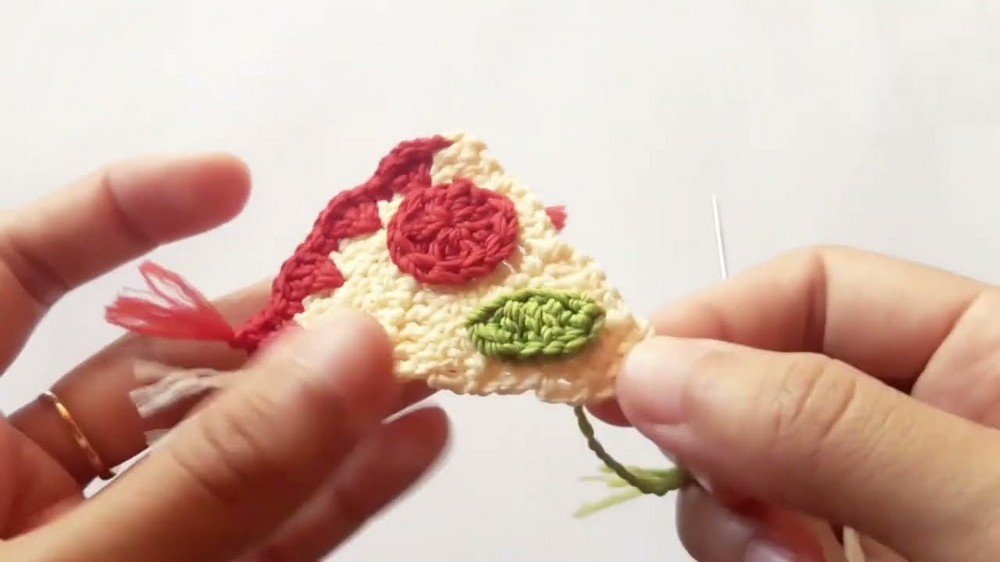
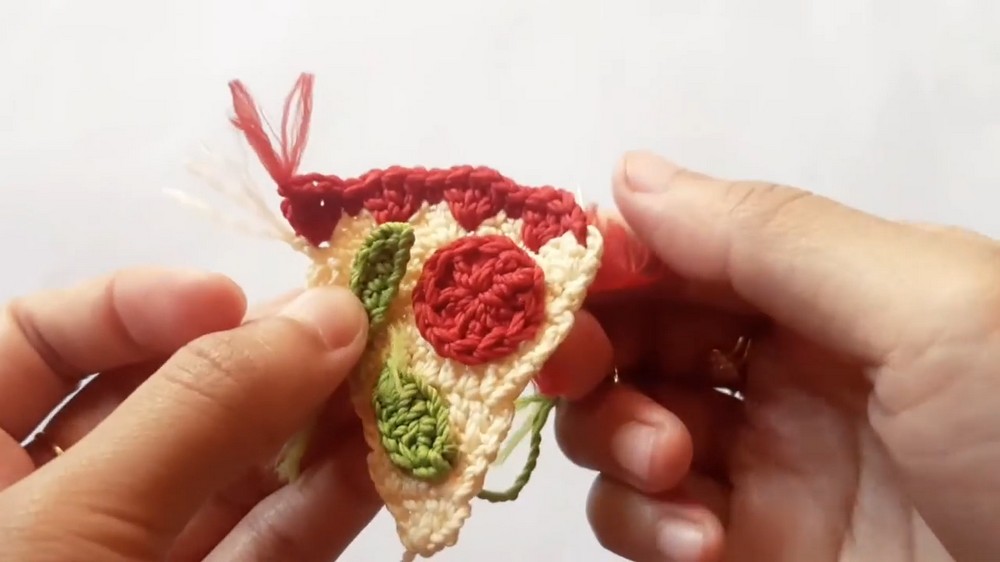
Veggie Topping (Green)
- Ch 6
- Sc in 2nd ch from hook
- Dc in next 3 chains
- In last chain, work: 1 hdc, 1 sc
- Fasten off.
Part 3: The Crust (Mocha Yarn)
- Rows 1–6: Repeat the exact steps and stitch count as the Cheese (above).
- Row 7
- Ch 3, turn.
- 1 dc in each of next 6 sts, 2 dc in next st, 1 dc in next 6 sts, 2 dc in last st. (16 sts)
- Row 8
- Ch 3, turn.
- 1 dc in each of next 7 sts, 2 dc in next st, 1 dc in next 7 sts, 2 dc in last st. (18 sts)
Part 4: Assembly
- Lay the cheese and crust triangles wrong sides together.
- Ch 1 to begin joining.
- Single crochet through both layers:
- Along the sides, place 2 sc in every dc stitch through both layers.
- 3 sc in each corner to turn the work neatly at the triangle points.
- Sc along the top edge through both layers.
- Sl st to join at end. Fasten off and weave in all ends.
- Attach toppings:
- Sew the sausage/pepperoni and veggie pieces to the 'cheese' side as you like.
- Attach keychain hardware to the pizza edge or corner.
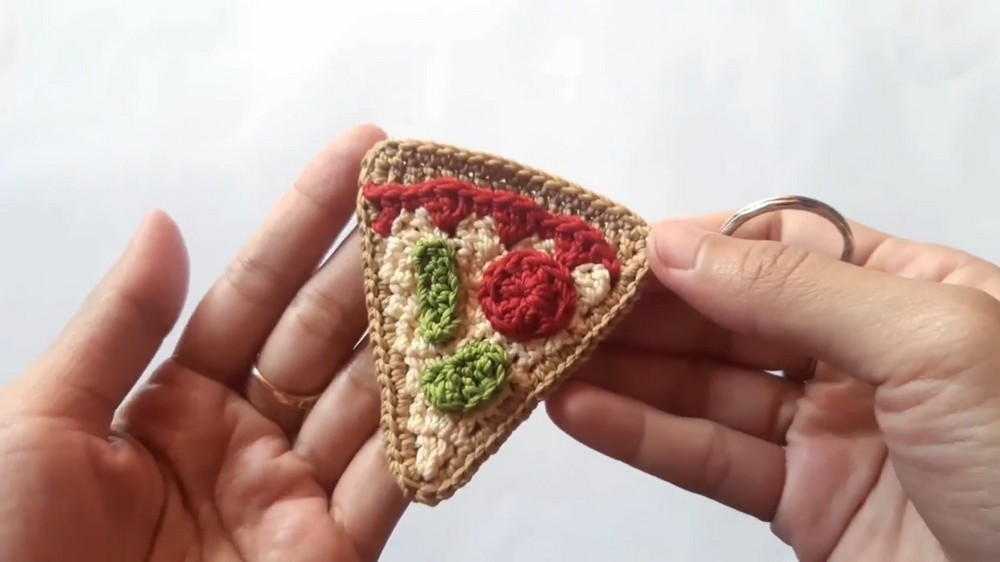
Assembly & Finished Size
- Finished triangle slice is around 7–9 cm long.
- All pieces joined securely and topped with keychain attachment.
Conclusion
Congratulations! Your pizza keychain/angpao is ready. This cute project is great for gifting or as a fun accessory. Experiment with more toppings and colors for your own unique pizza slice. Enjoy – and happy crocheting!