Enhance your autumn decorations with a free crochet pumpkin pattern that brings seasonal charm and cozy vibes to any space perfectly suited for fall.
About The Designer: AnDesign_Craft is a creative YouTube channel offering clear, easy-to-follow crochet tutorials. Their videos guide crocheters through projects like this mini pumpkin with step-by-step instructions for all skill levels.
Adding a touch of handmade charm to your home is always rewarding, especially during the cozy fall season. One perfect way to do this is by making a cute mini pumpkin that fits nicely on your desk, fridge, or any small space. The free crochet pumpkin pattern offers a quick and fun project that adds warmth and personality wherever it’s placed.
Free Crochet Pumpkin Pattern with Simple Stitches
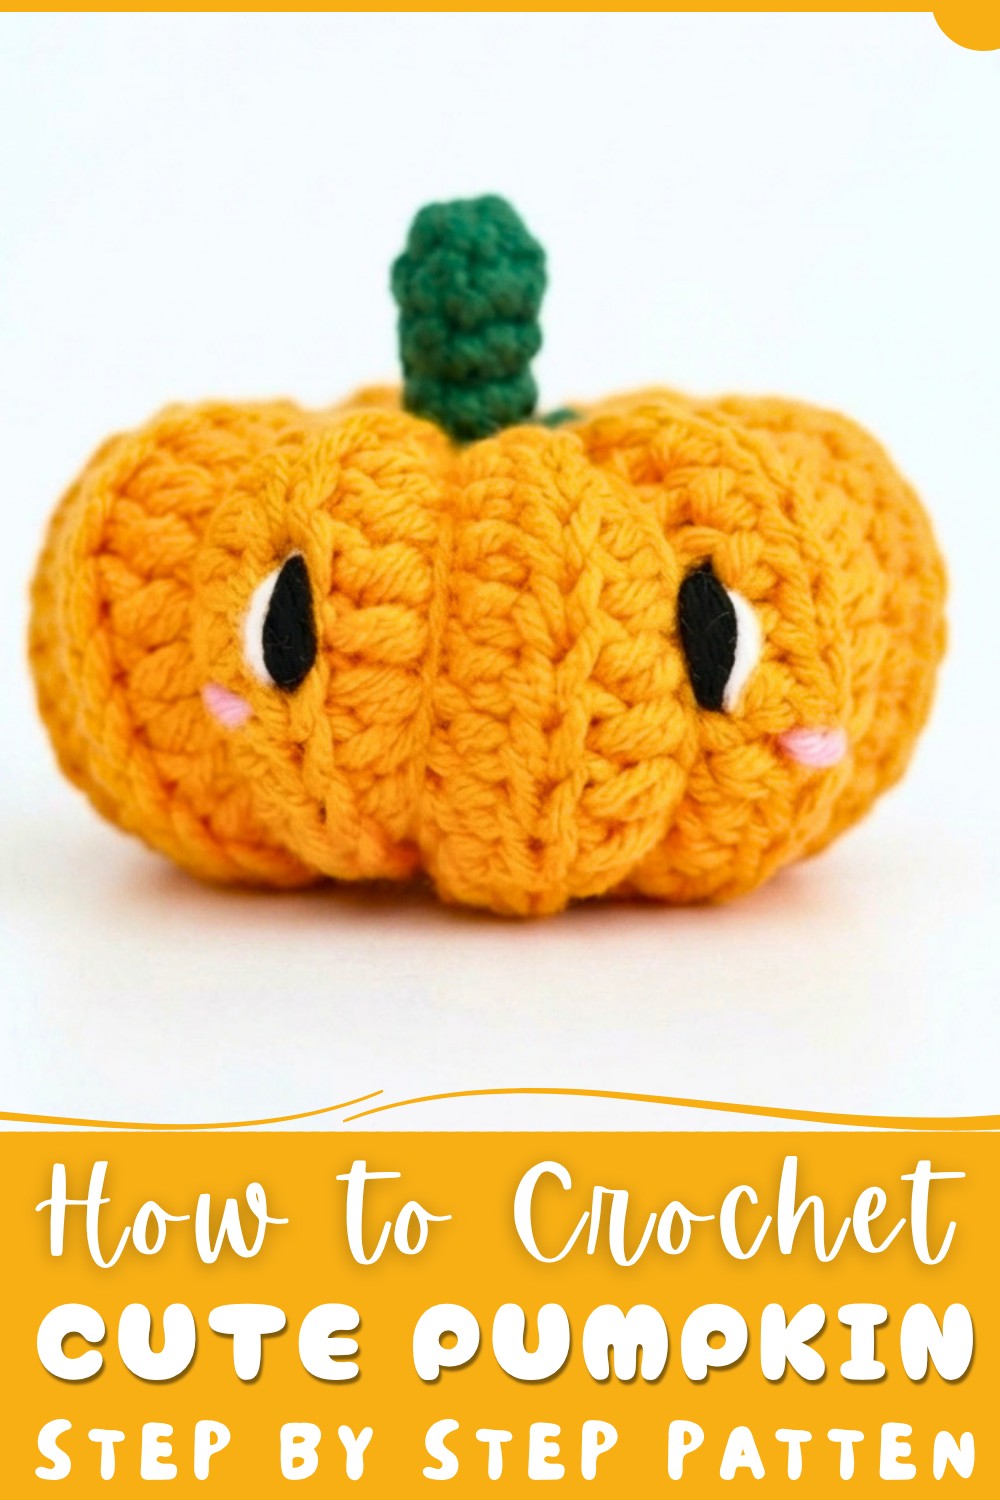
This crochet pumpkin is designed with a round, plump shape that captures the classic look of a real. Its textured surface, created by neat rows of half double crochets, gives it a lovely dimension. Bright orange yarn forms the body, while a small green stem adds a charming finishing touch. The soft cotton yarn used in the pattern make it feel pleasant to hold, inviting a cozy, handmade vibe.
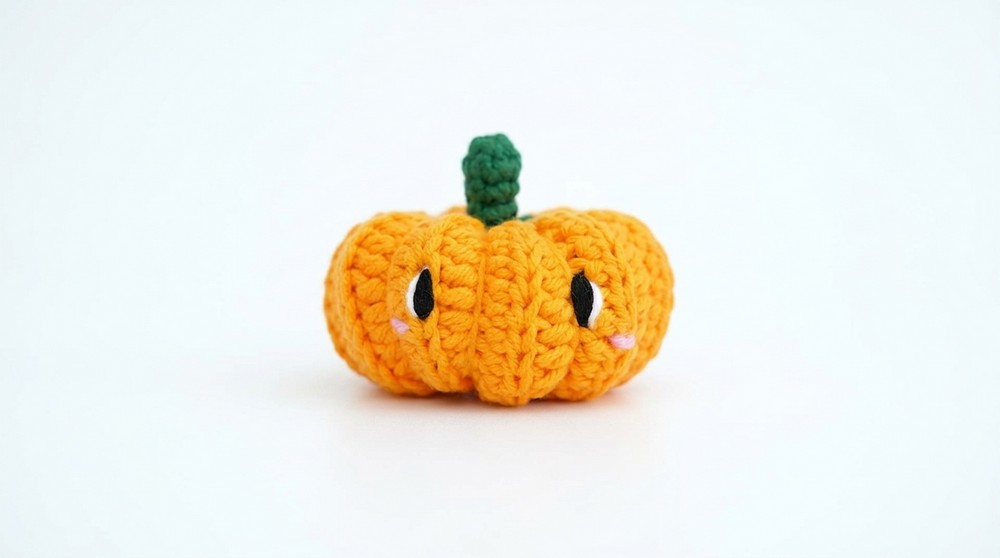
Beyond decoration, this pumpkin is ideal for gifting. Its compact size and adorable design make it a thoughtful present for friends or family who appreciate unique, handmade items. You can also customize it with different colors or add a cute face to bring extra personality. Whether as a fall ornament or a fun little gift, this pumpkin pattern blends simplicity and style beautifully.
Mini Crochet Pumpkin Pattern
This detailed crochet pattern teaches you how to create a charming mini pumpkin using simple stitches and a few basic materials. Perfect for fall and Halloween décor, this project combines foundational crochet techniques with thoughtful assembly for a beautifully segmented plush pumpkin. Follow the steps carefully to achieve a neat finishing touch, including an optional face embellishment.
Quick Overview of the Pattern
- Pumpkin body worked as a long rectangular panel in half double crochets using back loop only stitches
- Stem crocheted separately as a small circular tube with front loop increases
- Assembly includes seaming the pumpkin body edges into a tube, stuffing, closing the ends, and segmenting by yarn wrapping
- Stem attaches securely to the top center
- Optional decorative face can be added with yarn or felt to personalize your mini pumpkin
Notes
- The pumpkin body uses back loop only half double crochet (hdc) stitches to create ridges that simulate pumpkin contours
- Slip stitches at the edges of rows create smooth edge transitions for seaming
- Stem is made by crocheting small rounds in single crochet (sc), increasing only in the front loops for texture
- Assembly requires sewing along edges, stuffing, and then wrapping yarn to form distinct pumpkin sections—this technique is critical to achieve realistic segmentation
- Optional face customization is encouraged for adding personality and making your pumpkin uniquely yours
Skill Level
This project suits an intermediate crocheter comfortable with:
- Half double crochet (hdc), single crochet (sc), and slip stitches (sl st)
- Working in rows and rounds
- Working stitches in back and front loops only
- Basic seaming and stuffing techniques
- Yarn wrapping for shaping amigurumi parts
Materials
- Four-ply cotton yarn:
- Orange for pumpkin body
- Green for stem
- 3 mm crochet hook (or size suitable for your yarn)
- Scissors
- Polyester fiberfill stuffing
- Yarn needle for weaving in ends and sewing pieces together
Measurements / Sizing
The miniature pumpkin measures approximately 8 cm (3 inches) tall once stuffed and assembled. This size makes it well suited for decorations, gifts, or accents in autumn-themed crafts.
Gauge and Stitch Pattern
While gauge is flexible, consistent tension is important to maintain pumpkin shape and clean stitch definition. Using back loop only stitches on the pumpkin body achieves appealing vertical ribs. The stem’s use of front loop only increases creates a subtle textured stripe effect.
Stitch Abbreviations
| Abbreviation | Explanation |
|---|---|
| ch | chain |
| sl st | slip stitch |
| hdc | half double crochet |
| sc | single crochet |
| inc | increase (2 stitches worked into one stitch) |
Special Stitches
- Back Loop Only (BLO): Insert your hook only into the back loop of the stitch, leaving the front loop untouched, creating a ridge or rib effect.
- Front Loop Only (FLO): Insert hook only into the front loop of the stitch, often used to create texture or allow elasticity.
- Invisible Increase: Work two stitches into the same loop carefully to minimize gaps or holes.
The Crochet Pattern
1. The Pumpkin Body
Foundation Chain:
Begin by creating a foundation chain of 15 stitches. To do this, create a slip knot and chain 15.
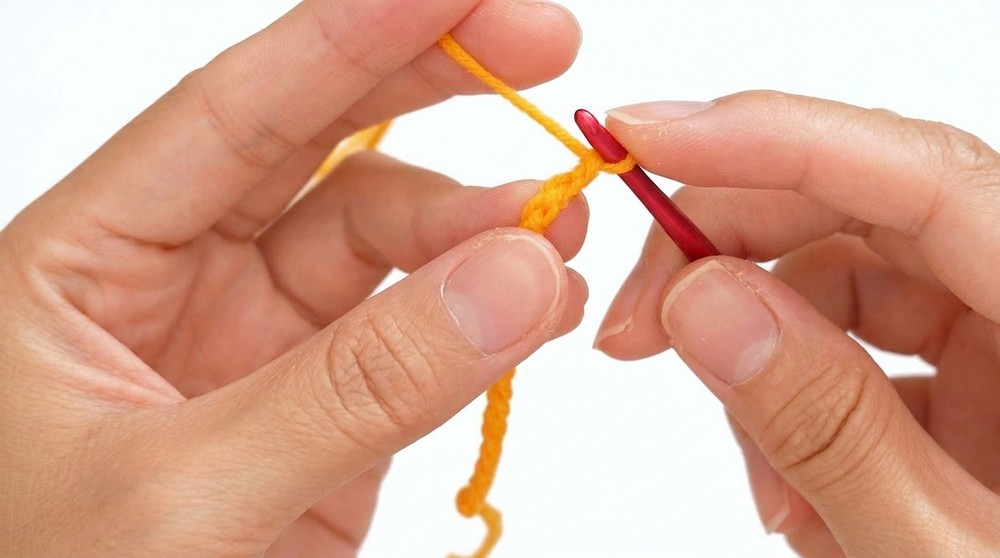
Row 1:
- Chain 1 to turn.
- Skip the first chain from the hook.
- Make 1 slip stitch (sl st) into the second chain from the hook.
- Next, work 13 half double crochet (hdc) stitches into the back bumps of the remaining chains. This technique (working in back bumps) creates a neat, sturdy edge.
- Finish the row with a slip stitch into the last chain.
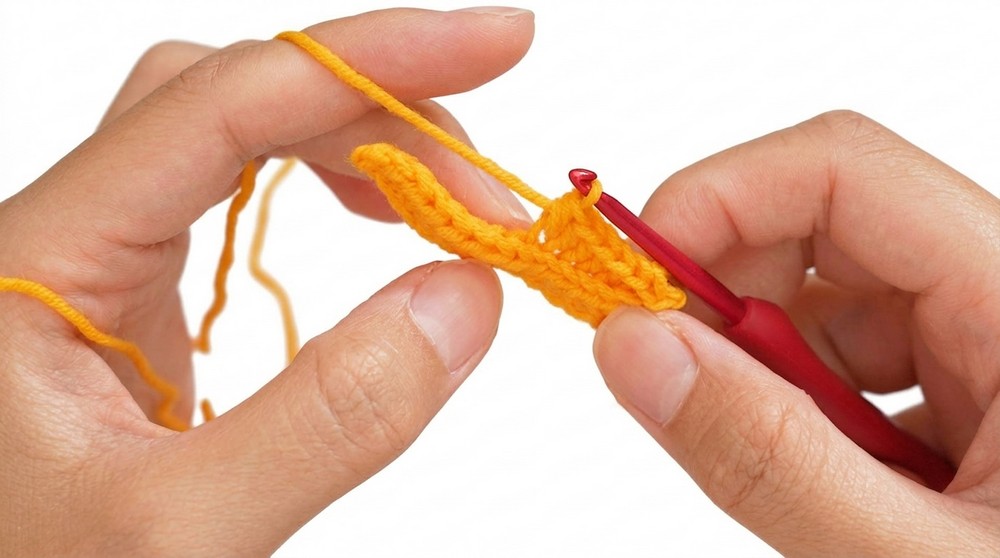
Rows 2 through 20:
- At the start of each row, chain 1, then turn your piece.
- For each row:
- Begin with 1 slip stitch in the first stitch.
- Work 13 half double crochet (hdc) stitches into the back loop only (BLO) of each stitch across the row.
- End with 1 slip stitch in the last stitch.
- Maintain this pattern until you complete 20 rows total.
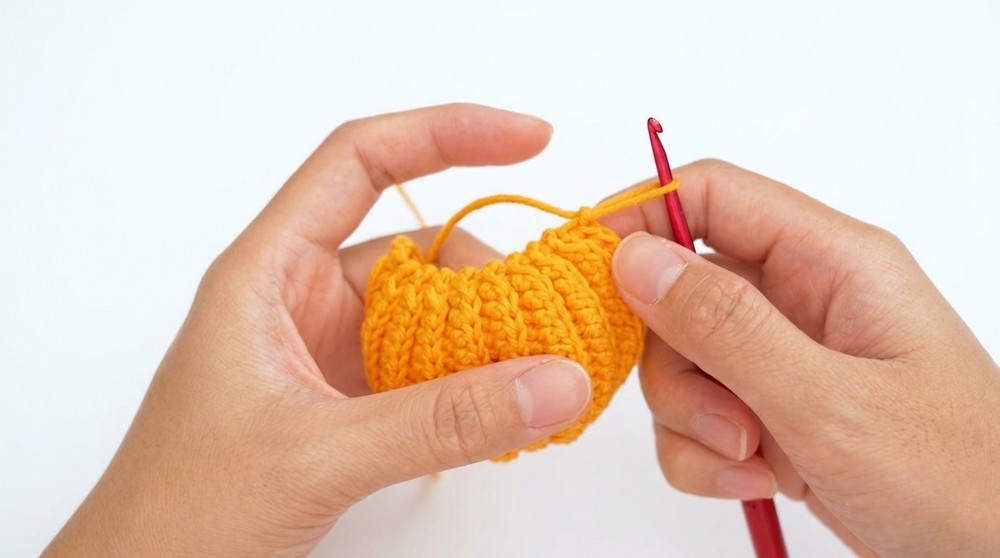
This back loop work with slip stitches on each edge gives the rectangular piece slight flexibility and a ribbed texture reminiscent of pumpkin grooves.
2. The Stem
Start with a Magic Ring:
- Using green yarn, create a magic ring. This ensures a tight and neat center for the stem.
Foundation Round:
- Work 5 single crochets (sc) into the magic ring.
- Tighten the ring by pulling the yarn tail.
- Join with a slip stitch to close this round.
Rounds 1 to 3:
- For each round: chain 1, work 5 single crochet (sc) stitches into each stitch of the previous round.
- Join each round with a slip stitch.
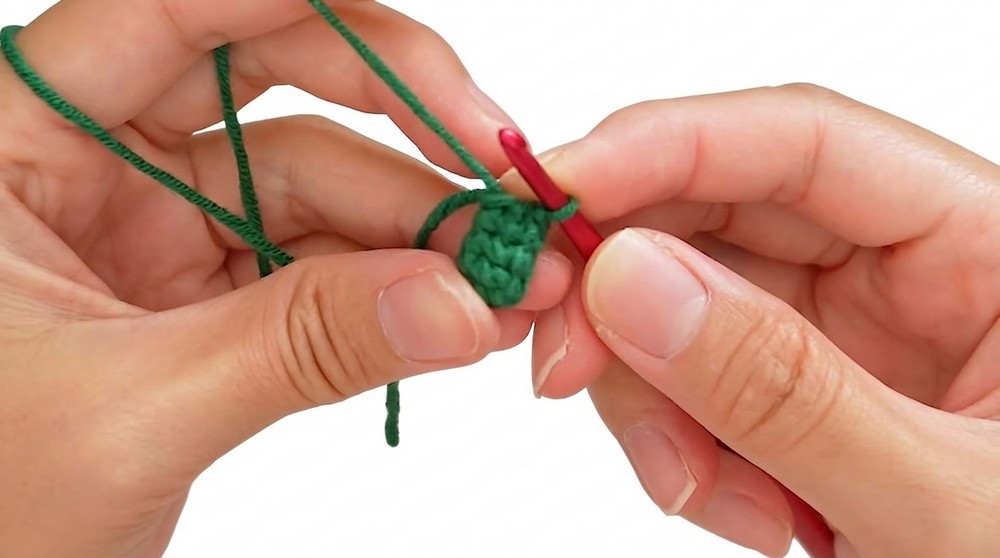
This creates a smooth round tube base for the stem.
Round 4:
- Chain 1.
- Work an increase (2 single crochets) in the front loop only (FLO) of every stitch around.
- Join with a slip stitch.
This front loop-only increase adds subtle ribbing texture and widens the stem.
3. Assembly
Form the Pumpkin Body into a Tube:
- Align the long edges of your pumpkin body panel.
- Sew these edges together using a yarn needle and matching yarn to form a cylinder or tube shape.
Stuffing and Closing:
- Close one end of this tube by sewing it shut securely.
- Begin filling the pumpkin with polyester fiberfill. Add stuffing gradually to avoid lumps and to achieve a rounded, firm shape.
- Once adequately stuffed, sew the other end closed tightly.
Creating Pumpkin Segments:
- Thread a long length of yarn onto a tapestry needle.
- Pass the needle through the center of the pumpkin vertically from top to bottom.
- Repeat this several times, pulling the yarn tightly after each pass to form indentations. These indentations create the pumpkin's familiar segmented sections.
- Secure and fasten off the yarn tightly when satisfied with the segment definition.
Attach the Stem:
- Sew the green stem securely onto the top center of the pumpkin using matching yarn and a yarn needle.
Optional Finishing Touch:
- Add a cute face to your pumpkin if desired. Use yarn embroidery, felt pieces, or fabric paint according to your preference. This step personalizes your mini pumpkin and adds charm.
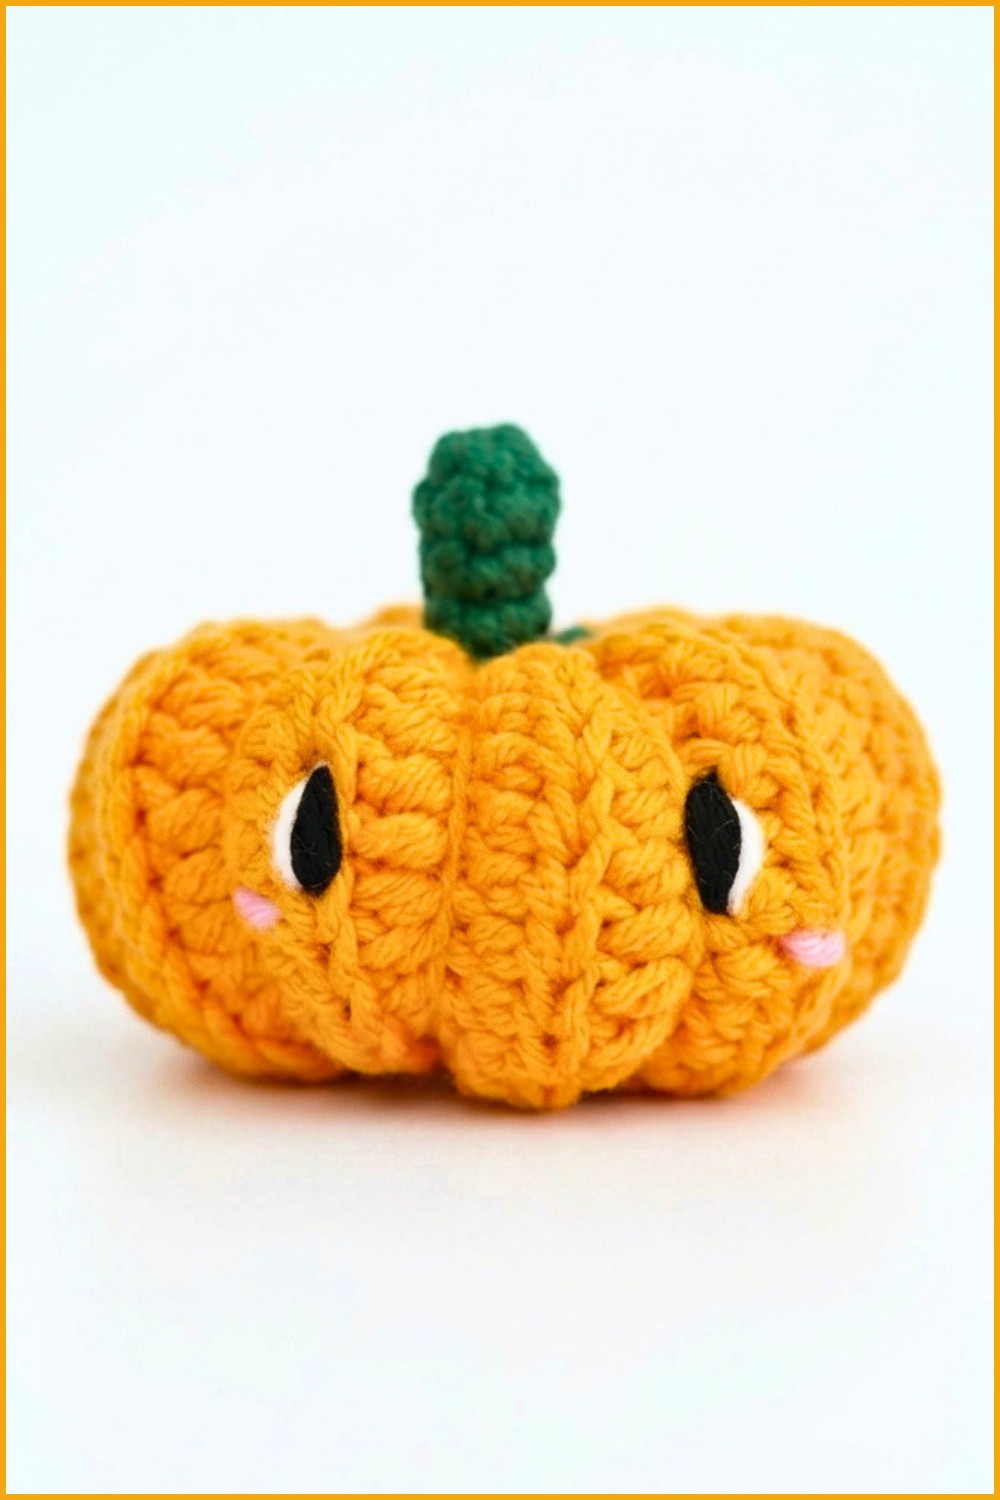
Assembly & Finished Size
The finished mini pumpkin stands approximately 8 cm (3 inches) tall from base to top of the stem. The stuffed, segmented body paired with the textured stem provides an eye-catching, tactile decoration. It is perfectly sized for placement on desks, shelves, or as part of autumnal displays.
Conclusion
Congratulations on completing your delightful mini crochet pumpkin! This pattern leveraged foundational crochet techniques such as working in back loops only to achieve texture, single crochet rounds with front loop increases for the stem, and careful assembly involving shaping and segmenting the pumpkin body. The finished piece offers festive charm perfect for Halloween or fall décor. Don't hesitate to customize your pumpkin’s face or colors to match your style.