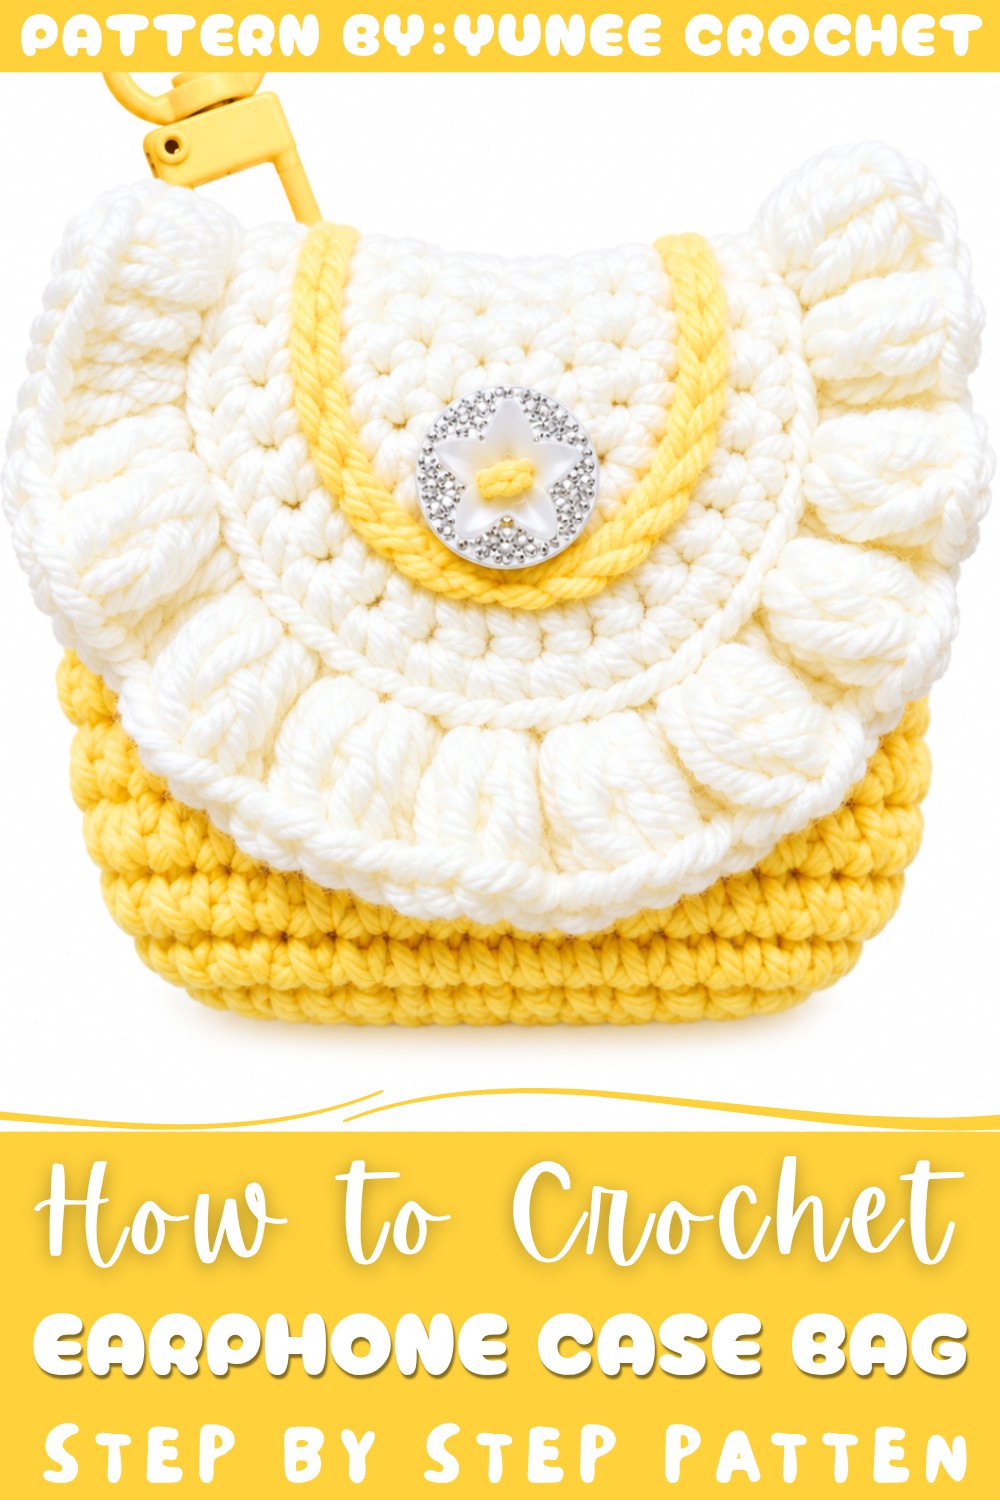
This little case is useful for more than earphones. Small chargers, coins, keys, memory cards, and other tiny items can also fit inside. The cute size makes the project a fun choice for daily use, travel, school bags, or work bags. A bright color can add a playful style, while soft or neutral shades can create a clean and simple look. The handmade finish also makes the case feel more personal than an ordinary storage pouch.
About The Channel:
For a visual guide, Yunee Crochet shares helpful crochet tutorials that make the project easier to follow. The video can also give useful ideas for colors, finishing touches, and the overall shape of the case.
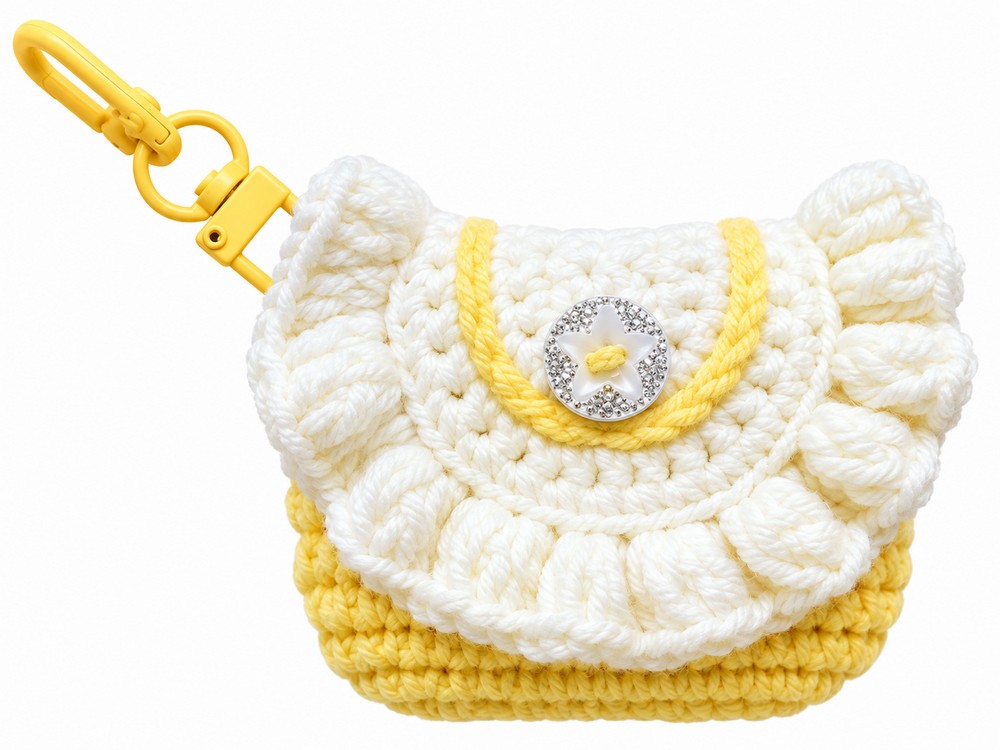
The crochet project is easy to enjoy because the finished item is small and practical. A few simple details can turn basic crochet stitches into a useful accessory that can be carried anywhere. The design also leaves room for personal choices, such as adding a button, flower, charm, or different strap.
This crochet earphone case is a nice pick for anyone who loves useful handmade accessories. It is quick, charming, and practical, making a small everyday item feel much more special.
Crochet Earphone Case Pattern
This detailed pattern guides you through creating a practical and stylish earphone case crocheted mainly in cream (yellow), white, and beige yarns. The case features a solid base, a button-secured flap, and elegant decorative finishing. With clear, step-by-step instructions, this pattern ensures a neat, durable, and functional product ideal for storing and protecting wired or wireless earphones.
Quick Overview of the Pattern
- The earphone case is made from two main components: a bag base and a flap, worked mostly in the round and shaped carefully through increases and decreases.
- The bag base uses cream (yellow) yarn and is worked with stitches placed into back bumps and back loops for texture.
- A white flap features a practical chain space for the button loop closure.
- A beige trim in double crochet adds decorative finishing to the flap's edges.
- Assembly includes sewing the flap onto the back loop round of the bag and attaching a button to secure closure.
Notes
- Mark the beginning of each round with a stitch marker to maintain stitch count.
- You can work rounds joined or as a continuous spiral, except where a turn is specified.
- The initial chain rounds use back bumps to create a clean edge.
- Use invisible decrease stitches to create minimal visible joins.
- Back loops only stitches add texture and are specifically used on Round 11 of the bag base and around the flap edges.
- Color changes are made seamlessly between cream/yellow (bag base), white (flap), and beige (trim).
- The flap features a chain-4 space strategically designed to hold the button loop.
Skill Level
This pattern is best suited for intermediate crocheters familiar with:
- Single crochet (sc)
- Increases and multiple types of decreases including invisible decrease
- Double crochet (dc)
- Working in rounds and rows
- Working into back bumps and back loops
- Basic sewing and assembly techniques
Materials
- Yarn in the following colors:
- Cream (yellow)
- White
- Beige
- Crochet hook appropriate for your yarn weight (not specified but select accordingly)
- Yarn needle for sewing
- Button for closure
- Stitch marker
Measurements / Sizing
The finished earphone case dimensions depend on yarn weight and tension but approximate standard earphone cases comfortably fit inside. It is suitable for daily use, fitting handheld or pocket-space easily.
Gauge and Stitch Pattern
Gauge is flexible for this project. However, consistent tension is required for even shaping and smooth texture. Crocheting into back bumps for initial chains ensures smooth edges in the base.
Stitch Abbreviations
| Abbreviation | Explanation |
|---|---|
| ch | chain |
| sc | single crochet |
| inc | increase (2 sc in one stitch) |
| dec | decrease (crochet two stitches together) |
| inv dec | invisible decrease (minimal visible decrease) |
| dc | double crochet |
| sl st | slip stitch |
Special Stitches
- Back bumps: Single crochet worked into the backside bump of the chain, creating tighter, neater edge lines.
- Invisible decrease: Crocheting two stitches together such that the decrease is almost invisible on the surface.
- Back loops only: Crocheting single crochets into only the back loop of stitches for ribbed, textured effect.
The Crochet Pattern
Bag Base (Cream/Yellow Yarn)
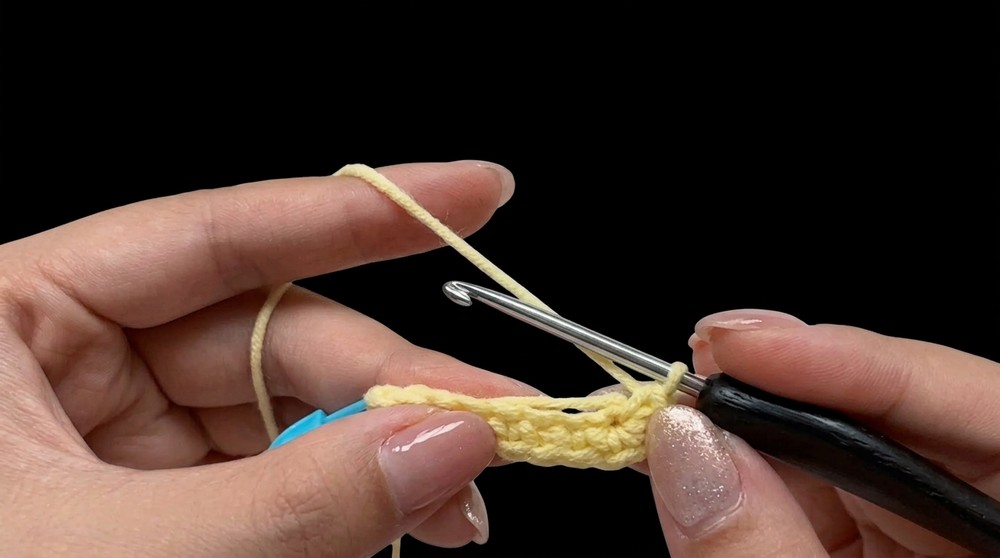
Round 1:
- Make a slip knot and chain 9.
- Starting from the second chain from the hook, make 1 sc.
- Work 6 sc into the back bumps of chains that follow.
- In the last chain, make 3 sc.
- Work 6 sc on the opposite side of the original chain.
- Make 1 increase in the last chain.
- Join the round with a slip stitch. You now have a rounded oval base.
Round 2:
- Chain 1.
- Make 1 increase (2 sc in one stitch).
- Work 6 sc.
- Make 3 increases in a row (2 sc each in 3 consecutive stitches).
- Work 6 sc.
- Make 2 increases over the last 2 stitches (2 sc in each).
- Join the round.
Round 3:
- Make 1 sc.
- 1 increase.
- 6 sc.
- Repeat the sequence of (1 sc, 1 increase) three times.
- 6 sc.
- Repeat the sequence (1 sc, 1 increase) twice more.
- Join the round.
Round 4:
- Work 1 sc in every stitch around, totaling 30 stitches.
Round 5:
- 2 sc.
- 1 increase.
- 6 sc.
- Repeat (2 sc, 1 increase) three times.
- 6 sc.
- Repeat (2 sc, 1 increase) two times.
Rounds 6 to 9:
- Work 1 sc in every stitch, maintaining 36 stitches each round.
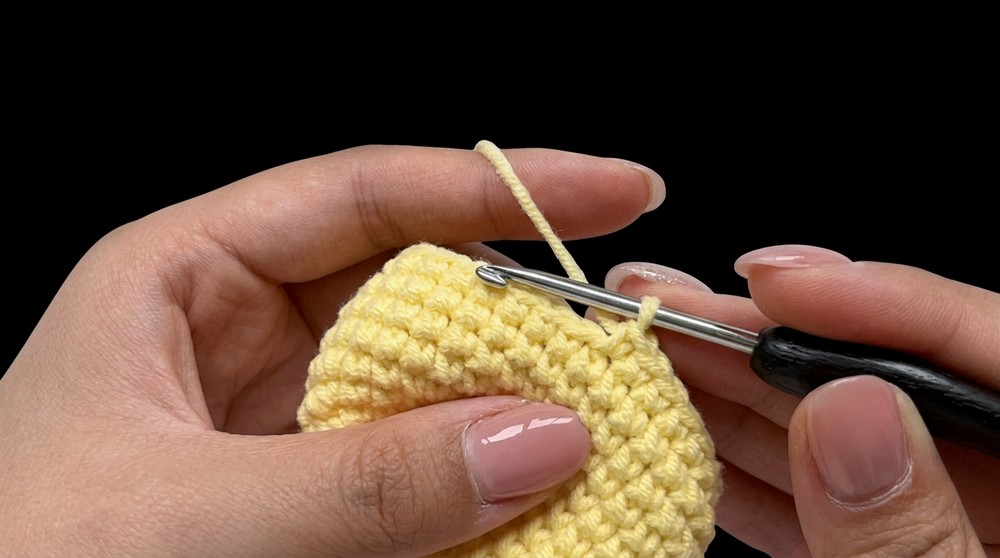
Round 10:
- 2 sc.
- 1 invisible decrease.
- 6 sc.
- Repeat the pattern (2 sc, 1 invisible decrease) three times.
- 6 sc.
- Repeat (2 sc, 1 decrease) two times.
Round 11:
- 2 sc.
- 10 sc worked into back loops only to create texture.
- 18 sc worked normally.
- Join the round.
Round 12:
- 1 sc in every stitch.
- Join and fasten off the cream yarn.
The Flap (White Yarn)
Round 1:
- Chain 11.
- Work 1 sc in the 2nd chain from the hook.
- Work 9 sc in the next chains.
- Work 3 sc in the last chain (to form the rounded corner).
- Work 9 sc along the opposite side of the chain (working underside).
Round 2:
- Chain 1 and turn.
- 10 sc.
- Chain 4, skip 1 stitch (to create buttonhole).
- 10 sc.
Round 3:
- Chain 1 and turn.
- 10 sc.
- 6 sc into the chain-4 space (buttonhole).
- 1 increase.
- 9 sc.
Round 4:
- Chain 1 and turn.
- 9 sc.
- Repeat (2 sc, 1 increase) three times.
- 9 sc.
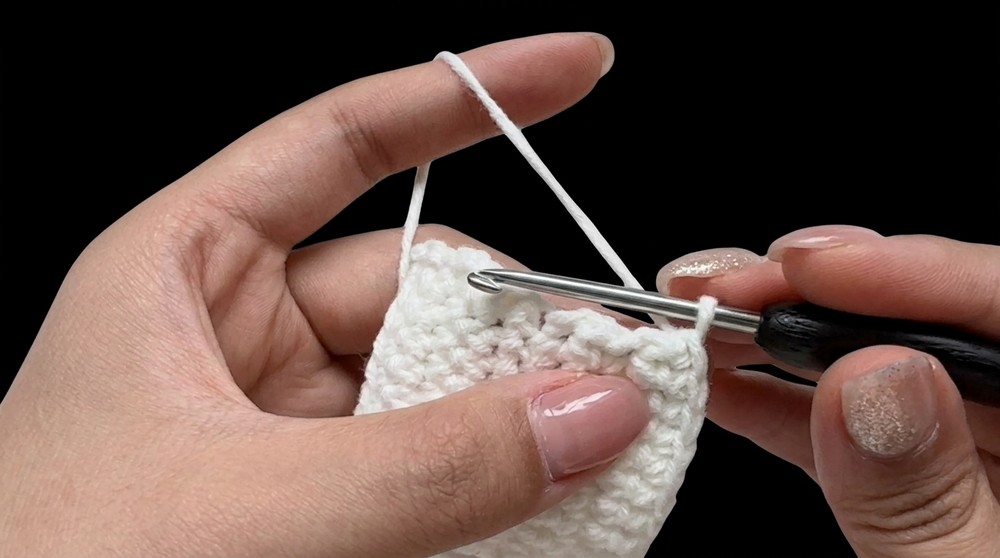
Round 5:
- Chain 1 and turn.
- 9 sc.
- Repeat (3 sc, 1 increase) three times.
- 9 sc.
- Work 10 sc along the side edge of the flap.
- Fasten off white yarn.
Beige Trim & Finishing
Beige Detail:
- Working into back loops only around the flap edge.
- Chain 3 (counts as first dc).
- Work 2 dc in the same stitch.
- Work 3 dc in each stitch around the flap edge.
- End the round with 2 dc in the last stitch.
- Chain 3 and slip stitch to join.
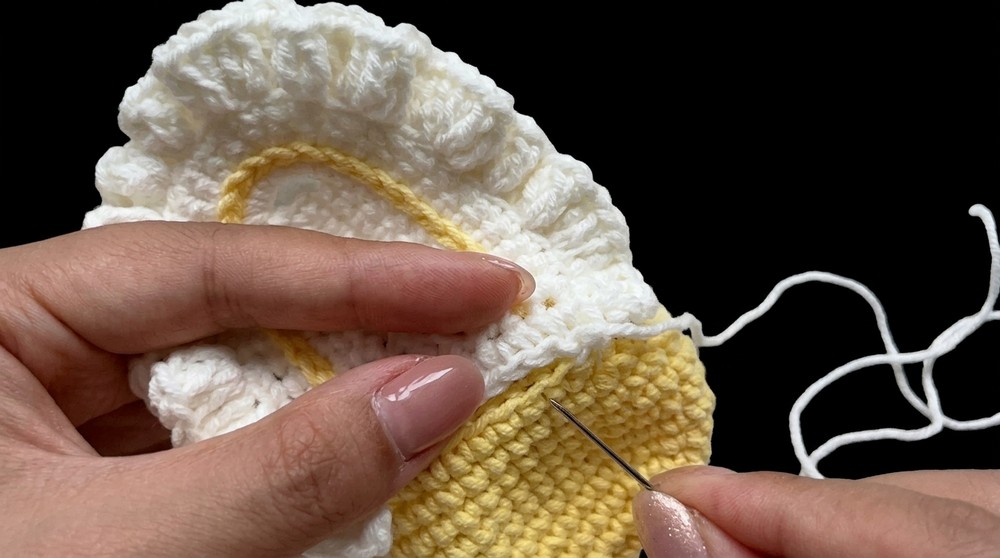
Assembly:
- Switch back to the yellow yarn.
- Work slip stitches around Round 3 of the bag base to give a neat border.
- Sew the flap carefully onto the back loop round of the bag base (Round 11).
- Sew a button on the front side of the bag aligned with the flap loop for secure closure.
Assembly & Finished Size
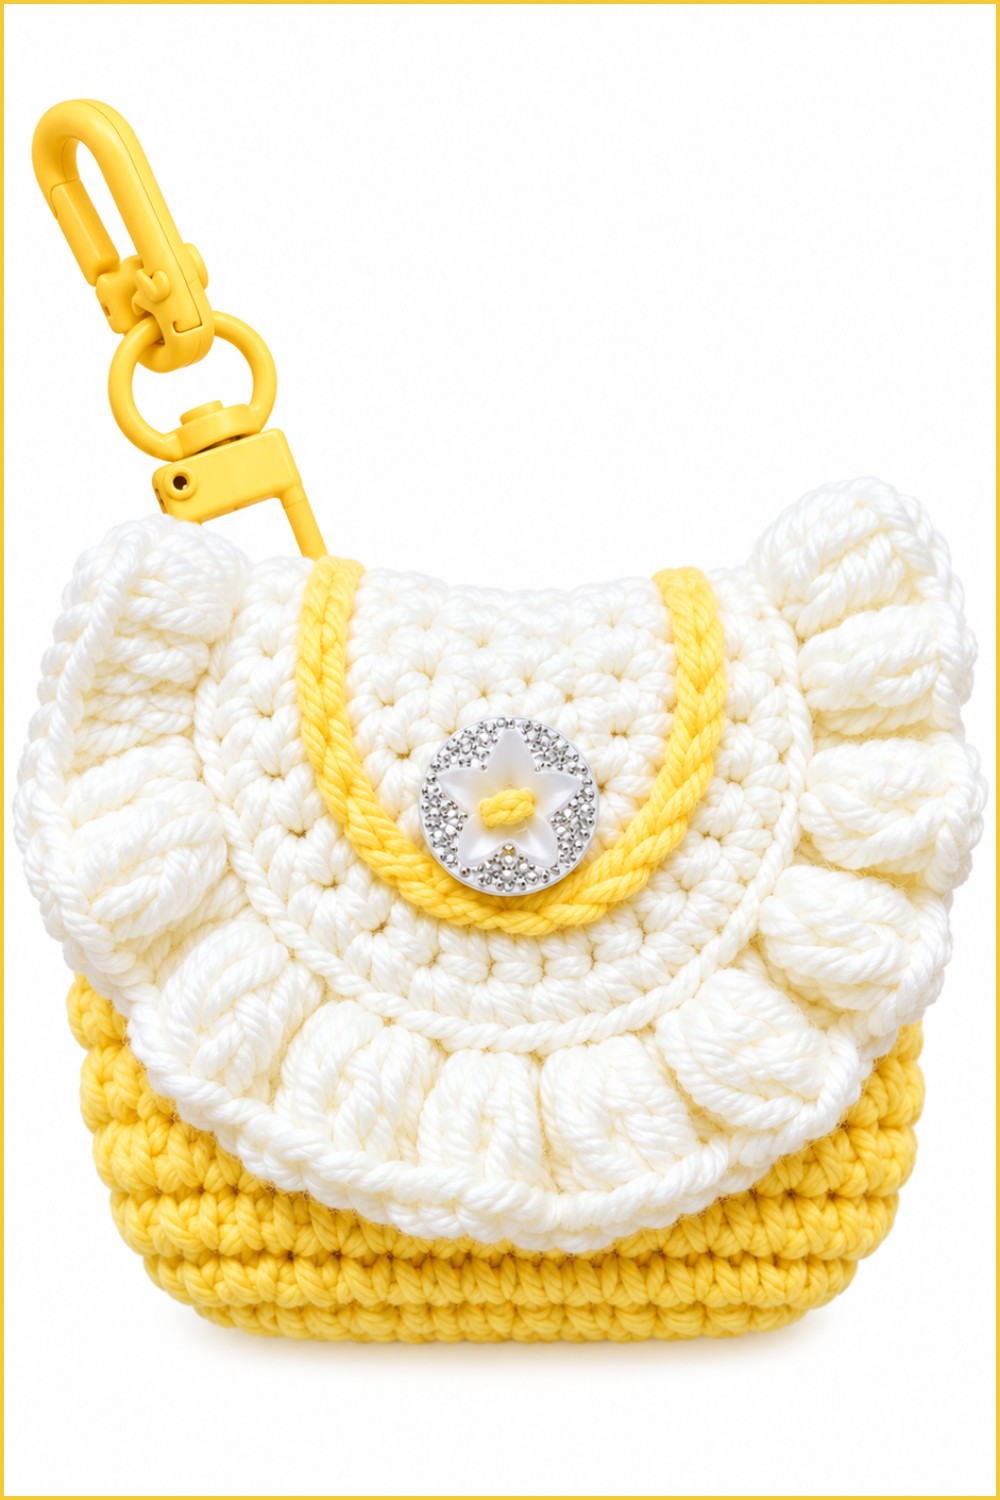
After assembling, ensure all pieces are sewn firmly using matching yarn and a yarn needle. The button closure and corresponding flap loop secure the earphone case conveniently. The final case fits the size of standard wired or wireless earphones and is soft yet structured for protection. Size may vary based on yarn thickness and tension but generally fits comfortably in hand or pocket.
Conclusion
You have successfully created a functional and elegant crochet earphone case combining detailed shaping and skillful finishing touches. The contrast between cream, white, and beige yarns highlights both the texture and structure of the case. The button-fastened flap offers easy access while protecting your earphones from tangling or damage. This handmade accessory makes a perfect gift or personal item for storage essentials.