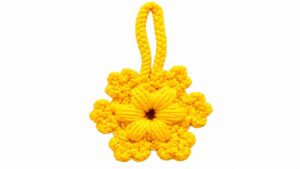
Decor your home with a charming Crochet Flower Pot that adds colorful handmade flowers and brings a cheerful cozy touch to any room’s decor.
This written pattern comes from a YouTube tutorial by [Indian Crochet Toys]. Big thanks to them for sharing this fun idea! The project is about crochet flower pots soft, small containers you can use for flowers or plants. I suggest watching their full video for easy, clear help and to support their channel.
Cute Crochet Flower Pot Free Pattern to Brighten Your Home Décor
The crochet flower pot are usually about 4 to 6 inches wide, a good size for desks or shelves. They have a firm bottom and a nice, textured outside that looks pretty. You’ll use cotton or cotton-blend yarn, which feels soft but keeps the pot strong.
This project works well for all skill levels because it uses simple crochet stitches. You can pick any colors you like and even add your own small decorations to make each pot special. It’s a quick and easy project that leaves you with a cute, useful item.
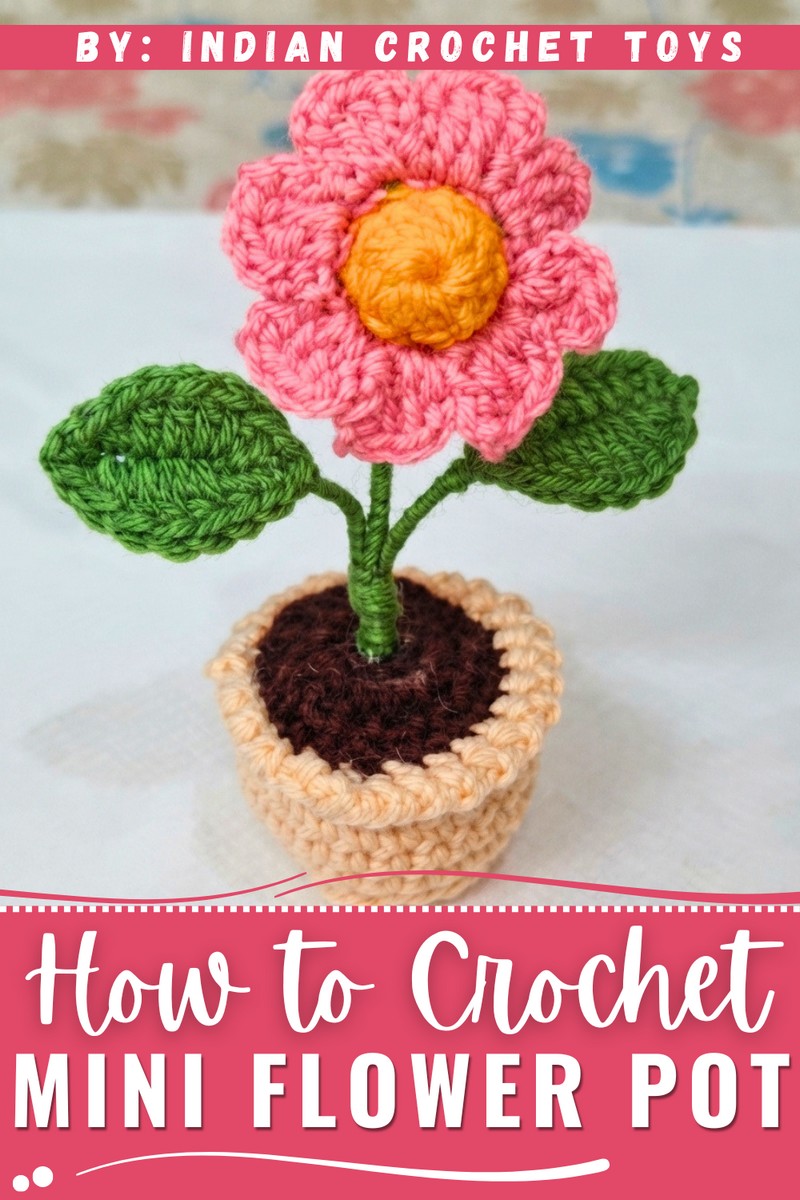
These crochet flower pots are great for holding small plants or artificial flowers. You can use them to brighten up your home, office, or classroom. They also make thoughtful homemade gifts for friends and family.
In short, these crochet flower pots add a handmade touch to your home or make nice gifts. Be sure to check out the original tutorial by \[Indian Crochet Toys] to follow the steps and support their great work!
Crochet Mini Flower Pot with Flower Pattern
Today we will be making an adorable crochet flower pot—complete with a cute, colorful flower, lush green leaves, and a sturdy little pot. This project is not only beautiful but also very easy and quick—perfect for all crochet lovers. The finished flower pot can be used for decoration, gifting, or even as a profitable small business idea.
Quick Overview Of Pattern
- Base: The flower, leaves, and pot are crocheted separately and then assembled to form a charming flower pot.
- Structure: The stem and leaves are structured with wire for shaping and durability.
- Customization: Color choices for the flower, leaves, and pot are fully customizable.
- Assembly: All components are stitched and glued together, stuffed, and made stable with a pot stand for a neat finish.
- Techniques: You will work rounds (increases), basic shaping for petals and leaves, reverse and slip stitches for structure, and simple wire-lining for the stem.
Notes
- The flower, leaves, and pot are all made with 4-ply wool/yarn but can be substituted as needed.
- For real-looking flowers with stable stems and leaves, use craft wire.
- Keep tension firm but not tight for best structure.
- This project is ideal for small amounts of scrap yarn.
- Work in continuous rounds unless otherwise indicated.
Skill Level
Confident Beginner/Intermediate: Basic knowledge of single crochet (sc), half double crochet (hdc), double crochet (dc), slip stitch (sl st), working in the round, and chaining. Comfort working with wire is a plus.
Materials
- Yarn: 4-ply acrylic or wool (yellow, green, brown, pink or flower color of your choice, and dark brown for 'soil')
- Hook: 3.5 mm crochet hook
- Wire: Thin craft wire (for stem and leaves), can use floral wire or jewelry wire
- Scissors
- Yarn needle for weaving ends and sewing parts together
- Cotton or polyester stuffing
- Glue (any crafting glue suitable for yarn, optional for extra hold)
- Optional: Pliers (for bending wire neatly)
Measurements / Sizing
- Finished Pot Height: Approx. 6–8 cm (including flower)
- Pot Width: Approx. 4–5 cm
- Flower Diameter: Approx. 4 cm
- Leaf Length: 3–4 cm
- Stem Length: As desired, generally 6–7 cm
(Finished size depends on yarn, hook size, and tension.)
Gauge
Gauge is not critical. For reference:
- 5 rounds of sc = 2 cm diameter.
Stitch Abbreviations
| Abbreviation | Stitch Name |
|---|---|
| ch | chain |
| sc | single crochet |
| hdc | half double crochet |
| dc | double crochet |
| sl st | slip stitch |
| BLO | back loop only |
| FLO | front loop only |
| st(s) | stitch(es) |
| rnd | round |
Special Stitches
- Reverse Single Crochet (Crab Stitch): Insert the hook into the previous stitch (right to left if you’re right-handed), yarn over and pull up a loop, yarn over and pull through both loops.
- Back Loop Only (BLO): Work the stitch, inserting the hook only into the back loop of the stitch below.
Begin the Pattern
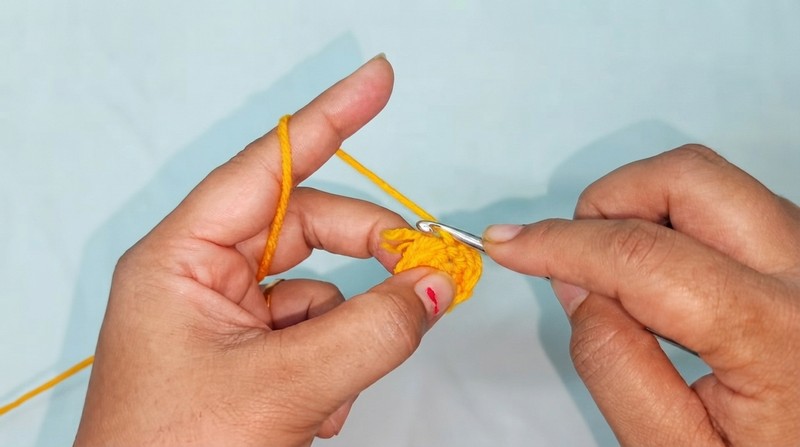
A. Flower Center (Yellow Part)
- Make two chains (ch 2).
- In the second chain from the hook, work 8 hdc. Pull the starting tail to close the ring.
- Join with a sl st to the first hdc to close the round.
- Now, make 8 sc (one in each st) all around the yellow circle.
- Join with a sl st in the starting chain. Fasten off.
B. Flower Back (Green Base)
- With green, make a magic ring (or ch 2, as above).
- Work 8 hdc into the ring. Pull tight to close.
- Join with a sl st to first st. Cut thread and fasten off.
- Place the green and yellow circles wrong sides together. You’ll join these when adding petals.
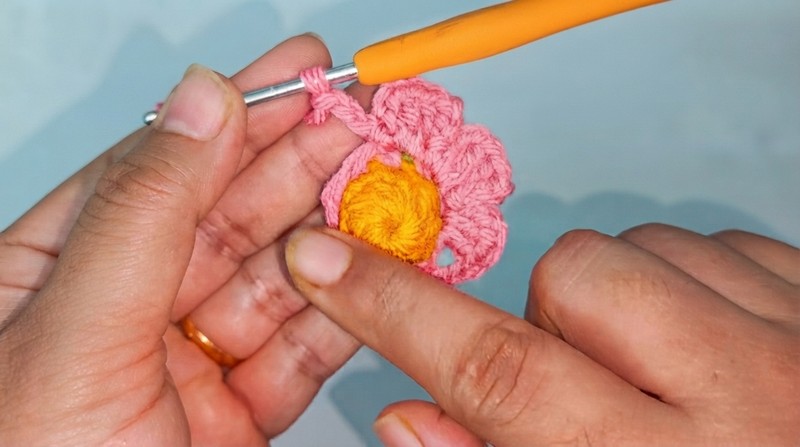
C. Flower Petals (Pink or Any Color)
- Add chosen petal color (e.g., pink) where the two circles meet. Insert hook through both yellow and green edges.
- (For each petal; repeat in each pair of adjacent sts—8 total):
- Pull up a loop, ch 1.
- Sc in the same space through both yellow and green. (This secures the circles together.)
- Repeat for total of 8 sc around, joining both circles.
- For petals:
- Ch 3, in next st (through both circles) work: [2 dc], ch 3, sl st in same st.
- Next, ch 3, sl st in next st, repeat the petal sequence:
- (ch 3, [2 dc] in next st, ch 3, sl st in same st) around until you have 8 petals.
- Fasten off and weave ends in.
D. Leaves with Wire (Make 2)
- With green, ch 8.
- Cut wire a bit longer than the chain.
- Place the wire along the chain; you’ll crochet around it for support.
- Work back along the chain as follows (one st into each ch, covering the wire):
- In 2nd ch from hook: sc
- Next ch: hdc
- Next 3 ch: dc in each (for total 3 dc)
- Next ch: hdc
- Last ch: sc, ch 2, sc in same ch (to round the tip)
- Work down the opposite side (working over wire):
- hdc in next st, dc in next 2 sts, hdc in next, sc in last.
- Sl st at the base. Cut yarn, leave a long tail for wrapping/winding over visible wire. Wrap bottom wire with yarn and knot to secure. Trim excess.
E. Pot
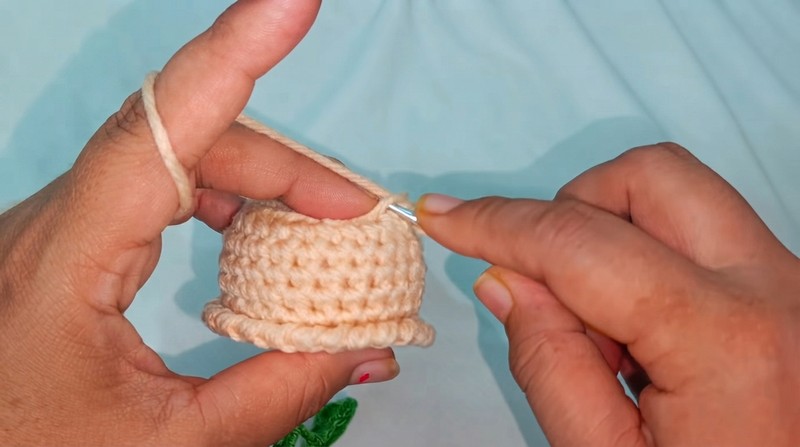
- Start with a magic ring, work 8 sc into ring.
- Rnd 2: 2 sc in each st around (16 sc).
- Rnd 3: (sc in next st, 2 sc in next st) around (24 sc).
- Rnd 4: In BLO, sc in each st around (for a crisp pot base edge) (24 sc).
- Rnd 5–9: sc in each st around (24 sc). (Work even, not in BLO.)
- Rnd 10 (Pot Edge): Reverse sc (crab stitch) in each st around, join with sl st, fasten off. (Gives pot a neat, sturdy top edge.)
F. Pot Soil (Brown)
- Repeat Steps 1-3 from the Pot (8 sc, inc to 16 sc, inc to 24).
- Finish off; leave tail for sewing.
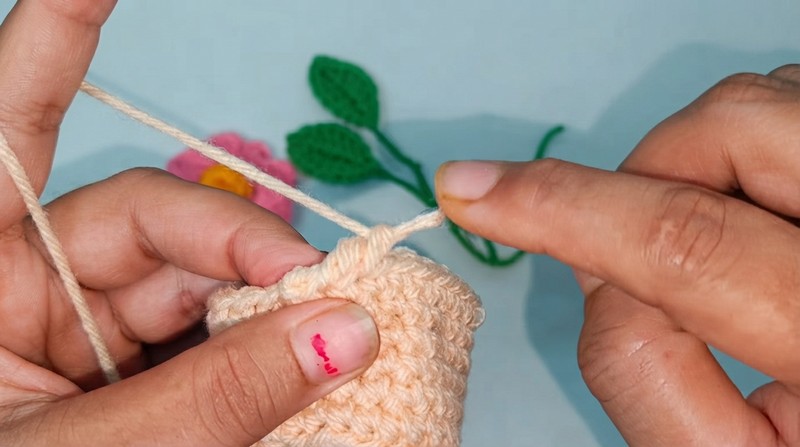
G. Pot Stand (Base)
- Pick up yarn and with pot upside down, join yarn to BLO from round 3 (24 sc round).
- Work sl st in each st around for a sturdy base.
- Fasten off.
Assembly & Finished Size
- Stuff the Pot: Place cotton/stuffing inside the pot for firmness.
- Attach the Soil Disc: Place brown disc atop stuffing and sew around inner edge with yarn needle, picking up loops from the reverse sc at pot edge.
- Insert Stem: Carefully poke the wire-wrapped flower stem through the "soil" disc and into stuffing for security. Use glue if desired.
- Attach Leaves: Secure the wire ends and position leaves attractively near the base of the flower/stem. Wrap any visible wire with green yarn for a tidy finish.
- Shape and Finish: Adjust flower and leaves for best look. Make sure the flower is upright and the pot stands flat from the base.
- Trim extra ends/wire: Weave in all loose threads and trim excess wire if visible.
Conclusion and Ending Words
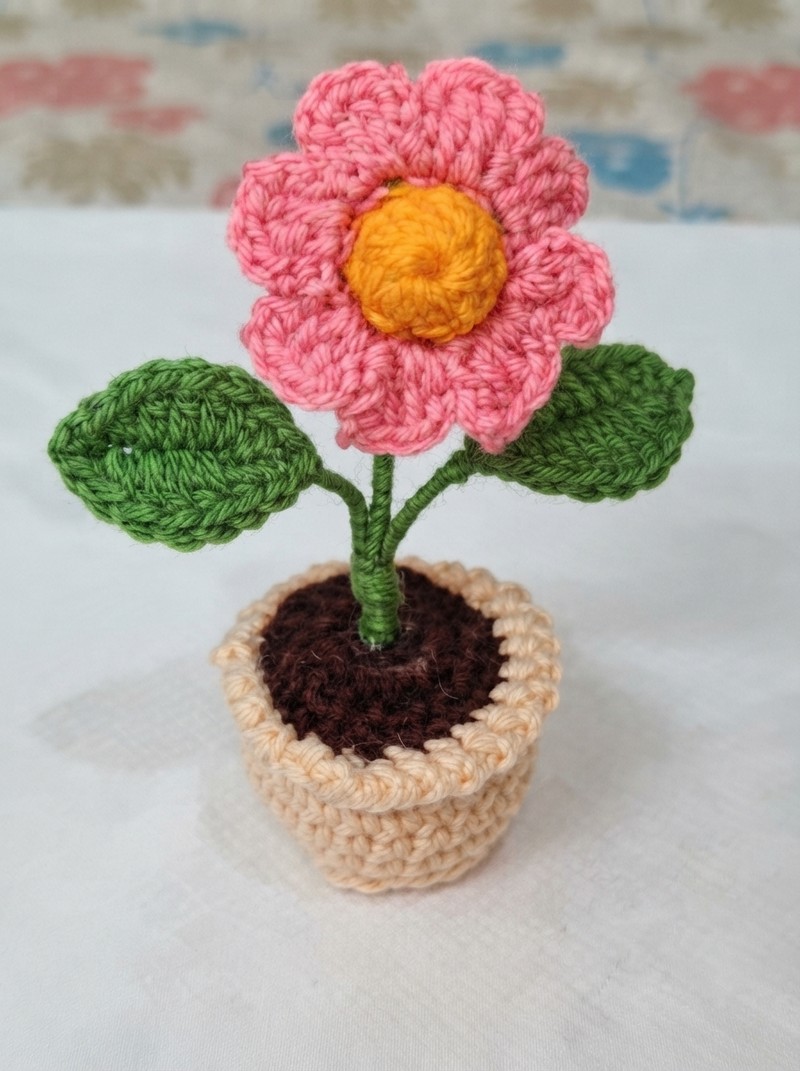
Crochet Mini Flower Pot with Flower is complete. Whether to brighten your home, as a thoughtful handmade gift, or as a charming item to sell, this pattern promises fast results and endless customization. Try different colors or add more petals, make larger leaves, or stitch a smile to your flower for even more personality.