Celebrate the festive season with this Crochet Christmas Snowflake Free Pattern and enjoy a pretty decoration for trees, windows, and garlands.
Special Thanks & Support
Looking to add a cozy touch to your holiday decorations? A Crochet Christmas Snowflake is a great choice. This pretty little piece usually measures around 4 to 6 inches across, making it just the right size to hang on a tree or use as a festive coaster. Its shape is inspired by real snowflakes, often featuring six points that branch out in delicate, symmetrical patterns.
Elegant Crochet Christmas Snowflake Free Pattern For Tree Decor
The design details can vary, but many crochet snowflakes include small loops and picots (tiny knots) that give them a lacy and elegant look. Sometimes, they have a bit of texture from different stitches, adding depth without being too difficult to make. The thread used is usually thin, which helps create a fine and light appearance, perfect for the winter season.
This project is generally suitable for beginners who already know some basic stitches like chain, single crochet, and slip stitch. However, the pattern might ask for a bit of patience and attention to detail because of the repetitive stitches and shaping needed to form the points. On the other hand, intermediate crocheters will enjoy the relaxing rhythm and the chance to make a few snowflakes with different designs.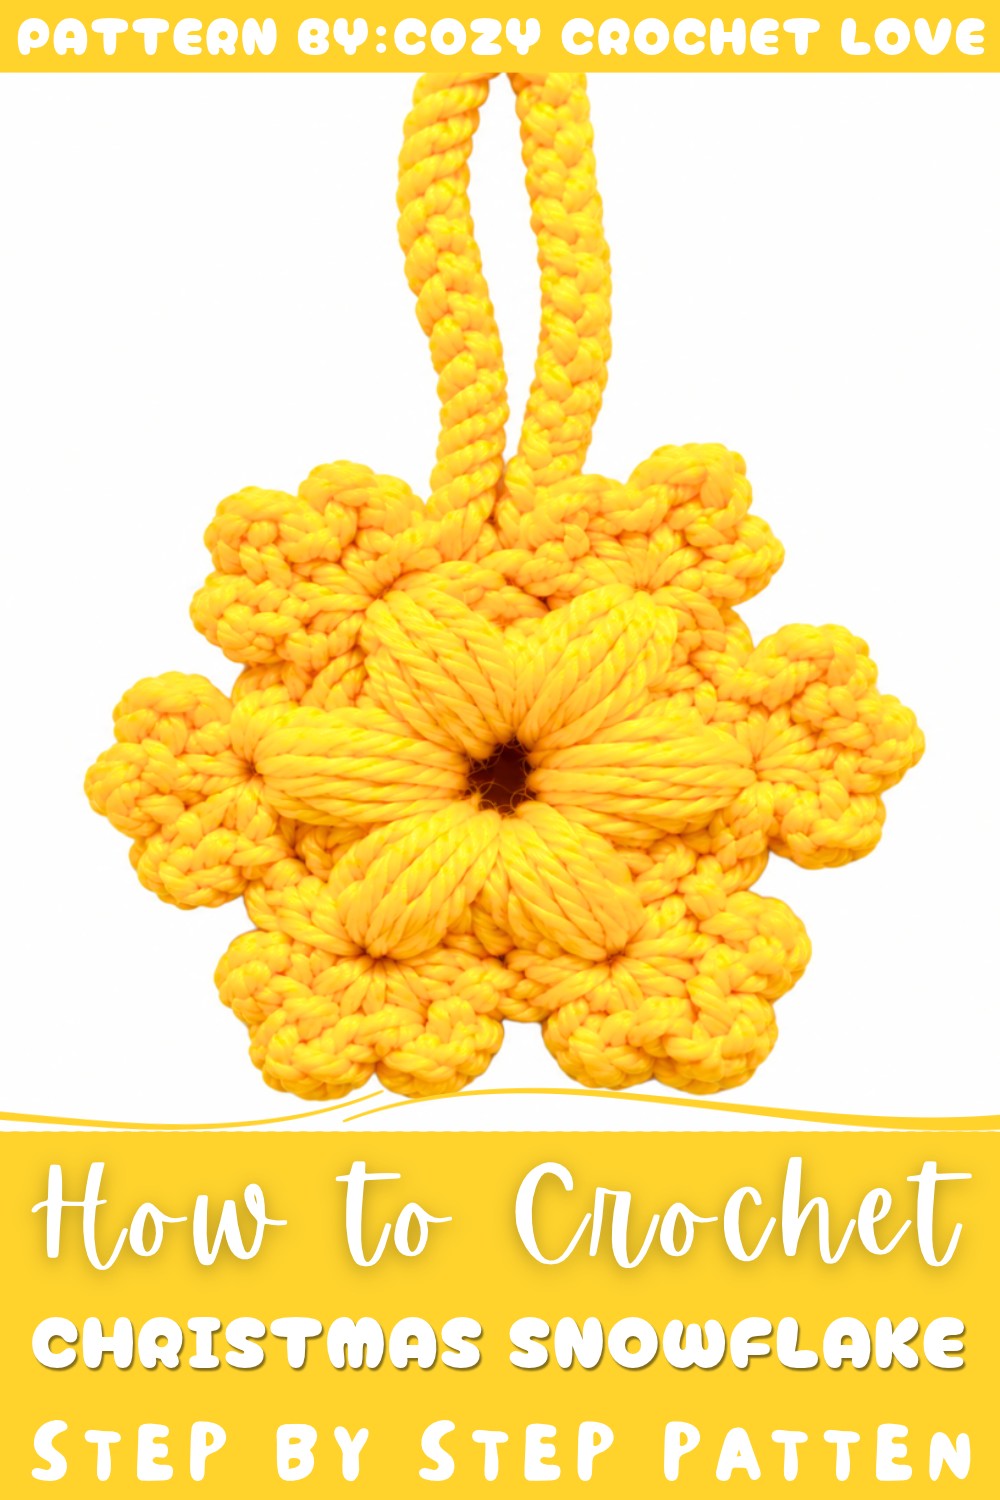
Overall, a Crochet Christmas Snowflake is friendly to make and looks charming in any holiday setting. You can hang it on bag , attach it to gifts, or even string several together for a festive garland. Either way, it’s a lovely way to bring a handmade feel to your celebrations.
Crochet Snowflake Pattern
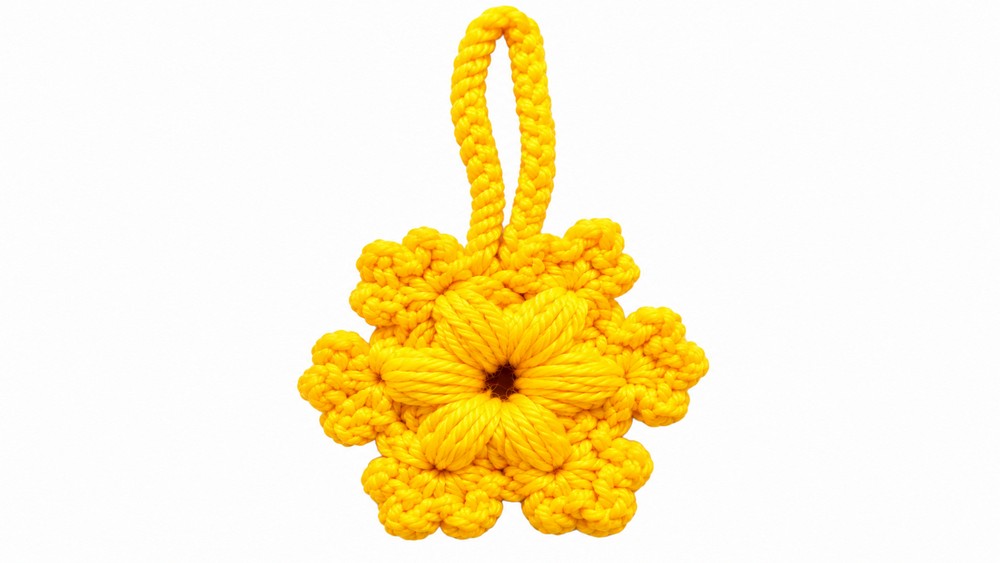
This snowflake pattern guides you step by step through the creation of a delicate, lacy ornament suitable for any winter celebration. Designed to be accessible and enjoyable, it blends classic crochet motifs with puff stitch accents, ensuring a decorative result with texture and structure. The pattern includes everything needed for a striking snowflake, including a built-in hanging loop for display.
Pattern Basic Points
- Motif-based Design: Worked from the center outward in the round, producing a symmetrical, six-pointed snowflake.
- Special Texture: Uses puff stitches for plush definition at the edge of each arm.
- Edge Detailing: Each branch includes chain and single crochet combinations for an airy lacy effect.
- Integrated Hanging Loop: Included seamlessly at the end of the project for immediate display.
- Minimal Finishing: Only basic fastening and weaving in required.
Special Notes
- The snowflake is worked in one continuous piece, minimizing yarn ends and assembly.
- Control tension for neat, rigid points. Light blocking or starching can help retain shape.
- For best results and maximum lacy clarity, use a light-colored, smooth yarn or traditional cotton thread.
- The motif is suitable for extra embellishments if desired (beads, sparkle yarn, etc.).
Skill Level
Beginner to Intermediate
Chosen techniques allow those with basic crochet experience to complete the piece. Some familiarity with puff stitches and working in the round is useful, but the instructions are concise and repeatable for confident execution by newer crocheters.
Materials
- Fingering, sport, or DK weight yarn or cotton thread in white or pale blue (20–30 meters)
- Crochet hook suitable for yarn/thread (e.g., 2.0–3.5 mm; check label or desired drape)
- Small sharp scissors
- Yarn needle for weaving in ends
- Pins and blocking board if shaping/stiffening is desired
Measurements and Gauge
- Finished Diameter (blocked): Approximately 10–12 cm (4–4.75 inches) from point to point
- Gauge: Not critical for motif projects, but tighter tension results in neater lace and more defined arms
- Stitch Pattern: Central ring, single crochet rounds, puff stitch, and openwork chain loops
Stitch Abbreviations
- ch – chain
- sc – single crochet
- sl st – slip stitch
- st – stitch
- sp – space
- puff st – puff stitch (see Special Stitches)
Special Stitches
- Puff Stitch (puff st):
Yarn over, insert hook into designated space, yarn over and pull up a loop (repeat 4 times, total of 9 loops on hook), yarn over and pull through all 9 loops, chain 1 to secure. - Magic Yarn Ring:
The base is a large loop formed by wrapping the yarn several times, not a standard adjustable ring; this is tightened minimally for stability.
Complete Crochet Pattern
Starting the Base
- Base Ring:
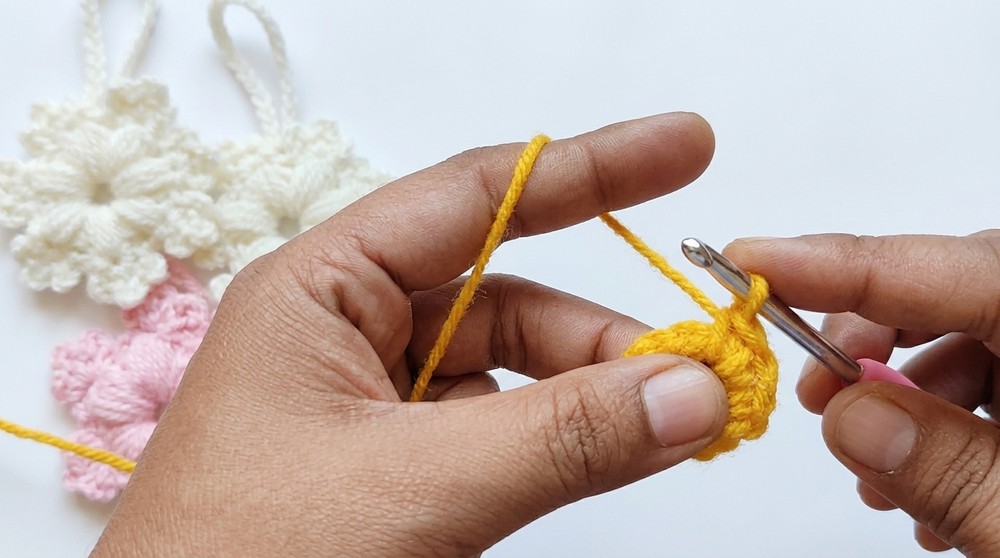
- Wrap the yarn around your finger 8 times to create a multi-strand ring.
- Insert your hook under all strands, yarn over, pull up a loop, and work a slip knot to secure.
- This thick loop serves as the foundation for the snowflake’s center.
- Foundation Row:
- Round 1:
- Work 16 single crochets (sc) into the multi-strand yarn circle.
- Join to the first single crochet with a slip stitch to close the round.
- Work 16 single crochets (sc) into the multi-strand yarn circle.
- Round 1:
Creating the Six Edges
You will repeat this sequence six times around the base (one per snowflake arm).
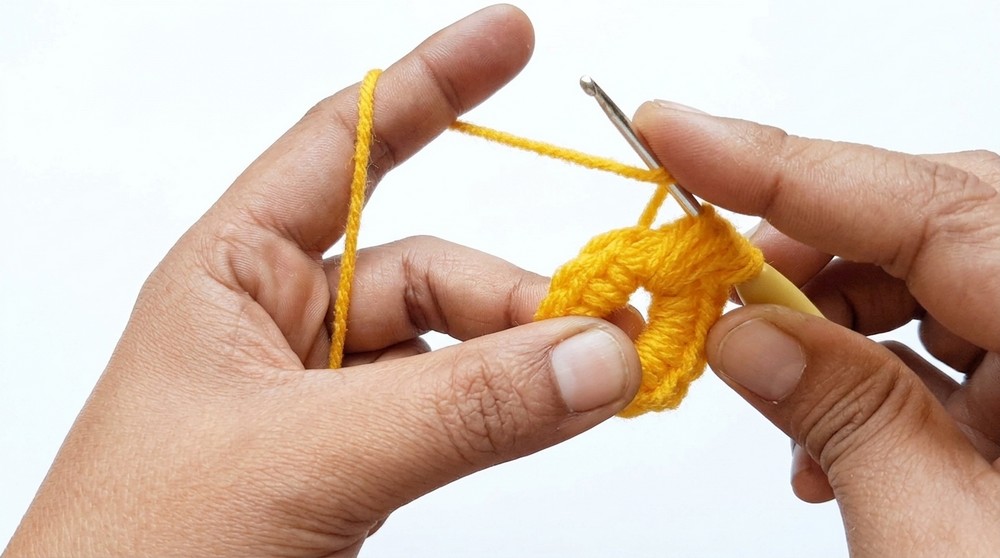
- Puff Stitch Edge:
- For each arm:
- Yarn over, insert your hook into the next base stitch, yarn over, pull up a loop; repeat this 4 times in the same stitch (9 loops on hook).
- Yarn over and pull through all loops on the hook.
- Chain 1 to secure the puff stitch.
- For each arm:
- Turning for Edge:
- Turn your work, insert the hook into the last loop of the puff stitch, and secure with a slip stitch.
- Edge Detail Loops:
- Into the gap created by the puff stitch:
- (Chain 4, single crochet) three times, forming three loops branching from the puff tip.
- These loops fan out to create the lacy look of each snowflake point.
- Into the gap created by the puff stitch:
- Connecting Edges:
- Chain 2 back toward the base before starting the next puff stitch arm.
- This small chain spaces each arm evenly.
- Chain 2 back toward the base before starting the next puff stitch arm.
- Repeat:
- Repeat the Puff Stitch Edge, Turning, Edge Detail Loops, and Connecting Edges five more times (six arms total).
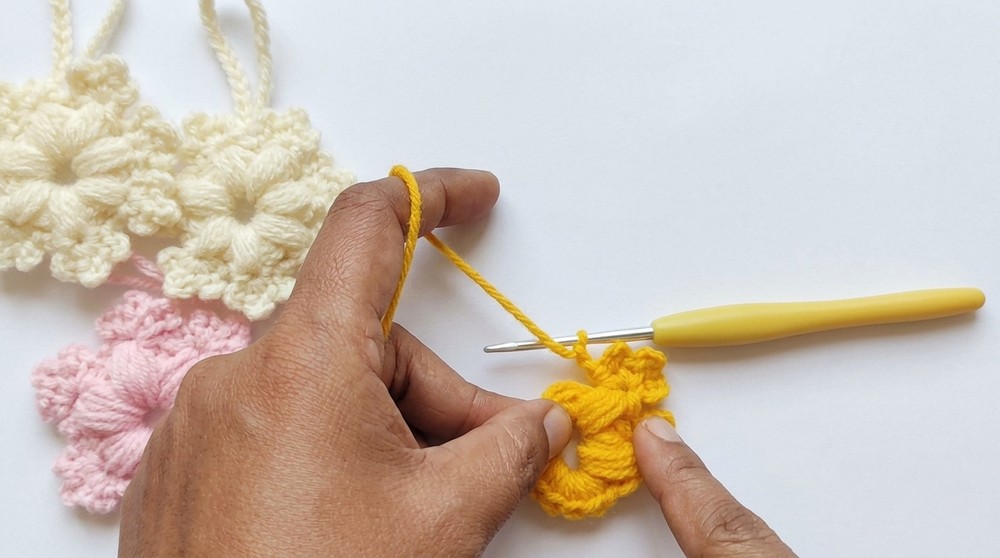
Final Assembly
- Closing the Snowflake:
- After the last (sixth) arm, chain 2 and slip stitch into the base (same stitch/space where the first arm started) to anchor the last edge.
- After the last (sixth) arm, chain 2 and slip stitch into the base (same stitch/space where the first arm started) to anchor the last edge.
- Hanging Loop:
- Chain 25.
- Turn and slip stitch into the adjacent base loop (to anchor the end of the loop near the first or last edge).
- This creates a simple, integrated hanging loop.
- Fastening Off:
- Chain 1, cut the yarn, and pull through to fasten off securely.
- Weave in ends with a yarn needle.
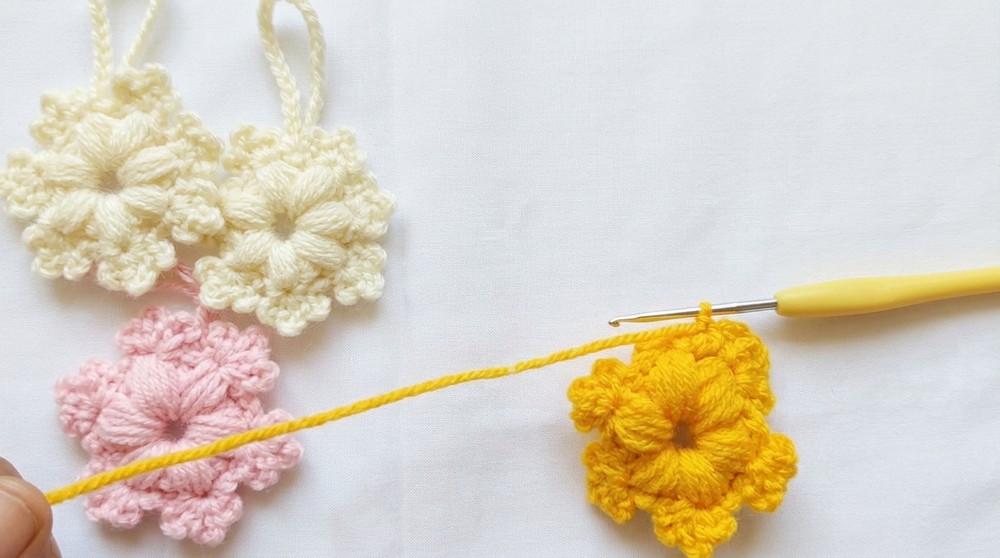
Assembly & Finished Size
Blocking is strongly recommended for best results—gently pin each point to a flat surface and spray lightly with water or starch. Allow to dry completely to set the shape.
When finished, the snowflake should measure approximately 10–12 cm (4–4.75 inches) across, light and airy with crisp outlines on each edge. The hanging loop adds versatility for placement on trees, garlands, or as standalone decorations.
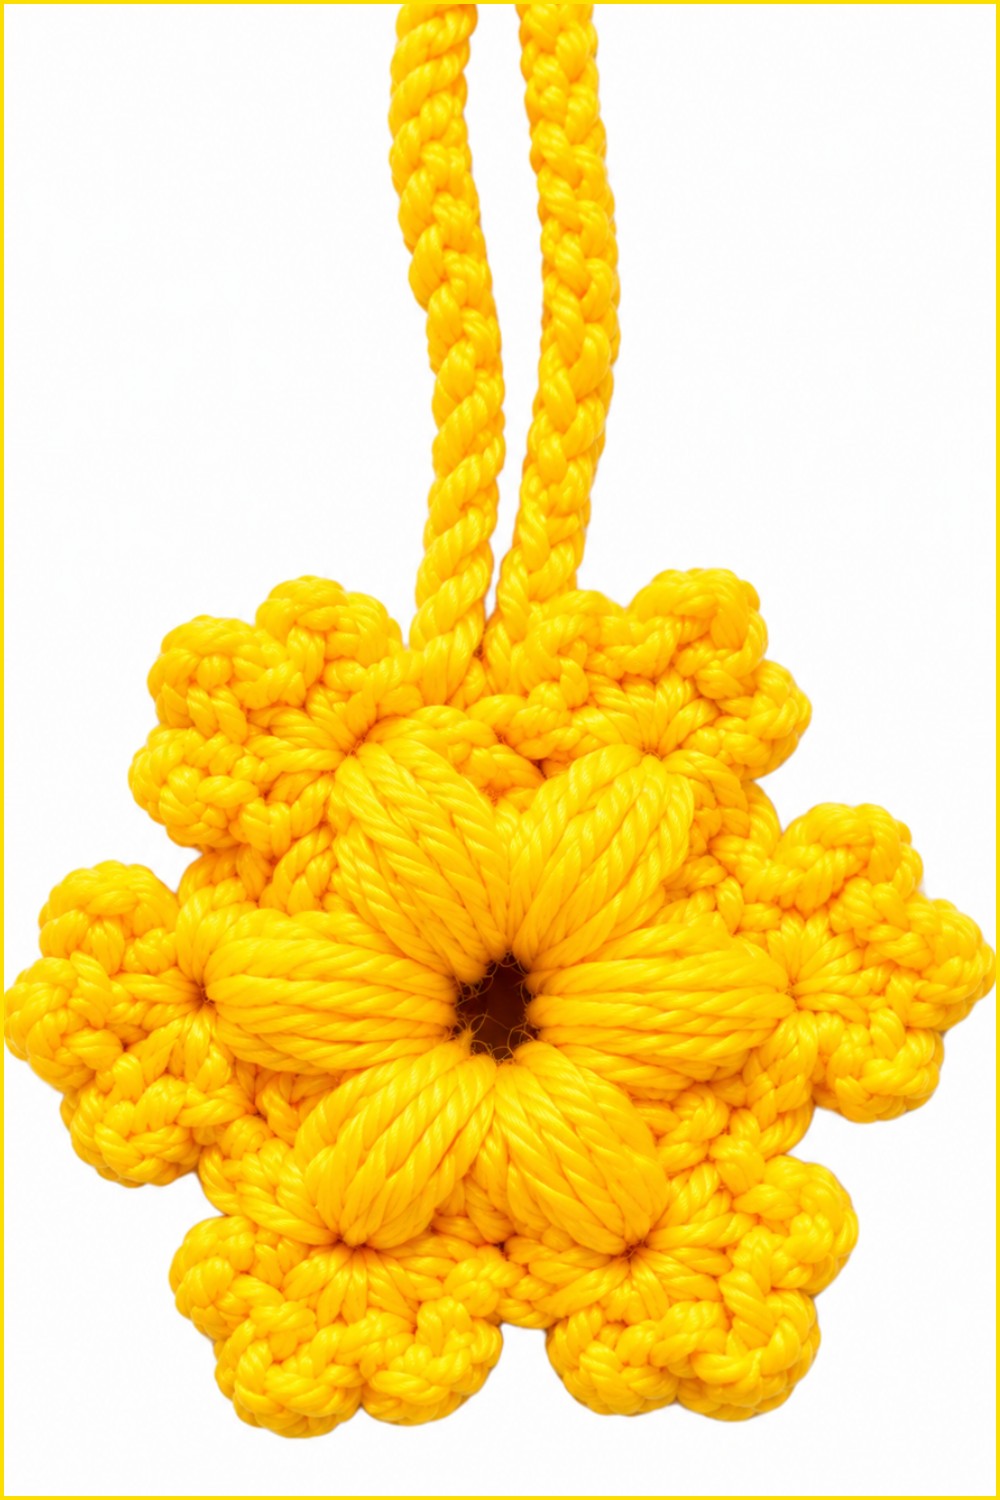
Conclusion
This snowflake design uses approachable techniques to create a festive and elegant ornament from a basic circle and a series of repeated textured arms. Puff stitches highlight each point, while chain loops provide the signature airiness of traditional snowflakes. The succinct, in-the-round method reduces finishing time and delivers an immediately recognizable winter motif. Further embellishing, blocking, or even joining multiple motifs is encouraged for larger displays or personal touches. The lacy effect and clean shaping lend cheerful detail to any festive setting, making the finished piece ideal for gift giving or personal seasonal décor.