Say Thanks & Support: Antylen
Celebrate winter festivities creatively using this free crochet Christmas tree pattern that merges traditional holiday motifs with modern handmade ease.
Creating your own holiday magic is so much fun, especially with yarn! You can make a beautiful, little Christmas tree to display anywhere in your home. This wonderful Free crochet Christmas Tree Pattern guides you through making a festive decoration that will fill your space with cozy, handmade cheer. It’s a perfect decoration to get you into the Christmas spirit.
This charming little tree stands all on its own, with a classic cone shape and a sweet brown trunk at the bottom. The green branches have beautiful rows of white trim crocheted right onto them, making it look like it’s dusted with freshly fallen snow. This gives the tree a delightful, layered texture, while little pom-poms add pops of festive color.
Christmas Tree Free Crochet Pattern for Tabletop Decor
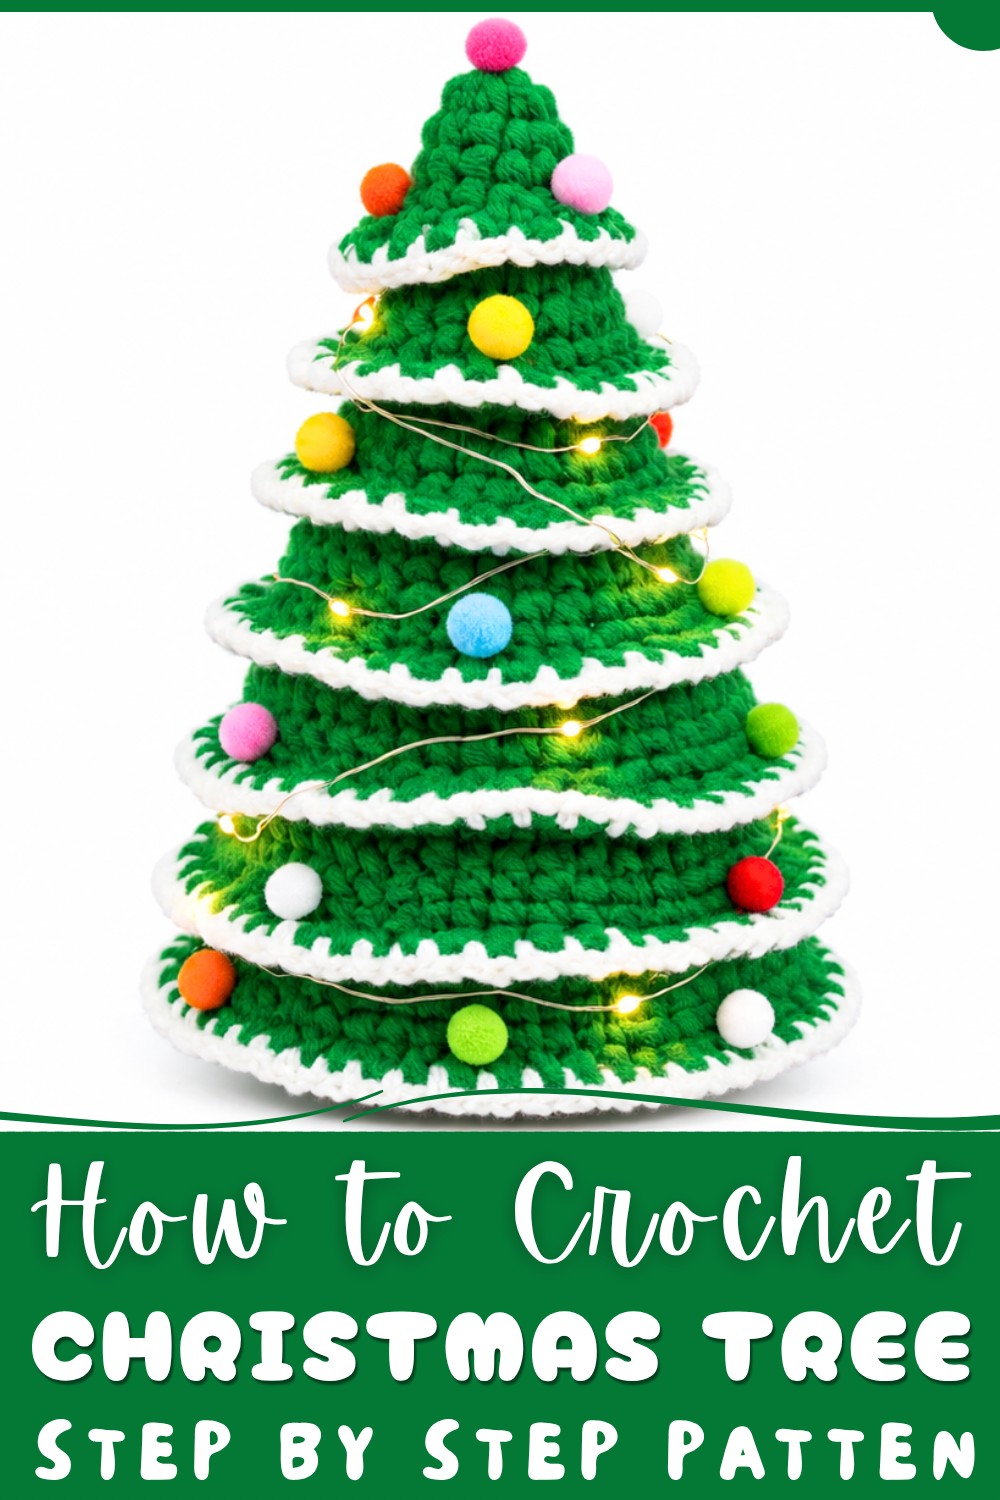
The creator at Antylen provides a fantastic video tutorial to help you make this project. Their clear visual steps make the whole process simple and so enjoyable, even for new crocheters.

You can place this lovely tree on a mantel, a desk, or as a centerpiece for your holiday table. A special surprise is that you can add a small battery-operated light inside, making it glow with a magical touch. It’s a truly unique decoration and would be a wonderful, heartfelt handmade gift for friends and family.
Crochet Christmas Tree Pattern for Beginners
Create a festive crochet Christmas tree with this easy-to-follow step-by-step guide. Using simple stitches and clear instructions, this pattern is perfect for beginners who want to make a lovely holiday decoration.
This crochet pattern helps you make a small Christmas tree complete with a pot base. The tree is shaped by working increases and decreases in single crochet stitches, producing a natural cone shape. Different yarn colors give the tree a realistic look, and you can even add a small battery-operated light inside for a glowing effect.
Materials Needed
- Milk cotton yarn (white, brown, or your choice of colors)
- Crochet hook: 3.0 mm to 3.5 mm
- Scissors
- Tapestry needle (for weaving in ends)
- Optional: Battery-powered flashing light
- Optional: Silicone sealant for assembly
Skill Level
Beginner to Intermediate
You should know how to:
- Make a Magic Ring (MR)
- Crochet single crochet (sc) stitches
- Increase (work 2 stitches in one)
- Decrease (crochet two stitches together)
- Work in rounds
- Join rounds with slip stitch (sl st)
- Change yarn colors or assemble parts
Abbreviations
| Abbreviation | Stitch |
|---|---|
| ch | Chain |
| sc | Single Crochet |
| inc | Increase (2 sc in 1 st) |
| dec | Decrease (crochet 2 sts together) |
| sl st | Slip Stitch |
| MR | Magic Ring |
Gauge & Size
- Gauge is flexible, but keep an even tension with single crochet stitches for a nice shape.
- Finished tree height: approximately 20-25 cm (8-10 inches)
- Base diameter: approximately 6-8 cm (2.5-3 inches)
- Size can be adjusted by adding or reducing the number of rounds.
Step-by-Step Crochet Pattern
Tree Body
Round 1: Start the Tree trunk
- Make a Magic Ring (MR).
- Chain 1 (does not count as a stitch).
- Work 8 single crochet (sc) stitches into the ring.
- Join with a slip stitch (sl st) to the first sc.
- Pull the tail to close the ring tightly.
Round 2 - 3: Build the Tip
- Work 8 sc evenly around without increasing.
Round 4: Increase to Shape
- Work an increase (inc) in each stitch — that is, 2 sc in every stitch around.
- Total stitches: 16 sc.
- Insert your hook through the stitch upward to assist shaping.
Rounds 5 - 7: Even Rounds
- Crochet 24 sc per round, maintaining an even stitch count.
Round 8: Tree
- Crochet 24 sc continuing the shape.
Rounds 9 - 29: Continue Building the Tree
- Keep crocheting in rounds of 24 sc each.
- Add increases occasionally to maintain shape and size as needed.
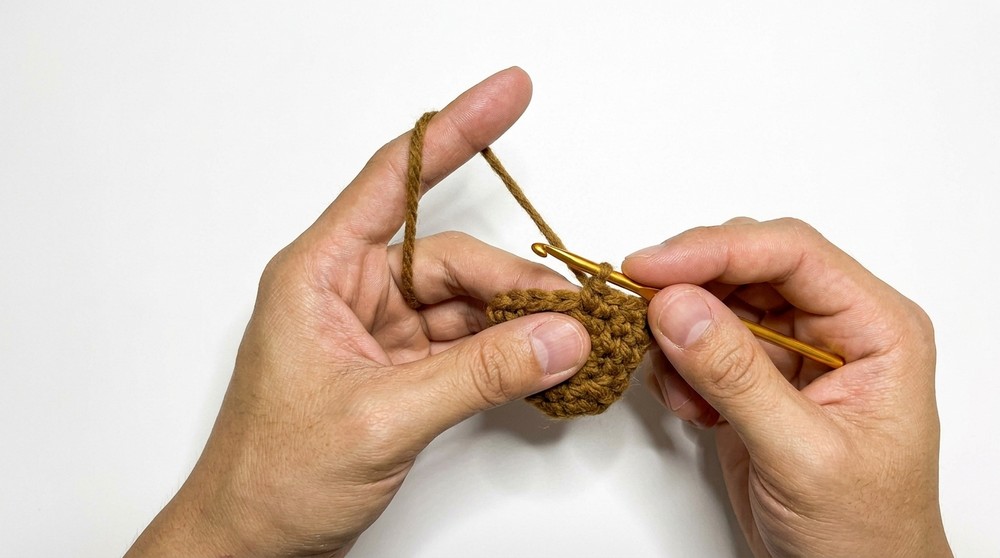
Shape Adjustments with Increases and Decreases
Rounds 30 - 34: Begin Decreasing to Taper the Top
- Round 30 example:
- 6 sc, 1 decrease (dec), repeat 8 times.
- Total stitches adjusted to reduce the diameter gradually.
- Continue decreasing stitches every round:
- Round 31: 5 sc, 1 dec
- Round 32: 4 sc, 1 dec
- Round 33: 3 sc, 1 dec
- Round 34: 2 sc, 1 dec
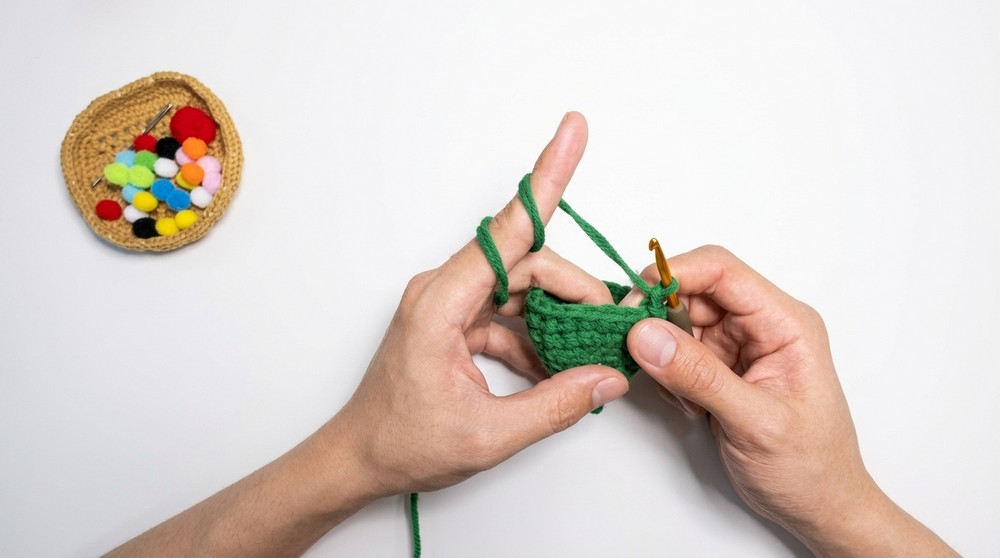
This gradual decrease shapes the tip of the tree.
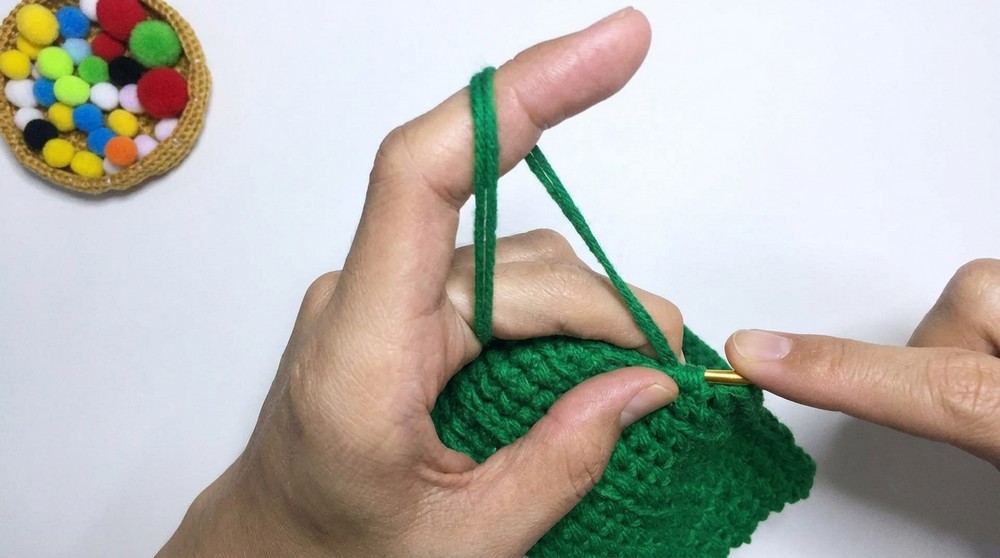
- Work small rounds of sc stitches forming a cylindrical shape.
- Size approximately 6-8 cm diameter, and height to your preference (usually short for stability).
- Connect the pot legs together with sc and chains to secure.
Assembly
- Sew or crochet the tree body onto the pot base securely.
- Use silicone sealant or craft glue to stabilize if needed.
- Insert battery-operated flashing light inside the tree before closing the top if desired.
- Weave in all yarn ends with a tapestry needle for a clean finish.
Decoration (Optional)
- Crochet white “snow” layers using single crochets and chains on branches.
- Wrap additional yarn around the base for a polished look.
- Clip sections during assembly for even shaping and secure fit.
Final Touches and Finishing
- Block your finished tree lightly by pinning and steaming to even out stitches and shape.
- Hide all yarn tails carefully inside the project.
- Your Christmas tree is now ready to decorate your home or gift!

Conclusion
This beginner-friendly crochet Christmas tree is a delightful project that builds skills in working with rounds, increases, decreases, and assembly. The pattern’s clear steps and use of basic stitches ensure an enjoyable creating experience.
The finished piece is a charming holiday accent, customizable with colors and decorations to suit your taste. Whether for a festive table centerpiece or as a special handmade gift, this tree brings warmth and rustic holiday spirit.