Bring seasonal magic alive with this Free Crochet Santa Claus Bag Pattern that's offering charming decor and a delightful way to hold holiday treats.
If you love fun and festive crochet projects, you will enjoy making the Free Crochet Santa Claus Bag Pattern. This adorable bag is perfect for the Christmas season and adds a touch of holiday cheer to your gifts and decorations. You can find this easy-to-follow pattern on the YouTube channel Márcia Souza Crochê, where videos help guide you every step of the way. It’s a perfect project for beginners and hobbyists who want to create a cute and useful item.
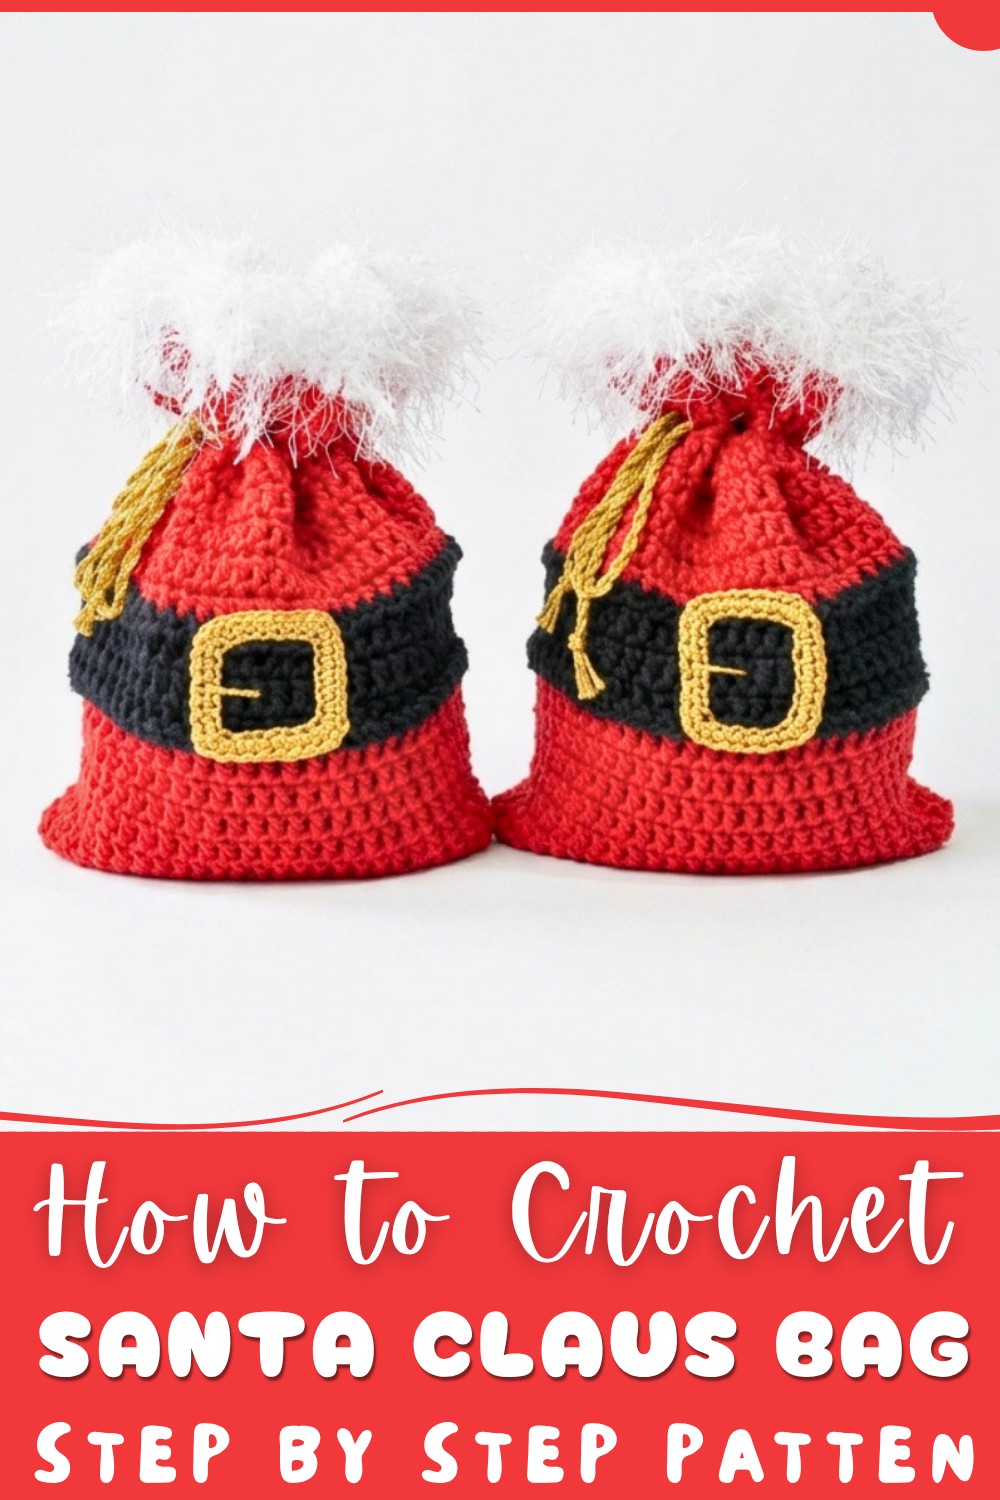
Santa Claus Bag Pattern to Brighten Your Holidays
This Santa Claus bag is more than just a small purse. Its bright red color and white trims look just like Santa’s classic outfit. The bag has a round, soft shape that gives it a playful and warm feel. The crocheted texture is cozy and thick, making the bag sturdy enough to hold small gifts, candies, or holiday treats. With detailed eyes, a fluffy beard, and a little hat design, this piece stands out as a joyful decoration and a fun project to show off during Christmas parties.
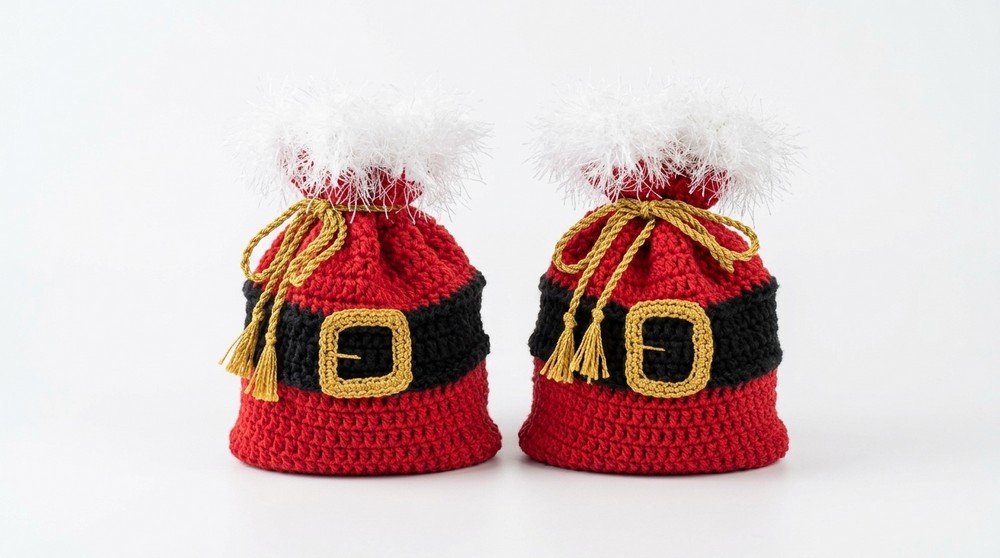
Besides being pretty and useful, this Santa Claus bag makes a wonderful gift itself. You can fill it with goodies for friends or family, making your presents feel extra special. It also looks great as a festive decoration hung by the fireplace or on a Christmas tree. The bag is light and easy to carry, so kids can use it to collect treats on holiday visits. Overall, the Free Crochet Santa Claus Bag Pattern is a charming and creative project that brings holiday smiles wherever it goes.
Crochet Santa’s Sack Doorstop Pattern
This pattern features a charming and functional crochet Santa’s Sack doorstop, perfect for bringing festive warmth to your home during the holiday season. Designed to be delicate yet sturdy, this project uses simple crochet techniques to create a beautiful decorative item that also holds doors open effectively. The piece is made using double crochet stitches to speed up the process without sacrificing structure, and includes a plush fluffy top reminiscent of Santa’s iconic hat.
Quick Overview Of Pattern
- Worked flat starting with a foundation chain to create the main body
- Double crochet stitches form the body shape with strategic curves
- Color changes define the main sack and the fluffy trim
- Simple textured rows add detail and charm
- Lightweight stuffing and optional sandbag add doorstop functionality
- A handmade crocheted cord and buckle complete the look
Notes
- The pattern uses double crochet (dc) stitches for faster construction but allows for brief adjustments for single crochet if preferred
- Yarn tension should be consistent to maintain shape and measurements
- The fluffy yarn for the trim is worked inside out to maximize the fuzzy effect
- Use stitch markers or counting to keep track of rows, especially when making adjustments or adding texture
- Fabric glue secures ends and finishing details neatly
- The sandbag inside is optional for extra weight but recommended for doorstop effectiveness
- This pattern assumes familiarity with basic crochet terminology and techniques
Skill Level
Intermediate beginner to intermediate. You should be comfortable with:
- Working foundation chains and double crochet stitches
- Changing yarn colors
- Working in rows with turning chains
- Finishing techniques such as weaving in ends and sewing details
- Basic understanding of crochet texture techniques
- Handling specialty yarns for the fluffy trim
Materials
- Barroco Yarn Number 6 in red (primary color) and black (for contrast trim)
- Decore Luxo or similar fluffy yarn for the white trim
- Encanto yarn for the cord and buckle
- Crochet hook sizes 3.5 mm (main body) and 3 mm (cord and buckle)
- Small scissors
- Fabric glue
- Small sandbag or alternative weighted filler (approx. 1300 g sand recommended)
- Stitch marker (optional)
Measurements / Sizing
- Finished doorstop measures approximately 20 cm wide and 26 cm tall
- Weight without sandbag: roughly 140 grams
- Weight with decorated sandbag inside: adjustable according to filling choice
Gauge and Stitch Pattern
- Gauge is approximate due to specialty yarn use and decorative elements
- Main fabric: double crochet (dc) stitches worked in rows over foundation chain
- Length: approximately 8 rows for main body plus additional textured and fluffy rows for trim
- Texture created by switching yarn and working inside-out to expose fluffy fibers
Stitch Abbreviations
| Abbreviation | Meaning |
|---|---|
| ch | Chain |
| dc | Double Crochet |
| sl st | Slip Stitch |
| sc | Single Crochet |
Special Stitches
- False Double Crochet: For those who prefer, a chain-2 at the row start counts as the first dc.
- Working rows inside-out with fluffy yarn enhances fiber fluffiness by showing the fuzz externally.
The Crochet Pattern!
1. Foundation and Beginning Body
- Start with a foundation chain of 30 chains (or adjust as desired for width).
- Turn and hold chain closely for the first row.
2. Row 1 – First Row of Double Crochets
- Beginning in the 4th chain from the hook (counts as first dc), work double crochet (dc) stitches across the chain.
- Count the chain turns as the first dc.
- Work until reaching the last chain.
- At the last chain, work 4 double crochet stitches in the same chain to create a slight curve.
- Turn.
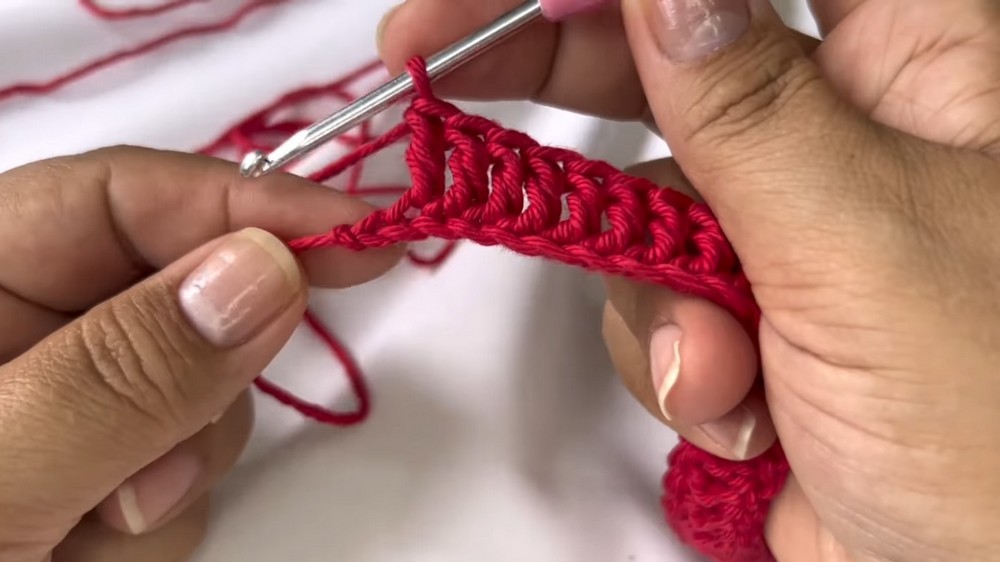
3. Row 2 – Shaping the Base Curve
- Chain 3 (counts as first dc), turn.
- Work double crochet (dc) stitches across, working one stitch into each previous dc.
- Maintain curve shape by working additional double crochets on the curved edge respective to Row 1’s 4 stitches.
- Turn.
4. Rows 3 to 8 – Building Height with Double Crochet
- Continue working double crochet stitches in each stitch across, with 3 chains turning at the start of each row.
- No further increases are necessary; work straight rows to build height.
- At the end of Row 8, fasten off red yarn carefully.
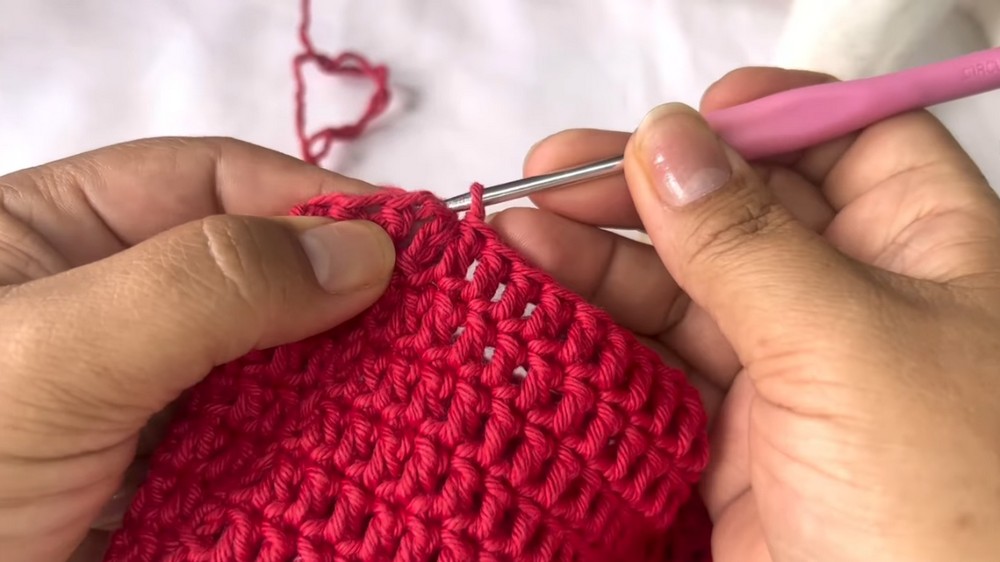
5. Transition to Black Yarn for Trim
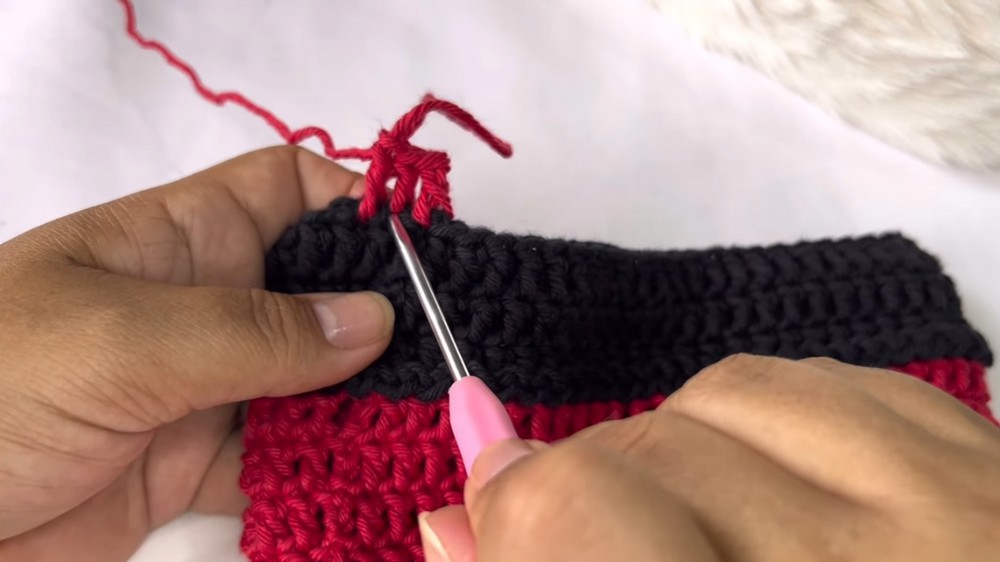
- Attach black yarn at the edge of the foundation chain end (back side of the piece).
- Work 3 rows of double crochet (dc) in black yarn across the entire width of the piece.
- Begin each row with a chain 3 turn and end with a slip stitch.
- Work neatly; color change creates contrast trim.
6. Finishing Edge with Slip Stitches
- After the third black row, fasten off leaving yarn tails for weaving ends.
- Weave yarn ends through back loop or chains at the back for a clean edge.
- Apply fabric glue to ends for extra security if desired.
7. Creating the Fluffy White Trim
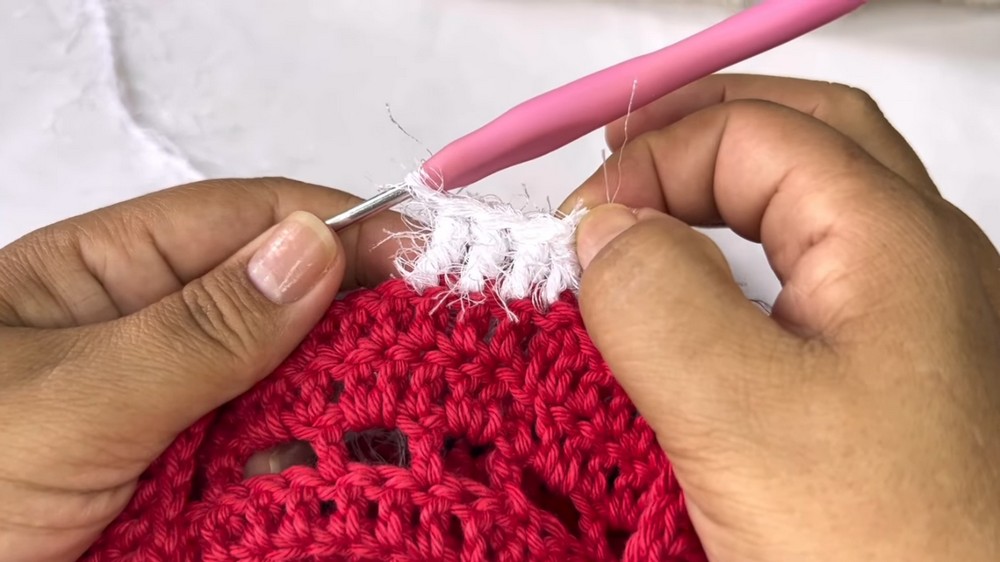
- Turn the piece inside out so the “wrong side” is facing you—this is essential for fluffy yarn effect.
- Attach Decore Luxo (or similar fluffy yarn).
- Work 2 rows of double crochet inside out using the fluffy yarn, creating the look of plush fur at the edge.
- For a fuller effect, brush the yarn lightly with a soft brush to loosen fibers and fluff the texture.
- Fasten off and weave ends carefully.
8. Making the Cord for Tie
- Using Encanto yarn with a 3 mm crochet hook, chain a length approximately 3 meters long (or desired length for tying).
- Twist the finished cord by folding in half and turning to create a decorative curl.
- Tie knots at both ends to prevent unraveling and trim ends evenly.
9. Attaching the Cord and Looping
- Thread the cord through the top edge of the doorstop, weaving in and out along the chain spaces, leaving enough length to tie a bow or knot comfortably on one side.
- Adjust positioning to avoid interference with the buckle.
10. Creating the Buckle
- With same Encanto yarn and 3 mm hook, chain 24 stitches.
- Work single crochets around the chain creating a small rectangular cord:
- Make 3 single crochet stitches in each corner stitch to form rounded edges securely.
- Between corners, place one single crochet on each chain stitch.
- After completing the round, slip stitch to join and fasten off.
- Weave ends and fold buckle around cord for attachment.
11. Attaching the Buckle
- Position buckle at the front center of the tied cord.
- Secure in place with fabric glue or sew neatly using matching yarn.
- Tighten and hold buckle until glue sets, or stitch securely if preferred.
Assembly & Finished Size
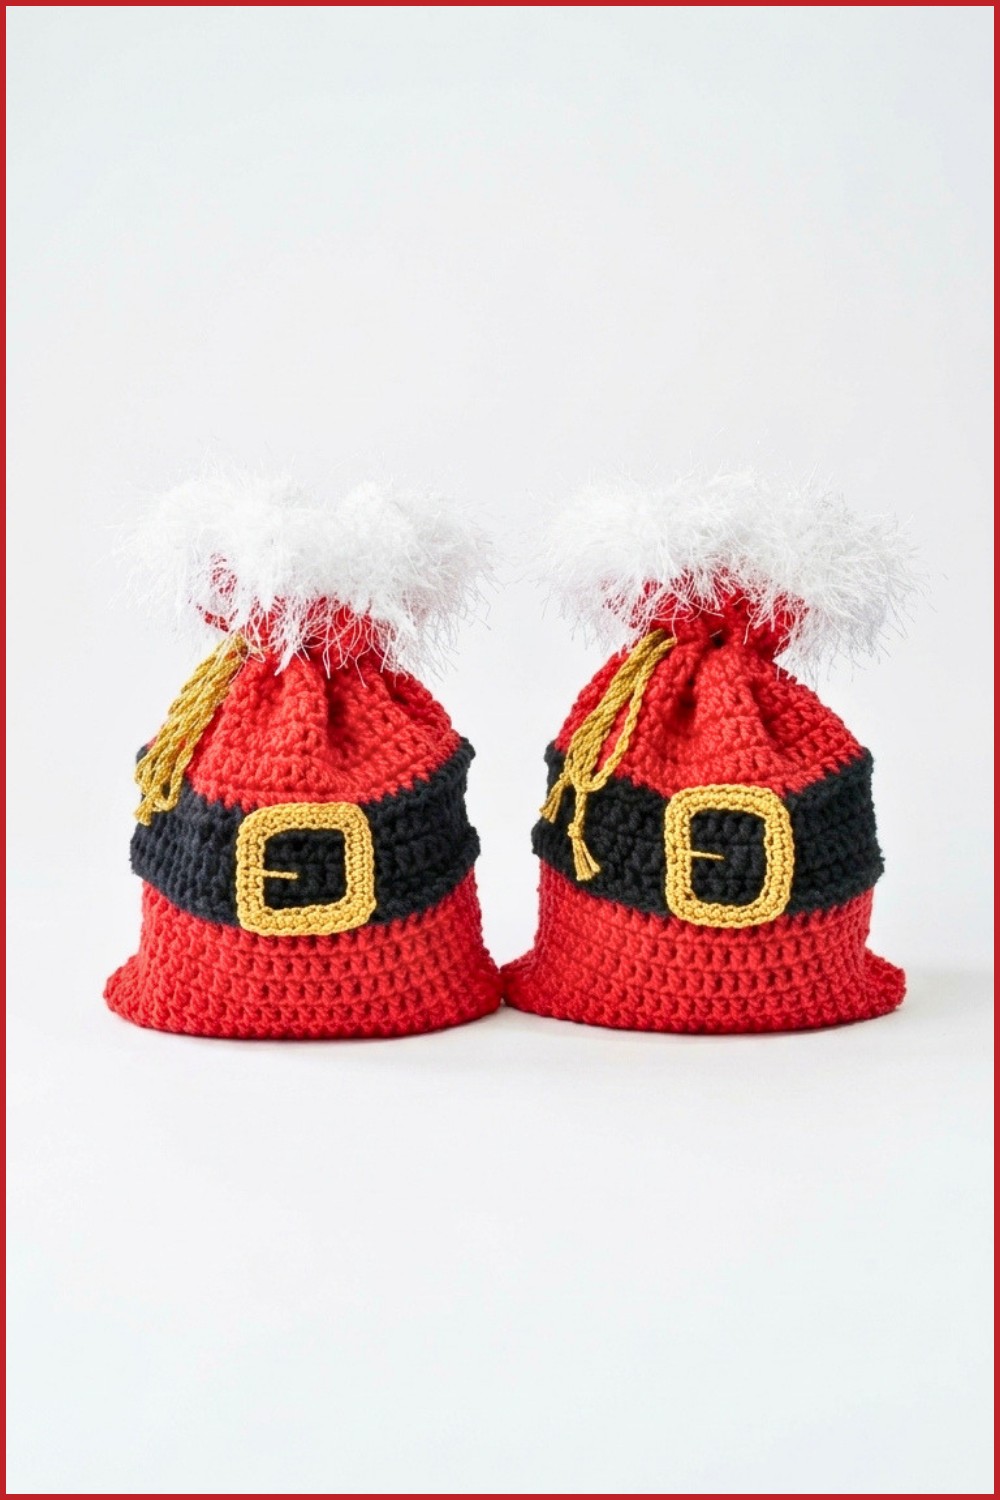
- The finished doorstop stands approximately 26 cm tall and is about 20 cm at its widest point.
- Weight is roughly 140 g without sandbag, making it light as decoration or weighted using the internal sandbag for door holding.
- The cord and buckle secure the bag top decoratively, adjusting the sack tightness visually.
- The fluffy trim adds festive texture making it stand out as a holiday décor piece.
Conclusion
This Santa’s Sack crochet doorstop combines easy-to-follow double crochet rows with thoughtfully designed details such as fluffy trim and a decorative buckle, creating a delicate yet practical holiday accessory. Perfect for gifts or your own festive home décor, this project emphasizes simplicity with a charming outcome. We hope you enjoyed this step-by-step tutorial. Stay tuned for more creative crochet projects.