Create a charming Crochet Easter Bunny with this free pattern that guides you step by step to make a cute and festive holiday decoration easily.
A heartfelt thank you to Cozy Crochet Love for creating and sharing the original tutorial that makes crocheting this adorable Crochet Easter Bunny so accessible and enjoyable. This charming project results in a small, soft bunny perfect for adding a festive touch to your Easter celebrations. With its long ears, fluffy round tail, and sweet eyes, the bunny beautifully captures the joy of spring, making it an ideal decoration or a lovely handmade gift.
Pretty Crochet Easter Bunny Free Pattern For Seasonal Displays
One of the best parts of this project is how customizable it is. You can select gentle pastel colors like pink, light blue, lavender, or yellow to match your personal style and holiday décor. Some crocheters like to add extra details such as tiny bows, embroidered noses, or even plush cotton tails to give their bunnies unique personalities.
The tutorial uses simple crochet stitches, mainly single crochet and slip stitch, which makes it great for beginners yet fun for experienced crocheters. The process starts by crocheting the bunny’s body in continuous rounds to shape it nicely. Next, the ears are made separately and sewn on, along with the tail and facial features. The step-by-step pattern guides you clearly through each part, making the project easy to follow.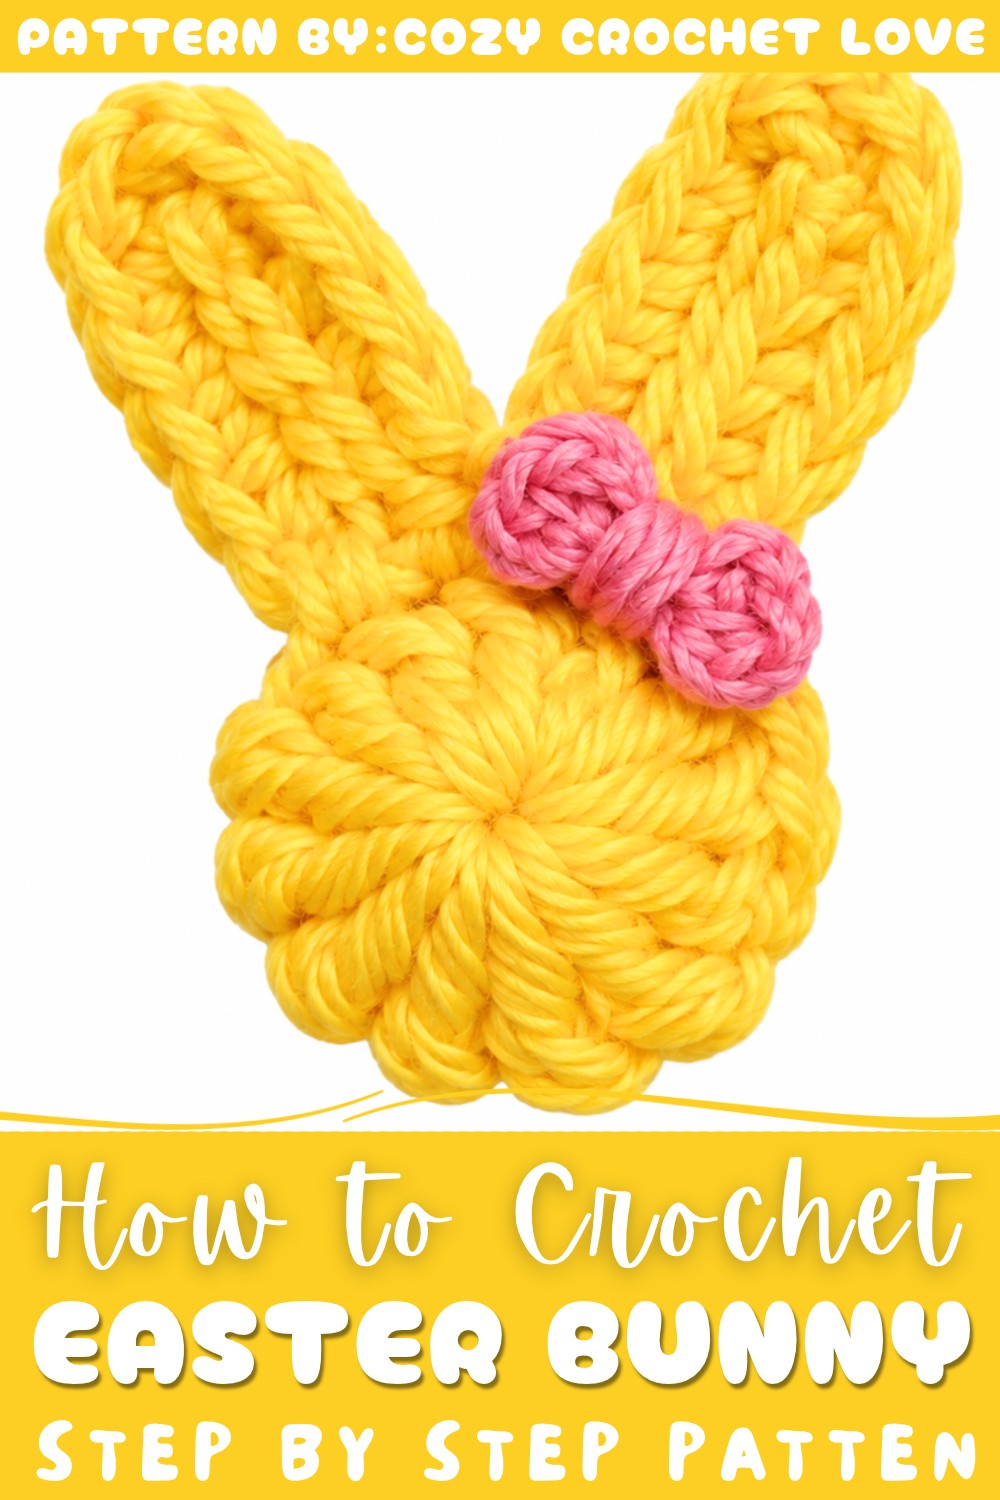
Overall, this Crochet Easter Bunny is a delightful, quick-to-make creation that brings a handmade touch of springtime charm to your home or becomes a cherished gift for family and friends.
3D Easter Bunny Crochet Pattern
A cheerful 3D Easter Bunny, crafted with dimensional shaping and soft colorwork, brings playful charm to holiday décor and gifting. This project merges basic and intermediate crochet techniques, delivering both texture and structure with a seamless head base, sculpted ears, and a decorative bow. Suitable for seasonal decorations, gift toppers, or playful accents, this bunny is quick to make and easily personalized.
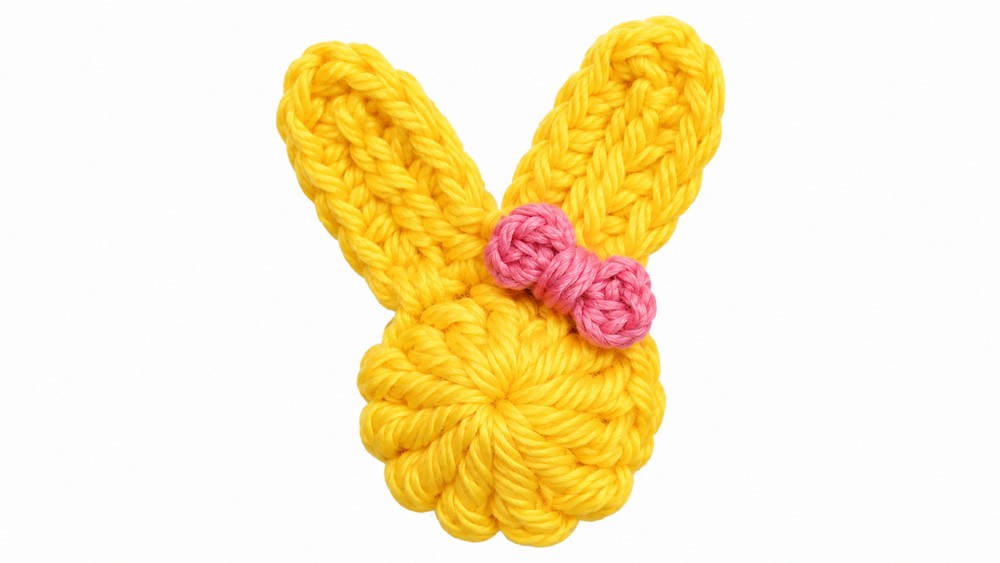
Pattern Basic Points
- Magic ring foundation: Builds a sturdy and neat center for the bunny’s head.
- Dimensional head shape: Combines double crochet and triple crochet for gentle oval shaping.
- Sculpted bunny ears: Created with chain, slip stitches, and layered stitches in back loops for realistic texture.
- Bow embellishment: Adds festive flair and accent color.
- Final assembly: Uses secure knots and tidy weaving to ensure durability and finish.
- Compact sizing: Suitable for decorative purposes on baskets, wreaths, or as accessories.
Special Notes
- The pattern uses multiple crochet stitch heights (DC, TRC) for the bunny’s head—keep even tension for smooth shaping.
- Ears are constructed with a combination of slip stitch, single crochet, and half double crochet in back loops, which creates crisp, dimensional edges.
- Ear shaping relies on working in back loops only; familiarize yourself with this approach for best results.
- The bow is symmetrical, worked from the center outward; ensure consistency in stitch tension for matching sides.
- Assembly steps use tails for securing parts—do not trim until final attachment to ensure firm construction.
- Color choices can personalize the bunny; pastel and bright shades are ideal for Easter themes.
- Finished size varies with yarn type and hook size; adjust materials as needed.
Skill Level
Beginner to Intermediate
Most stitches are fundamental, but back loop and slip stitch sculpting require some attention to detail. Confident beginners can accomplish this pattern, and intermediate crocheters will appreciate the subtle shaping techniques.
Materials
- Yarn: Light worsted (DK) cotton or acrylic in white (main bunny), accent color for bow
- Hook: 2.5 mm – 3 mm crochet hook
- Tapestry needle: For tying, weaving, and attaching bow
- Scissors
- Optional: Pins for positioning ears and bow before securing
Measurements
- Finished Bunny (head + ears, without bow): Approximately 6 cm tall x 4 cm wide. Bow adds about 1.5 cm width.
- Gauge: Not crucial; use similar yarn and hook for components to retain proportions.
Gauge & Stitch Pattern
No specific gauge required; stitches should be tight to maintain shape.
- 10 DC x 10 rows = 4 cm x 4 cm (approx. with DK yarn, 2.5 mm hook)
Stitch Abbreviations
| Abbreviation | Meaning |
|---|---|
| MR | Magic Ring |
| ch | chain |
| sl st | slip stitch |
| sc | single crochet |
| dc | double crochet |
| trc | triple crochet |
| hdc | half double crochet |
| BLO | back loop only |
Special Stitches
- Magic Ring (MR): Loop yarn, insert hook, pull through, ch 1, then work stitches inside ring.
- Back Loop Only (BLO): Work stitches only in the back loop (furthest from you) for sculpted, textured edges.
Pattern Instructions
The Head Base
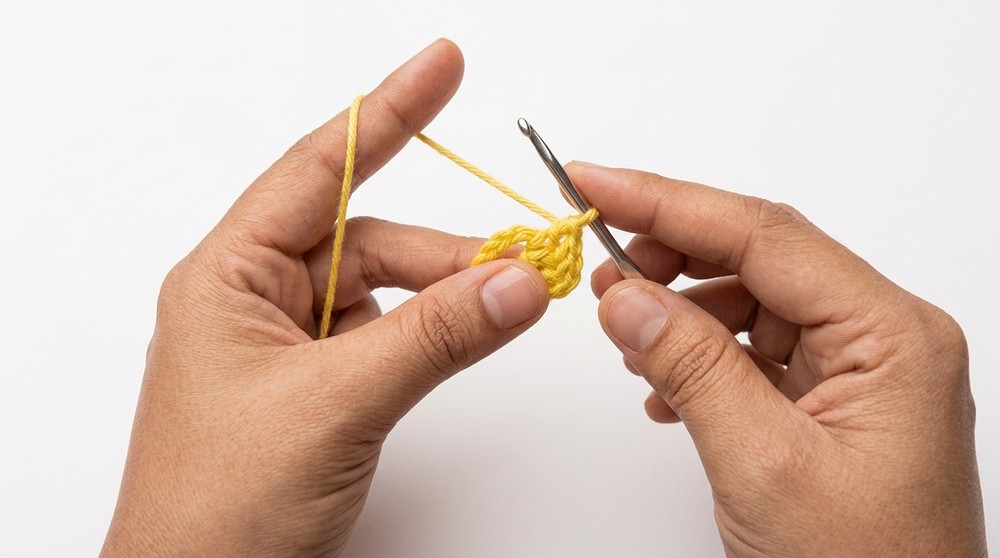
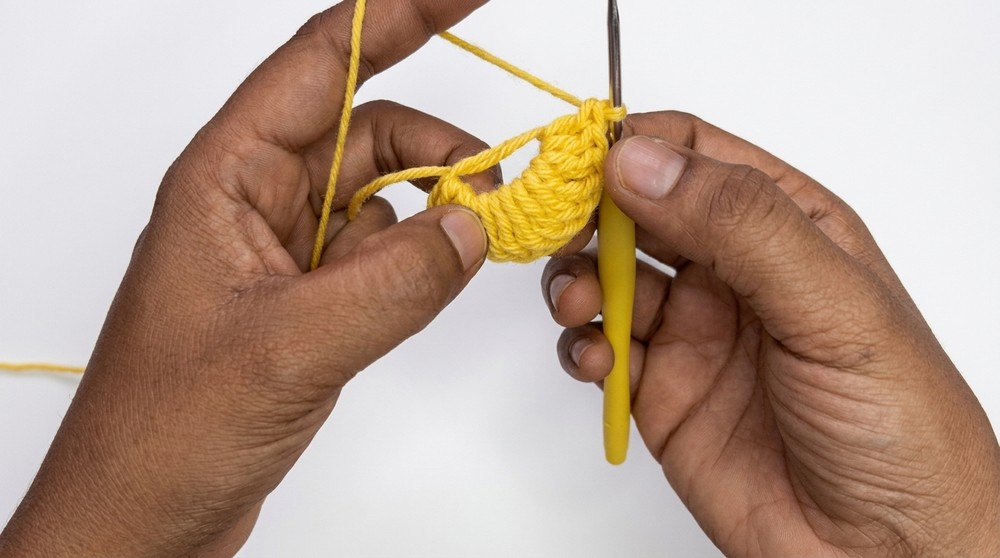
- Step 1: Start with a magic ring (MR).
- Step 2: Chain 3.
- Step 3: Into the ring, work:
- 3 double crochets (dc)
- 6 triple crochets (trc)
- 3 double crochets (dc)
(All stitches are made inside the magic ring; this sequence builds an elongated oval shape.)
- Step 4: Pull the ring tight to close the base firmly.
- Step 5: Slip stitch into the top of the first double crochet to complete the round.
The Ears
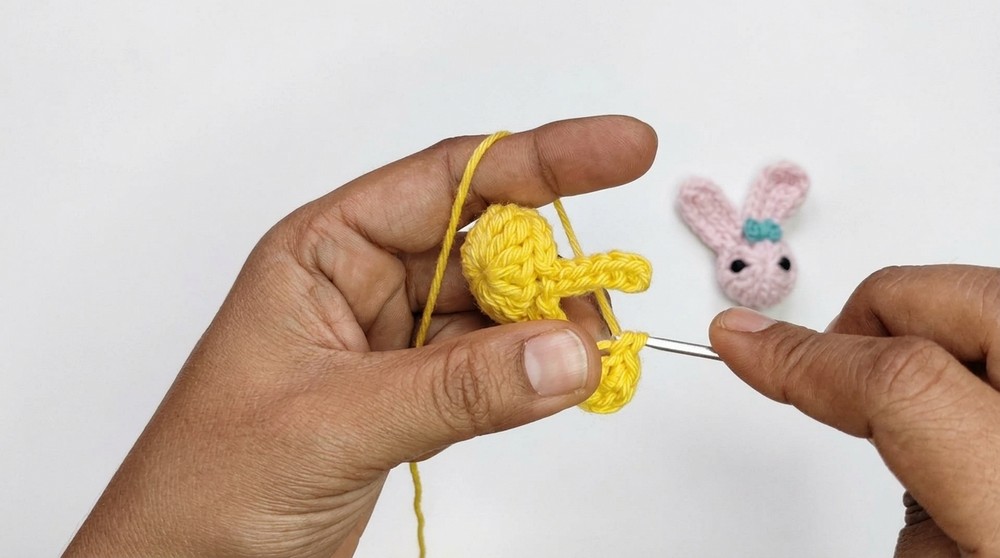
- Ear 1:
- Chain 6.
- Turn, skip the first chain, and slip stitch into the back bars of the next 5 chains.
- Upon reaching the chain base, slip stitch into the starting chain base to attach the ear to the head.
- Ear 2:
- Repeat the above steps for the second ear.
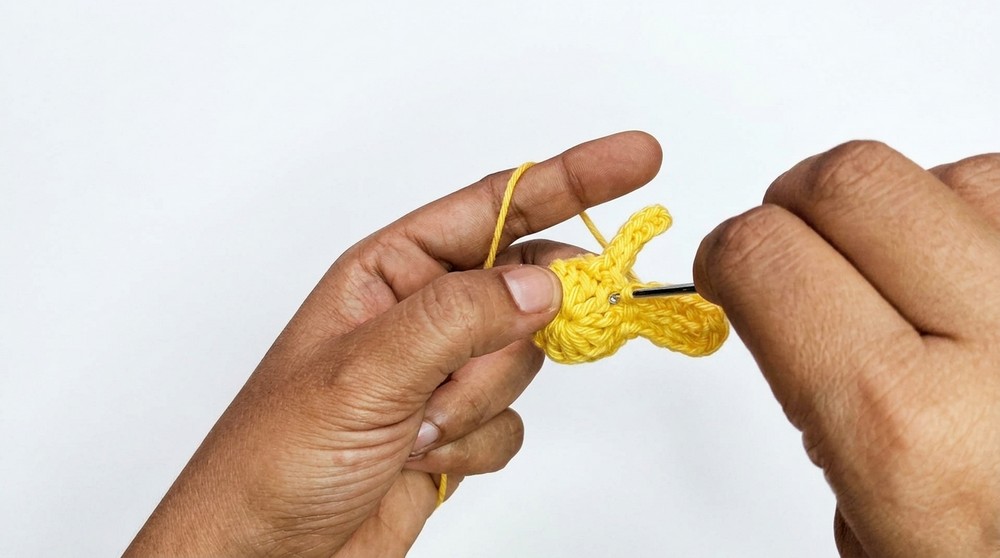
- Ear Shaping (Back Loops Only):
- For each ear, work into the back loops only:
- Slip stitch into the first stitch.
- 3 single crochets (sc)
- 1 single crochet + 1 half double crochet (hdc) in next stitch
- 1 half double crochet (hdc) + 1 single crochet (sc) in next stitch
- 3 single crochets (sc)
- Slip stitch at the end.
- Repeat the mirrored shaping for the second ear.
- For each ear, work into the back loops only:
Finishing & Bow
- Securing:
- Use a tapestry needle to weave all yarn tails neatly behind the bunny.
- Tie a secure knot at the back of the head base to ensure all parts hold firmly.
- Bow:
- Create a slip knot and chain 3.
- In the first chain:
- Work 2 half double crochets (hdc)
- Chain 2
- Slip stitch (sl st) to complete one side of the bow.
- For the opposite side:
- Chain 2
- Work 2 half double crochets (hdc)
- Chain 2
- Slip stitch (sl st) to finish the bow.
- Wrap the yarn tail around the middle of the bow several times to cinch the center, tie securely at the back.
- Assembly:
- Use the hook or tapestry needle to pull the bow’s yarn tails through the bunny’s head base for attachment.
- Tie or sew the bow tightly so it sits securely beneath the ears.
Assembly & Finished Size
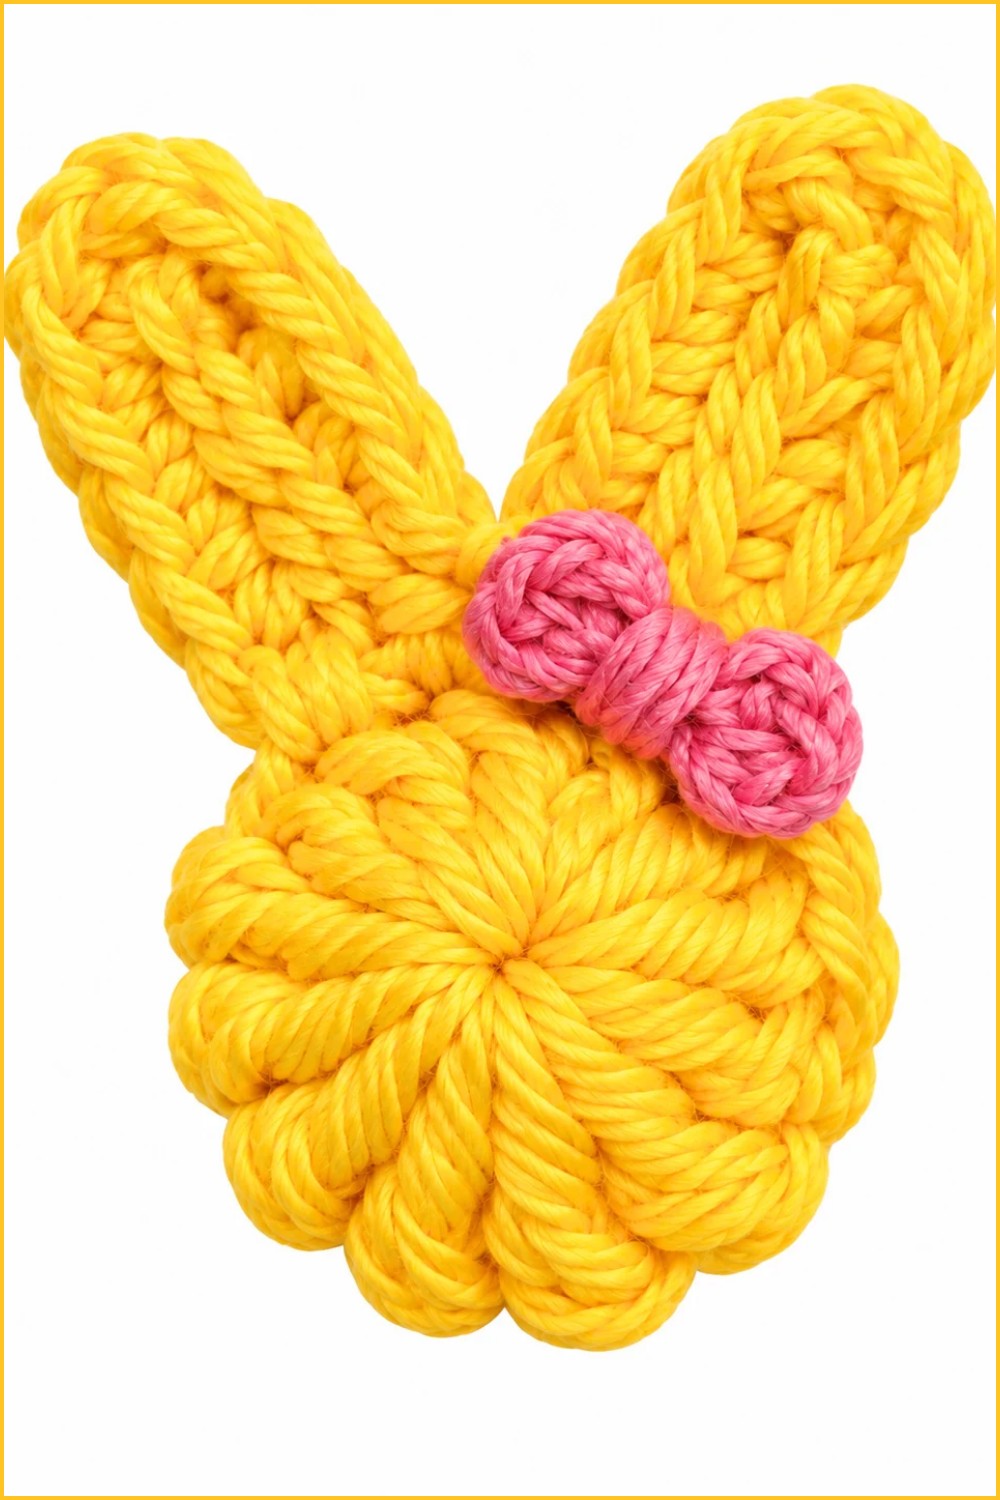
The bunny’s shape is reinforced by weaving and tying all yarn tails behind the head. Ears are positioned for a lively, upright look, and the bow’s center cinching adds a classic accent. Finished size is approximately 6 cm tall including ears, with the bow extending the width slightly.
Conclusion
This pattern produces a delightful 3D Easter Bunny, blending basic and textured crochet stitches with careful shaping and cheerful embellishments. The straightforward head base, meticulously sculpted ears, and neat bow combine for a playful decoration suitable for Easter baskets or festive projects. Each step ensures a secure, tidy finish, allowing for easy adaptation in color or style. The completed bunny brings charm and whimsy to holiday crafting, standing as a testament to skillful crochet in miniature form.