Brighten your collection with this free crochet bunny amigurumi pattern that adds charm and personality to every handmade doll project.
A tiny handmade bunny can add a cheerful touch to a room, and Cozy Crochet Love gives this cute idea a warm and playful feel. The Free crochet Bunny Amigurumi Pattern creates a small stuffed toy with a soft look, sweet shape, and plenty of handmade charm.
The bunny has a round body, tall ears, and a cute little face that gives it a friendly personality. Its crochet surface looks soft and cozy, while the compact shape makes it easy to hold or display. The simple style also lets the lovely details stand out.
Mini Bunny Amigurumi: Free Crochet Pattern
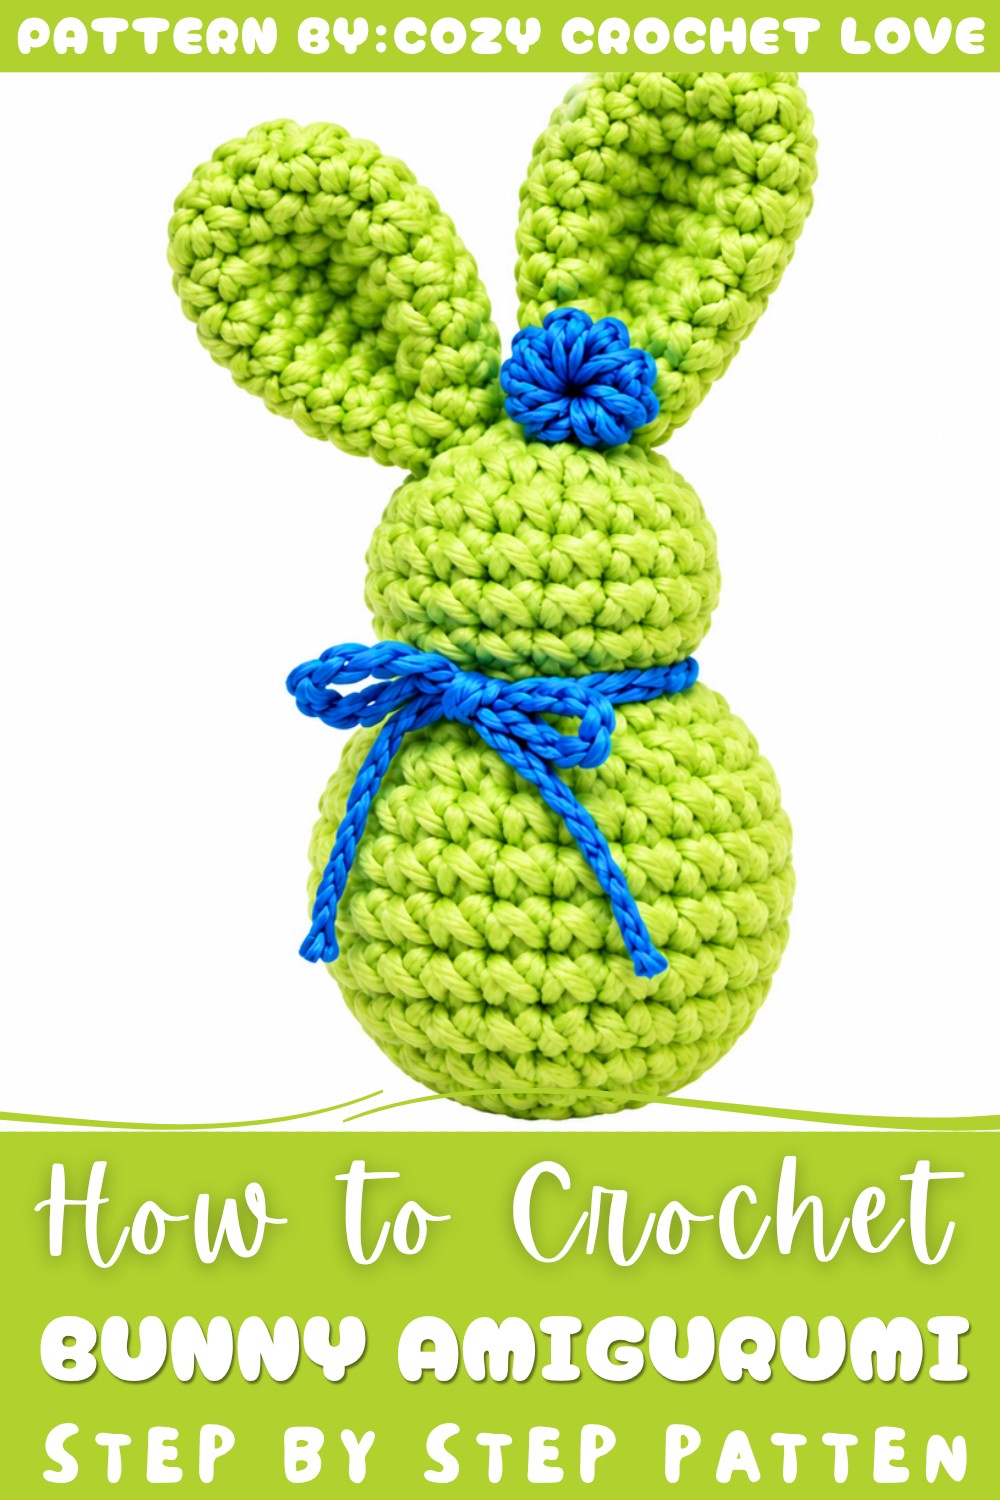
This little toy can sit on a nursery shelf, bedside table, desk, or bookcase. It can also be a fun companion for children during playtime. Its small size makes it easy to move around or keep beside a favorite toy. The bunny would make a thoughtful handmade gift for a child, friend, sibling, or crochet lover. It can be given for a birthday, Easter, baby shower, or simply as a sweet surprise.
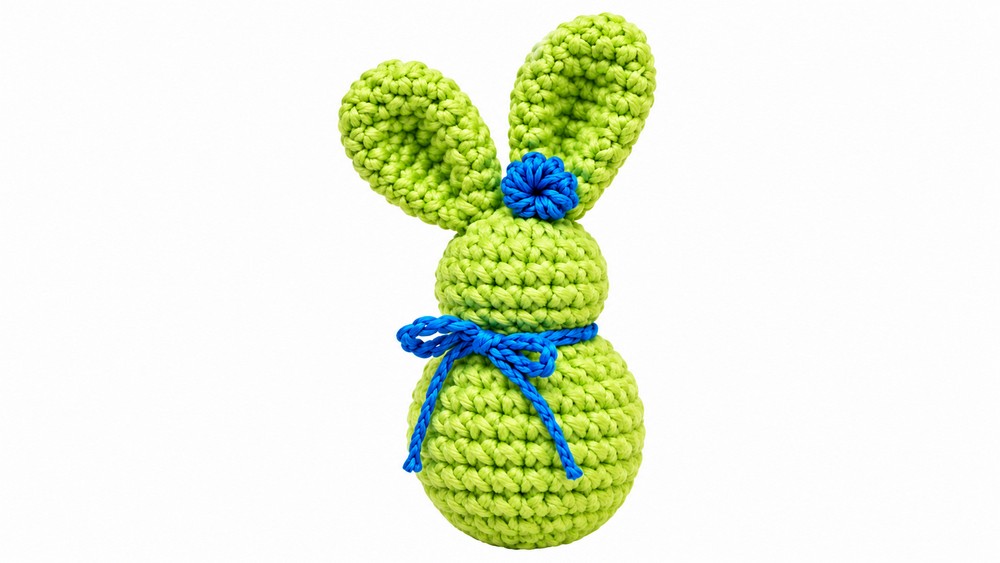
Its long ears and rounded body give it a playful look, while the soft texture makes it feel warm and inviting. Different color choices can also give each bunny its own look and personality. More than just a toy, this little creation can become a lasting keepsake. It can decorate a child's room, brighten a desk, or stay safely on a shelf as a special handmade memory.
With its small size, gentle style, and adorable shape, this crochet bunny is easy to love. It combines the joy of a handmade toy with the beauty of a simple decoration, making it a lovely project for both gifting and keeping.
Amigurumi Bunny Crochet Pattern
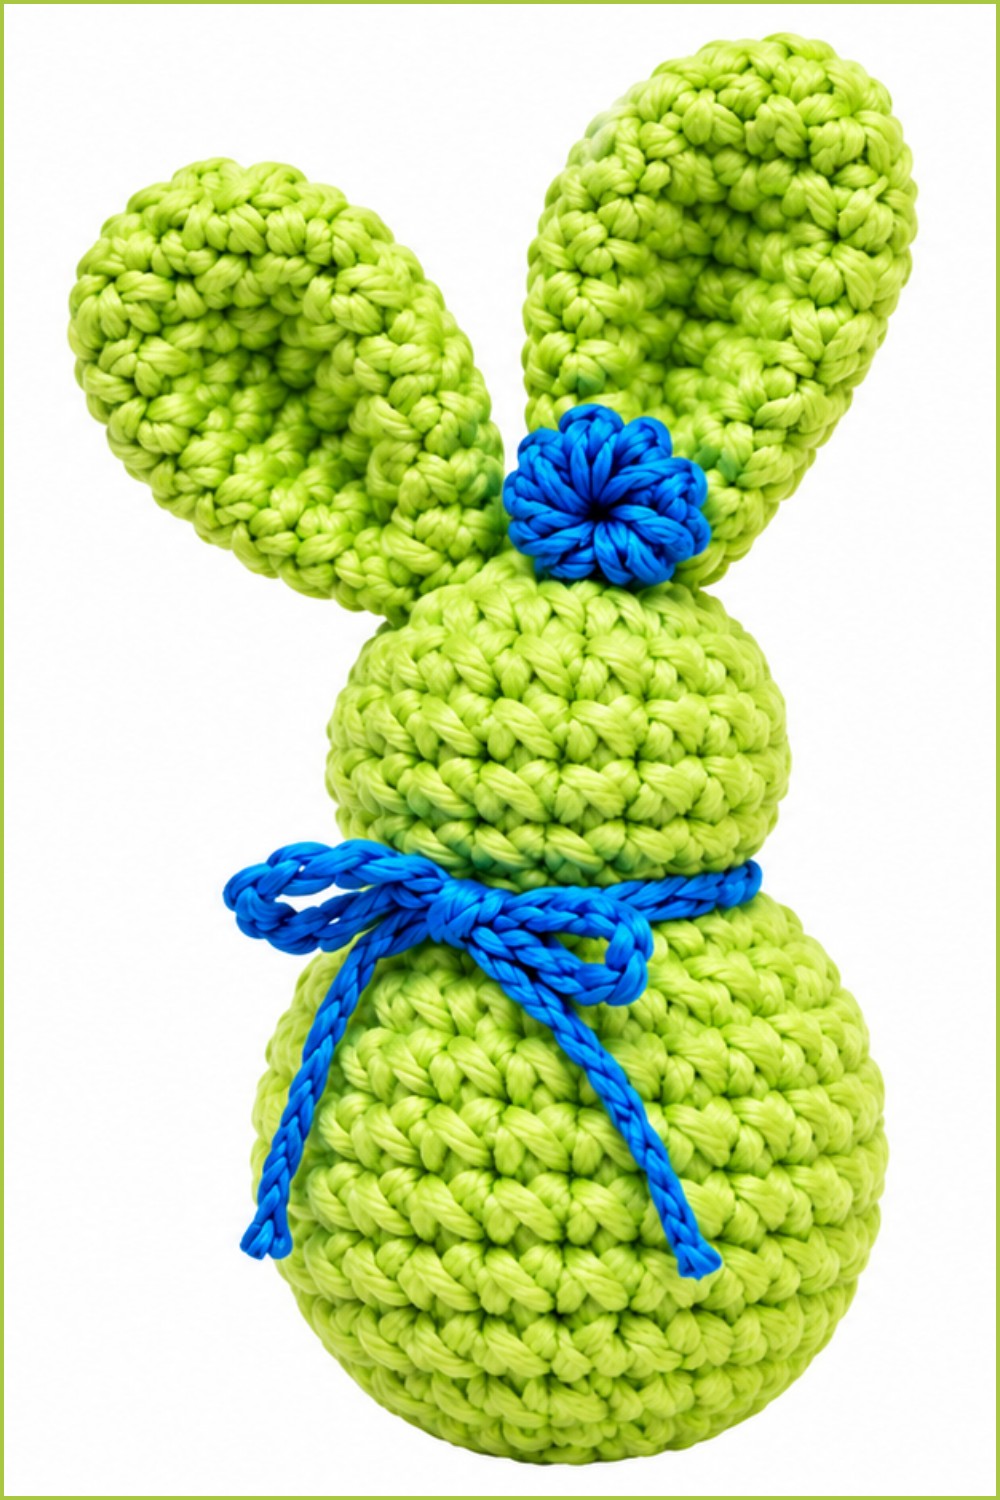
This pattern creates an adorable amigurumi bunny worked in the round using the yarn under technique throughout for a tighter and more defined stitch appearance. Using your preferred yarn and crochet hook, you will work the head and body as one continuous piece, create two separate ears, and assemble everything together for a charming and huggable finished bunny complete with an optional decorative bow or small crochet flower accent.
Quick Overview of Pattern
- Head and Body: Worked together as one continuous piece beginning from a magic ring, shaped with increases and decreases, and finished with a cute bobble stitch tail detail
- Ears: Worked separately in the round from a magic ring, shaped with increases and decreases, and sewn onto the finished head
- Yarn Under Technique: Used consistently throughout all stitches for a tighter and more defined amigurumi fabric
- Bobble Tail: A bobble stitch worked directly into the body round creates a charming dimensional bunny tail
- Optional Embellishments: A decorative bow or small crochet flower can be added for extra personality and detail
Notes
- The yarn under technique is used for every stitch throughout this entire pattern; this means inserting the hook and pulling the yarn under rather than over for a tighter and neater amigurumi fabric
- Use a stitch marker in the first stitch of every round to keep accurate track of your round beginnings and stitch counts
- Stuff the head firmly with fiberfill before closing Row 17 for a well-shaped and professional finished result
- Row 9 is worked in front loops only to create a clean and defined ridge that separates the head from the body section
- The bobble stitch tail in Row 15 is worked into a single stitch and creates a small raised dimensional bump on the back of the bunny body
- When sewing the ears, use pins to position them carefully before stitching to ensure they are placed symmetrically and attractively on the head
- Leave a long yarn tail when fastening off the ears for sewing them securely onto the finished bunny head
Skill Level
Beginner to Intermediate
This pattern is suitable for crocheters comfortable with:
- Creating and closing a magic ring
- Working single crochet stitches in continuous rounds
- Working increases and decreases for shaping
- Working in front loops only
- Working a bobble stitch
- Basic amigurumi assembly and sewing
Materials
- Yarn: Preferred amigurumi weight yarn in your chosen color
- Crochet Hook: Size appropriate for your chosen yarn
- Additional Tools:
- Tapestry needle for sewing and weaving in ends
- Fiberfill stuffing
- Stitch marker
- Pins for ear placement
- Scissors
- Optional: safety eyes or embroidered eye details
Measurements / Sizing
- Finished Bunny Height: Approximately 10 to 12 cm from base to ear tips
- Head and Body Diameter: Approximately 5 to 6 cm across the widest point
- Ear Length: Approximately 3 to 4 cm from base to tip
- The finished bunny makes a wonderful gift, toy, or decorative accent for any occasion
Gauge
- Gauge is not strictly critical for this amigurumi project; however, maintaining tight and consistent tension is essential to prevent fiberfill stuffing from showing through the stitches
- Using the yarn under technique consistently throughout helps achieve the tight and dense fabric required for a neat amigurumi finish
- If your stitches appear too open or loose, try going down one hook size for a tighter result
Stitch Abbreviations
| Abbreviation | Full Stitch Name |
|---|---|
| MR | Magic Ring |
| ch | Chain |
| sc | Single Crochet |
| inc | Increase (2 sc worked into the same stitch) |
| dec | Decrease (2 stitches crocheted together as one) |
| sl st | Slip Stitch |
| BLO | Back Loop Only |
| FLO | Front Loop Only |
| bobble | Bobble Stitch (see Special Stitches) |
| yo | Yarn Over |
Special Stitches
Yarn Under Technique
Instead of the standard yarn over when pulling through loops, the yarn is brought under the hook for each stitch. This creates a tighter and more defined stitch that is ideal for amigurumi work and helps prevent the stuffing from showing through.
Increase (inc)
Work 2 sc into the same stitch to increase the stitch count by one.
Decrease (dec)
Insert the hook into the next stitch, pull up a loop, insert the hook into the following stitch, pull up a loop, then yo and pull through all 3 loops at once to decrease the stitch count by one.
Bobble Stitch (Bunny Tail)
- Yo and insert the hook into the stitch
- Pull up a loop (3 loops on hook)
- Yo and pull through 2 loops (2 loops remain)
- Repeat this process 4 to 5 times in the same stitch until multiple loops remain on the hook
- Yo and pull through all remaining loops at once to close the bobble
- The completed bobble creates a small raised bump on the surface of the fabric, forming the bunny tail
The Crochet Pattern!
Part 1: Head and Body
Purpose: The head and body are worked together as one continuous piece, beginning with the head section and transitioning seamlessly into the body section.
Round 1: Magic Ring Foundation
- Make a MR
- Work 6 sc into the magic ring
- Pull the ring closed tightly
Stitch Count: 6 stitches
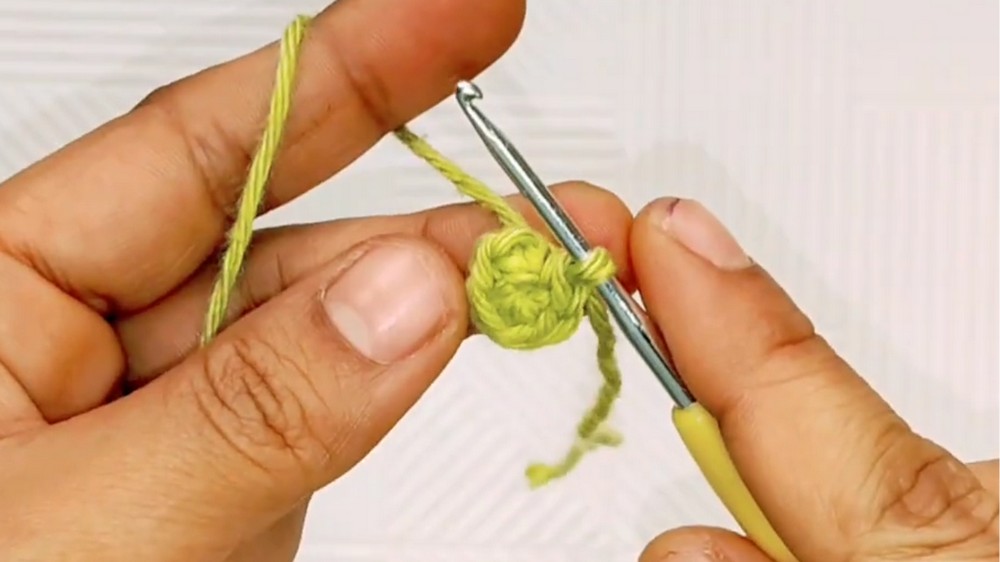
Round 2: First Increase Round
- Work 2 sc (inc) into every stitch around
Stitch Count: 12 stitches
Round 3: Second Increase Round
Repeat the following sequence all the way around:
- 1 sc into the next stitch
- 1 inc into the next stitch
Stitch Count: 18 stitches
Rounds 4 to 7: Straight Rounds
- Work 1 sc into every stitch around for each of these four rounds
- Repeat this same round for Rounds 4, 5, 6, and 7
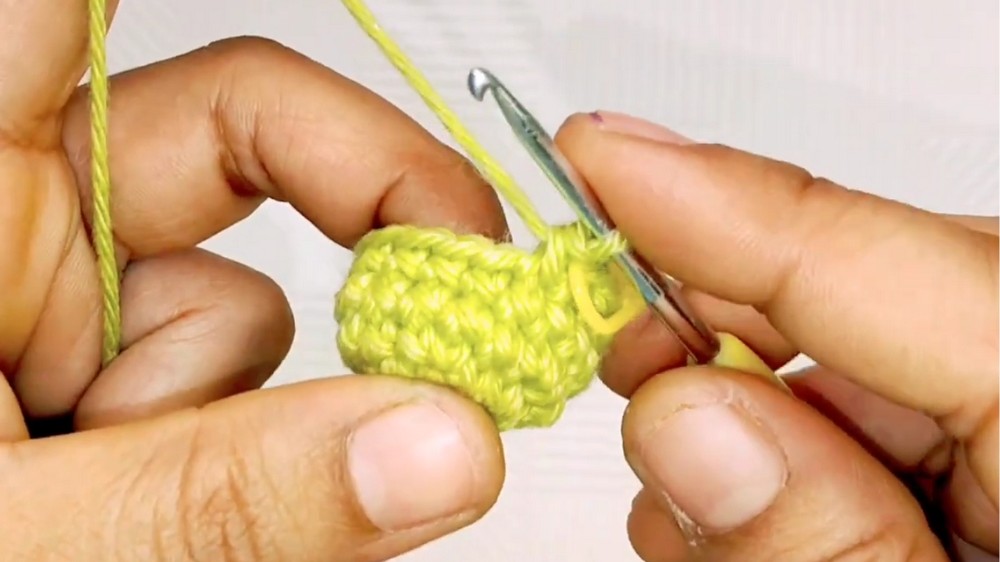
Stitch Count: 18 stitches each round
Round 8: First Decrease Round
Repeat the following sequence all the way around:
- 1 sc into the next stitch
- 1 dec over the next 2 stitches
Stitch Count: 12 stitches
Beginner Tip: This is the point where you should begin adding fiberfill stuffing into the head section. Add enough stuffing to make the head firm and well-rounded before continuing into Round 9.
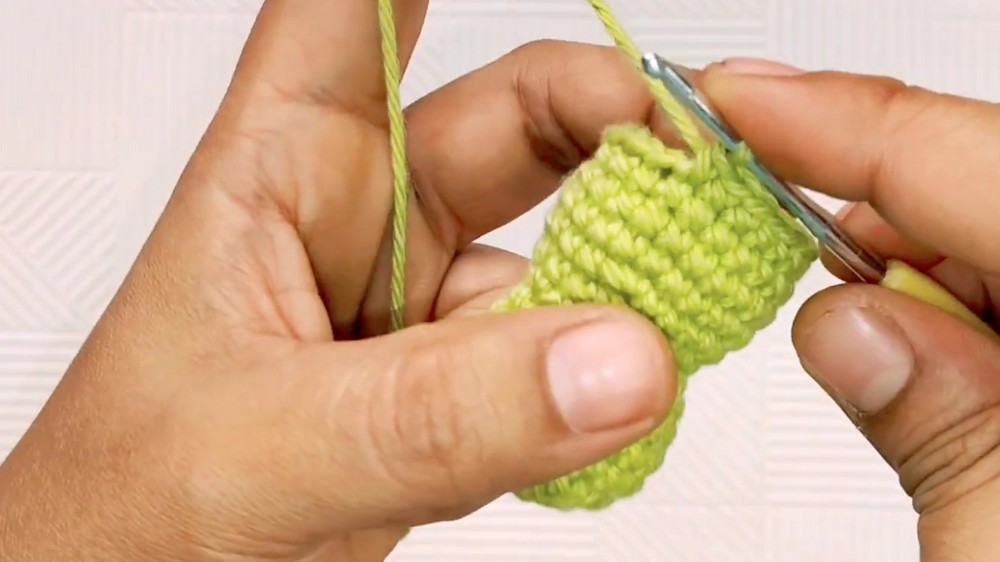
Round 9: Body Transition Round (Front Loops Only)
This round is worked in FLO only to create a defined ridge that marks the clean transition between the head and body sections.
Repeat the following sequence all the way around, working into front loops only:
- 1 sc into the next stitch
- 1 inc into the next stitch
Stitch Count: 18 stitches
Round 10: Body Increase Round
Repeat the following sequence all the way around:
- 2 sc into the next 2 stitches
- 1 inc into the next stitch
Stitch Count: 24 stitches
Rounds 11 to 14: Straight Body Rounds
- Work 1 sc into every stitch around for each of these four rounds
- Repeat this same round for Rounds 11, 12, 13, and 14
Stitch Count: 24 stitches each round
Round 15: Tail Round
This round includes the bobble stitch tail worked directly into one stitch of the round. Place a stitch marker at the bobble stitch location before beginning to help you position it accurately at the back center of the bunny body.
Work the following sequence across this round:
- 2 sc into the next 2 stitches
- 1 dec over the next 2 stitches
- Repeat this sequence 4 times total
- Work 1 bobble stitch into the next stitch (this creates the bunny tail)
- 1 dec over the next 2 stitches
- 2 sc into the next 2 stitches
- 1 dec over the next 2 stitches
Stitch Count: 18 stitches
Round 16: Second Decrease Round
Repeat the following sequence all the way around:
- 1 sc into the next stitch
- 1 dec over the next 2 stitches
Stitch Count: 12 stitches
Beginner Tip: Add any remaining fiberfill stuffing now before continuing into Round 17 as the opening will become too small to stuff easily after this point.
Round 17: Final Closing Round
- Work 6 dec evenly around to close the body
Stitch Count: 6 stitches
- Fasten off leaving a tail
- Using your tapestry needle, weave the tail through the front loops of the remaining 6 stitches and pull tight to close
- Weave in all ends securely
Part 2: Ears (Make 2)
Purpose: Two ears are worked separately in the round and sewn onto the finished bunny head.
Round 1: Magic Ring Foundation
- Make a MR
- Work 6 sc into the magic ring
- Pull the ring closed tightly
Stitch Count: 6 stitches
Round 2: First Ear Increase Round
Repeat the following sequence all the way around:
- 1 sc into the next stitch
- 1 inc into the next stitch
Stitch Count: 9 stitches
Round 3: Second Ear Increase Round
Repeat the following sequence all the way around:
- 2 sc into the next 2 stitches
- 1 inc into the next stitch
Stitch Count: 12 stitches
Rounds 4 to 8: Straight Ear Rounds
- Work 1 sc into every stitch around for each of these five rounds
- Repeat this same round for Rounds 4, 5, 6, 7, and 8
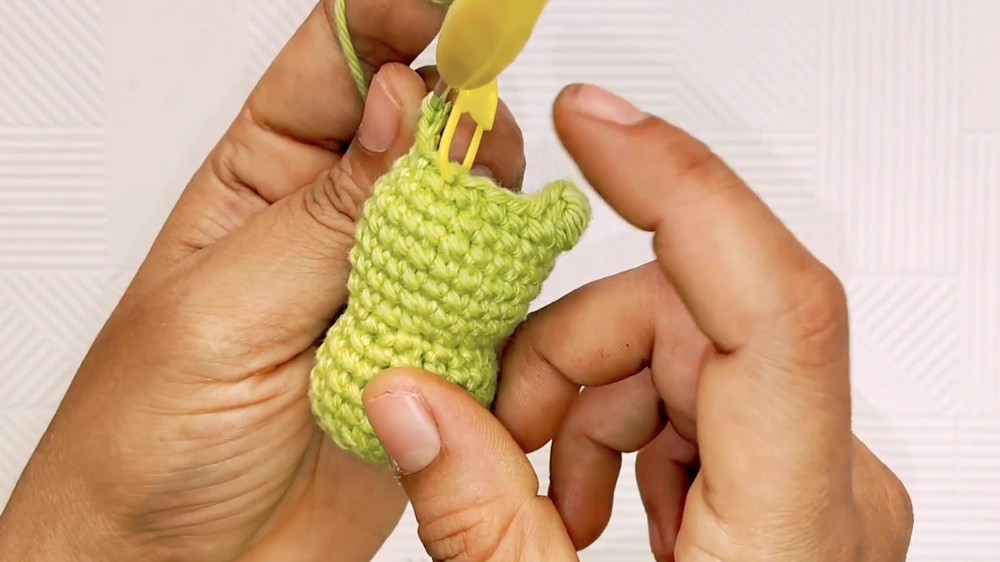
Stitch Count: 12 stitches each round
Round 9: Ear Decrease Round
Repeat the following sequence all the way around:
- 2 sc into the next 2 stitches
- 1 dec over the next 2 stitches
Stitch Count: 9 stitches
- Work 1 sl st into the next stitch
- Fasten off leaving a long tail for sewing the ear onto the head
- Make a second ear following the exact same instructions
Assembly and Finished Size
Once both ears are completed, use pins to position them symmetrically on either side of the top of the bunny head before sewing. Adjust the positioning until both ears look balanced and attractively placed. Using the long yarn tail and your tapestry needle, sew each ear securely onto the head with several stitches through the base of the ear and into the head fabric. Knot and weave in all remaining ends neatly. For optional embellishments, add a small handmade bow or crochet flower to the front of the bunny for extra charm and personality. The finished bunny measures approximately 10 to 12 cm from the base to the ear tips with a body diameter of approximately 5 to 6 cm.
Conclusion
This amigurumi bunny is a wonderfully satisfying project that produces an absolutely adorable result using straightforward crochet techniques and the yarn under method throughout. The combination of careful shaping rounds, the charming bobble stitch tail, and the neatly assembled ears creates a beautifully finished bunny that is sure to delight recipients of all ages.
Whether made as a heartfelt handmade gift, a nursery decoration, or a personal keepsake, this little bunny is a joy to create and treasure. Try making it in different colors or yarn textures for a whole collection of unique and charming amigurumi bunnies.