Brighten your day with a cute Crochet Bunny with Carrot Bag that is fun to make and brings sweet charm to your home or gifts.
Small, handmade toys can bring a lot of joy and charm to any room. This Crochet Bunny with Carrot Bag is a fun and friendly amigurumi project that fits nicely as a decoration, gift, or collectible. Its sweet and simple look makes it great for adding a touch of happiness to your home or sharing with friends.
Lovely Crochet Bunny with Carrot Bag Free Pattern for Spring Decorations
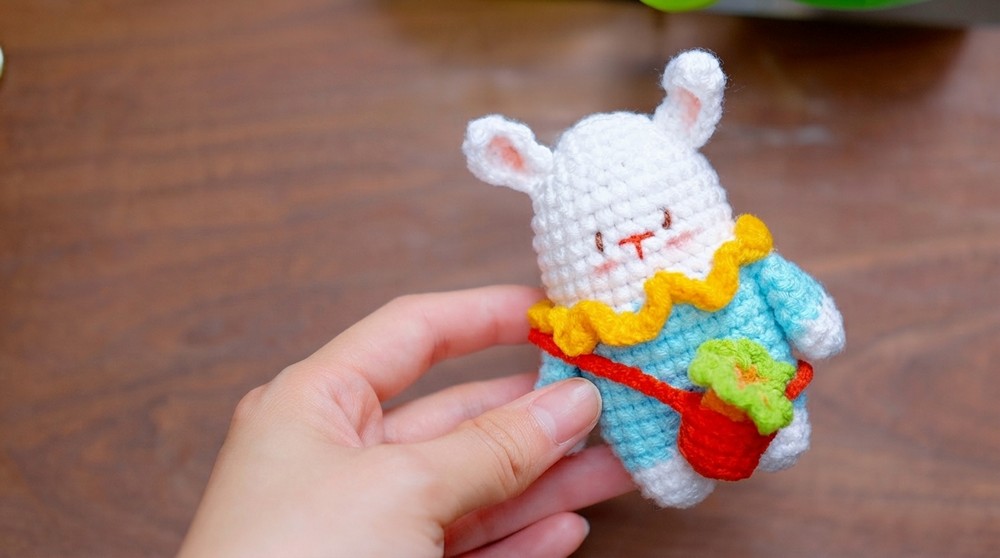
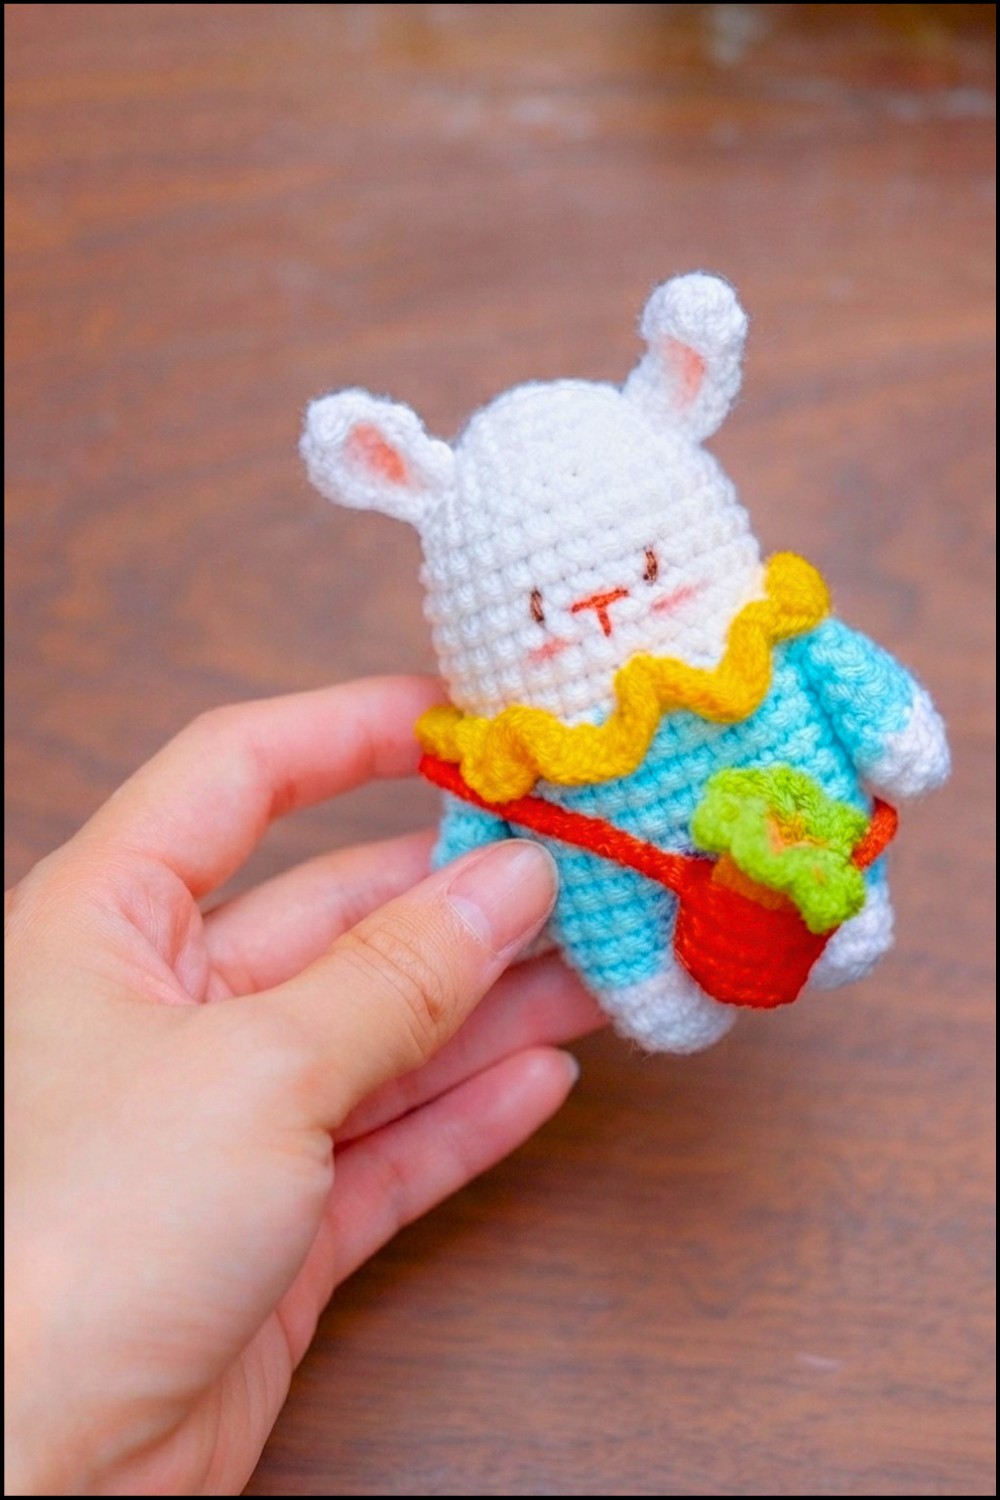
The bunny stands about six to eight inches tall, depending on the yarn and hook you use. It has a round body, soft floppy ears, and a happy face that adds to its charm. The carrot bag is a fun detail that adds bright color and makes the bunny even more special.
This Bunny with Carrot Bag is great for beginners or those with a little crochet experience. You’ll work with easy crochet stitches like single crochet, increases and decreases, and working in the round. Plus, there are simple color changes to make the carrot stand out. These skills help you build confidence while making a cute toy.
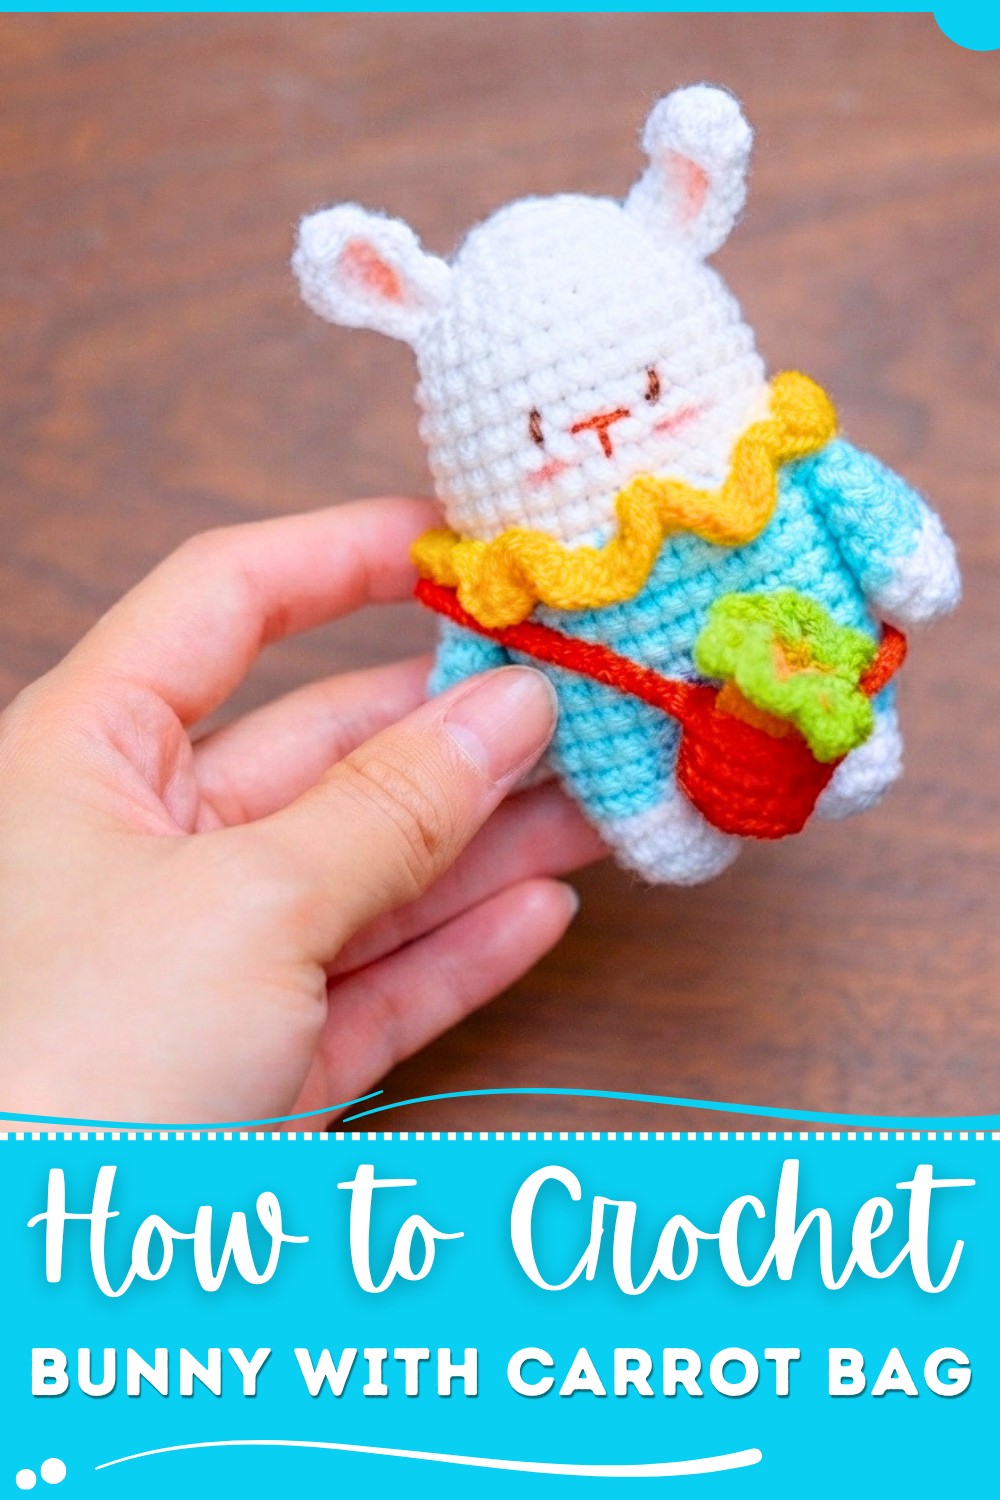
Using soft yarn and stuffing the bunny gives it a nice feel and shape. You can see the details in the bunny’s fur and the leafy top of the carrot.
If you want a sweet, easy project, the Crochet Bunny with Carrot Bag is a wonderful choice. It’s fun to make and looks lovely as a handmade toy or gift. Give it a try and enjoy adding a little handmade happiness to your day!
Baby Bunny with Carrot Bag Crochet Pattern
This charming project features a soft bunny, a mini carrot bag, and plenty of sweet details. If you’re ready to get started, be sure to have orange yarn for the carrots and all other ingredients ready as described. Follow along for every step to crochet, assemble, and finish this delightful baby bunny—just as shown in the pattern.
Quick Overview Of Pattern
- Amigurumi Techniques: The bunny, legs, arms, ears, and accessories are crocheted separately and sewn together.
- Bag & Carrot Details: Carrot-shaped embellishments and bag handles add fun character.
- Multi-Color Work: Pattern includes color changes and basic embroidery for facial features and blush.
- Structural Approach: Parts are finished off with slip stitches, joined seamlessly, and filled with cotton for softness.
Notes
- Use stitch markers or note rounds carefully to ensure accurate counting.
- For color changes, switch yarn at the last stitch of the round before the new color.
- Work in continuous rounds unless otherwise stated.
- Stuff parts as you finish, especially the bunny body to maintain shape.
- The carrot and its leaves are worked directly onto the bag and are easily customizable.
Skill Level
Confident Beginner / Intermediate
Basic understanding of amigurumi, working in the round, color changes, and simple increases/decreases will be helpful.
Materials
- Yarn:
- Bunny: White, cream, or pastel
- Bag & carrots: Orange and green
- Blush and facial details: Red, brown, yellow
- Crochet hook: 2.5 – 3.0 mm
- Stuffing: Cotton or polyester fiberfill
- Yarn needle: For sewing and embroidery
- Scissors
Measurements / Sizing
- Bunny height: Approx. 10–12 cm (4–5 inches)
- Bag diameter: Approx. 3–4 cm
- Carrot length: Approx. 2 cm (tiny for bag scale)
(Final size depends on yarn weight and hook size.)
Gauge
Gauge is not critical. Use a hook small enough to keep stuffing from showing through stitches. For reference: 8 rounds of single crochet = 3 cm diameter.
Stitch Abbreviations
| Abbreviation | Stitch Name |
|---|---|
| ch | chain |
| sc | single crochet |
| sl st | slip stitch |
| inc | increase (2 sc in st) |
| dec | decrease (sc2tog) |
| MR | magic ring |
| hdc | half double crochet |
| dc | double crochet |
| st(s) | stitch(es) |
| V | increase (2 sc in st) |
Special Stitches
- V stitch: 2 sc in same stitch (increase).
- Magic Ring (MR): Adjustable circle to begin amigurumi.
- Working in Back Loop (BLO): Crochet only in the back loop for added texture.
Crochet Guide
1. Bunny Legs (Make 2)
Round 1:
- Create a MR and work 5 sc into ring. Pull tight. [5]
Round 2:
- Work 5 V stitches (2 sc in each st) for 10 sc. Join with sl st. [10]
Round 3:
- Ch 1, work 1 sc in each st around. Join with sl st. [10]
Round 4:
- Change color to white/body color at last st.
- Ch 1, sc in every st (10 sc), sl st to finish. [10]
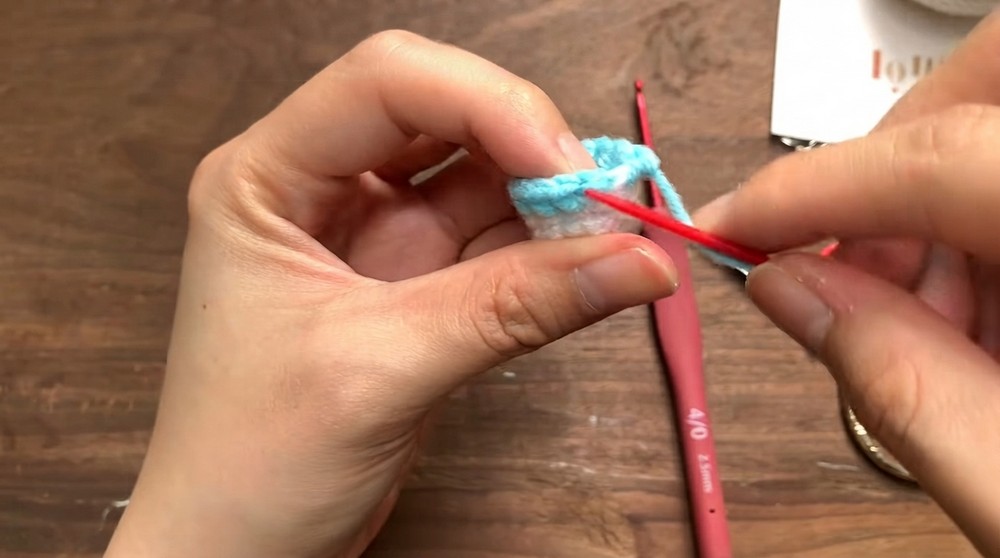
Round 5:
- 5 sc, 1 V stitch, 4 sc (following sequence: 5x, 1v, 4x = 11 sc).
- Finish and cut yarn. Sew end.
Repeat for second leg, but DO NOT cut yarn after finishing; you will join the body next.
2. Bunny Body (After Legs)
On the second leg:
- Ch 2, join to first leg.
- Ch 1, sc 11 around first leg, sc 2 into ch-2, sc 11 around second leg, sc 2 into ch-2. (You now have two connected legs.)
- Total: 28 sc for this round.
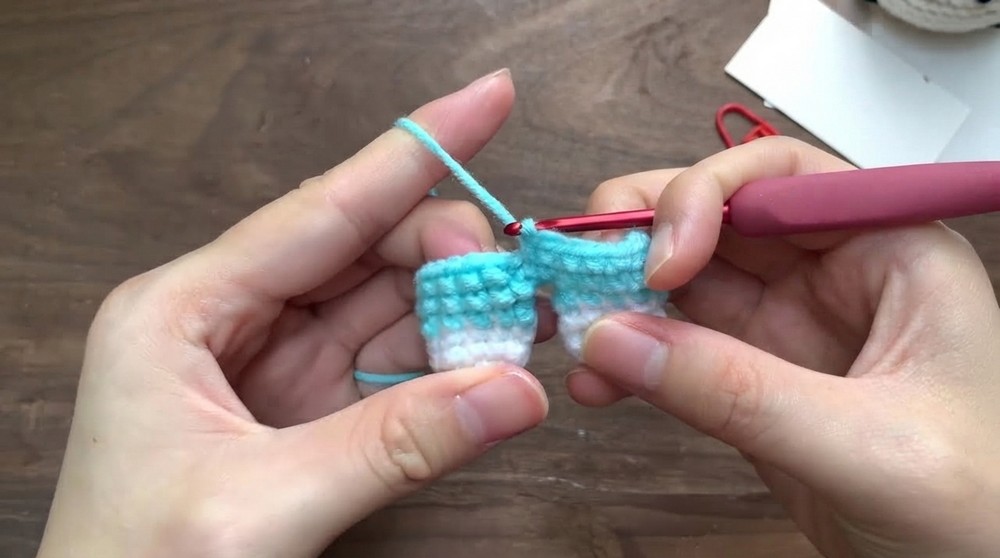
Round 2:
- Sl st and ch 1.
- 5 sc, 1 V stitch, 12 sc, 1 V stitch, 7 sc to finish. [28]
Rounds 3–8:
- Sc in each st (28 sc per round).
- Sl st, ch 1 at round end.
Round 9:
- Change color to white.
- Sc in BLO all around (28 sc).
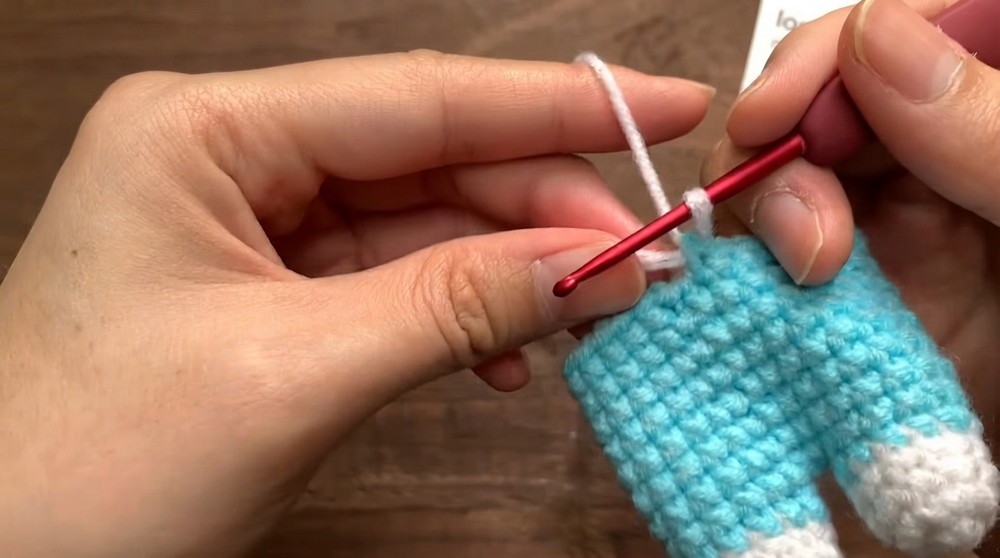
Rounds 10–15:
- Sc in each st (28 sc per round).
Round 16:
- 4 groups of 5 sc (5x), each followed by a decrease (dec).
- Total: 24 sc.
Rounds 17–20:
- Repeat decrease rounds as above, each round reducing, stuffing body as you go.
- Finish at the top by sewing closed with a long yarn tail, using a needle.
3. Bunny Neck Fluff (Yellow Ruffle)
- With yellow, attach to neck edge and work W stitch (3 sc in each st) all the way round.
- Continue until entire neck edge is fluffy.
4. Bunny Ears (Make 2)
- Ch 6.
- Starting in 2nd ch from hook: 1 sc, 1 hdc, 4 dc along chain, 1 hdc in next, 2 sc in last.
- Turn, work back along opposite side: 1 hdc, 4 dc, 1 hdc, 2 sc.
- Shape ear and cut yarn, sew to head (count 3 rows from top for placement).
5. Bunny Arms (Make 2)
Round 1:
- MR, 6 sc. [6]
Round 2:
- 3 XV clusters (sc, inc in next, repeat) for total 9 sc. Join with sl st.
Round 3:
- Sc in each st for 9 sc.
Round 4:
- Change color to main body color.
- Sc in each st for 9 sc.
Round 5:
- 7 sc, dec (total 8 sc).
Round 6:
- 6 sc, dec (total 7 sc).
Round 7:
- Shape arm, sew to body just under ruffle.
6. Bunny Face
- Use red yarn for mouth. Thread and stitch a tiny smile, three rows below ruffle.
- Use brown yarn for eyes. Embroider small dots or ovals one square away from either side of mouth.
- Add blush with pink or peach yarn/thread under eyes.
7. Carrot Bag
Bag Base:
- MR, 6 sc. [6]
- Round 2: 6 V stitches (inc), 12 sc. Join with sl st.
- Rounds 3–4: Sc in BLO for sturdy texture, 12 sc per round.
- Round 5: Work 12 sl sts in mouth of bag to reinforce opening.
Handle:
- Ch 35, sl st to opposite side to form strap.
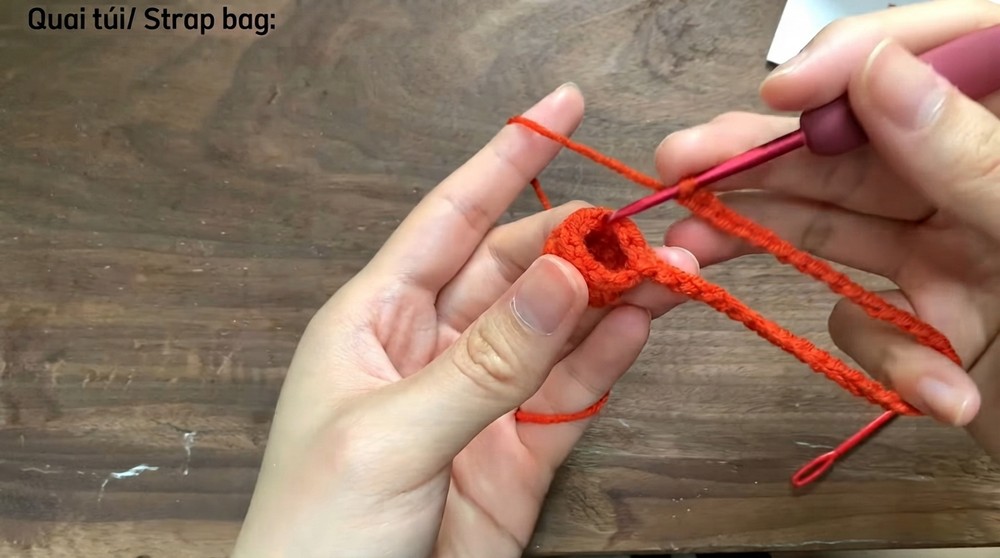
8. Carrot (Make 1 or More)
Body:
- MR, 5 sc.
- Round 2: (sc, inc) repeat for 7 sc.
- Round 3: Sc in each st for 7 sc.
Leaves:
- Change to green.
- Ch 4, sl st to carrot end. Repeat for 3–4 leaves.
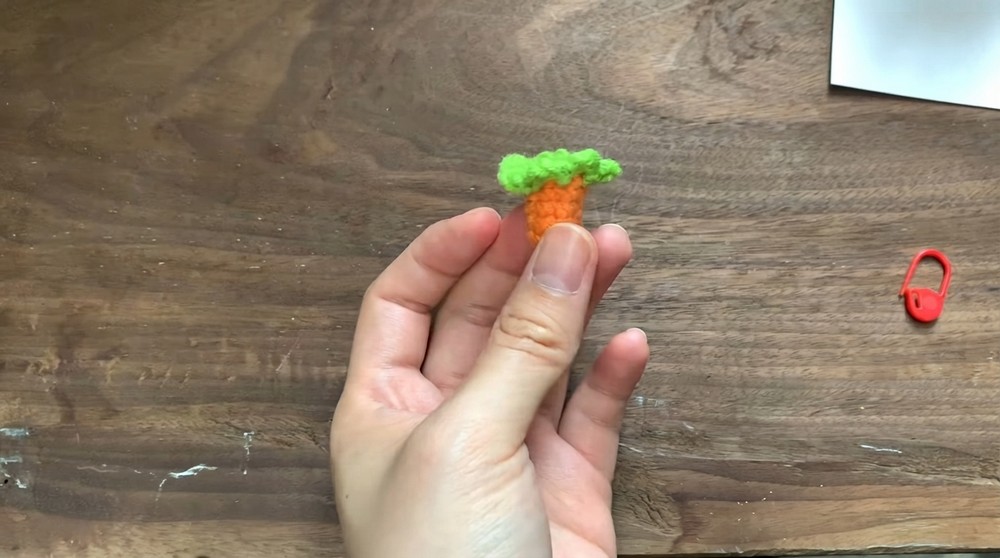
Assembly & Finished Size
- Sew ears to top of head, arms under ruffle, and hide all yarn ends.
- Place carrot/s into bag, attach bag over bunny shoulder.
- Add blush as desired for extra cuteness.
- Finished bunny stands about 12 cm tall.
- Carrot bag hangs securely and can be customized with extra carrots.
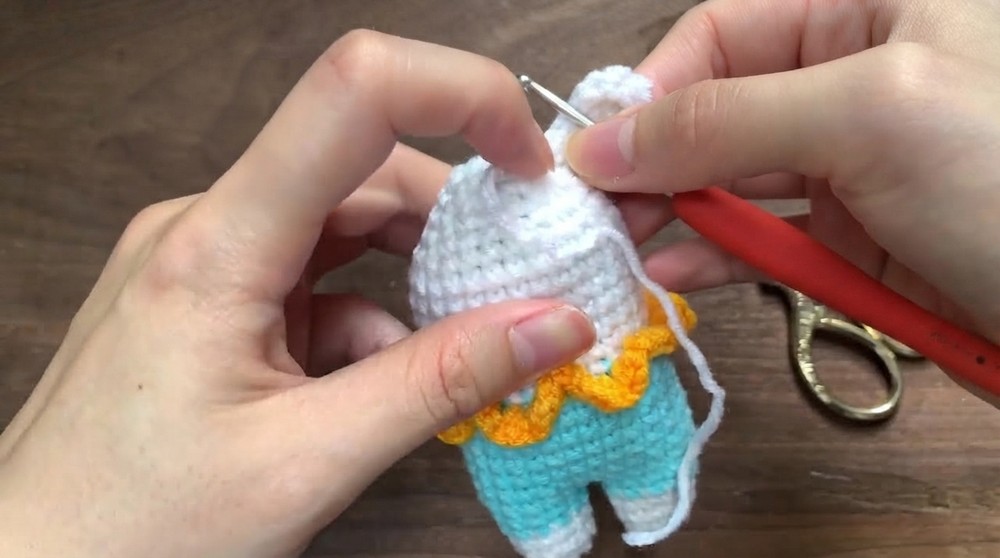
Conclusion and Ending Words
This sweet amigurumi pattern brings together playful details and practical techniques. The bunny, carrot bag, and accessories look adorable whether used as decor, a gift, or a child’s favorite plush.