Decorate your shelf with this Crochet Strawberry Doll Free Pattern and enjoy a playful little character with fresh and colorful details.
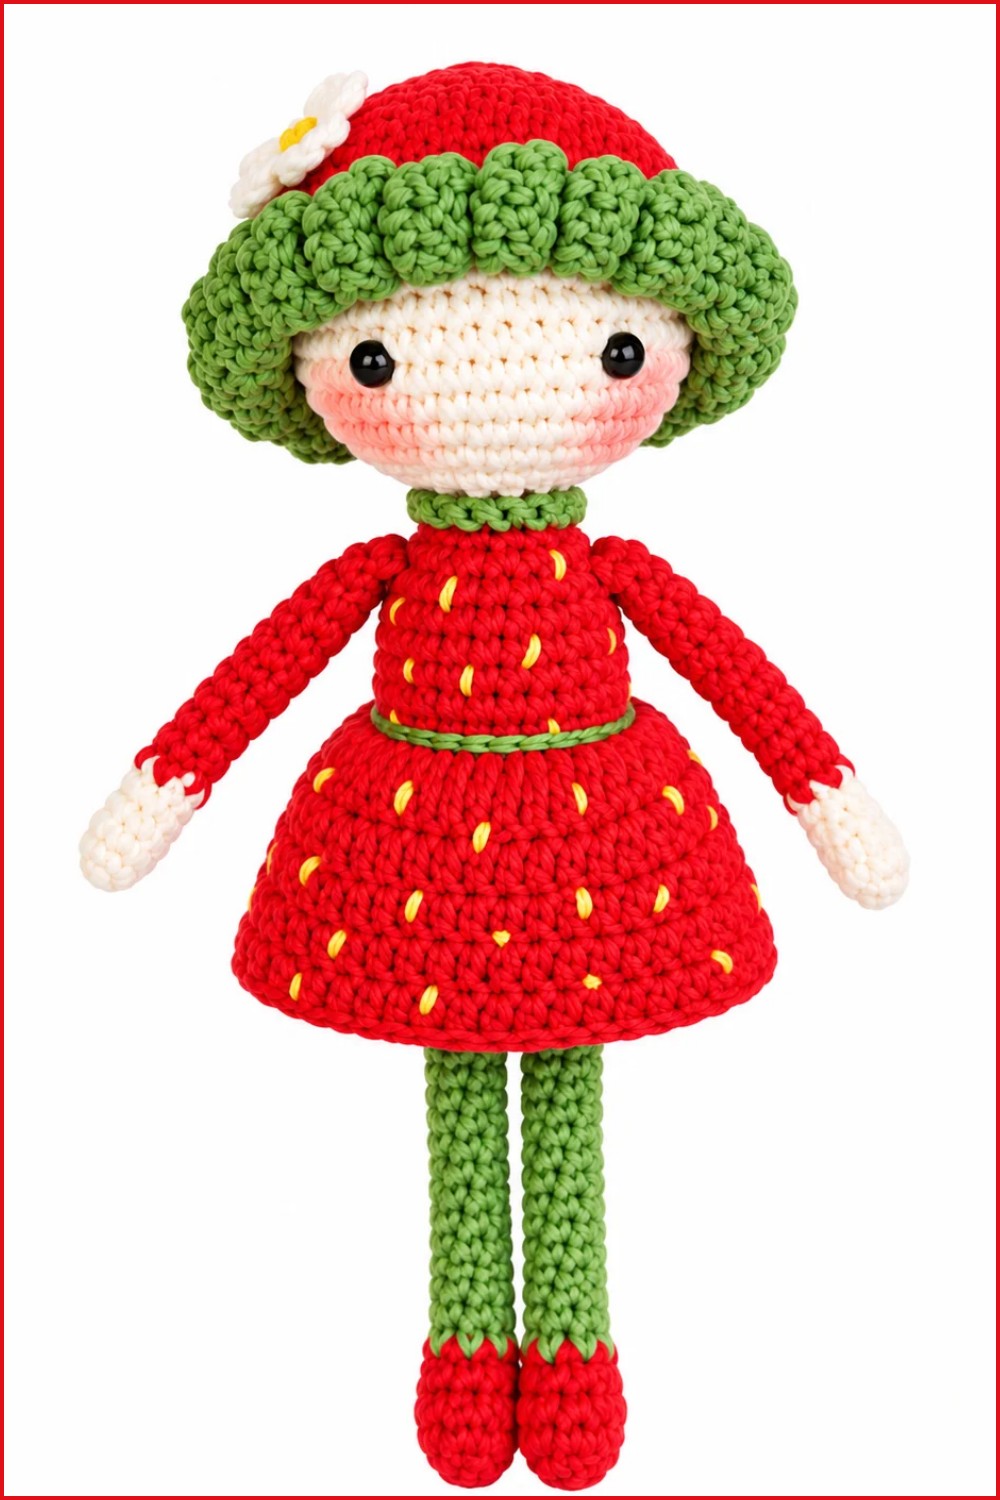
The talented @CrochetToysIryna shares a delightful project that captures the fun and charm of a small fruit-inspired figure. The Crochet Strawberry Doll is an adorable amigurumi with a cute strawberry theme. This doll is usually small enough to hold in your hand, making it ideal as a playful toy for kids, a sweet decoration, or a heartfelt handmade gift. The design features a bright red body decorated with tiny “seeds,” a green leafy cap, and a friendly face that gives the doll personality and warmth.
Pretty Crochet Strawberry Doll Free Pattern Inspired By Fresh Berries
This project fits well for crocheters with intermediate skills but can be approached by adventurous beginners ready for some shaping and assembling practice. The doll’s body and head are shaped using rounds of stitches, and the strawberry seeds are added with simple embroidery or small stitch details. Sewing the leafy top and facial features gives the doll its distinct look, finishing it with a touch of personality.
Crochet Strawberry Doll is a fun project because it teaches rounding, basic shaping, and attaching parts—all important skills for any amigurumi enthusiast. The clear steps make it a relaxing challenge that also results in a charming little companion to enjoy or gift.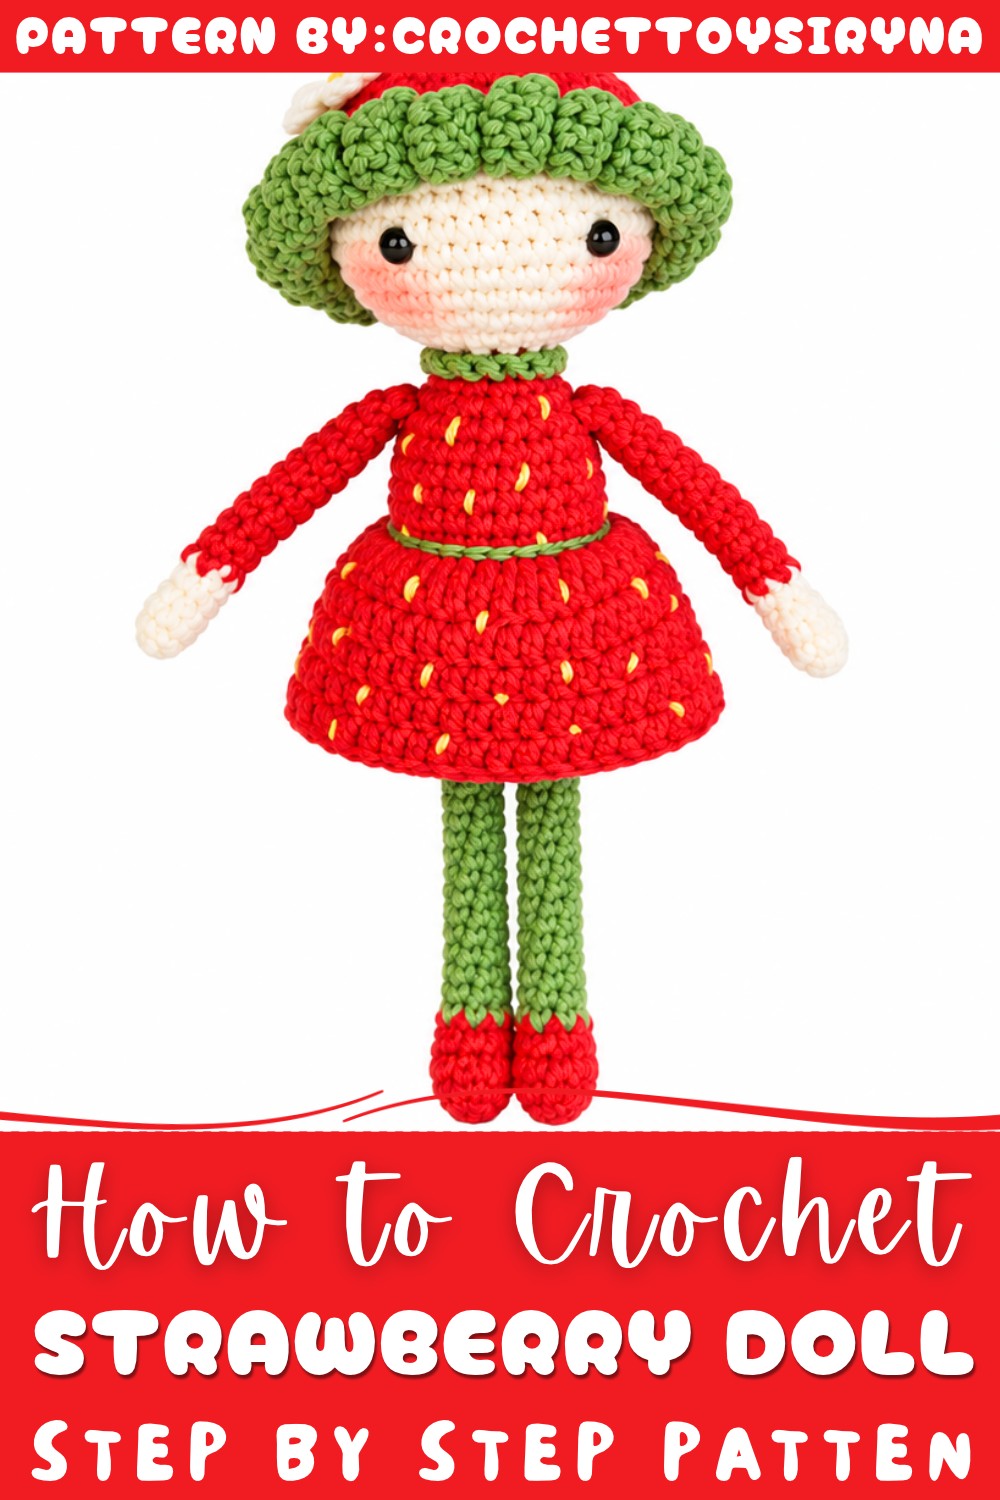
Invite a bit of sweetness into your crochet world and take a stitch-by-stitch stroll with this free pattern. Give the Crochet Strawberry Doll a go—you might just fall in love with the process!
Strawberry Doll Crochet Pattern
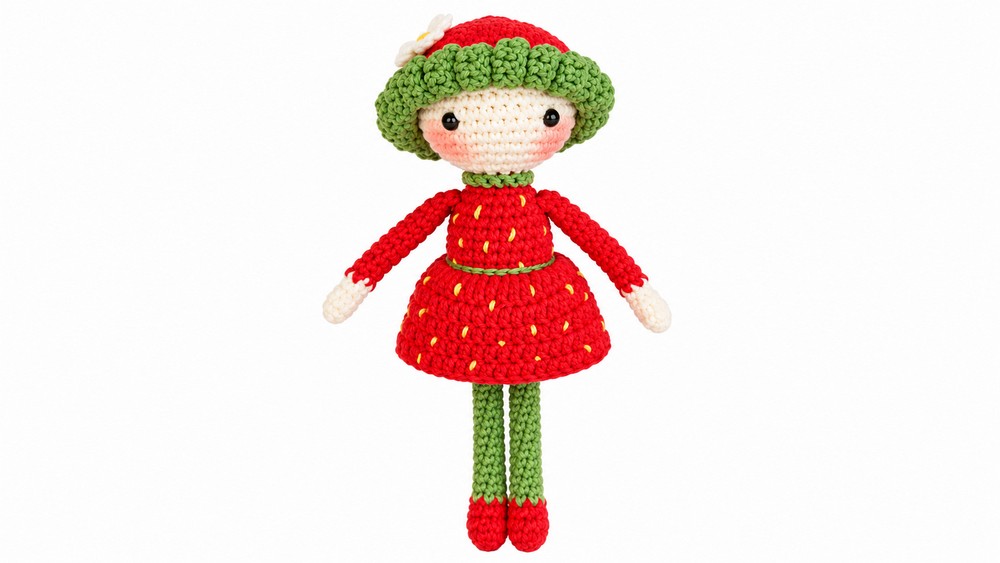
The Strawberry Doll is an adorable variation based on the Butterfly Doll, featuring a red cap with green hair strands, a strawberry flower, a skirt, and embroidered details that add charm and character. The structured sequence ensures that each addition enhances the base doll with texture, color, and personality. Techniques such as color changes, embroidery, and back loop attachment are crucial in achieving the strawberry motif, making this project both rewarding and visually appealing.
Key Pattern Details
- Core Structure: Built on the universal Butterfly Doll base, modifications are focused on the unique strawberry-inspired attire.
- Cap and Skirt: Constructed in bright red, with green and yellow accents for a realistic strawberry look.
- Embellishments: The green yarn creates “hair strands” mimicking leaves, with a small strawberry flower for a whimsical finish.
- Assembly: Sewing and embroidery skills are used extensively in the final stages for attachment and detail work.
Important Notes
- The cap is constructed first and fitted to the head, ensuring the green strands and flower remain secure.
- For the skirt, attach yarn in the back loops at the waist to provide a natural drape.
- Use tight and even stitches for amigurumi portions for shape retention and durability.
- Embroidery is employed for the seeds and the decorative belt, adding dimension and vibrancy to the finished doll.
Difficulty Level
- Intermediate: Requires experience with amigurumi basics, secure color changes, surface stitching (embroidery), and sewing for attachment.
Supplies Needed
- Yarn: Red, green, cream, yellow (choose soft acrylic or cotton in similar weights)
- Hook: Size appropriate for base doll/yarn, typically 2.0–2.5 mm for amigurumi
- Needle: Yarn needle for sewing and embroidery
- Scissors
- Base Doll: Pre-assembled Butterfly Doll (body and head)
- Stuffing: As used in base doll
- Stitch marker: Highly useful for spiral rounds
Size & Measurements
- The completed Strawberry Doll, including cap and skirt, measures approximately 12–15 cm (5–6 inches) tall depending on the original base and tension.
Gauge & Stitch Details
- Gauge is not critical; focus on firm stitches for the amigurumi portion and draping for the skirt.
- Ensure the cap fits snug over the head and the skirt sits smoothly at the waist.
Crochet Abbreviations
- ch – chain
- sc – single crochet
- dc – double crochet
- sl st – slip stitch
- inc – increase (2 sc or dc in one stitch)
- st(s) – stitch(es)
- BLO – back loop only
- rep – repeat
Special Stitch Guide
- Magic Ring: Begin with an adjustable ring for seamless, tight centers.
- Increase (inc): Two stitches in one base stitch.
- Back Loop Only (BLO): Work in the back of the stitch only for texture and shaping.
- Whip Stitch: Sewing technique used for cap attachment.
Complete Crochet Pattern
1. Hair/Cap Base (Red Yarn)
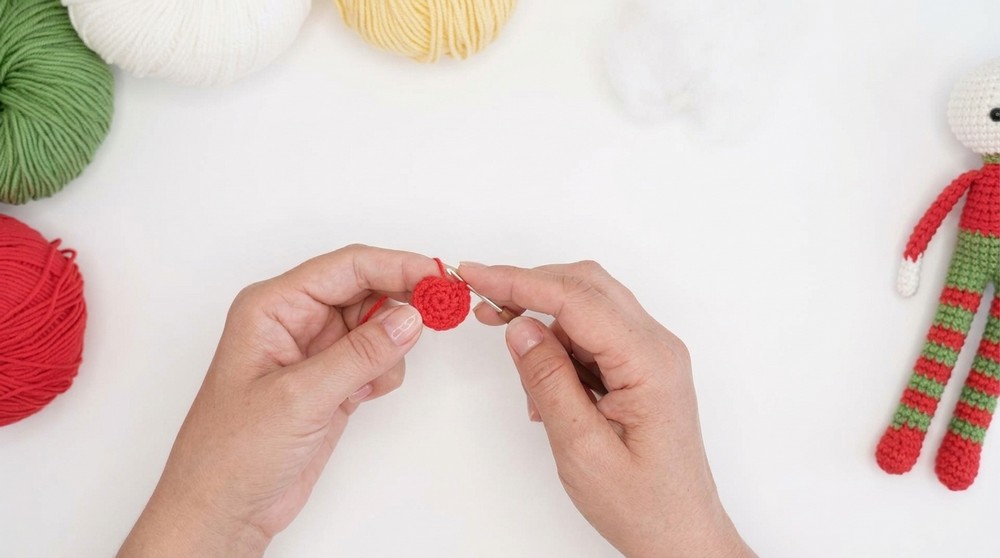
- Round 1:
- Begin with a magic ring.
- Work 6 sc into the ring.
- Round 2:
- 2 sc in each stitch around (12 sts).
- Round 3:
- (1 sc, inc) x 6 (18 sts).
- Round 4:
- (2 sc, inc) x 6 (24 sts).
- Round 5:
- (3 sc, inc) x 6 (30 sts).
- Round 6:
- (4 sc, inc) x 6 (36 sts).
- Round 7:
- (5 sc, inc) x 6 (42 sts).
- Rounds 8–10:
- 42 sc per round (3 rounds).
2. Hair Strands (Green Yarn)
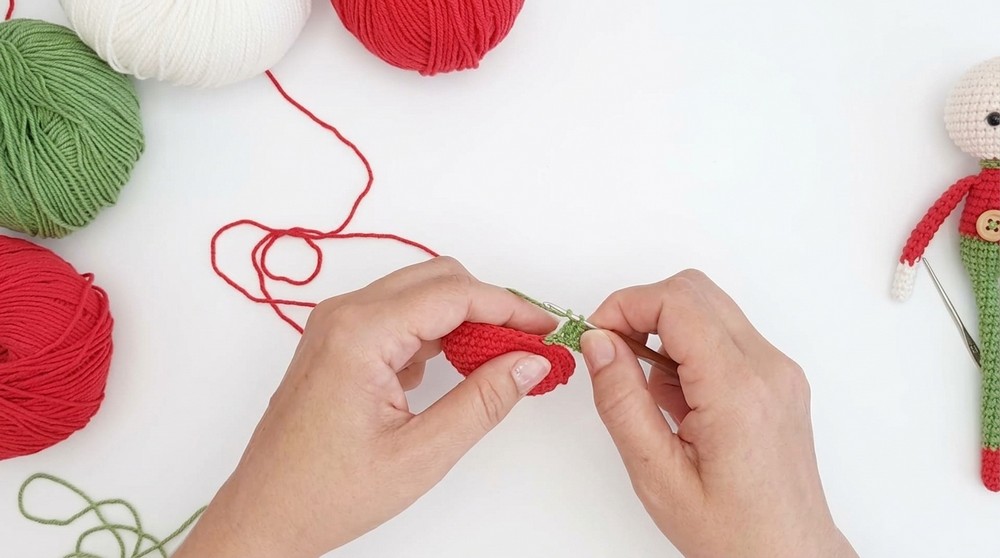
- Attachment: Join green yarn to any stitch edge of the red cap.
- Strand:
- Ch 7,
- Work 6 dc starting in the 2nd chain from the hook towards the base.
- Sl st into the next stitch on the cap.
- Repetition:
- Repeat around the cap to create a consistent fringe of green hair/leaf strands encircling the red base.
3. Strawberry Flower
- Center (Yellow Yarn):
- Start with a magic ring.
- Work 10 sc into ring.
- Petals (Cream Yarn):
- Join at the end of flower center.
- (Ch 2, 3 dc in next st, ch 2, sl st in next st);
- Repeat sequence 5 times to form five distinct petals.
- Assembly:
- Sew the completed flower to the side of the cap, usually above or slightly in front of one ear area of the doll.
4. Skirt (Red Yarn)
- Base Attachment:
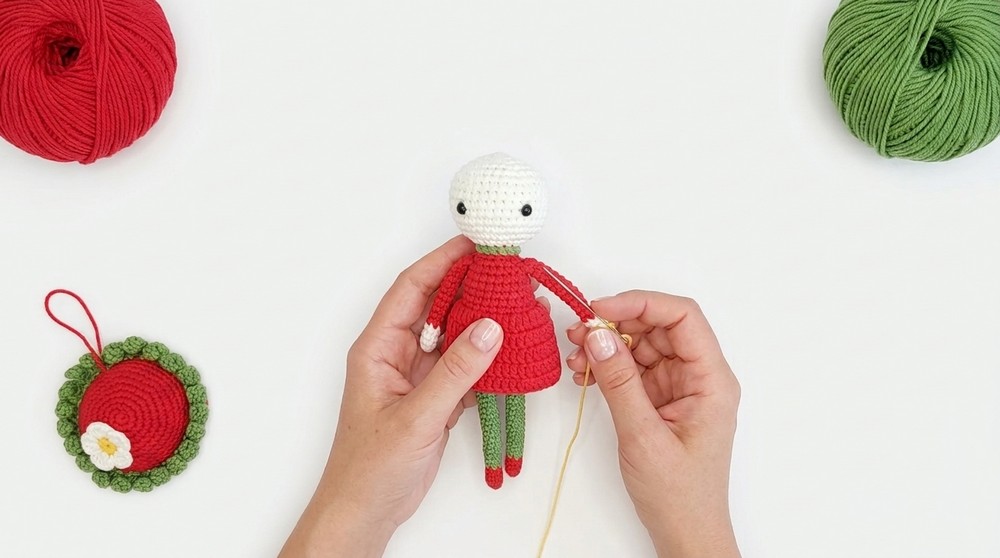
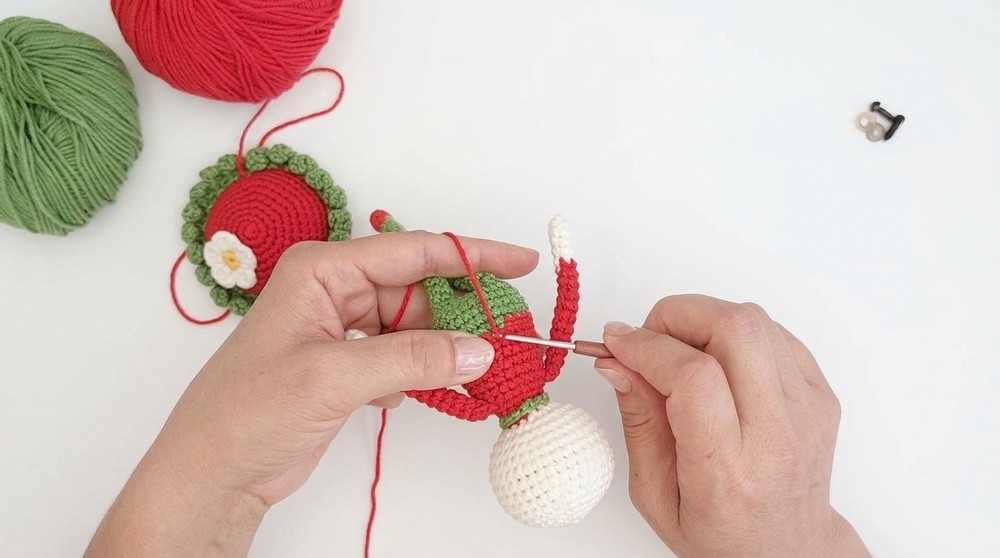
- Join red yarn to any back loop (BLO) at the waist of the preassembled base doll.
- Row 1:
- (1 dc, 1 dc inc in next st) around entire waist; this increases the fullness of the skirt and establishes a gentle flare.
- Rows 2–5:
- Work 1 dc in each stitch around, for 4 rows, building length and fullness.
- At the end of each row, join with a sl st and begin the next round. Fasten off red yarn at completion.
5. Embroidery & Final Assembly
- Strawberry Seeds:
- With yellow yarn and needle, embroider small vertical lines evenly on the red cap (hair portion) and skirt for seeds. Aim for tiny stitches (just a few mm each) for realism, spreading them out naturally across the available space.
- Cap Attachment:
- Place the cap securely on the doll’s head.
- Use a whip stitch to attach around hairline, piercing through both cap and doll head for solid, even joining.
- Belt:
- With green yarn, use a chain-stitch embroidery technique to create a “belt” encircling the doll’s waist, just above the skirt. This adds definition and a pop of contrast color.
Joining & Final Size
- Ensure all components are anchored securely, particularly the cap and skirt, for durability.
- Confirm the green “hair” strands and flower are positioned attractively and hold their shape.
- Embroidery for seeds and belt should be snug but not too tight, maintaining garment flexibility without puckering.
- Once everything is assembled, the doll will stand about 12–15 cm tall with a cheerful strawberry motif.
Final Words
This Strawberry Doll pattern incorporates structured rounds, careful finishes, and a blend of decorative and practical techniques to create a themed amigurumi accessory set. With its vibrant palette, textural variety, and thoughtful construction, the doll’s delightful strawberry cap, leaf-like strands, and garden-inspired flower set it apart. Each element is purposefully detailed to result in a lively and memorable finished doll, representing a fusion of playful charm and skilled crochet craftsmanship.