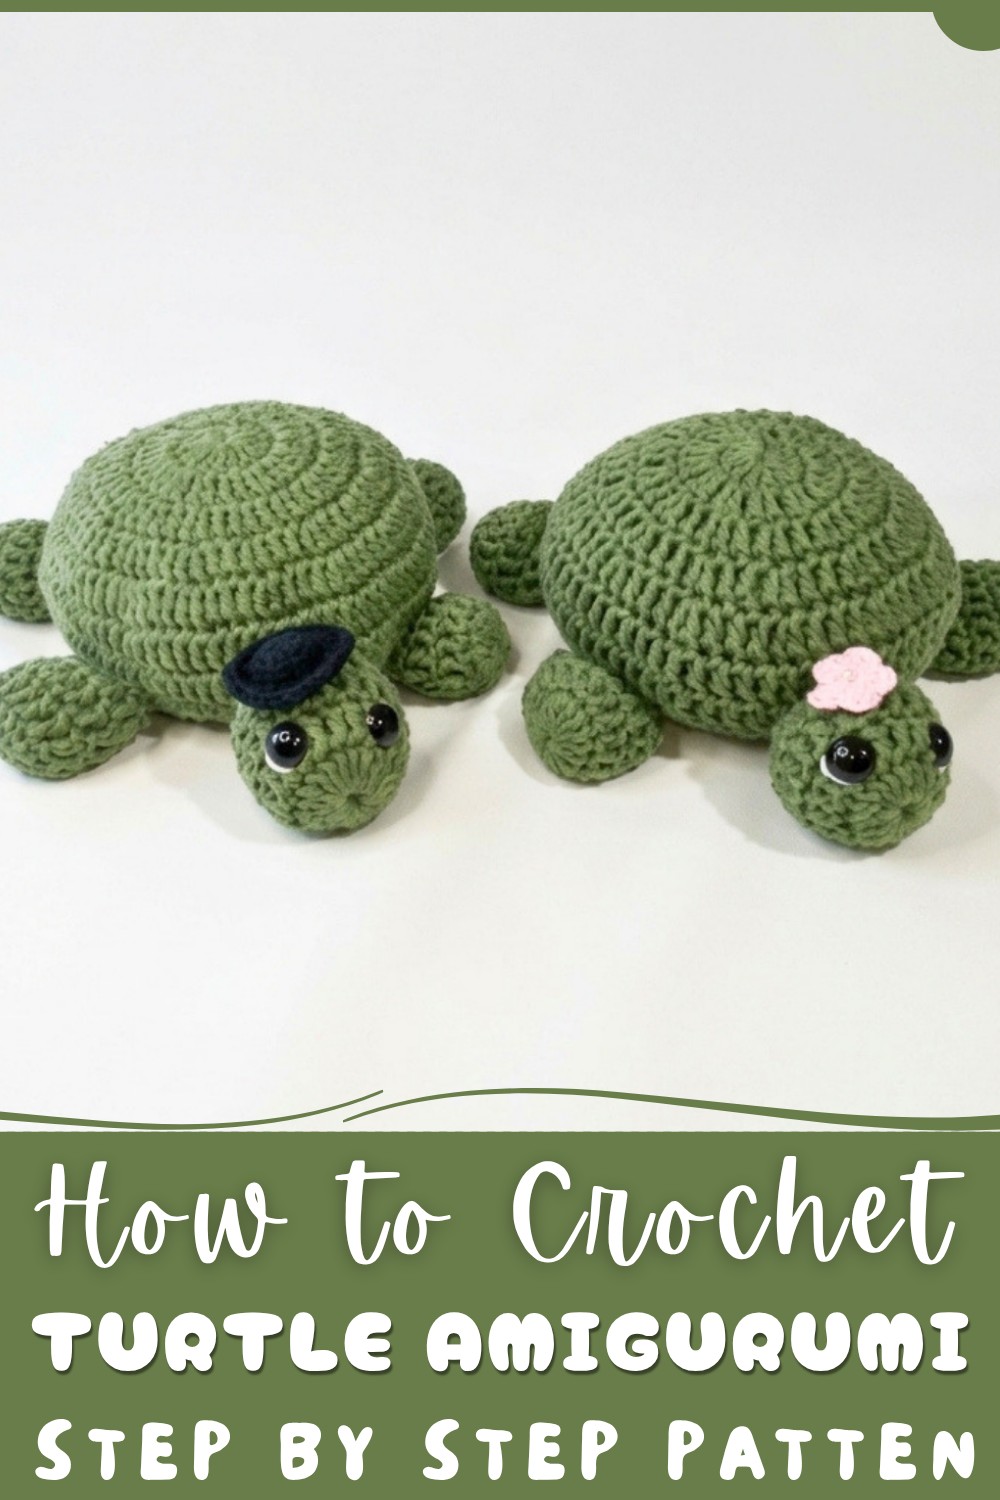
Lighten moods fast by creating this Free Crochet Turtle Amigurumi Pattern where charming turtles come to life as fun and snuggly companions.
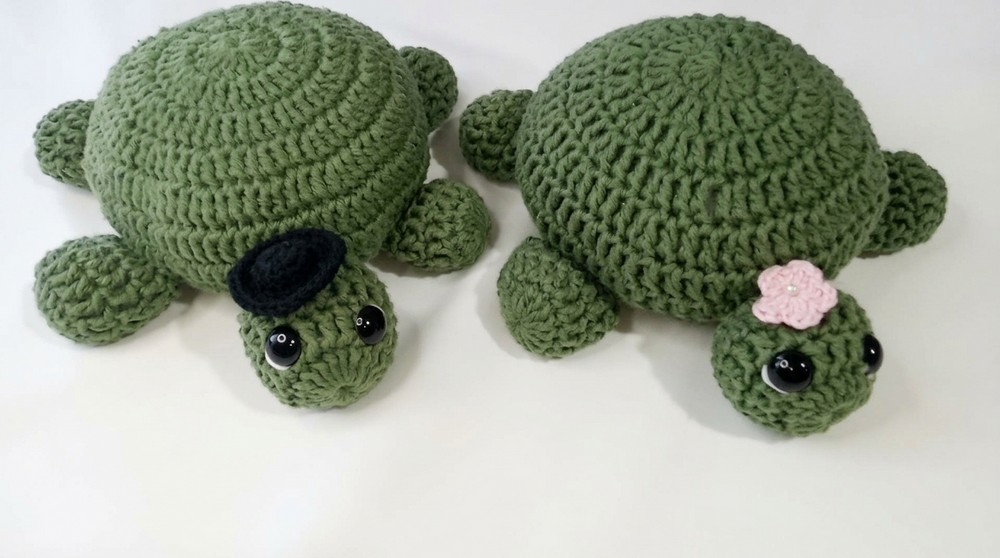
Handmade projects bring a unique touch of warmth, and one such delightful creation is the free crochet turtle amigurumi pattern featured by Márcia Souza Crochê. This charming little turtle can brighten any room with its cuddly appeal and thoughtful design.
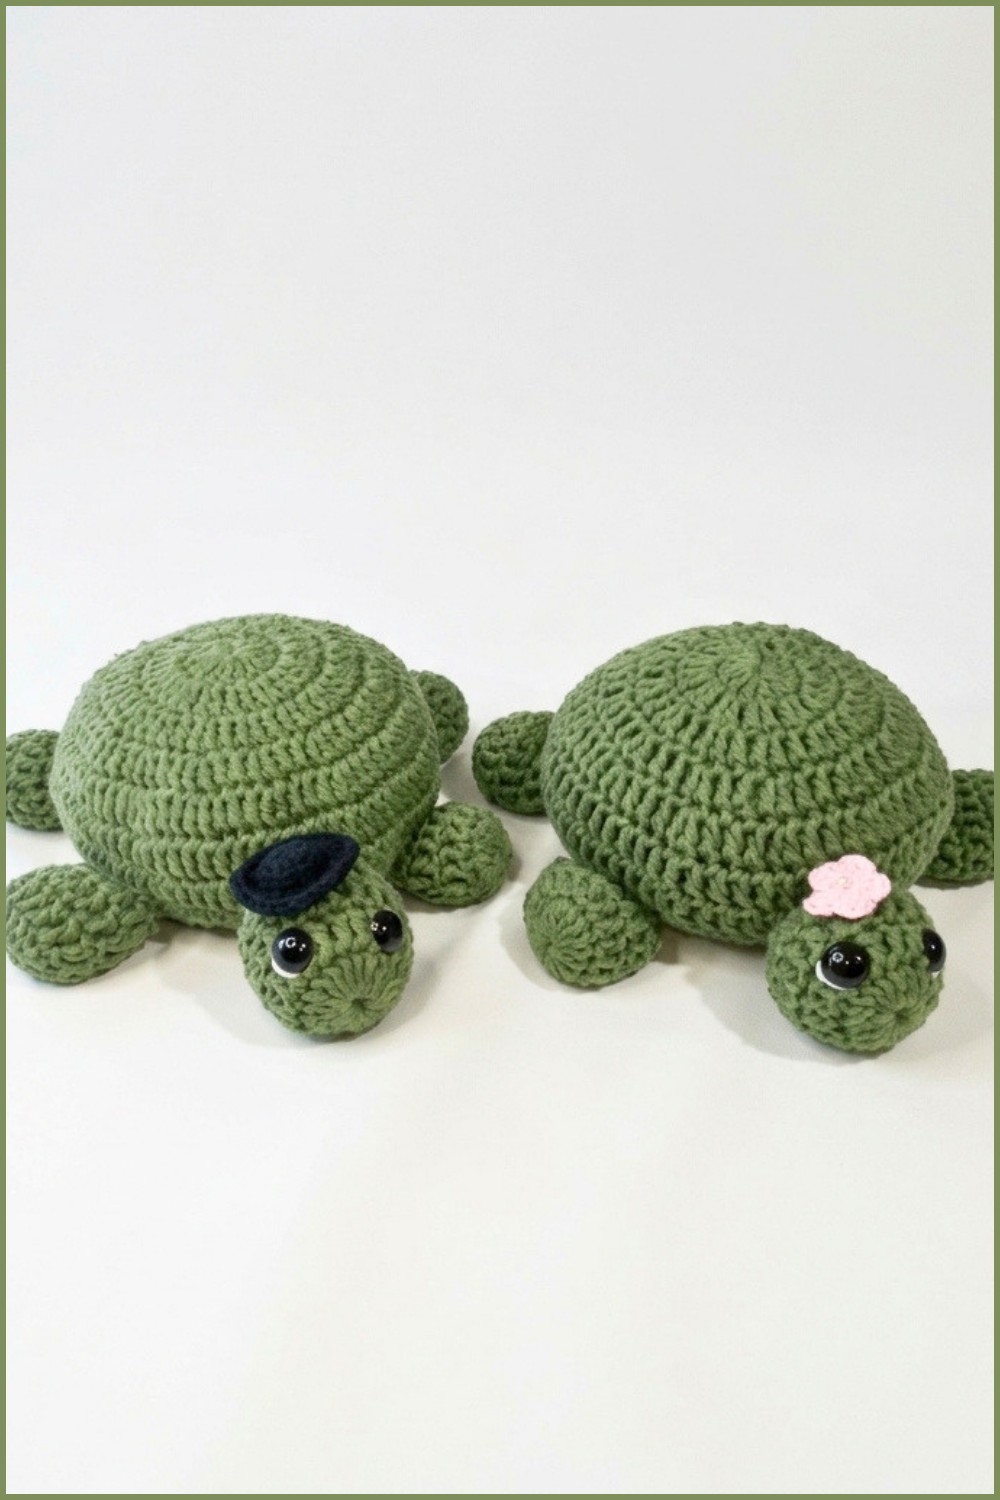
Measuring about 23 to 24 centimeters, the turtle has a soft, rounded shape that feels cozy in your hands. Its textured shell and sweet, rounded features give it a playful and inviting look. The amigurumi style emphasizes simplicity and cuteness, making this turtle stand out among other crocheted creations.
Free Crochet Bunny Amigurumi Pattern for Animal Lovers
This project is perfect for gifting, adding a personal and heartwarming touch to special occasions. It also works beautifully as a decorative piece, whether placed on a shelf, beside a lamp, or in a child’s play area. The durable yarn and firm structure ensure that it holds its shape well, doubling as a doorstop if you wish to give it a practical role.
What makes this project even more enjoyable is how accessible it is for crocheters of all levels. The instructions from Márcia Souza Crochê guide you smoothly through the process, making it a relaxing and satisfying experience. This little turtle isn’t just a crochet—it’s a sweet reminder of the joy handmade items bring to everyday life.
Crochet Turtle Doorstop Pattern
This crochet turtle doorstop is a charming and functional decor piece measuring approximately 23–24 cm from the tip of the tail to the tip of the head. It requires very little material and can be made with basic crochet skills. The pattern involves creating a well-stuffed turtle shape with realistic features such as a rounded body, head, tail, and limbs, topped with amigurumi eyes for added character. The use of a sand-and-soil mixture for filling gives it enough weight for practical doorstop use. The following comprehensive guide closely follows the detailed tutorial transcription to deliver an easy-to-follow project for all crocheters.
Pattern Highlights
- Complete amigurumi form: Body, head, tail, and limbs with natural shapes
- Practical weight: Filled with sand and soil mixture for doorstop functionality
- Simple beginner stitches: Magic ring, treble crochet, single crochet, slip stitch
- Textured and shaped: Using increases, decreases, chains, and back loop techniques
- Details and finish: Use of amigurumi safety eyes or crocheted eyes, decorative touches
Notes
- Using stitch markers to mark the start of rounds is highly recommended for tracking your progress.
- The sand and soil filling adds weight; alternatively, fiberfill can be used for lighter decoration.
- The project uses treble crochet stitches as the primary stitch for shaping.
- Pay attention to chain stitches at the beginning of rows—these are not counted as stitches themselves but as turning chains.
- The tail, limbs, and head are worked separately and sewn onto the body in the assembly phase.
- Amigurumi eyes provide a polished look, but crocheted or embroidered eyes work well as substitutes.
- The final product benefits from some hand shaping and adjusting once stuffing is inserted.
Skill Level
Intermediate beginners who know how to:
- Work a magic ring (or adjustable ring)
- Work treble crochet (tr) stitches
- Increase and decrease stitches within rounds and rows
- Work chains and slip stitches
- Assemble amigurumi parts by sewing
- Use stitch markers and basic finishing techniques
Materials
- Baroque yarn in military green (or preferred color)
- 3.5 mm crochet hook
- Fiberfill stuffing
- Sand and soil mixture in a sealed bag (or alternative weight fillers)
- Amigurumi safety eyes (or yarn to crochet/embroider eyes)
- Fabric glue (optional)
- Scissors
- Tapestry needle
- Stitch markers
Measurements / Sizing
- Length from tail tip to head tip: approximately 23–24 cm
- Body width and height adjusted during stuffing; roughly proportioned to the length
- Limb sizes designed for proportional fit to the body
- Tail and head carefully sized to complement body shape
Gauge
- The gauge is not strictly crucial but working at a firm tension will help maintain the shape and sturdiness needed for a doorstop.
- Primary stitch used is treble crochet (tr) in rounds and rows, worked tightly.
Stitch Abbreviations
| Abbreviation | Meaning |
|---|---|
| ch | Chain stitch |
| sc | Single crochet |
| tr | Treble crochet (also called double crochet in US terms) |
| sl st | Slip stitch |
| inc | Increase: 2 stitches worked into the same stitch |
| dec | Decrease: stitches worked together to reduce stitch count |
Special Stitches
Magic Ring
An adjustable loop that is used to start crocheting in the round without leaving a hole. Wrap yarn around two fingers, insert hook through the loop, yarn over, pull through, and crochet stitches inside the loop before pulling tight.
Treble Crochet (US Double Crochet)
Yarn over twice, insert hook into stitch, yarn over, pull through (4 loops on hook), yarn over, pull through 2 loops repeatedly until one loop remains.
Detailed Crochet Pattern
Body
Round 1:
- Make a magic ring around two fingers.
- Chain 1 and work 12 treble crochet (tr) stitches inside the ring.
- Pull the ring tight to close.
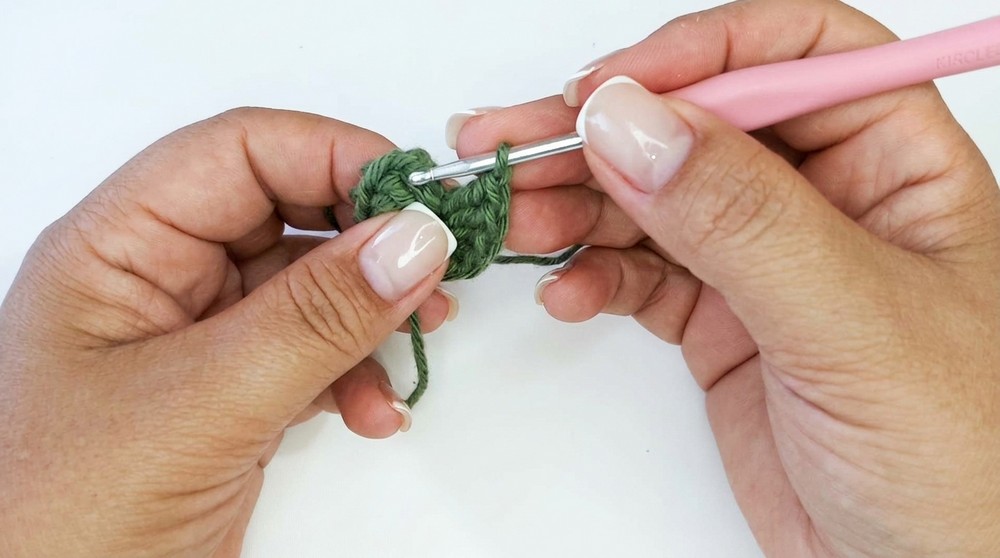
Round 2:
- Attach yarn if dropped.
- Crochet over the previous round, adjusting stitches tightly.
At this point, create a neat circle by adjusting stitches, closing thread ends carefully, and securing the tail end to prevent unraveling.
Subsequent Rounds (shaping the shell):
The pattern consists primarily of working rows of treble crochet stitches with increases to widen the body:
- Start rows with chain 2 (which counts as the first treble crochet stitch).
- Work 2 treble crochets in each stitch for increasing rounds or
- Work sequences with increments such as 2 single treble crochets, 1 single treble crochet to create a smooth, rounded shape.
- Use slip stitches to join rounds neatly and reduce visible seams.
Repeat these steps, paying close attention to the positions of your stitch markers to maintain counting accuracy.
Adding Texture and Shape – Final Row of Increases
- Make rows with sequences like:
- 3 treble crochet stitches alone,
- 2 treble crochets together (decrease),
- and repeat across the row.
This sculpts the final width and curvature of the shell before working rows without increases.
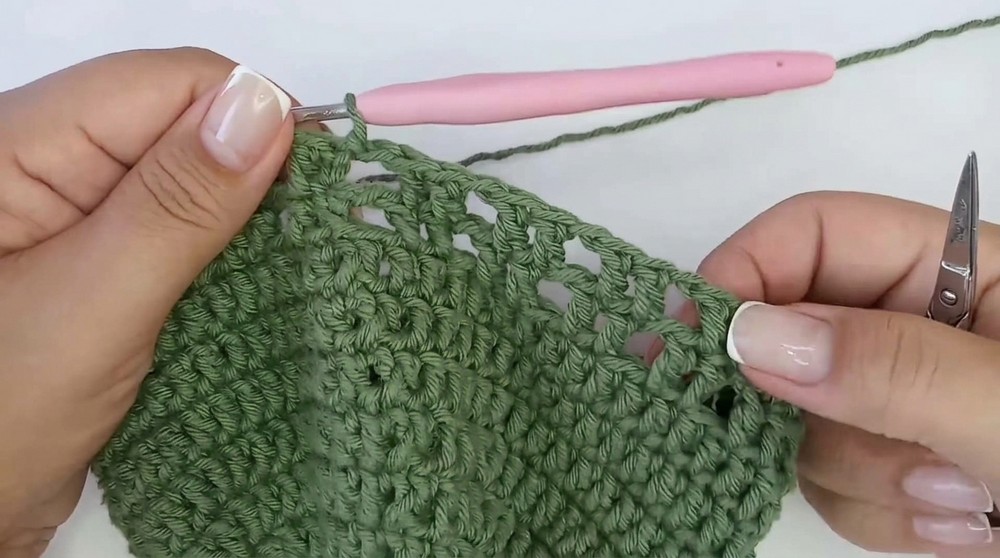
Rows Without Increases (For Body Height)
- Work several rows (at least 3) of treble crochet stitches, one in each stitch (no increases).
- Begin to create the base shell’s height by stacking rows evenly.
Creating the "Chain Stitch Pass" Row (Edge Detail)
- Chain 2, skip one stitch, then continue with treble crochet in the next stitch, alternating with chain stitches for a decorative open edge.
- Repeat across the round to form the final decorative contrast band near the bottom edge of the body.
Finishing the Body
- Close the round with slip stitch.
- Fasten off, leaving tail yarn to sew pieces later.
- Insert sand/soil mixture inside the shell snugly.
- Add fiberfill on top to round the shell softly.
- Pull fabric tight and adjust stuffing using tools (e.g., the back of a crochet hook).
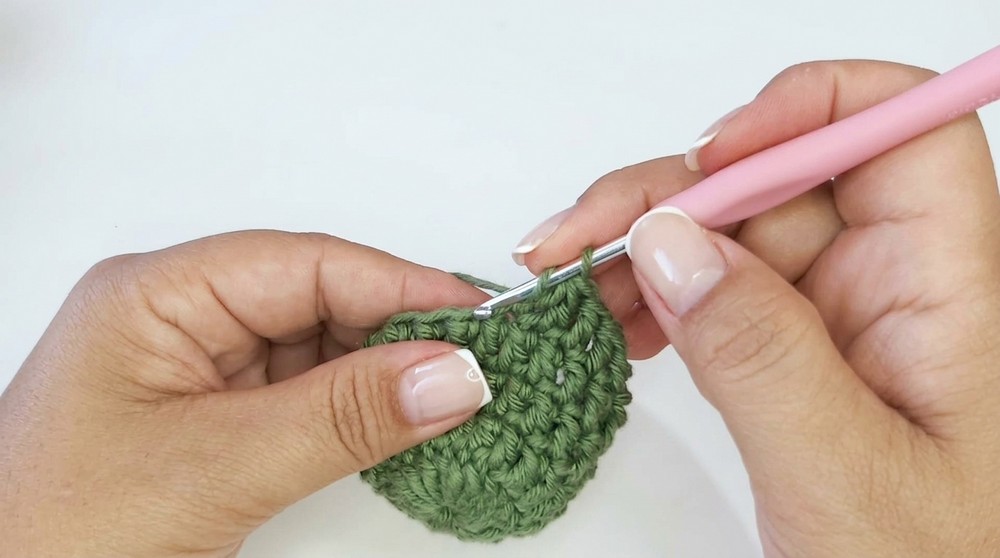
Head
Round 1:
- Make a magic ring and chain 1.
- Work 20 treble crochet (tr) into the ring.
- Pull ring tight to close.
Subsequent Rows:
- Work 3 more rows of treble crochet without increasing.
- End the head with a slip stitch to close.
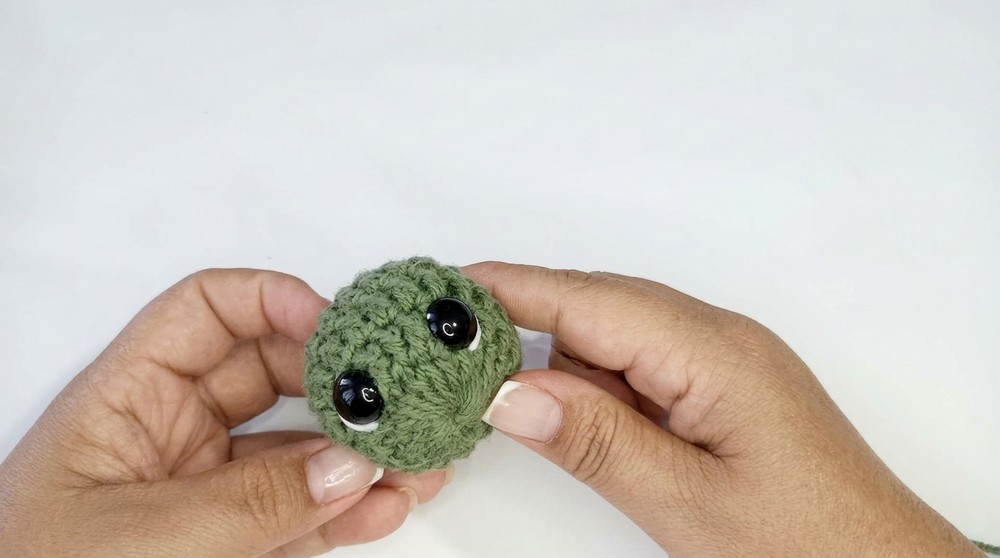
Adding Eyes:
- Attach amigurumi safety eyes between the second and third rows, spaced evenly.
- If using crochet eyes, sew or embroider small black circles in place of the safety eyes.
Tail
- Chain 5 stitches.
- Work 5 treble crochet stitches into the base chain loop, mirroring the head style but smaller in size.
- Chain 2 and slip stitch to create a pointed tail shape.
- Leave a long tail for sewing.
Limbs (Make 4 Identical)
Round 1:
- Make magic ring.
- Chain 1 and make 16 treble crochet stitches in the ring.
- Close ring tight.
Rows 2-4:
- Work 3 rows of treble crochet in the round without increases.
- Stuff lightly.
- Finish with slip stitch, leaving yarn for assembly.
Assembly & Finished Size
- Arrange the turtle parts: body, head, tail, four limbs.
- Use a tapestry needle and leftover yarn tails to sew the head onto the front of the body securely.
- Attach the tail at the rear bottom center.
- Sew the four limbs symmetrically along the sides of the body.
- Optionally, add small decorations such as flower embellishments glued or sewn on.
- Adjust stuffing where needed to maintain turtle shape.
The finished turtle doorstop measures approximately 23–24 cm long tip to tail and stands ready for functional use or decoration.
Conclusion
This crochet turtle doorstop pattern offers a delightful and practical project that combines beginner-friendly stitches with textured shaping techniques. Its robust construction supported by sand and fiberfill makes it suitable for everyday use, while thoughtful embellishments add personal charm. Crocheters will enjoy shaping this friendly turtle and creating a unique handmade accent for their home.