Bring warmth and charm to your home with this cute Crochet Frog Doorstop that's a sturdy, handmade accessory keeps doors secure while brightening any room.
Fill a touch of charm and function to your home with this delightful project. The Crochet Frog Doorstop Pattern highlights essential amigurumi techniques, featuring single crochet and slip stitches that make the process straightforward for crocheters at any level.
Free Crochet Frog Doorstop Pattern For Animal Lover
Using soft, durable yarn, the pattern creates a plush, vibrant frog that’s weighted perfectly to keep doors secure. Each step provides clear guidance on shaping the frog’s body, legs, and adorable facial features. Subtle color changes and stitch variations contribute to a textured, lively appearance.
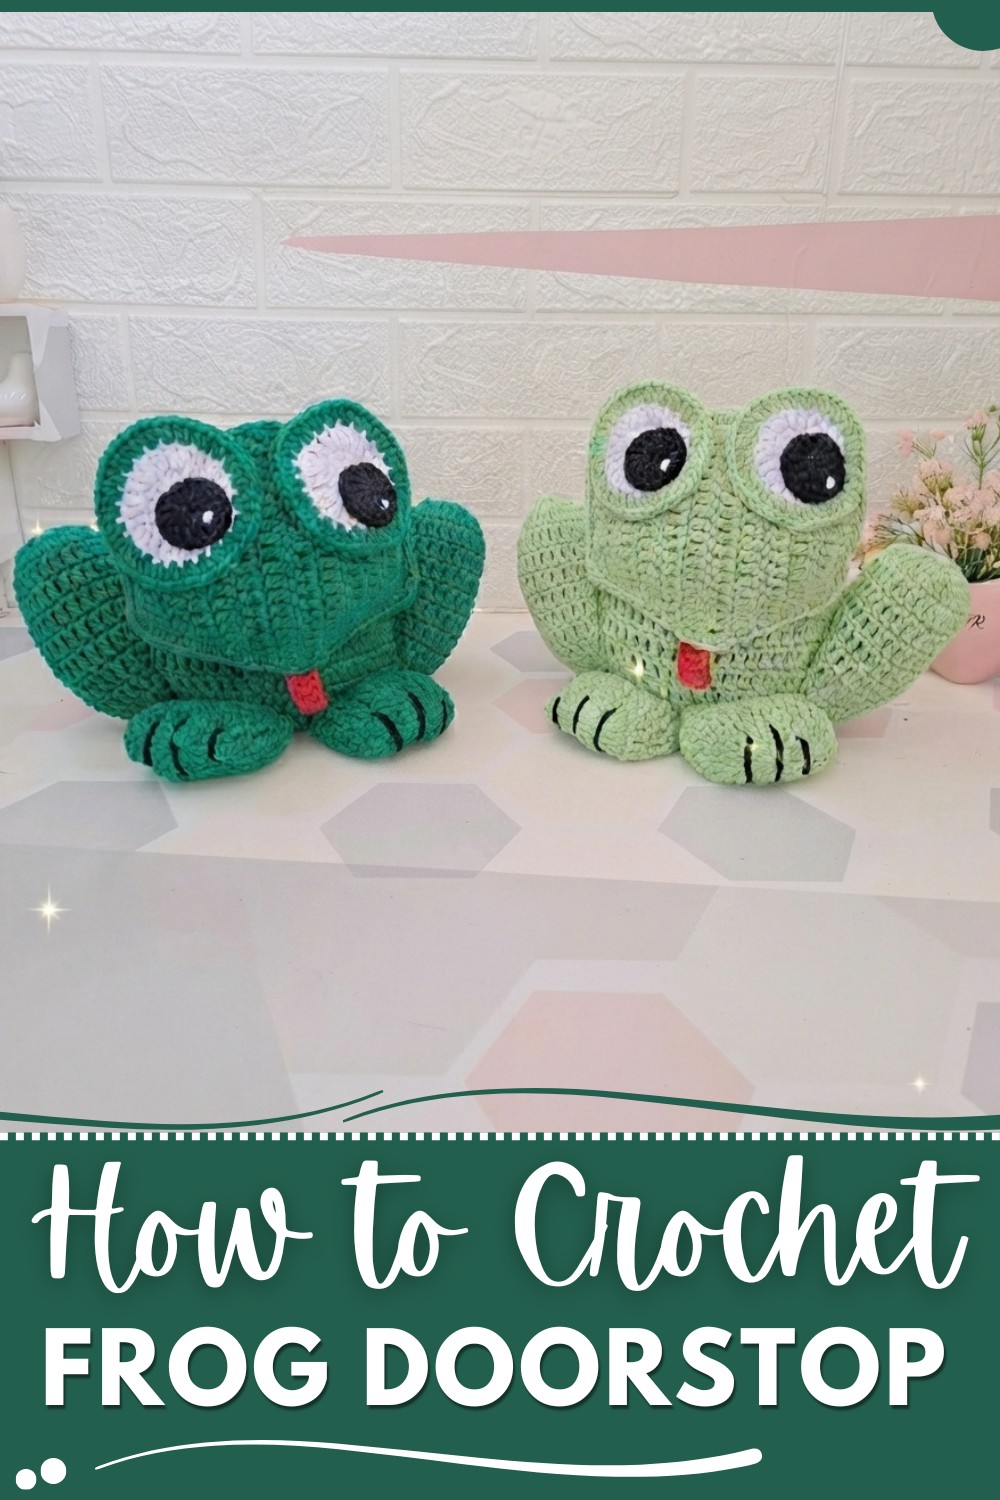
Ideal as a charming home décor, handmade gift, or nursery accessory, this project encourages skill-building through easy instructions. With attention to detail in every stitch, the finished frog brings warmth and character to any room’s style, perfect for fans of crochet enthusiasts, and amigurumi lovers.
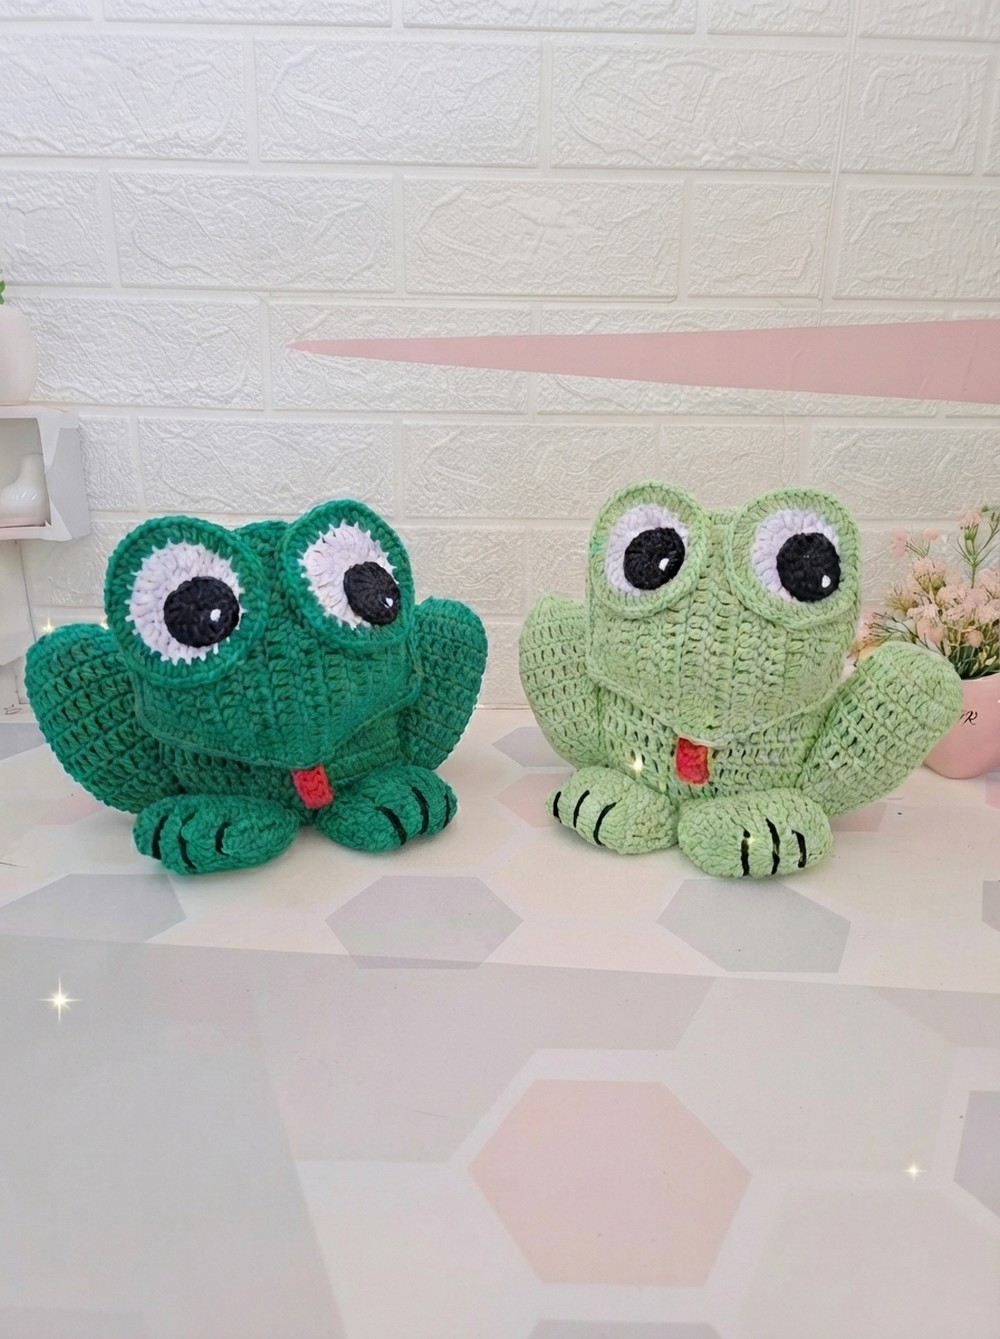
Crochet Giant Frog Doorstop
Today’s project is a large, adorable frog doorstop using size 6 yarn. We’ll construct the head, body, legs, tongue, and facial features, round by round, for a functional and cheerful accessory.
Quick Pattern Overview
- Head: Worked in rows, increased and decreased for shape.
- Body: Worked in rounds with increases, then straight.
- Legs: Magic ring to start, with rounds and some shaping.
- Eyes and Tongue: Small separate pieces for assembly.
- Embroidery and assembly for realistic detail.
Crochet Notes
- All instructions are in US terms.
- Use a sturdy, appropriately sized crochet hook for size 6 yarn.
- Take care in assembly: stuffing and sewing ensure stability.
- Black thread is used for finger embroidery.
- Optional glue helps secure parts.
Skill Level
Advanced Beginner – familiar with magic ring, increases, decreases, rounds and rows, and basic sewing/assembly.
Materials
- Size 6 yarn (green, white, black, red)
- Crochet hook (4–5mm)
- Yarn needle
- Black embroidery thread
- Polyfill stuffing
- 2 kg sand (securely bagged)
- Scissors
- Craft glue (optional)
- A label (optional)
Measurements
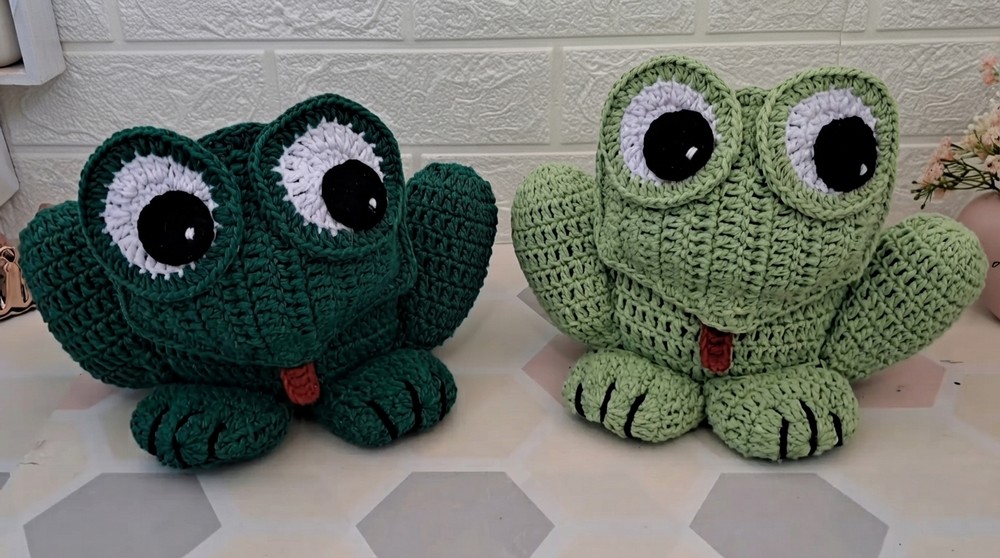
- Finished size: approx. 27cm wide, 19cm tall.
Gauge
- Not critical. 10 chains ≈ 8–10cm.
Stitch Abbreviations
- ch – chain
- sc – single crochet
- dc – double crochet
- hdc – half double crochet
- sl st – slip stitch
- inc – increase (2 stitches in 1)
- dec – decrease (2 stitches together)
- MR – magic ring
Special Stitches
- Increase: 2 dc in same st
- Decrease: dc2tog over two sts
The Pattern
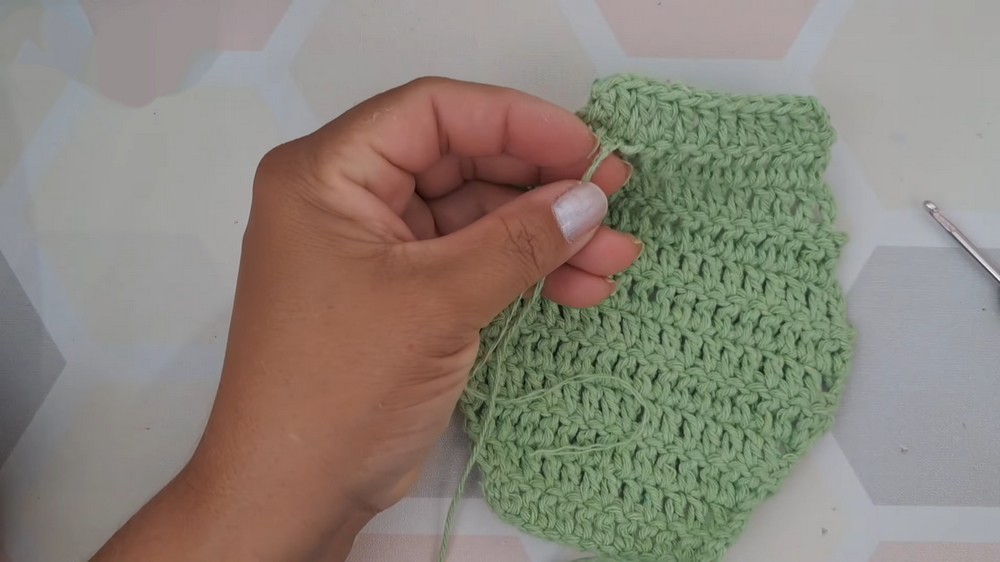
Head (Make 2, worked in rows)
- Row 1:
Make a slipknot, ch 10. Add ch 3 more (counts as first dc).
Work dc in marked ch and next 9 ch. (12 dc total). - Rows 2–5 (Increase rows):
Ch 3, turn. Inc (2 dc) in first st. Dc in each st to last, inc in last st. (Increasing by two each row.)
Repeat for 4 rows. - Row 6:
Ch 3, turn. Dc in each st across (no increases). - Rows 7:
Ch 3, turn. Dc in each st across (no increases). - Rows 8:
Ch 3, turn. Dc in each st across (no increases). - Rows 9 (Decrease rows):
Turn, sl st into next st, ch 3. Dc in each st, leaving last st unworked. (Decrease at both ends.) - Rows 10 (Decrease rows):
Turn, sl st into next st, ch 3. Dc in each st, leaving last st unworked. (Decrease at both ends.) - Rows 11 (Decrease rows):
Turn, sl st into next st, ch 3. Dc in each st, leaving last st unworked. (Decrease at both ends.) - Rows 12 (Decrease rows):
Turn, sl st into next st, ch 3. Dc in each st, leaving last st unworked. (Decrease at both ends.) - Row 13:
Ch 3, turn, dc across. Fasten off, leave tail.
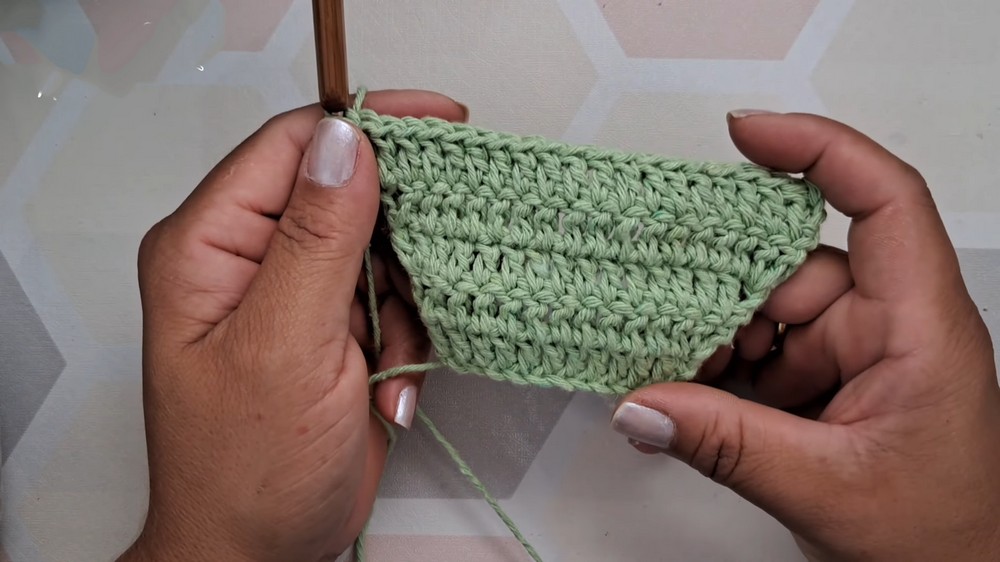
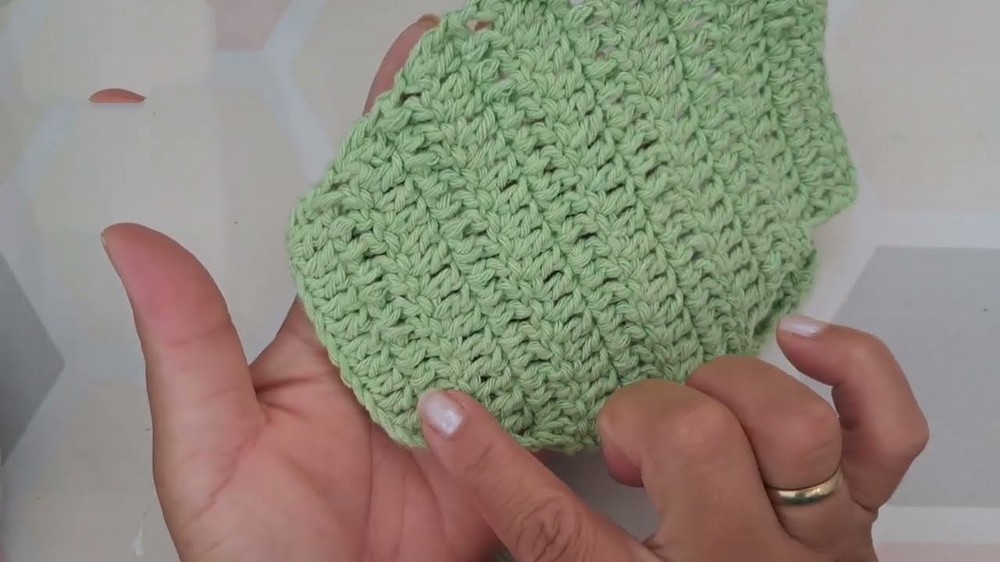
Make 2.
Body (Worked in rounds)
- Round 1:
MR, ch 3 (count as dc), 15 dc in ring (16 dc total). Sl st to join. - Round 2:
Ch 3, inc in same st (2 dc in same). Inc in every st around (2 dc in each) (32 dc). Sl st to join. - Round 3:
Ch 3, inc in next st, dc in next. (Increase, dc) repeat around. (48 dc). Sl st. - Round 4:
Ch 3, inc in next st, dc in next two. (Increase, dc, dc) around. (64 dc). Sl st. - Rounds 5:
Ch 3, dc in each st. Sl st to join. - Rounds 6:
Ch 3, dc in each st. Sl st to join. - Rounds 7:
Ch 3, dc in each st. Sl st to join. - Rounds 8:
Ch 3, dc in each st. Sl st to join. - Rounds 9:
Ch 3, dc in each st. Sl st to join. - Rounds 10:
Ch 3, dc in each st. Sl st to join. - Rounds 11:
Ch 3, dc in each st. Sl st to join. - Rounds 12:
Ch 3, dc in each st. Sl st to join. - Rounds 13:
Ch 3, dc in each st. Sl st to join. - Rounds 14:
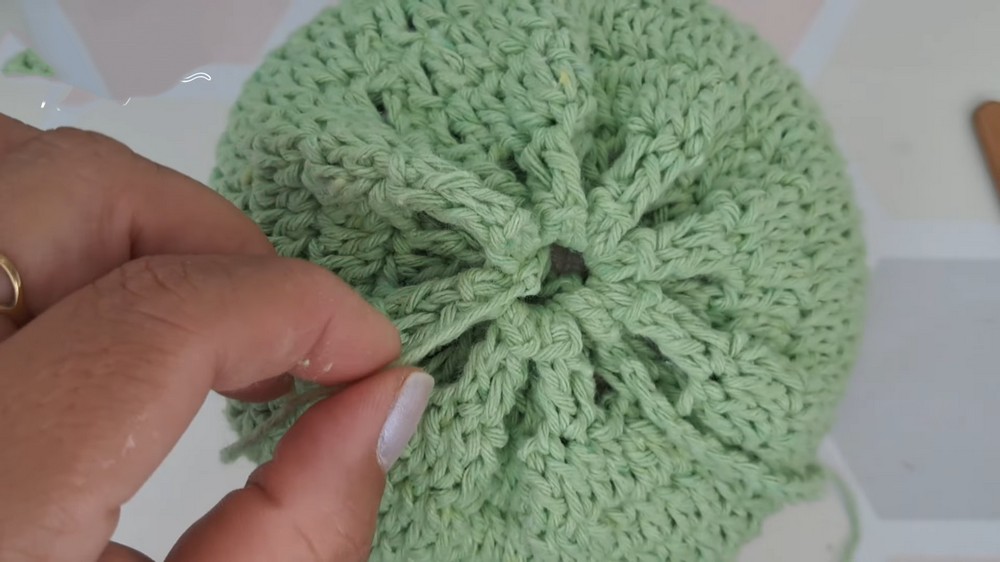
Ch 3, dc in each st. Sl st to join. - Round 15 (Eyelet):
Ch 3, dc in next, ch 2, skip 1 st, dc in next two; repeat around. Sl st to finish.
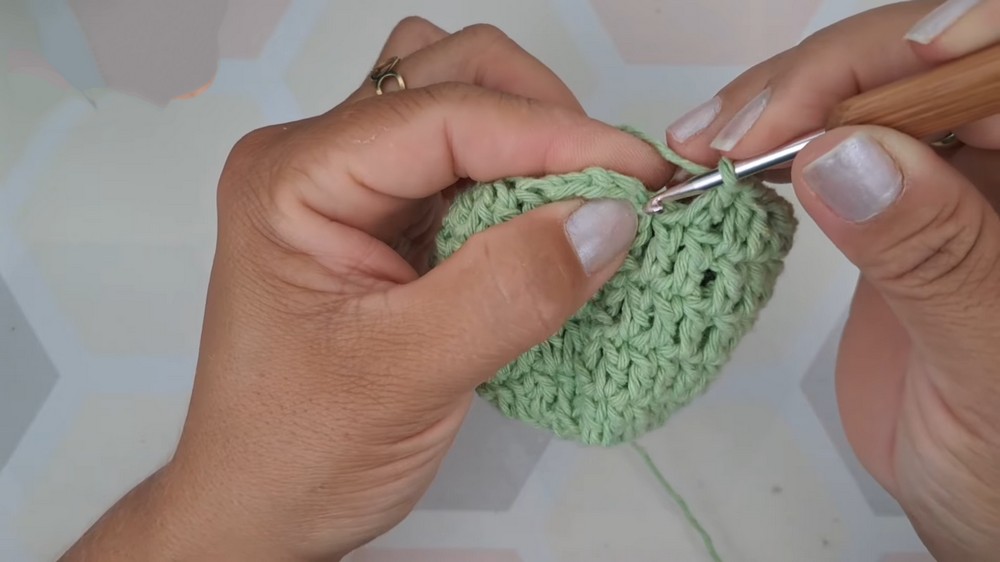
Legs (Make 2, worked in rounds)
- Round 1:
MR, ch 3 (count as dc), 13 dc in ring (14 dc total). Sl st. - Round 2:
Ch 3, inc in each st (28 dc). Sl st. - Rounds 3:
Ch 3, dc in each st. Sl st. - Rounds 4:
Ch 3, dc in each st. Sl st. - Rounds 5:
Ch 3, dc in each st. Sl st. - Rounds 6:
Ch 3, dc in each st. Sl st. - Rounds 7:
Ch 3, dc in each st. Sl st. - Rounds 8:
Ch 3, dc in each st. Sl st. - Rounds 9:
Ch 3, dc in each st. Sl st.
Round 10 (Decrease):
Dc2tog, dc in next, repeat around. Sl st. Fasten off, leave long tail.
Tongue (Worked in rows)
Ch 10, mark, ch 3 more.
In marked ch and next 6 ch, dc (7 dc).
Hdc in remaining chains to end.
Fasten off.
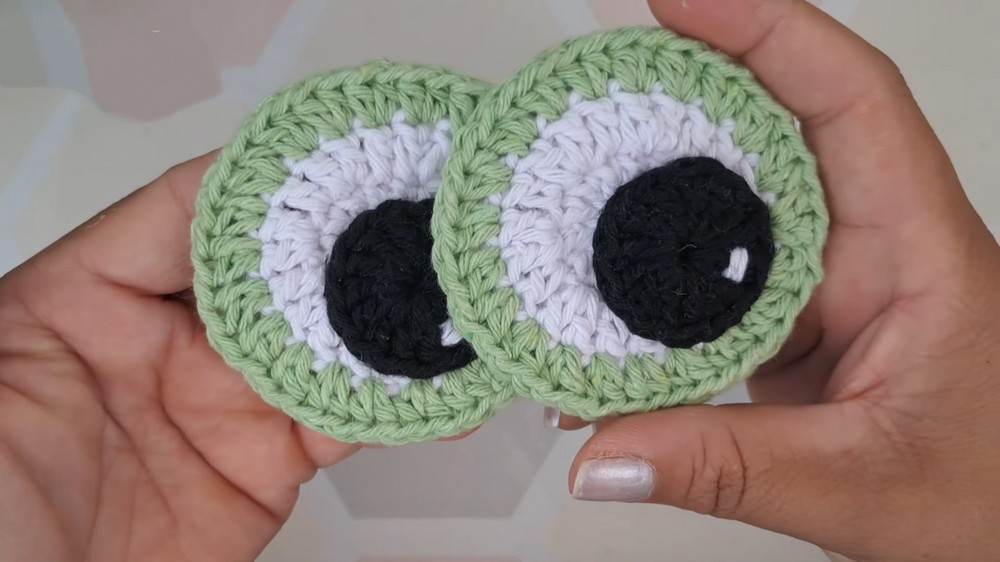
Eyes (Make 2 white, 2 black, both in rounds)
- White:
MR, ch 3, 15 dc in ring (16 dc). Sl st.
Ch 3, inc in next st, dc in next; repeat around.
Work 1 round: 2 hdc in each st (increase around). Sl st. Fasten off. - Black:
MR, ch 3, 13 dc in ring (14 dc). Sl st.
With white yarn, overhand stitch a highlight.
Assembly (Step-by-Step)
- Add tongue: Place tongue between head pieces at straight end, glue to hold. Join head pieces with sc around edge, stuffing before closing fully.
- Attach eyes: Sew or glue black centers to white, then glue eyes to face, leaving upper ridge unglued for a 3D look.
- Fill body: Place weighted sand package in body, stuff with polyfill around it.
- Join head to body: Position and securely sew head onto body.
- Prepare and attach legs: Partially sew closed, position on lower body edge, sew securely.
- Add details: Using a sharp needle and black thread, embroider three “toe” lines on each leg.
- Finish body base: Use a crocheted chain (about 60 ch) as a drawstring, thread through eyelet round.
- Attach label if desired.
Conclusion
You’ve now created a cheerful, sturdy frog doorstop measuring roughly 27cm wide and 19cm tall. This project is great for practicality and creativity – and perfect for gifting.