Sweet and colorful creations come alive with this free crochet Amigurumi Popsicle adding a refreshing touch of charm to your handmade crochet designs.
Summer days are even more fun when you have a colorful popsicle to imagine enjoying! The Free Crochet Amigurumi Popsicle Pattern is a delightful and easy project that lets you create a soft, bright little popsicle all by yourself. This pattern is great for beginners and kids because the steps are simple, and the end result looks super cute and happy.
Free Amigurumi Popsicle Crochet Pattern for Kids & Gifts
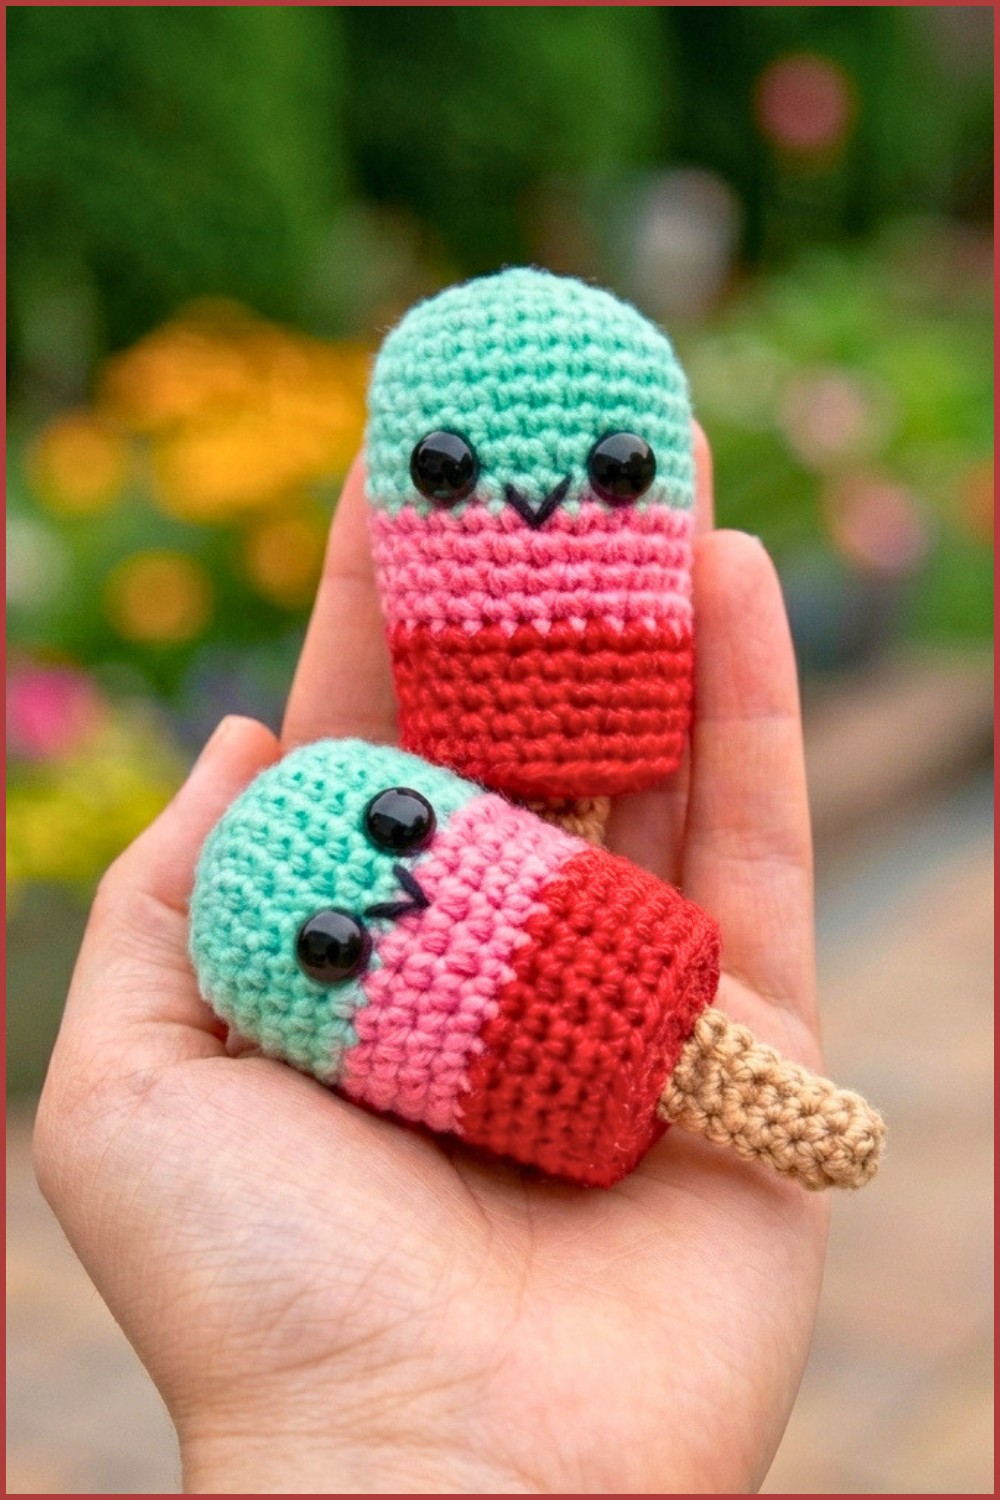
This crochet popsicle is really beautiful with its smooth, rounded shape and cheerful colors. You can choose from any shades you like, bright reds, rosy pink, red, or soft pastels—to make your popsicle unique. If you want a bigger or smaller popsicle, just use a bigger or smaller hook or thicker or thinner yarn. It feels soft and squishy, making it a great toy, decoration, or even a part of seasonal crochets for summer parties.

To make this popsicle, you will use a crochet hook and worsted weight yarn, which works perfectly to give the right size and texture. The main stitch for this pattern is the single crochet, which helps keep the stitches tight and neat. You’ll also need the magic ring technique to start the popsicle shape without gaps at the center. The sticks and popsicle parts are crocheted separately and then sewn together for a nice finish.
With this pattern, you can create many things like keychains, toys, bag charms, or cute summer gifts. The Free Crochet Amigurumi Popsicle Pattern suits seasonal crafting and handmade celebrations perfectly. It’s a fun and bright way to bring summer joy into your home or to share with family and friends.
Simple Kawaii Popsicle Amigurumi
Before You Start
- Read the full pattern before you begin.
- Gather all yarn, tools, and stuffing.
- The project is worked in joined rounds.
- Use a stitch marker to mark the start of each round.
- Stuff your project as you go for best results.
Pattern Notes
- Start with a foundation chain, working into the back bumps for a neat edge.
- Work in the round, joining each round with a slip stitch unless otherwise indicated.
- Where color changes are called for, always change color on the final yarn-over of the last stitch of the old color.
- The "invisible decrease" is used for neat shaping.
- Add facial features after finishing the main body but before closing.
How I Made the Pattern
- Crocheted an oval foundation for a seamless popsicle base.
- Used rounds to build sides and color stripes.
- Worked decreases and a back-loop round for crisp bottom shaping.
- Created a separate, flat, unstuffed stick.
- Finished with a stitched-on smile and blush for personality.
Skill Level
Beginner to Confident Beginner
Finished Size
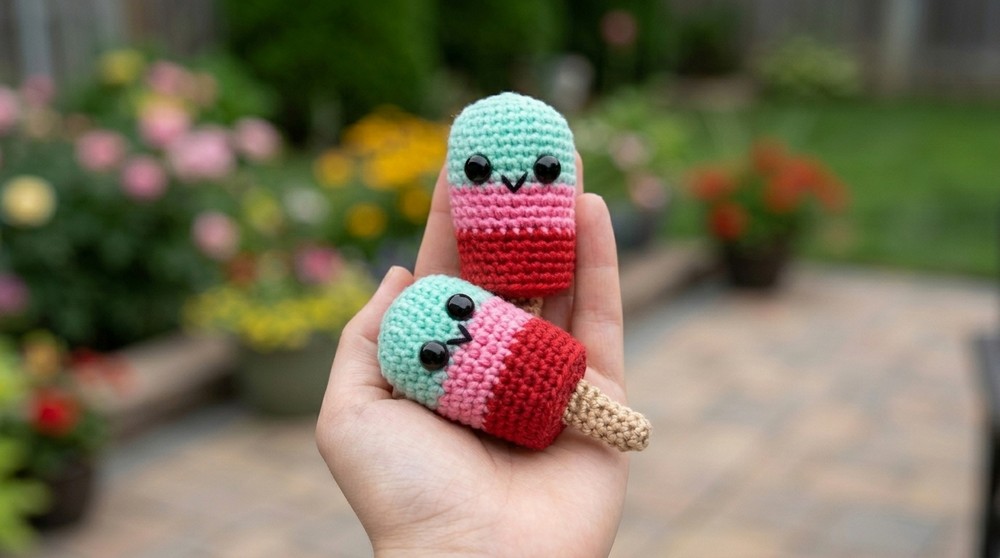
Approx. 10–12 cm (4-5") tall (including stick)
Materials
- Worsted weight yarn in:
- Popsicle colors: Mint/Teal (top), pink (middle), red (bottom)
- Tan or light brown (stick)
- Tiny amounts of Black (smile) and Pink (blush)
- 3.25 mm crochet hook
- Polyfill stuffing
- Two safety eyes (6–10 mm), or black embroidery/felt
- Yarn needle
- Scissors
- Stitch marker
Gauge
Gauge is not critical, but work tightly so stuffing doesn’t show.
Stitch Abbreviations
- ch = chain
- sc = single crochet
- inc = increase (2 sc in one stitch)
- dec = decrease (see Special Stitches)
- sl st = slip stitch
- st(s) = stitch(es)
Special Stitches
Invisible Decrease (dec):
Insert hook into the front loops only of next 2 stitches. Yarn over, pull through both front loops, yarn over and pull through last 2 loops on hook.
The Pattern
Popsicle Body
With Top Color (mint/teal):
- Foundation: Ch 7, do not work tightly.
- Row 1: Working in back bumps, sc in 2nd ch from hook and each across (6 sts).
- Row 2: Rotate, working down the other side of the chain: sc in next 5 available loops, inc in last loop (2 sc in same loop), continue working on the other short end, sc 5, inc in last st. (14 sts total.)
- Round 3: (Inc, sc 5) twice, (inc, sc 5) twice. (18)
- Round 4: (Inc in next 2 sts, sc 5, inc in next 3 sts, sc 7, inc in last st). (24)
- Rounds 5–9: Sc in each st around. (24)
The base is done! You now have a rectangle with softly rounded ends.
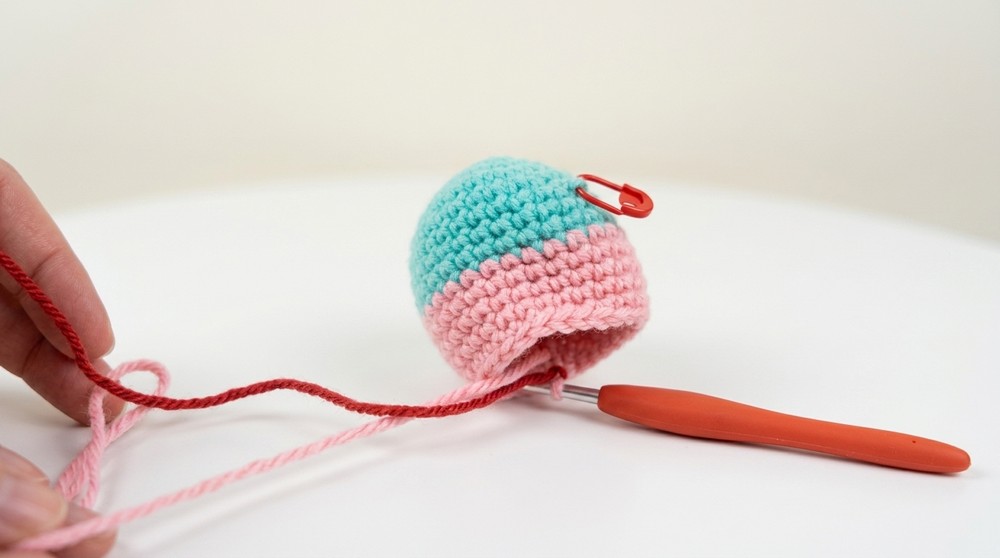
Color Change
On the final st of Round 9, switch to Color 2 (pink) as follows:
Stop 5 sts before end, lay second color across work, sc over the tail for 4 sts, on 5th st finish with new color.
- Rounds 10–14 (Color 2): Sc in each st around. End 5 sts before round end, prepare for next color change.
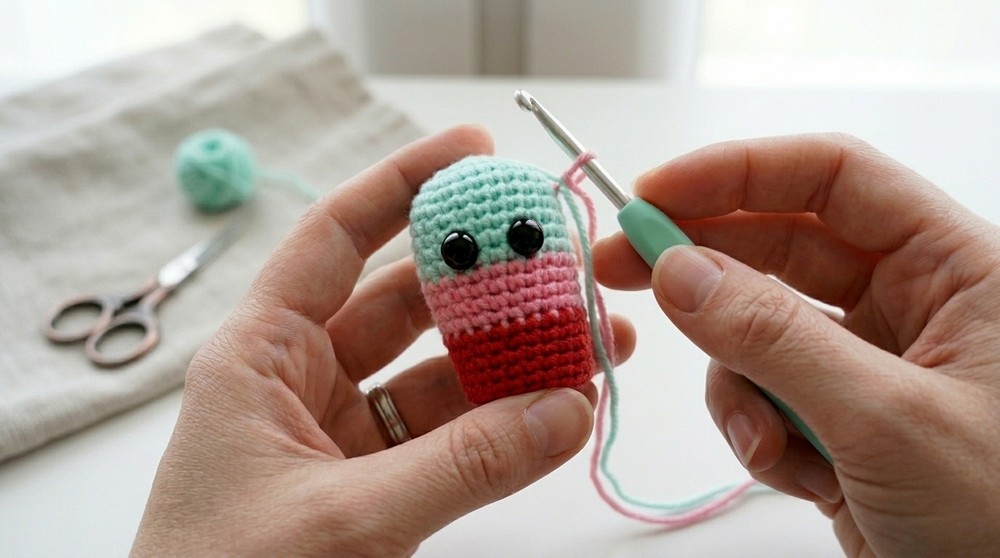
- Switch to Color 3 (red): Change yarn as before, crocheting over yarn tail.
- Rounds 15–19: Sc in each st around.
Now, stuff the body lightly, pushing most fill into the top/center so the bottom remains a little flatter. Add safety eyes now (between top and middle stripes, centered, 3–4 sts apart).
- Round 20 (BL only): Sc in back loops only around (24).
- Round 21: [Dec, sc 2] six times (18)
- Round 22: [Dec, sc 1] six times (12)
- Round 23: Dec around (6)
- Finish: Sl st to join, cut long tail. Weave through front loops, pull tight to close, weave in end.
Your popsicle body is now complete!
For those who prefer prose:
You start by chaining 7 and working into both sides to get a rounded-rectangle. Continue in rounds, making increases at the corners, then work several rounds even (no increases) in each color for the stripes. Switch to blue, then purple, and add eyes and stuffing. Start decreasing, working in the back loop only for one round for a sharp edge. Close the bottom with a slip stitch and sew the hole shut.
Popsicle Stick
With tan/light brown:
- Round 1: Start a magic ring (MR), sc 7 into ring (7)
- Rounds 2–6: Sc in each st (7). (Total 5 rounds after MR)
- Finish: Sl st to join, fasten off, leaving tail for sewing. Do not stuff.
Assembly & Finishing
- Sew stick to center of flat popsicle base using whip-stitch.
- Embroider mouth: Stitch a small curve or chevron between eyes in black.
- Embroider blush: Stitch a pink dash or oval under each eye.
- Squish body flat and shape as desired.
- Weave in all ends.

What you can make by using these stitches
- Popsicle keychains (add a jump ring).
- Play food for children’s kitchens.
- Festival bunting or seasonal garland (in rainbow colors).
- Themed party favors.