
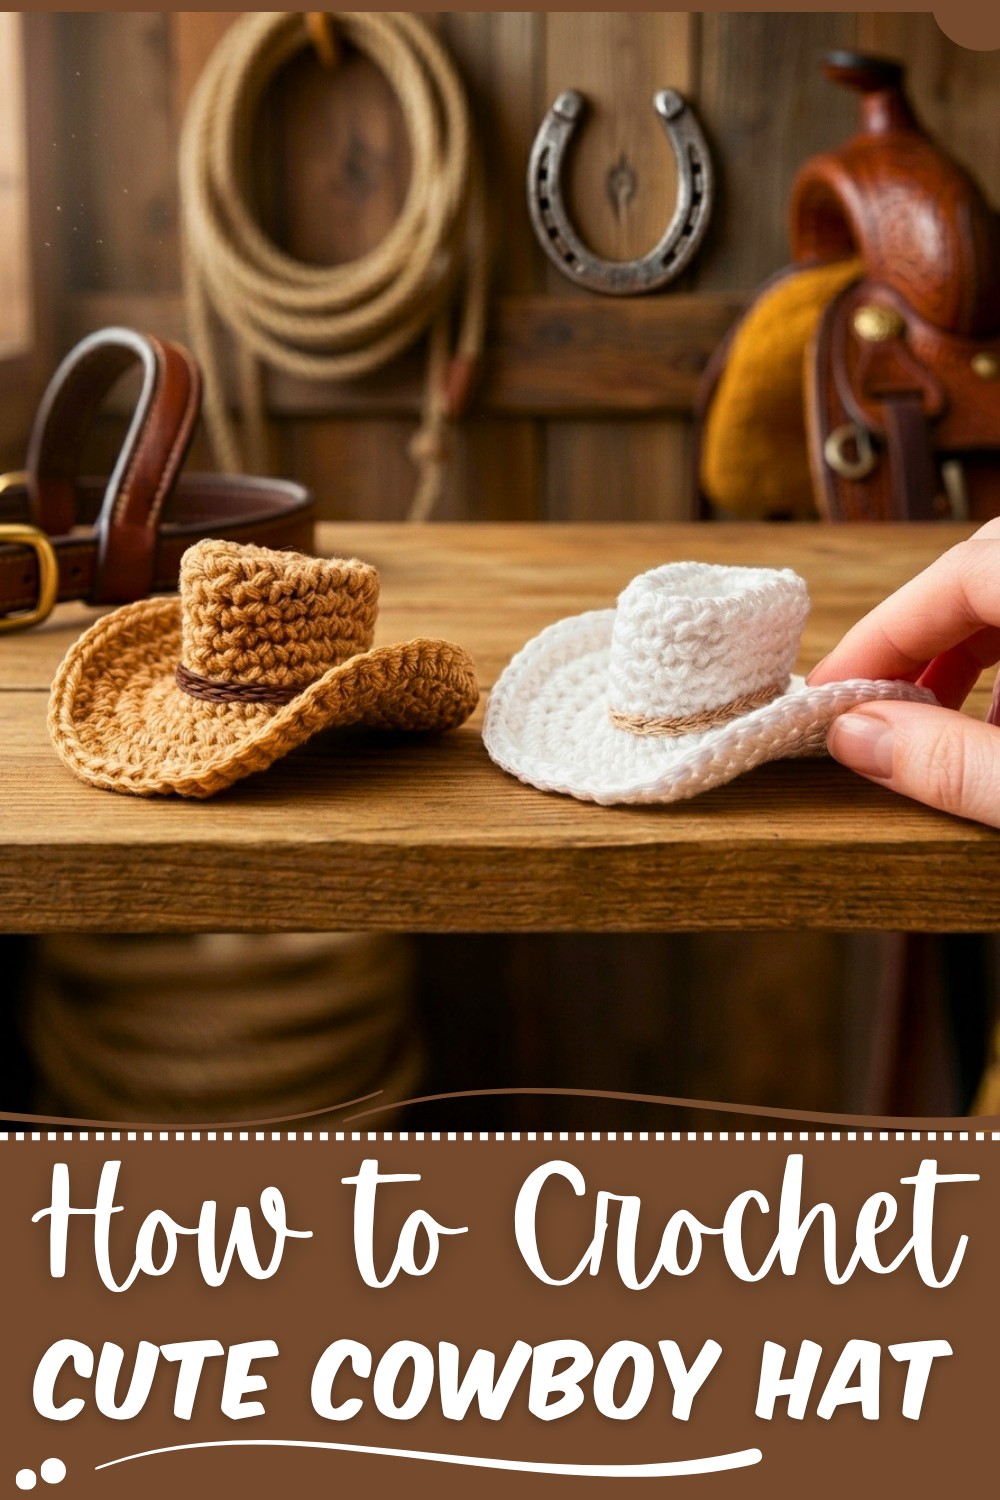
Have fun making your own stylish and cozy cowboy hat with this free crochet pattern, perfect for adding a playful and creative touch to your outfits.
Not everyone thinks crochet projects are easy, but the Free Crochet Cowboy Hat Pattern proves that making something fun and stylish can be simple and enjoyable for everyone! This hat is a charming little piece shaped just like the real cowboy hats you see in movies and stories. It’s perfect for dress-up, decorations, or gifts that show you care. You can even make small changes to create a cowboy hat for dolls, a party favor, or a western-themed coaster.
Free Crochet Cowboy Hat Pattern for All Ages
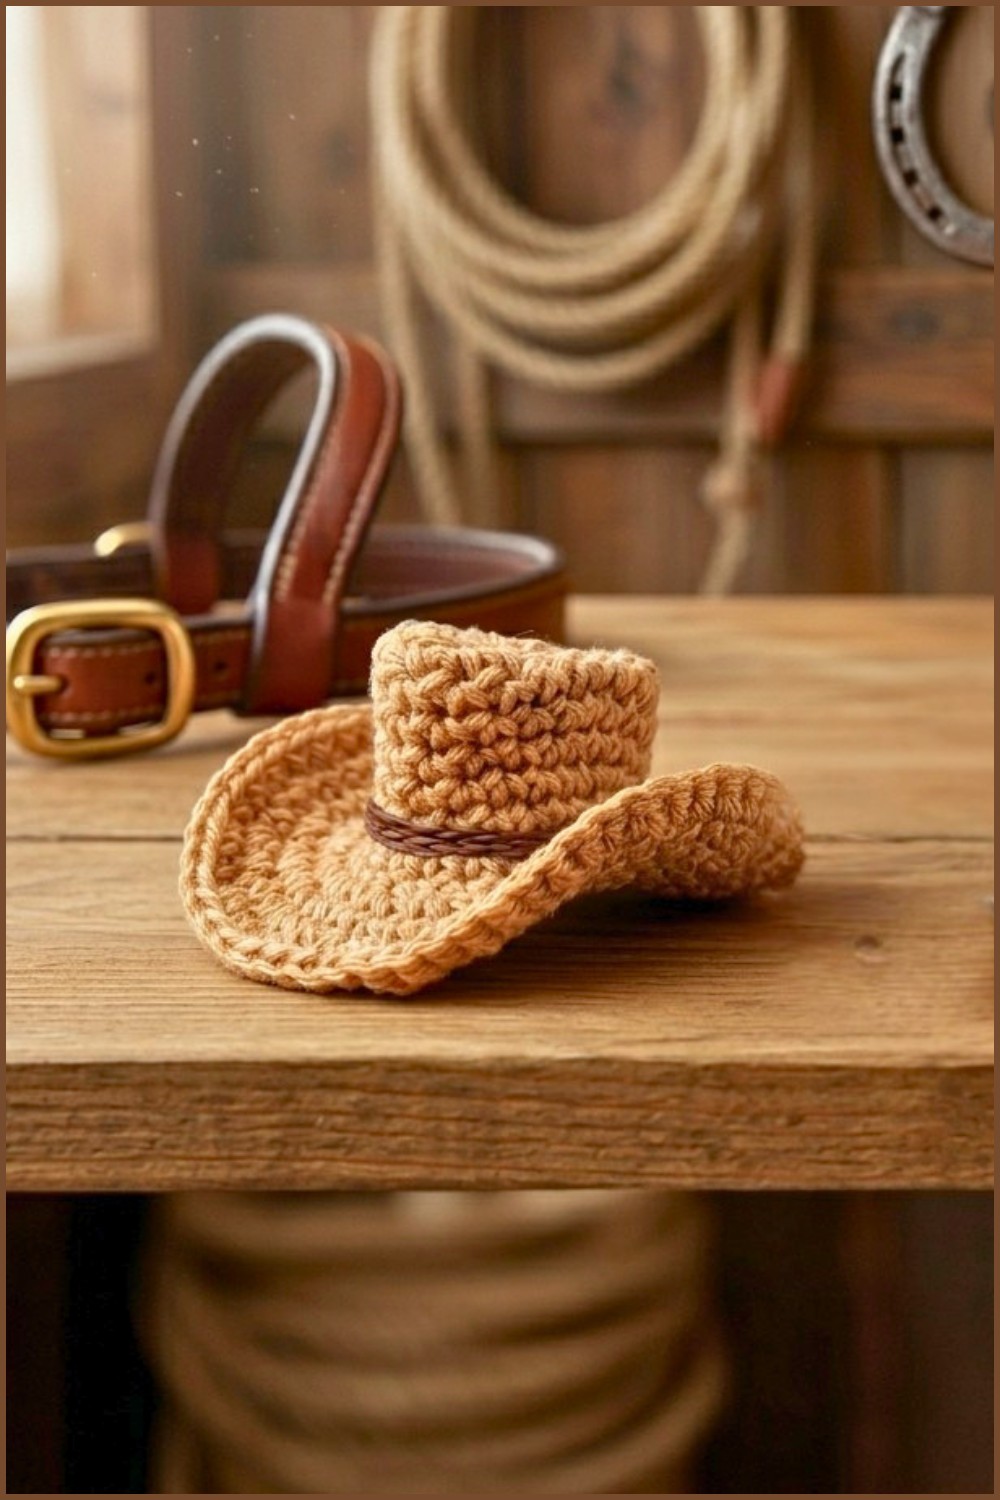
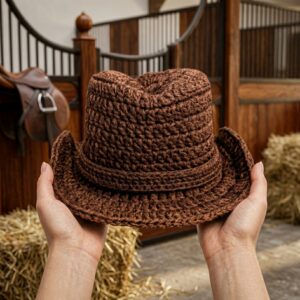
The hat looks lovely with its wide brim and tall crown, giving it a classic western feel. You can choose any color you like—bright and bold or soft and gentle—to make it fit your style. Changing the size is easy too, so you can make hats for babies, children, toys, or even pets! The shape holds well and looks smooth, which makes it a joy to wear or display.
The pattern uses a special stitch that helps build the hat’s shape in simple rounds, forming the crown and wide brim perfectly. This stitch creates a soft but strong fabric that keeps the hat’s shape just right. It’s a great project for beginners and anyone who wants to try out some shaping without a lot of difficulty. The final size can be adjusted easily to fit various needs.
This cowboy hat isn’t just a craft project, it’s a playful and useful creation that brightens up any day. Whether for fun, decoration, or as a gift, this pattern offers a wonderful way to make something special with ease and joy.
Mini Crochet Cowboy Hat Pattern
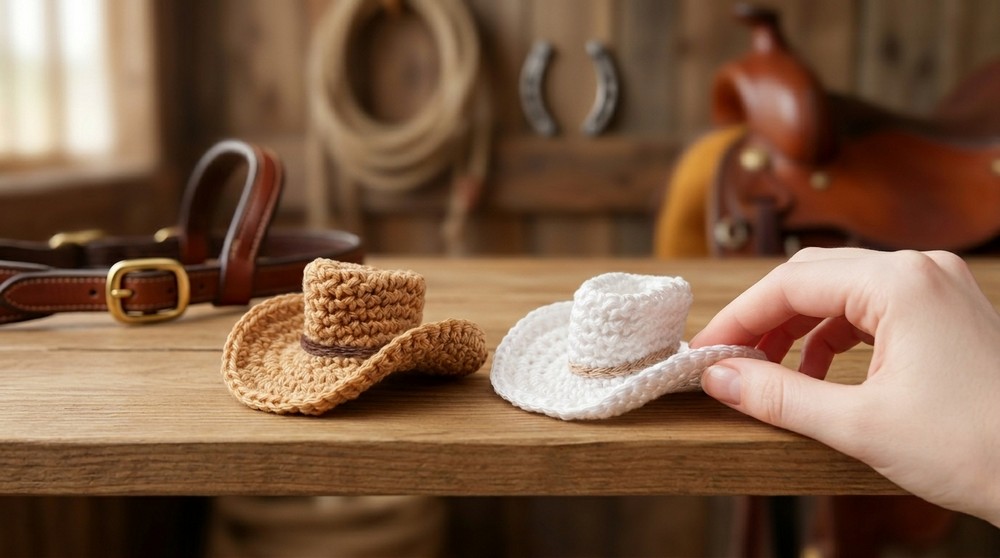
Welcome to a step-by-step pattern for a mini crochet cowboy hat! Designed as a charming project for personalized Father's Day gifts, keychains, party favors, or table placeholders, this hat blends structure and style with simple stitches. The project is small enough for fast results and approachable for crafters of all levels. Through clear increases, ribbed shaping, and a decorative band, the mini cowboy hat holds its shape and instantly adds western flair to your creations.
Skill Level & Terminology
- Skill Level: Beginner to Advanced Beginner
Suitable for those comfortable with basic stitches, increasing, working in rounds, and a little shaping. - Terminology: US Crochet Terms
Materials & Tools
- Worsted or DK cotton yarn in beige (hat body)
- Cotton yarn in brown (decoration/band)
- 3mm crochet hook
- Stitch marker
- Tapestry needle (for finishing and decoration)
- Scissors
Gauge
Gauge is not essential for this project.
For reference:
- 10 sc x 10 rows = 4 x 4 cm (with recommended yarn/hook)
- Finished hat is proportionally small for keychains, dolls, or centerpiece accents.
Abbreviations List
| Abbreviation | Meaning |
|---|---|
| ch | chain |
| sc | single crochet |
| inc | increase (2 sc in one st) |
| sl st | slip stitch |
| BLO | back loop only |
| sts | stitches |
Special Stitch Instructions
- Increase (inc): Work 2 single crochets in the same stitch.
- Back Loop Only (BLO): Insert hook ONLY under the back loop of the stitch.
- Invisible finish/crochet closure: Used at final round and for a neat, seamless look (description provided in pattern).
How To Start and Main Stitches Used
You will start the hat by crocheting an oval base in rows and then working in rounds, switching from standard stitches to back-loop-only for brim definition. Only single crochet (sc) and increases are used throughout, with optional slip stitches for edge finishing and a simple embroidery for decoration. The pattern is ideal for those new to basic increases and looking to learn about shaping in small projects.
The Pattern!
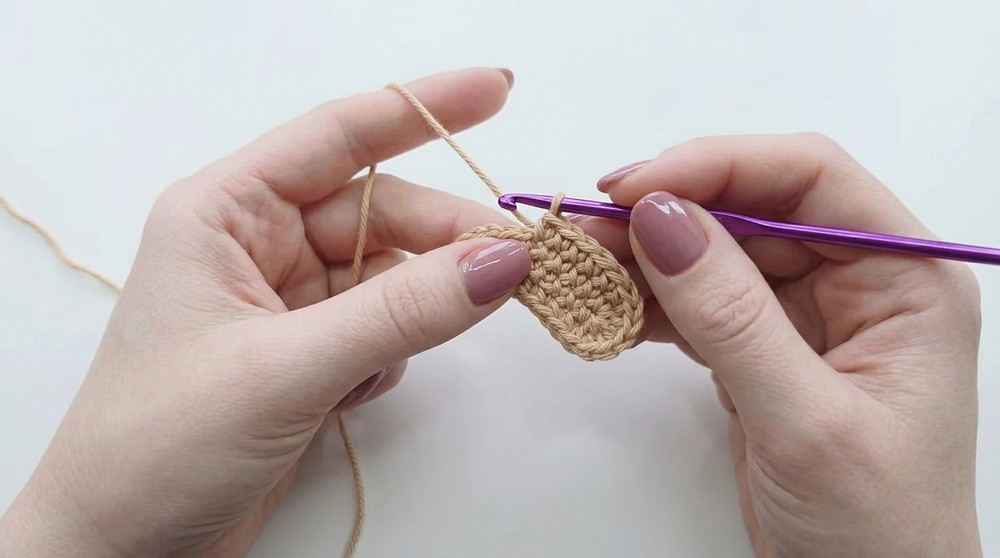
1. Hat Base (Oval Foundation)
- Create Slip Knot and Chains:
- Make a slip knot (does not count as a stitch).
- Ch 8.
- First Row (Foundation):
- Work 3 sc in the first ch (this is the end of the chain—turn to work around the oval).
- Sc in each of next 5 ch.
- 2 sl st in the last ch.
- You now have an oval shape; rotate your work to crochet along the opposite side of the starting chain.
- Sc in each next 5 ch.
- 2 sc in the first chain (where you began the 3 sc).
- Join with sl st to first sc.
(Total: 17 sc)
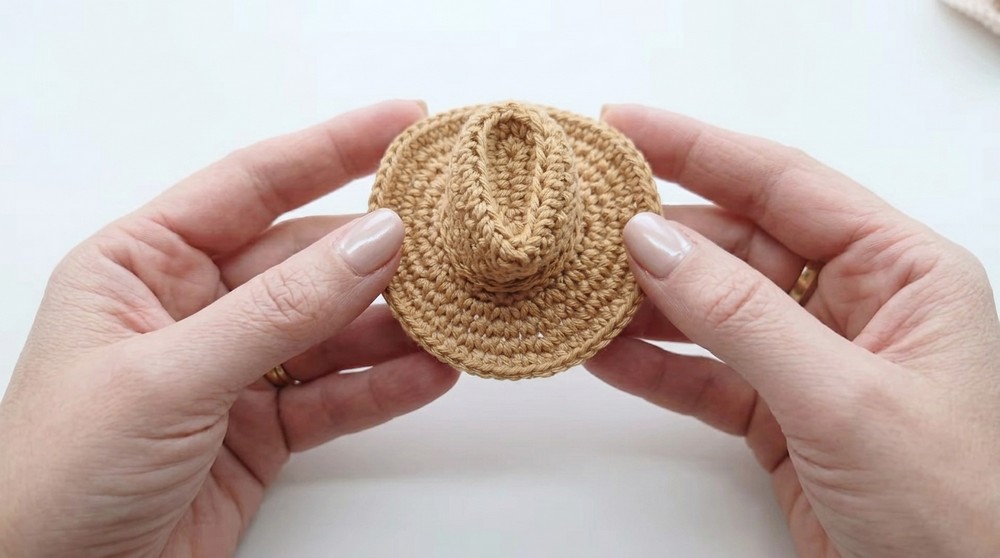
After this section you should see a small oval, which is the crown base of your hat. All stitches proceed evenly, crocheting around the chain.
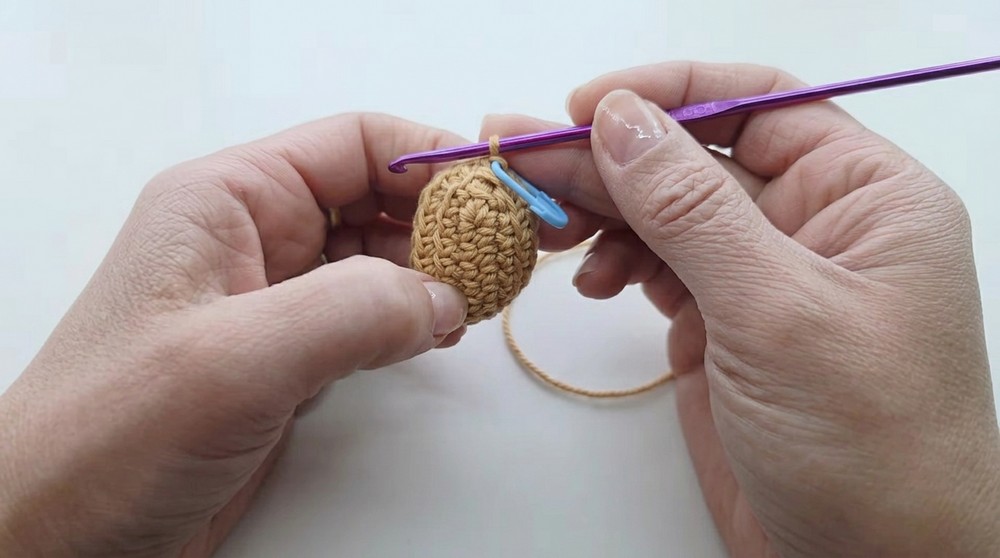
2. Increase & Crown Shaping Rounds
- Round 2:
- Ch 1, then sc in each st around (17 sc total).
- When you reach the two sl sts, remember to crochet into each of them.
- Join with sl st to first sc.
If you’re unsure, just crochet single crochets in every chain, and make sure you have 17 at the end of the round.
- Round 3:
- Do NOT ch 1. Work this and the next round in BLO for ribbing effect.
- BLO sc in first st, mark this st with stitch marker.
- Continue BLO sc in each st until you reach the three central stitches at each curve. In those three stitches, work 2 sc (inc) in each.
- Continue around.
- Join with sl st to first BLO sc.
(You have now increased by 3 stitches; total: 20 sts.)
This round creates the subtle upturn at the top by working in the back loops and increasing at the ends.

3. Hat Height (Body of Crown)
- Rounds 4–10:
- Sc in each st around (both loops).
- Continue for a total of 7 rounds (including this one).
- At the end of each round, join with sl st to the first sc.
This step gives your hat height. For visual learners: Just make single crochet stitches all the way around for seven rows, joining after each row.
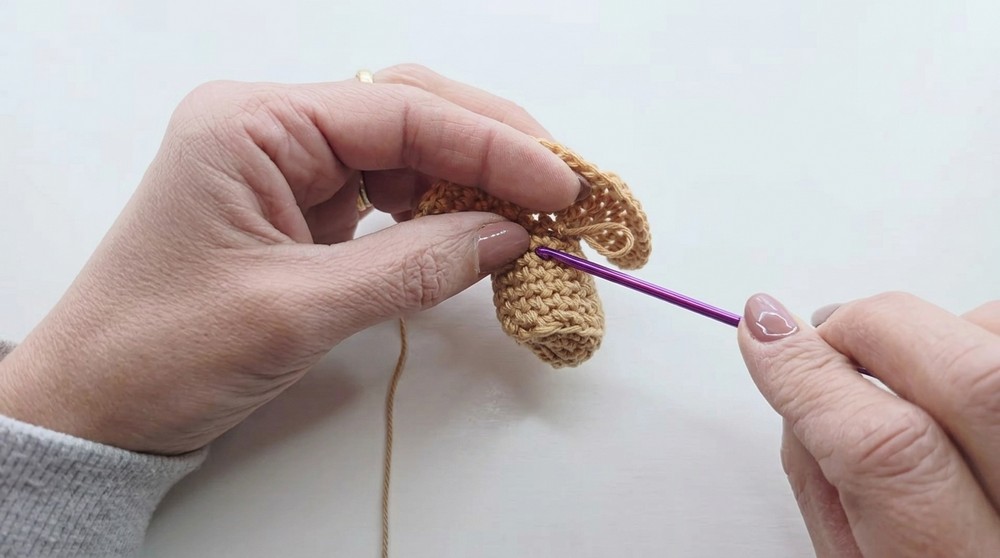
4. Brim Shaping
- Brim Increase (Round 11):
- In first st, work 2 sc (inc) and mark that stitch.
- Work 2 sc in every st around (inc in every st).
(Total: 40 sts)
After this round, your work should start flaring outward to form the brim.
- Brim Body (Round 12):
- Sc in each st around (40 sts).
- Join with sl st to first sc.
Work evenly—this builds up the stiffness and breadth of the cowboy hat’s brim.
- Final Brim Round with Last Increase (Round 13):
- Sc in marked st, mark it.
- [Sc in next st, inc in next st]—repeat around.
- (Total: 60 sts)
You have now created the signature wide flare for your hat’s brim.
- Final Round (Round 14):
- Sc in each st around (60 sts).
- Join with sl st, leaving a long tail.
This is your last round. For a neater finish, use the invisible join with your needle, as shown below.
5. Invisible Fastening & Shaping
At the end, weave tail through the next st, back through the previous st, and under loops behind. Pull gently to create a seamless stitch and hide yarn tail inside the hat.
6. Decorative Embroidery (Hat Band)
- Using brown yarn and tapestry needle, embroider a running stitch or chain stitch along one of the lower rounds of the hat’s crown.
- Secure ends inside the hat and trim.This decorative touch represents the classic cowboy hat band and gives your project polish and contrast.

For Pattern Readers or Beginners
After making the oval base, work in single crochets and add increases at sides. Build up the body, then increase in every stitch to flare for the brim. Embroider a decorative band with another color and finish with invisible weaving for a seamless look.
Finished Size
- Hat Diameter: ~6–8 cm (depending on yarn and hook)
- Brim Width: ~2 cm
- Height: ~3–4 cm
(Sized for keychains, dolls, or centerpiece decor; scale up with thicker yarn and larger hook.)
Assembly & Finishing
- Shape brim and crown with fingers, pinching at sides/front for the classic cowboy look.
- Weave or glue any remaining ends securely.
- For extra stiffness, immerse finished hat in 1:1 water/glue mix (or water/sugar mix). Pin to shape until dry for best results.
- Attach split ring for keychain, sew onto amigurumi, or glue on centerpiece.
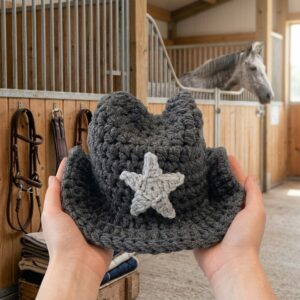
Conclusion
This adorable mini cowboy hat is the perfect touch for Father’s Day, western-themed parties, gift decor, or everyday fun. Using only basic stitches—single crochet and increase—you can quickly customize and create for any occasion. Block or stiffen for perfect brims, adjust colors for unique style, and enjoy the creative possibilities.

![Crocheted cowboy hat for cat (easy) [English subtitles] cowboy hat for cat 9](https://www.crochetpatterns.in/wp-content/uploads/2026/06/Crocheted-cowboy-hat-for-cat-easy-English-subtitles-cowboy-hat-for-cat-9-300x300.jpg)