Enjoy hours of fun with this Free Crochet Snake Pattern that offers playful curves and cozy texture perfect for every skill level in crochet projects.
Creating a handmade toy that combines both charm and versatility is a rewarding experience for any crocheter. The free crochet snake pattern provides a wonderful project to make a soft, flexible snake that serves multiple purposes—from a playful companion for children to a unique decorative piece. This pattern is enjoyable to work on and results in a visually appealing finished item.
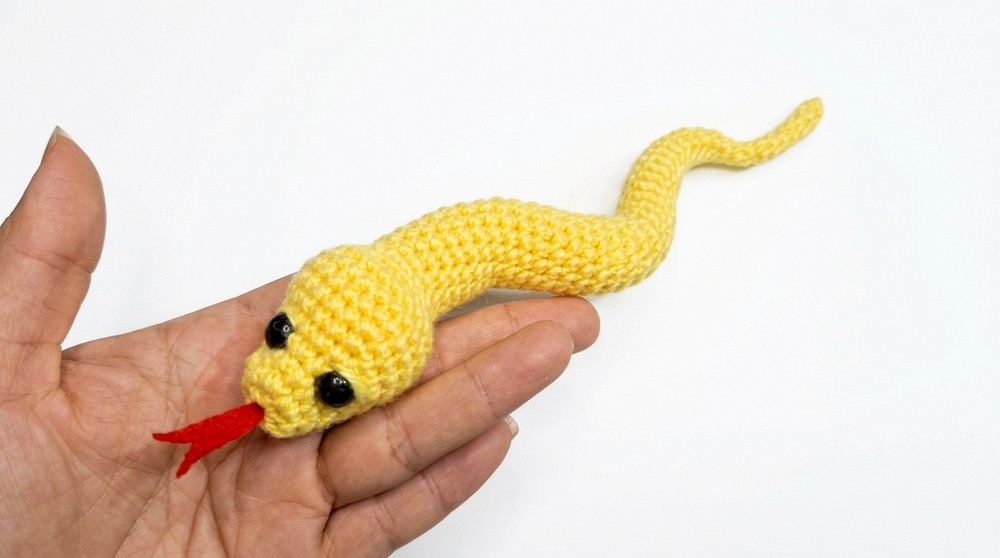
The completed crochet snake features a smooth texture with tight, even stitches that give it durability and a soft touch. Its elongated, winding shape can be easily adjusted in length, allowing for personalization to suit different needs, whether as a cozy scarf, a whimsical décor accent, or a fun toy. Small design details—such as embroidered eyes and a flicking tongue—add personality and bring the snake to life.
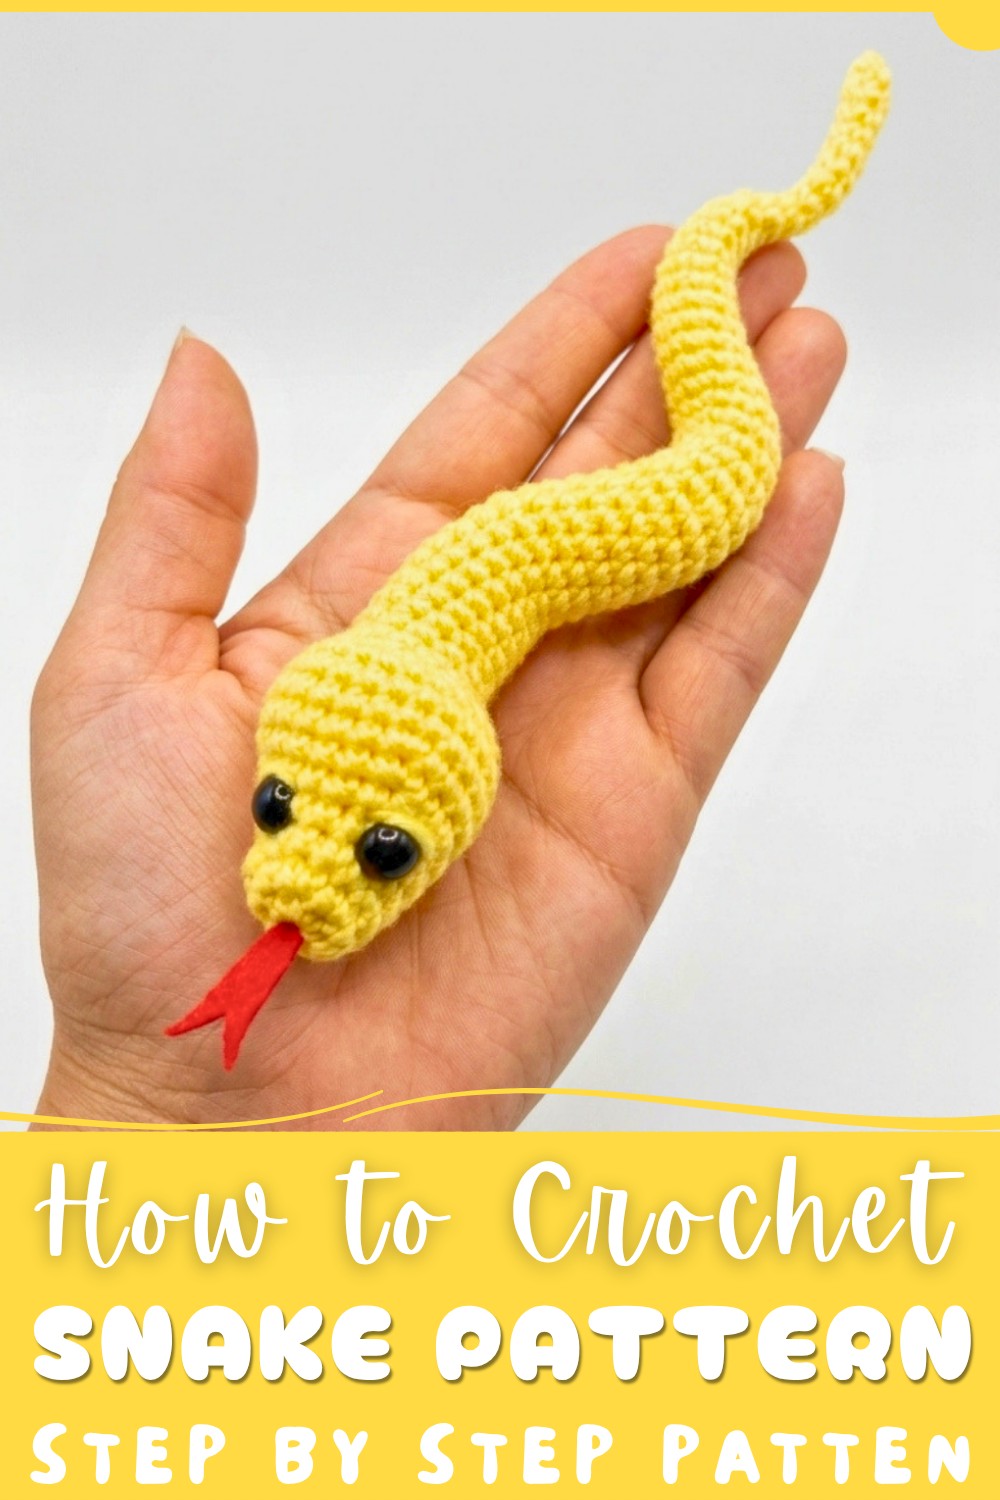
Cute Mini Free Snake Crochet Pattern for Beginners
Customization is a key benefit of this project. Makers can play with various color combinations, choosing stripes or solid sections, depending on their style preferences. Adding features like a rattling tail or subtle pattern changes also enhances the uniqueness of each piece. This pattern offers a creative canvas that welcomes experimentation.
This project is particularly well-suited for intermediate crocheters who wish to develop skills in shaping, color changes, and working in rounds. The process provides valuable practice with increases and decreases to form the snake’s curves, as well as finishing techniques for a polished look.
In summary, the free crochet snake pattern is a versatile and engaging project. It allows crocheters to build their skills while producing a charming, multi-use item that’s both beautiful and functional—a delightful addition to any handmade collection.
Crochet Snake Amigurumi Pattern
Welcome to this detailed crochet pattern designed to guide you through creating a delightful amigurumi snake. Crafted with vibrant yellow cloud thread, this charming snake features securely inserted safety eyes, a subtle facial expression enhanced by embroidered eyelids, and a cute red felt tongue. Through this step-by-step process, you will learn techniques including magic ring foundation, systematic stitch increases and decreases, working in continuous rounds, eye attachment, shaping, filling, and final finishing touches to create a professional-looking piece.
Quick Overview of Pattern
The pattern begins with a magic ring foundation progressing through multiple rounds of single crochet, incorporating increases to shape the snake’s rounded head and body. Safety eyes are positioned between precise rounds to capture a natural look. After establishing the head, the body is worked with strategic decreases to taper and shape the tail. Finishing details include embroidering eyelids for depth around the eyes and attaching a red felt tongue, giving the snake a characterful personality.
Notes
- Stitch markers are critical for marking the beginning of rounds and key stitch positions, especially around increases and decreases, to ensure accurate shaping.
- Safety eyes used here are 8 mm in size and are secured with flattening and heating during assembly.
- The pattern uses consistent stitch counts maintained through careful increment and decrement to retain the snake’s form.
- Embroidery enhances the facial features, with thread tension and knotting carefully managed for neatness.
- The tail length can be customized by extending or shortening the final rounds worked with a consistent stitch count.
- A sturdy filler is used to keep the amigurumi plump while maintaining shape stability.
Skill Level
This project is designed for intermediate crocheters who are confident with:
- Magic ring starts
- Single crochet (sc), increases (inc), and decreases (dec)
- Working in continuous rounds
- Inserting and securing safety eyes
- Embroidery in crochet projects
- Precise counting and stitch marker use for shaping
- Basic sewing and glueing techniques for small parts
Materials
- Yarn: Yellow cloud thread (or similar yarn suitable for amigurumi)
- Crochet Hook: Appropriate size for yarn (approximately 2.0 mm–3.5 mm depending on yarn)
- Safety Eyes: 8 mm plastic eyes with safety backs
- Filling: Polyester fiberfill or similar synthetic stuffing
- Tools: Stitch markers, tapestry needle, scissors, lighter, and small piece of red felt for tongue
- Glue: Fabric glue or hot glue to secure the felt tongue
Measurements / Sizing (Optional)
- The finished snake is approximately 20 cm in length from head to tail, depending on the number of tail rounds worked.
- Head circumference increases from 6 to 24 stitches during initial shaping.
- Tail narrows down to as few as four stitches per round, controlled by decreases and final shaping.
Gauge and Stitch Pattern
- Gauge is not explicitly given and depends on yarn and hook choice; tension should be tight to keep stuffing contained.
- Pattern primarily uses single crochet (sc), increases (inc), and decreases (dec).
- Increases: 2 sc in the same stitch.
- Decreases: Crochet 2 stitches together, front loops only, for smooth shaping.
Stitch Abbreviations
- ch: chain
- sc: single crochet
- inc: increase (2 sc in one stitch)
- dec: decrease (crochet 2 stitches together, front loops only)
Special Stitches
- Magic Ring (Magic Circle): A loop made to begin amigurumi, allowing the starting round to be drawn tightly closed.
- Safety Eye Flattening: After inserting safety eyes, the back posts are flattened with a lighter to enhance hold and prevent accidental removal.
- Eyelid Embroidery: Stitching thread around eye bases to create a subtle, naturalistic eyelid effect.
The Crochet Pattern!
Head and Body Construction
Round 1:
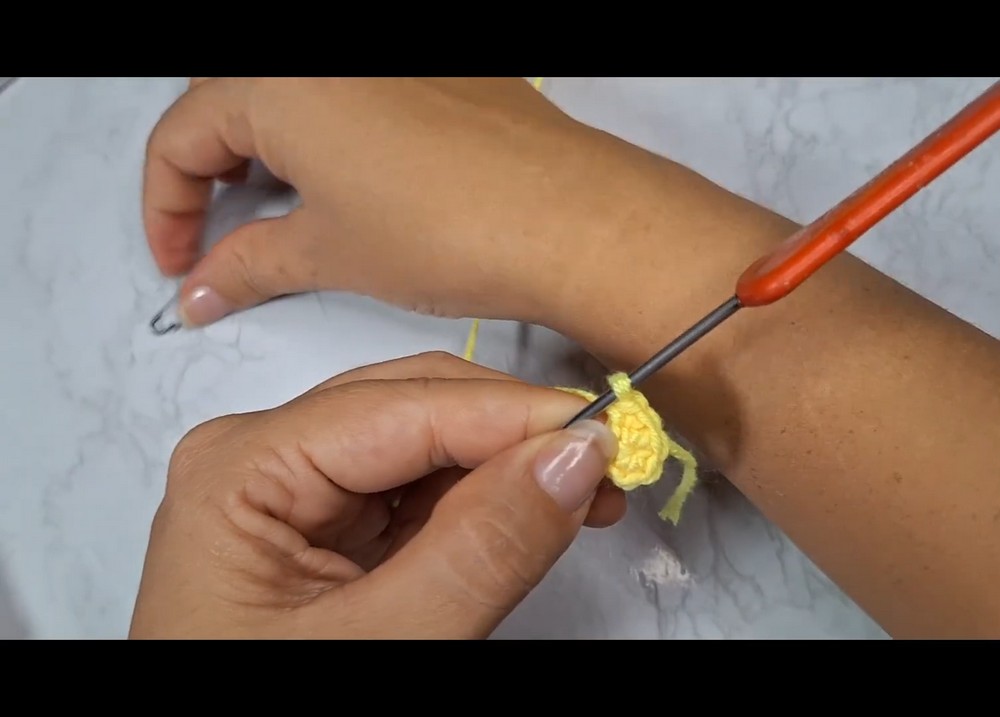
- Create a magic ring and work 6 sc stitches into the ring. Pull to close. (6 stitches)
Round 2:
- Increase in every stitch around by making 2 sc in each stitch. (12 stitches)
- Place a stitch marker at start of round.
Round 3:
- Work a sequence of 1 sc, 1 inc (increase) repeated 6 times. (18 stitches)
Round 4:
- Work 2 sc, 1 inc repeated 6 times. (24 stitches)
Round 5:
- Work 3 sc, 1 inc repeated 6 times. (30 stitches)
Round 6:
- Work 4 sc, 1 inc repeated 6 times. (36 stitches)
At this point, mark the round beginnings to keep consistent tracking.
Round 7:
- Begin with 3 sc, then repeat the sequence 1 sc, 1 inc across the remaining stitches, finishing round with 3 sc. (Total 39 stitches)
Round 8-10:
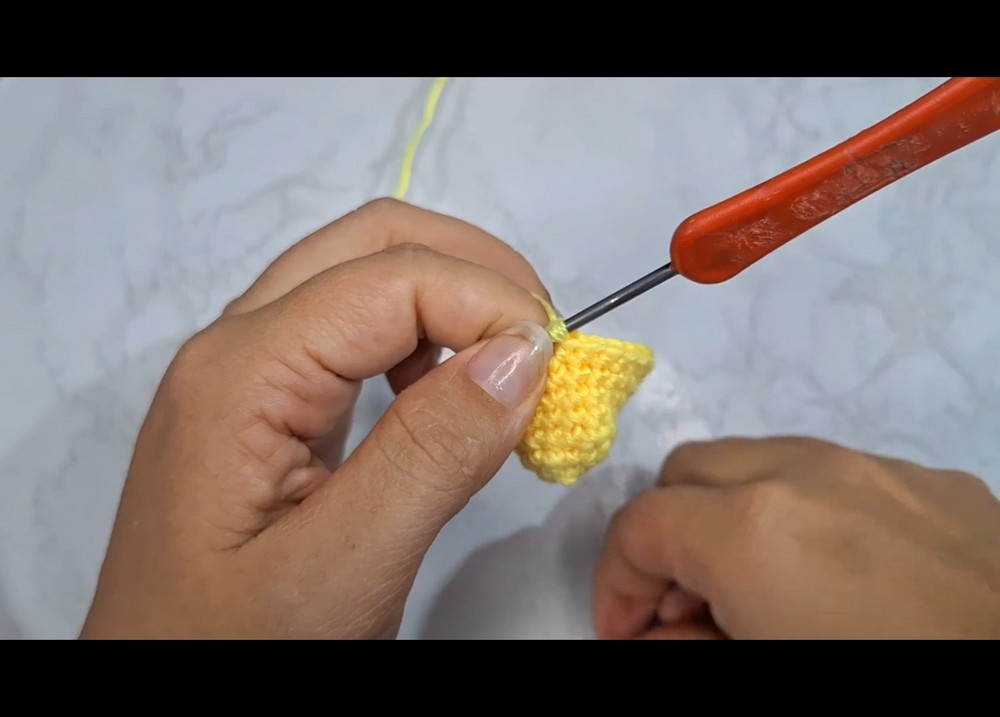
- Work 1 sc in each stitch for these 3 rounds, maintaining stitch count (39 stitches).
Safety Eyes Placement:
- Position the 8 mm safety eyes between rounds 4 and 5 on the head, just outside increases to create a natural look.
- Mark the stitches between increases three stitches aside to insert eyes symmetrically on both sides of the head.
- Insert eyes and secure with backs, then flatten and seal with a lighter gently to lock in place safely.
Continuing Head Shaping and Start of Body
Round 11:
- Begin decrease round: work 12 decreases evenly spaced across the round by crocheting 2 front loops of two stitches together. Place marker at round start for accuracy. (27 stitches)
- Stuff the head lightly but firmly before moving on for stable shape.
Round 12:
- Work 2 increases at start of round, then 10 sc around (14 stitches).
Rounds 13-26:
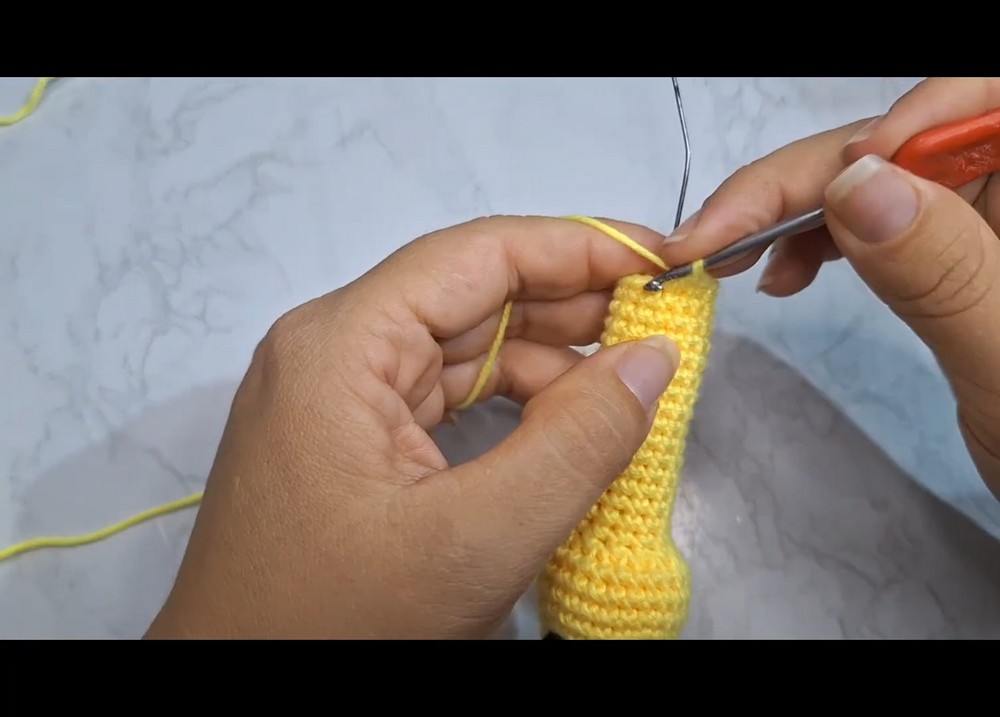
- Work 1 sc in each stitch for 14 stitches in each round. Repeat for 14 rounds to lengthen body.
Body Tapering
Round 27:
- 12 sc then 1 decrease. (13 stitches)
Round 28:
- 13 sc.
Round 29:
- 11 sc followed by 1 decrease. (12 stitches)
Round 30:
- 12 sc, place stitch marker at first stitch.
Continue with rounds decreasing gradually every two rounds:
Round 31:
- 10 sc, 1 decrease. (11 stitches)
Round 32:
- 11 sc.
Round 33:
- 9 sc, 1 decrease. (10 stitches)
Round 34:
- 10 sc, place stitch marker.
Round 35:
- 8 sc, 1 decrease. (9 stitches)
Round 36:
- 9 sc. Stuff the body firmly here.
Round 37:
- 7 sc, 1 decrease. (8 stitches)
Round 38:
- 8 sc, place stitch marker.
Round 39:
- 6 sc, 1 decrease. (7 stitches)
Round 40:
- 7 sc.
Round 41:
- 5 sc, 1 decrease. (6 stitches)
Round 42:
- 6 sc.
Round 43:
- 4 sc, 1 decrease. (5 stitches) Add a little more filler here for shape.
Round 44:
- 5 sc.
Round 45:
- 3 sc, 1 decrease. (4 stitches)
Tail Construction
Rounds 46-53:
- Work 4 sc in each round to form the tail.
- Adjust the length by adding or reducing rounds as desired.
- Use a smaller hook to make stitches tighter and the tail neat.
Final Stuffing and Finishing
- Add additional stuffing to keep shape firm but not overfilled.
- Take care at the tail end to maintain a thin, balanced taper.
Embroidery and Detailing
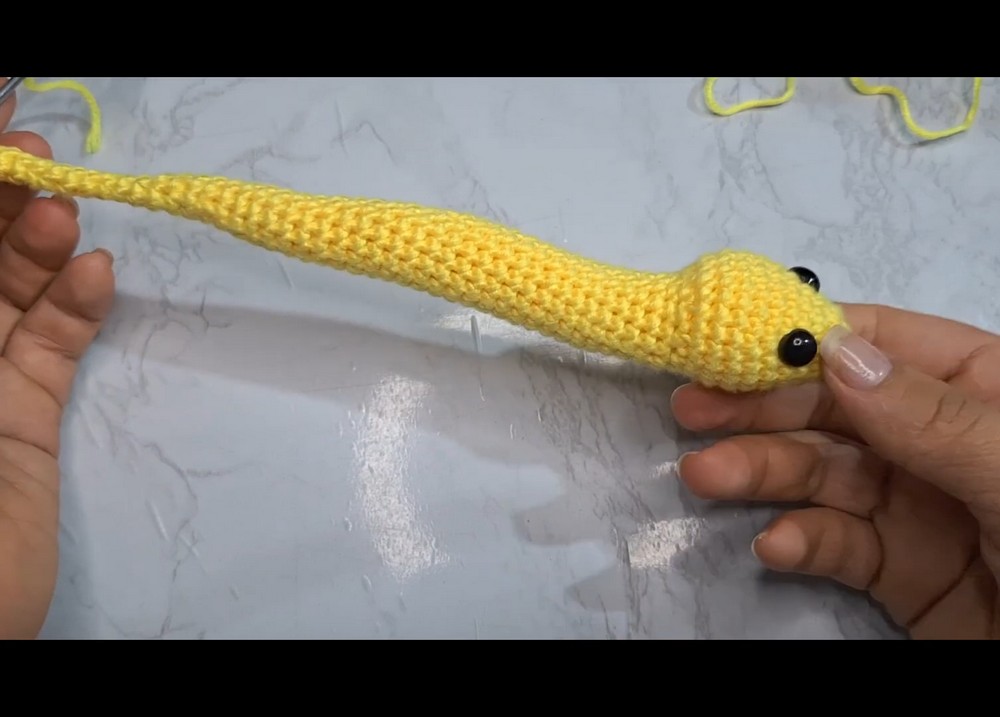
- Using a matching thread, embroider eyelids over the safety eyes by passing needle beneath stitches around eyes symmetrically to create depth and expression.
- Tie off and hide embroidery ends inside the amigurumi body carefully.
Tongue Attachment
- Cut a small tongue shape from red felt, roughly V-shaped and tapered to fit the snake’s mouth proportionately.
- Thin the felt as needed for size and shape.
- Insert the felt tongue into the mouth area beneath the magic ring, securing with needle and thread and adding fabric glue for stability.
Assembly & Finished Size
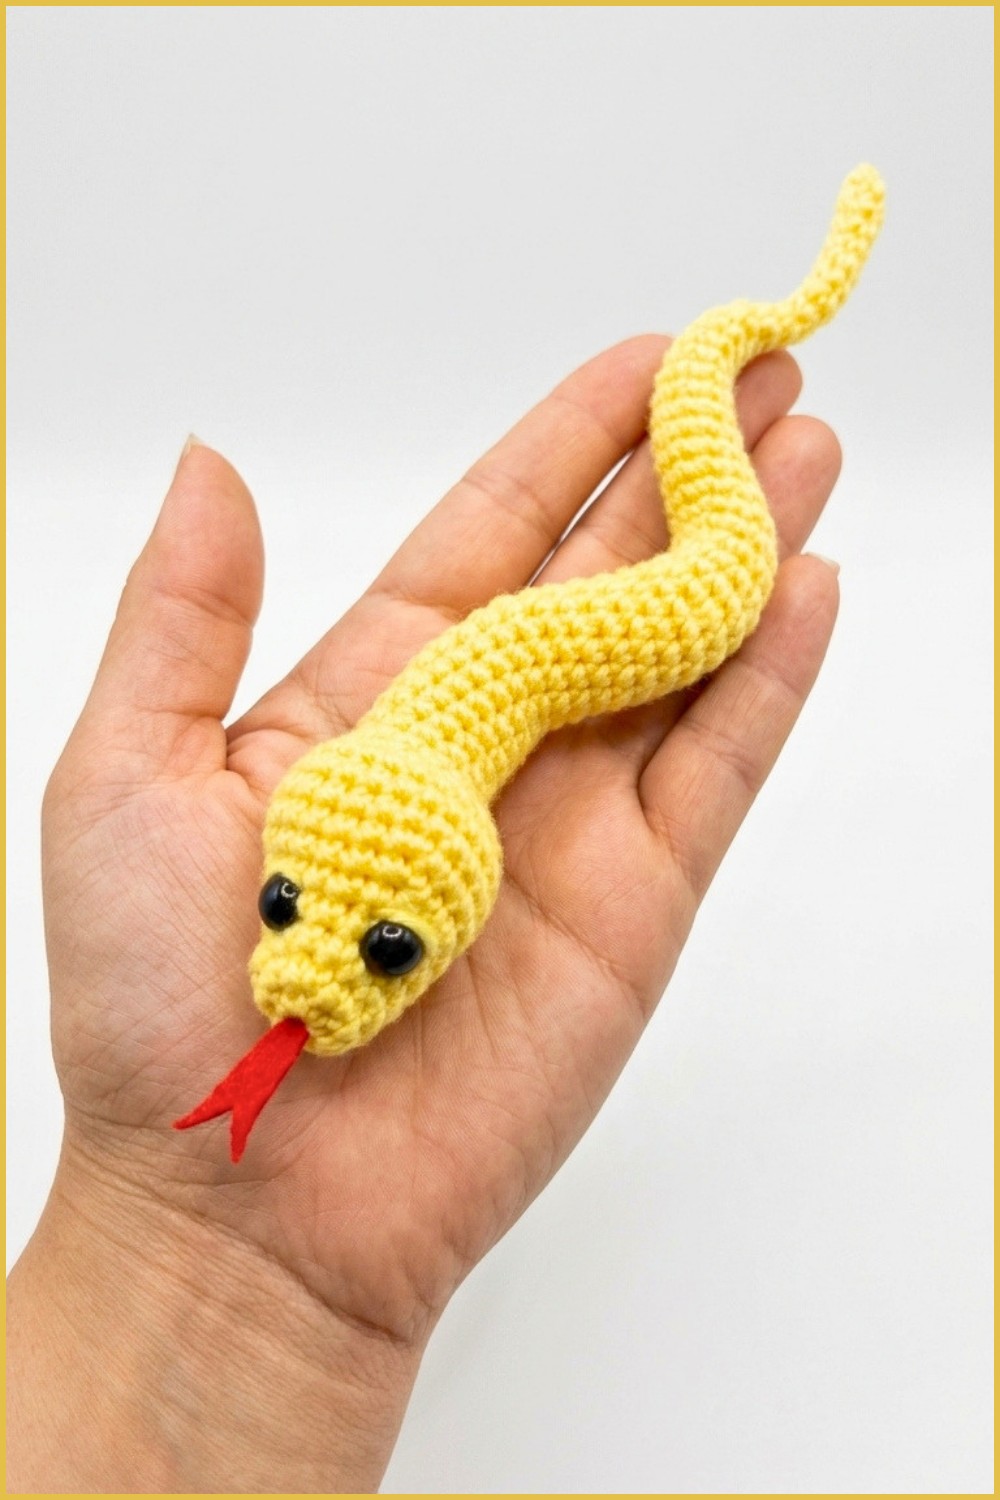
The finished snake amigurumi measures approximately 20 cm in length, featuring a rounded, expressive head, a tapering body, defined eyes with eyelids, and a red felt tongue adding a playful touch. The stuffing ensures a plush but firm form, enabling easy handling and display. Properly secured safety eyes and tidy embroidery enhance the overall appearance and durability.
Conclusion and Ending Words
This crochet snake amigurumi pattern combines foundational amigurumi skills with detailed finishing techniques to create an expressive, characterful toy. Through progressive shaping, strategic increases and decreases, and fine embroidery, the snake evolves from a simple ring of stitches into a lively piece ready to charm. The addition of felt tongue and eyelid embroidery brings personality and depth, setting this project apart.
Intermediate crocheters will find the careful stitch marking, consistent tension, and attention to detail rewarding as they build skill and confidence. Experimenting with tail length or colors allows personalization beyond this guide’s scope. With patience and precision, you will craft a beautifully finished amigurumi snake, ready to delight with its bright color and inviting expression.