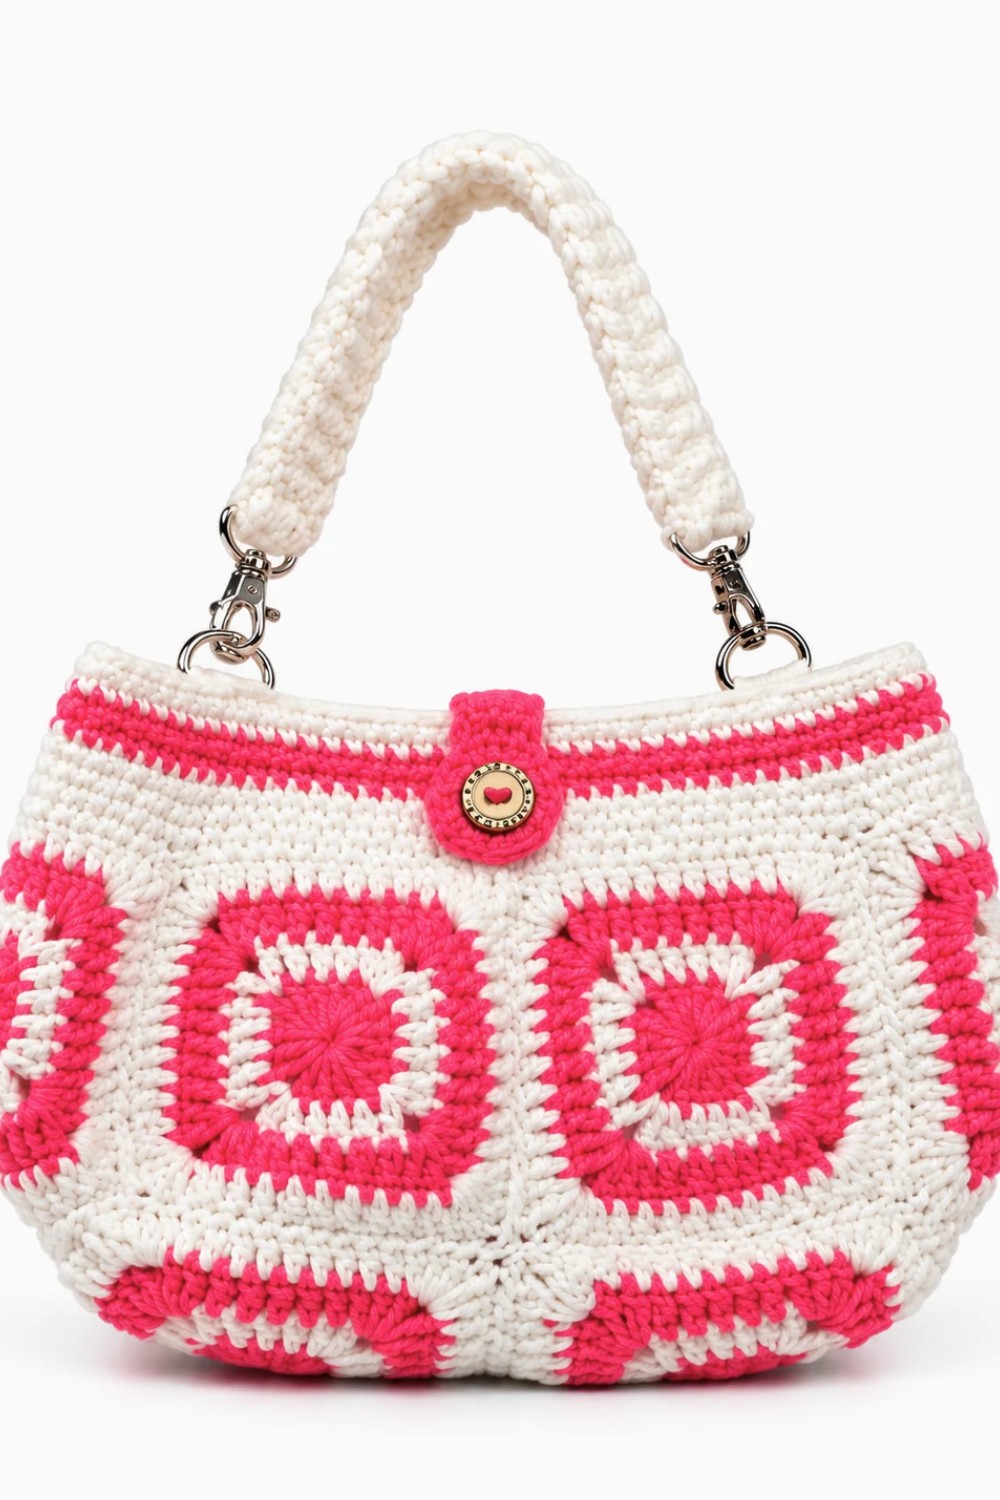
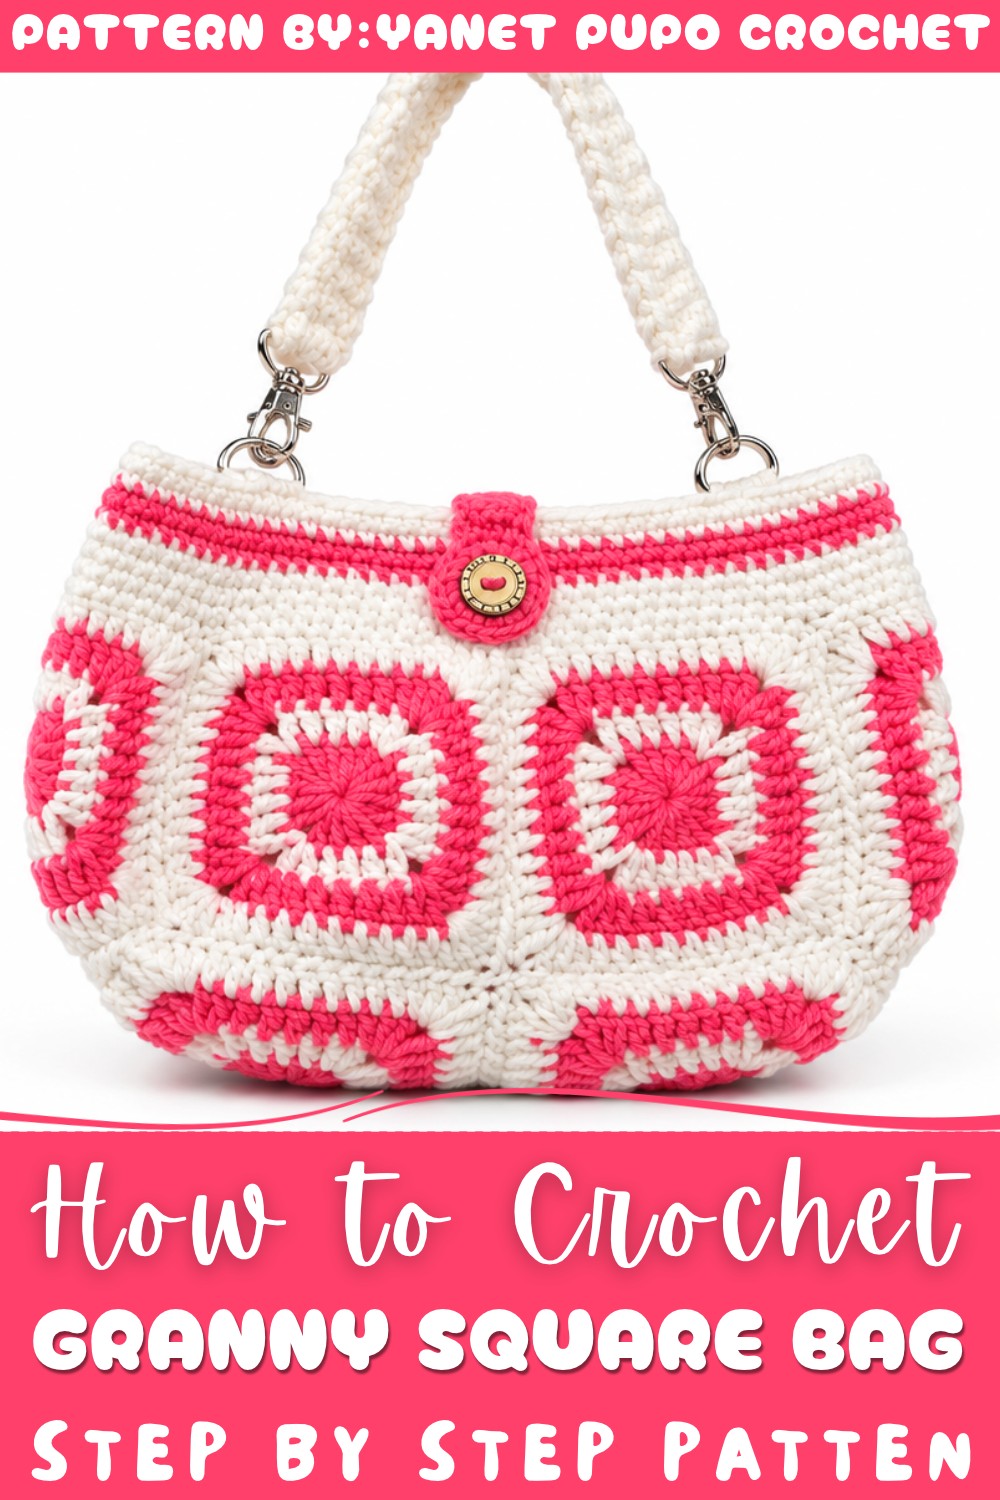
Enjoy relaxed vintage style with this Free Crochet Granny Square Bag Pattern that brings color and charm to your everyday look in a fun and simple way.
Classic motifs bring a timeless appeal to handmade wardrobe accessories, and creating this stunning piece is a wonderfully rewarding project. When you explore the tutorial by Yanet pupo crochet, you will discover how individual squares join together to form a charming Free crochet Granny Square Bag Pattern.
This delightful project offers wonderful gifting potential for family and friends, adding a cheerful touch of vintage elegance to casual outfits. Its structured shape and neat colorful design make it a standout addition to any accessory collection, perfect for weekend outings.
Free Crochet Granny Square Bag Pattern for Beach Days
Crocheting this lovely accessory allows you to slow down and enjoy the relaxing rhythm of traditional stitch artistry. The charming aesthetic brightens up simple outfits, making it a versatile companion for daily errands or casual strolls. With its classic appeal and neat texture, this project offers a wonderful way to showcase your personal style and love for homemade fashion.
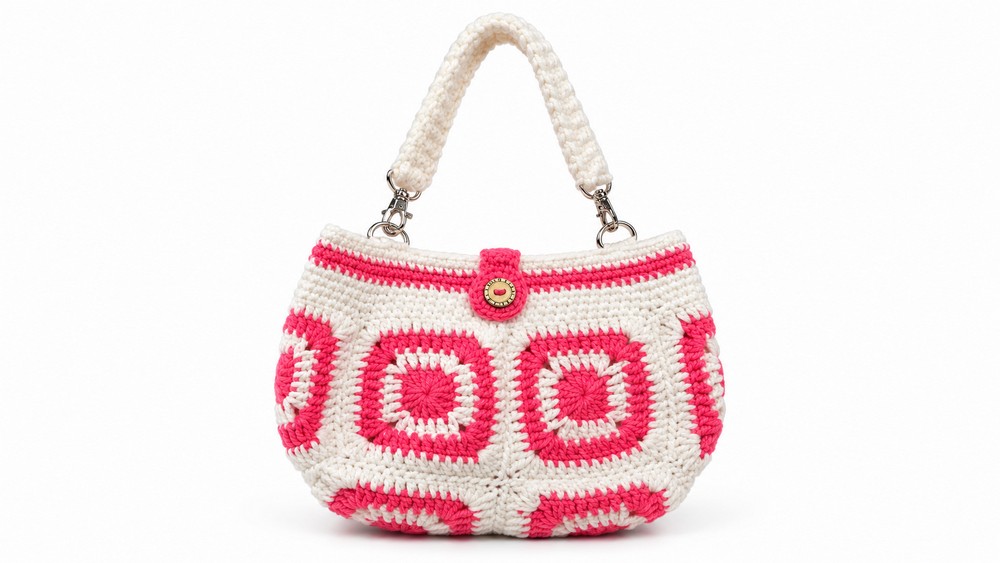
Granny Square Crochet Bag Pattern
This pattern will guide you step-by-step on how to make a beautiful and practical bag using the traditional granny square crochet technique. You will learn how to make individual granny squares, join them together securely, and finish the project with strong handles and neat edges. This project is perfect for beginners eager to create a stylish handmade accessory.
Pattern Highlights
- How to crochet a classic granny square from the center with double crochet clusters and chain spaces.
- Expanding the square evenly by adding rounds with corner and side clusters.
- Joining multiple granny squares carefully to form the bag’s shape.
- Creating sturdy handles and finishing borders.
- Weaving in yarn ends for a clean and long-lasting finish.
Notes
- You can adjust the size of your bag by changing the number of granny squares and/or their size.
- Keeping your stitch tension consistent is important for uniform squares.
- Joining technique matters for bag strength and appearance.
- Feel free to customize colors or use a solid color for all squares.
Skill Level
Beginner to Intermediate
You will need to know how to:
- Make basic crochet stitches: chain (ch), double crochet (dc), and slip stitch (sl st).
- Crochet in rounds.
- Seam crochet pieces together using a needle.
- Work simple edging and handles.
Materials
- Medium-weight yarn (worsted weight is recommended).
- Crochet hook size appropriate for your yarn (usually 4.0 mm to 5.0 mm).
- Scissors.
- Tapestry needle for sewing and weaving ends.
Measurements / Sizing
- Each granny square approximately measures 10 cm (4 inches), depending on your gauge.
- For a small bag, you might make 4 to 6 squares; for a larger bag, 9 or more.
- Final bag size depends on how many squares you join and handle length.
Gauge and Stitch Pattern
- Gauge is approximately 10 cm square after 5 rounds of granny square using medium yarn and suggested hook.
- Pattern involves clusters of 3 double crochets (3 dc) separated by chain spaces to form corners and sides.
Stitch Abbreviations
| Abbreviation | Stitch Name | Description |
|---|---|---|
| ch | Chain | Yarn over, pull through loop |
| dc | Double Crochet | Yarn over, insert hook, pull yarn through 2 loops twice |
| sl st | Slip Stitch | Insert hook, yarn over, pull through all loops |
Special Stitches
- 3-dc Cluster: A group of three double crochets worked into the same space.
- Corner Chain-2 Space: Chain 2 stitches creating space between corner clusters for turning.
- Joining Method: Using whip stitch or mattress stitch to sew granny squares together.
Step-by-Step Pattern
1. Making the Granny Square
Foundation:
- Make a slip knot and place it on your hook.
- Chain 4 stitches.
- Join with a slip stitch into the first chain to form a ring.
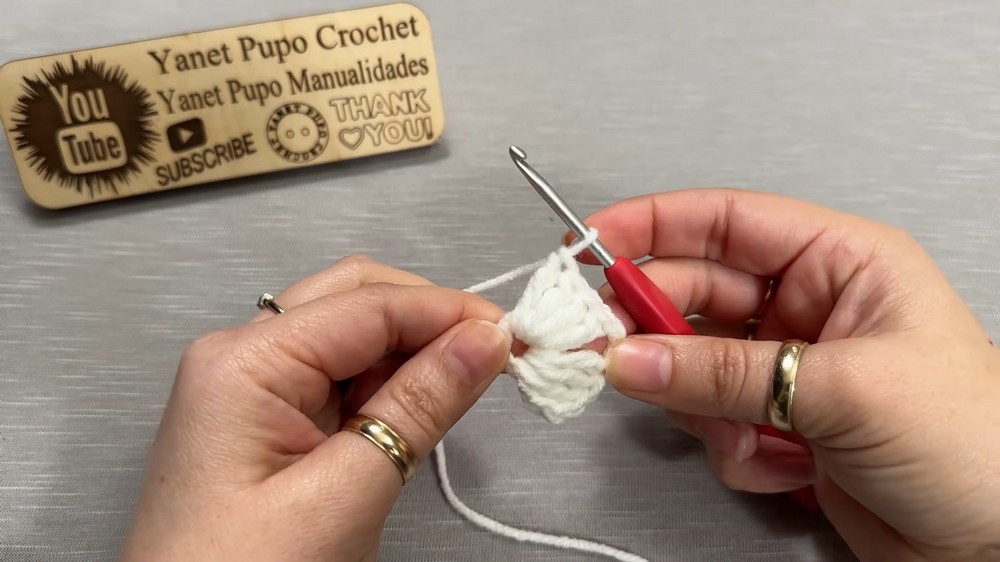
Round 1:
- Chain 3 (counts as first double crochet).
- Work 2 double crochets (dc) into the ring.
- Chain 2 (this forms your first corner space).
- Work 3 dc into the ring again.
- Chain 2 and repeat 3 dc, chain 2 two more times, so that there are four groups of 3 double crochets separated by chain-2 spaces.
- Join with a slip stitch to the top of the starting chain 3.
Round 2:
- Slip stitch to the first corner space (chain-2 space).
- Chain 3 (counts as first dc).
- Work 2 dc, chain 2, and 3 dc into the same corner space to form a corner cluster.
- Chain 1 to move to next side.
- Work 3 dc into the next side chain space.
- Chain 1 and repeat 3 dc into each side space until you reach the next corner space.
- In the corner space, work 3 dc, chain 2, 3 dc again.
- Continue this for all four corners.
- Join with slip stitch to the top of beginning chain 3.
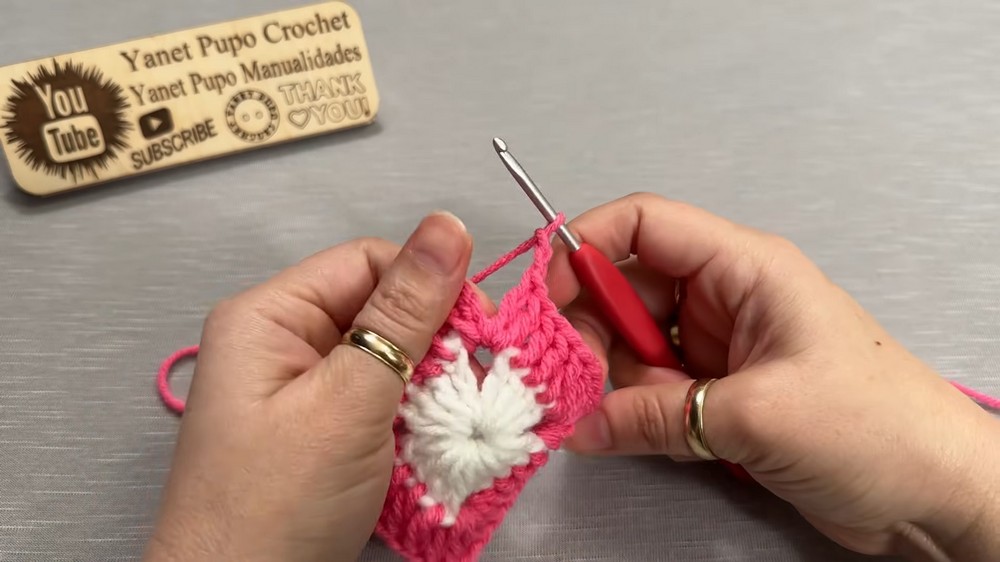
Round 3 and Onward (to desired size):
- Begin in any corner chain-2 space.
- Work 3 dc, chain 2, 3 dc (corner cluster).
- Along the side, work 3 dc clusters separated by chain 1 in each chain space.
- Repeat corner clusters at each corner space.
- Continue rounds increasing the square until your granny square is the size you want for your bag.
2. Making Multiple Granny Squares
- Make as many granny squares as you need for your desired bag size.
- Arrange them in a layout like 2x3 or 3x3 depending on your preferred bag dimensions.
3. Joining Granny Squares
- Lay the granny squares flat in your preferred pattern.
- Use a tapestry needle and matching yarn to whip stitch or mattress stitch the squares together at the edges.
- Join first the squares in rows, then connect the rows to form the bag shape.
- Join securely to make the bag sturdy.
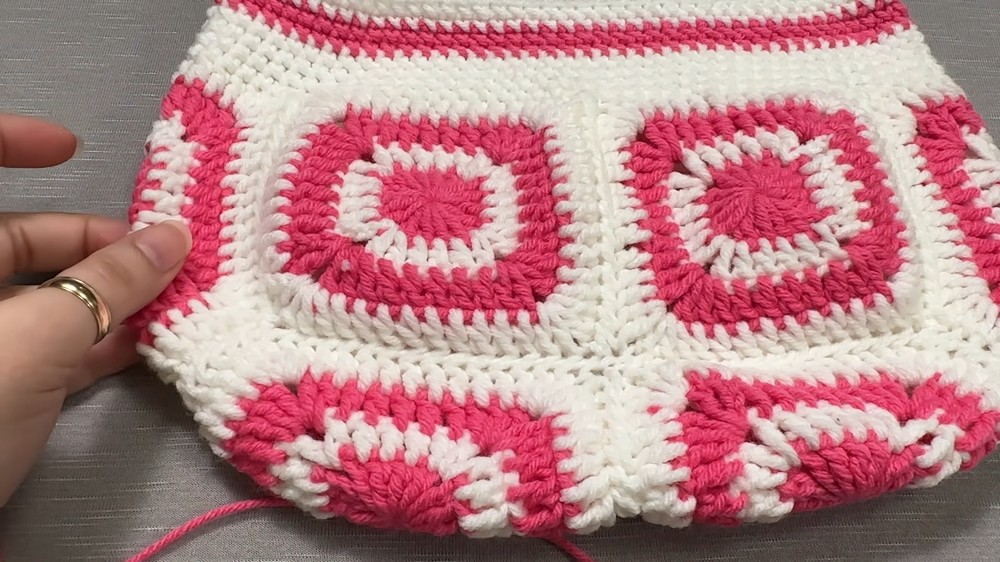
4. Adding Border and Handles
Border:
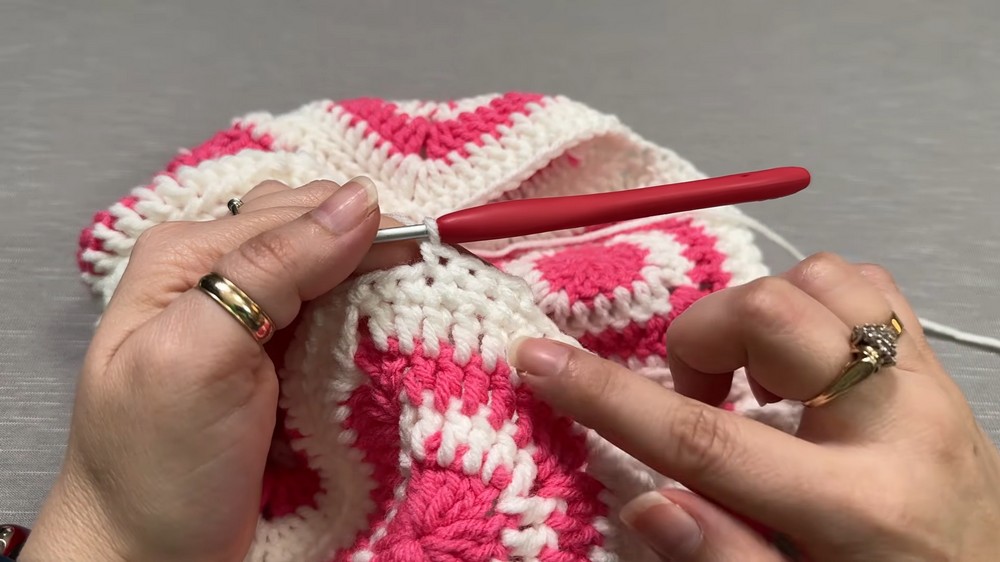
- Crochet a round of single crochet (sc) around the entire top edge of the joined squares.
- This gives a clean finish and a base for handles.
Handles:
- To make handles, chain the desired length (usually 35–40 cm for shoulder straps).
- Join the chain back to the bag edge with slip stitches or single crochets.
- Work additional rows over the chain to thicken and strengthen the handles for durability.
- Make two handles and attach them securely on opposite sides.
5. Finishing
- Weave in all yarn tails carefully using a tapestry needle to hide and secure the ends.
- Trim any excess yarn.
- Optionally, block the bag to shape it neatly.
Assembly & Finished Size
- The bag size depends on how many granny squares you make and their size.
- Typical bag sizes can range from small (around 20–25 cm wide) to large (30–40 cm wide).
- Handles can be customized for hand carry or shoulder carry.
- Joined granny squares provide a sturdy yet lightweight bag structure.
Conclusion
Congratulations! You have learned how to crochet a classic granny square bag. Using simple stitches and joining techniques, you created a durable and beautiful handmade accessory. This bag can be customized endlessly with your choice of colors, number of squares, and handle style, making it a practical project for beginners eager to create functional art.