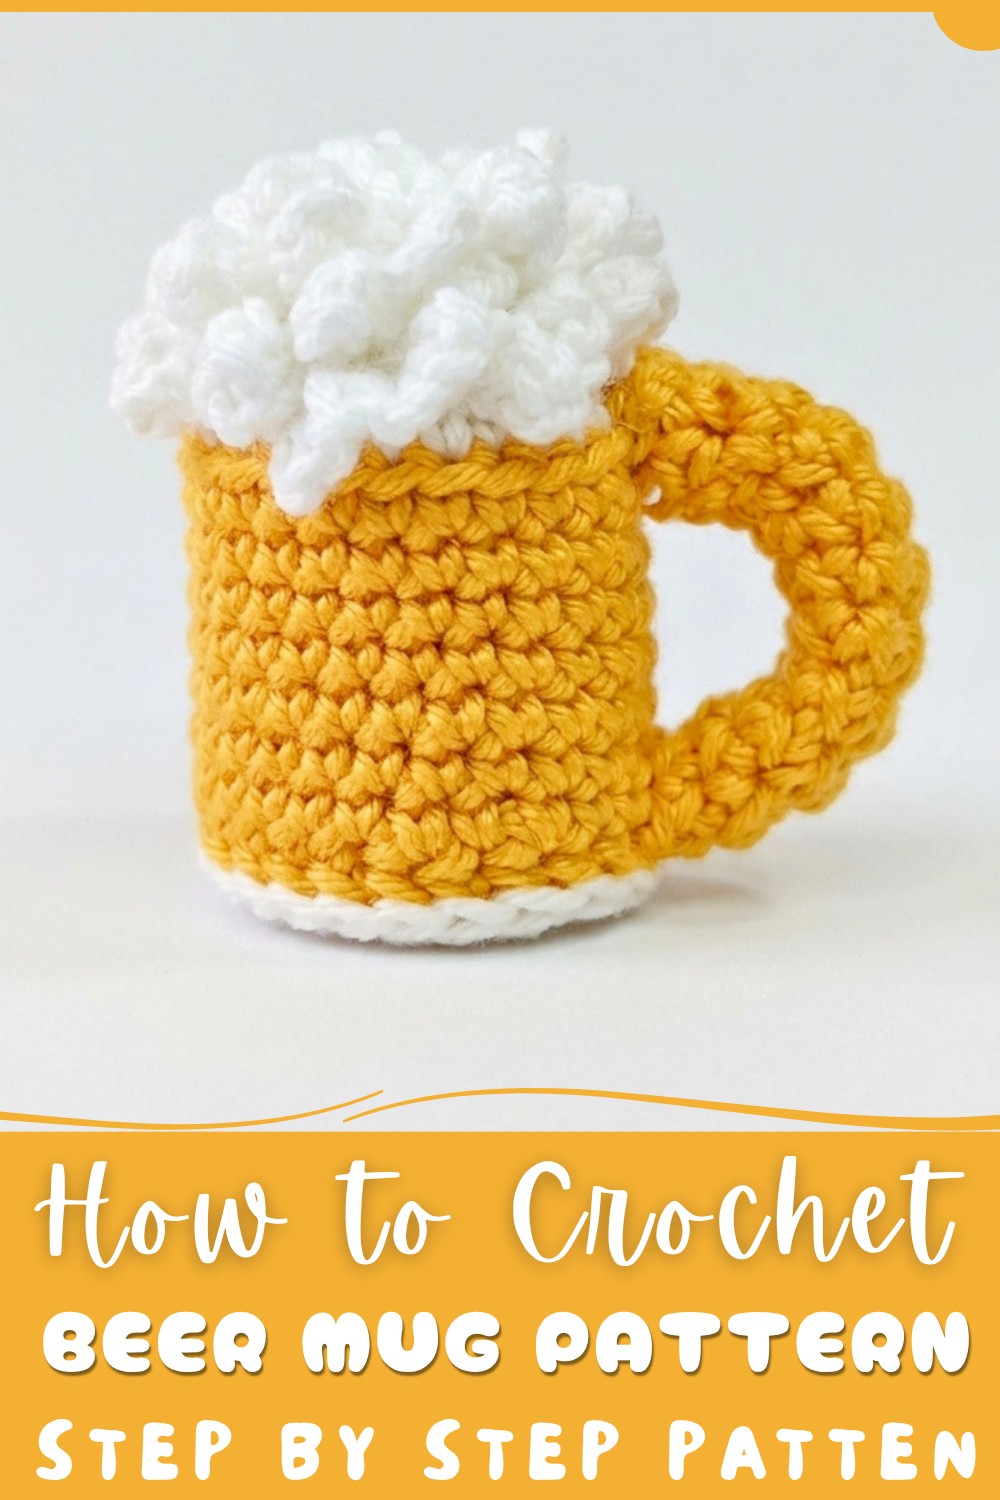
Free Beer Mug Crochet Pattern for Party Decor
Perfect for gifting, this little project carries a lot of personality without requiring too much time or effort. It makes a thoughtful present for celebrations like birthdays, holidays, or even as a quirky addition to party favors. Besides gifting, it’s a lovely item to display on shelves, desks, or as a fun accessory to brighten your everyday items.
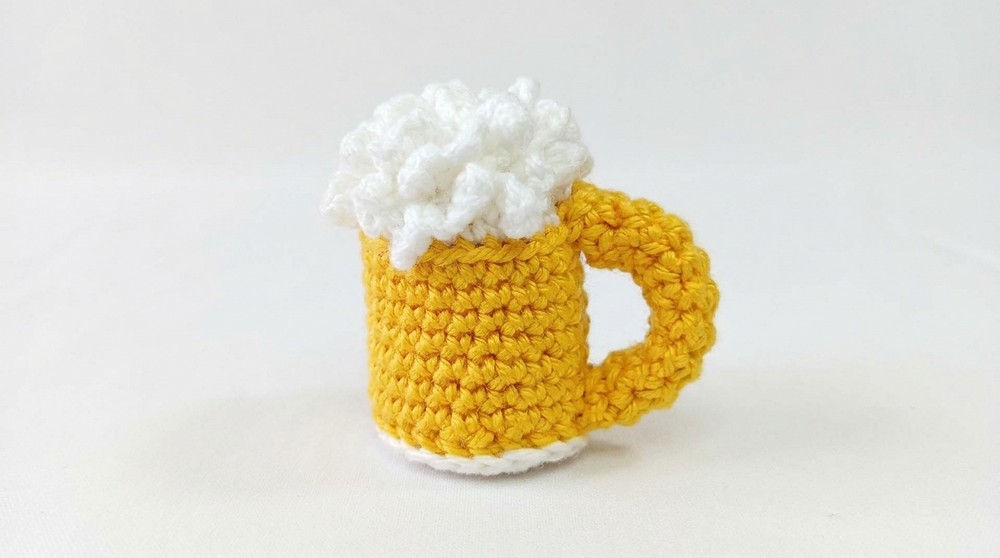
The appeal of this crochet beer mug goes beyond its looks, its compact size and lightweight feel make it practical for everyday use. Whether hung on a bag, keychain, or simply displayed to spark a smile, it brings a touch of handmade joy to any setting. This pattern encourages creativity while delivering a useful and charming end product that’s sure to bring smiles all around.
Crochet Beer Mug Keychain Pattern
This detailed crochet tutorial guides you through making a cute and realistic beer mug keychain (copo de chopp). The project uses primarily single crochet stitches worked in the round to create a compact amigurumi mug shape, complete with a textured foam rim and a sturdy handle. Using contrasting white and yellow yarns, the pattern simulates the beer and mug colors. With step-by-step instructions based on the video transcription, this pattern offers clear guidance for crocheters to craft their own adorable beer mug charm.
Pattern Highlights
- Round base construction with magic ring foundation
- Textured mug sides in yellow yarn crocheted around the base
- Flat circular base reinforcement attached for stability
- Top decreases for shaping and stuffing insertion
- Foam detail created by chain loops along the rim of the mug
- Handle crocheted separately and sewn on
- Keychain attachment for functional use
Notes
- The pattern alternates yarn colors for realistic effect: white for the base, foam, and top shaping, yellow for the beer mug sides.
- All crochet is worked primarily with single crochet (SC) stitches, including relief SC for texture.
- Pay attention to your stitch counts per round to keep the shape symmetrical.
- Stuff the piece firmly but not too hard to maintain shape without bulging.
- Using a stitch marker to track the beginning of rounds in the mug body and shaping rounds is highly recommended.
- Attach the handle securely as it will be a frequently handled part.
Skill Level
Recommended for beginner to intermediate crocheters who are comfortable with:
- Magic ring (adjustable ring) method
- Basic single crochet stitches (SC) and increases
- Decreases using single crochet two together (sc2tog)
- Crocheting in the round
- Working relief stitches (crochet in front or back loop)
- Working chains and slip stitches
- Finishing and assembly techniques
Materials
- Amigurumi yarn in White and Yellow
- Crochet hook size 2.5 mm
- Tapestry needle
- Scissors
- Stitch marker
- Stuffing (fiberfill)
- Fabric glue (optional, for attaching base reinforcement)
- Keychain ring
Measurements / Sizing
- The finished keychain mug measures approximately 3–4 cm tall, making it a compact and lightweight accessory.
- Handle length designed to reach about 5 cm before fastening off.
- Base diameter roughly corresponds to the initial 12–24 stitch rounds to form a proportionate mug shape.
Gauge
- Gauge is not strictly critical for this amigurumi project but crochet tightly to maintain shape and avoid holes.
- Approximate gauge with 2.5 mm hook: 4-5 SC per inch in the round on worsted weight or amigurumi yarn.
Stitch Abbreviations
| Abbreviation | Meaning |
|---|---|
| ch | Chain stitch |
| sc | Single crochet |
| inc | Increase (2 sc in the same stitch) |
| dec | Decrease (single crochet two stitches together, sc2tog) |
| sl st | Slip stitch |
| rel sc | Relief single crochet (crochet around post, front or back) |
Special Stitches
Magic Ring
Create a loop with yarn around fingers, insert hook and crochet stitches inside the loop. Pull tail to tighten center hole.
Relief Single Crochet
Work a single crochet either in the front loop or back loop or around the post of the stitch for an embossed effect.
Complete Step-by-Step Pattern
1. Base (White yarn)
- Create a magic ring.
- Round 1: Work 6 single crochet (sc) stitches into the magic ring. Pull tight to close.
- Round 2: Work 2 sc in each stitch from the previous round, resulting in 12 stitches.
- Round 3: (1 sc, 1 inc) repeat around – total 18 stitches.
- Round 4: (2 sc, 1 inc) repeat around – total 24 stitches.
- Finish the base round with a slip stitch to join.
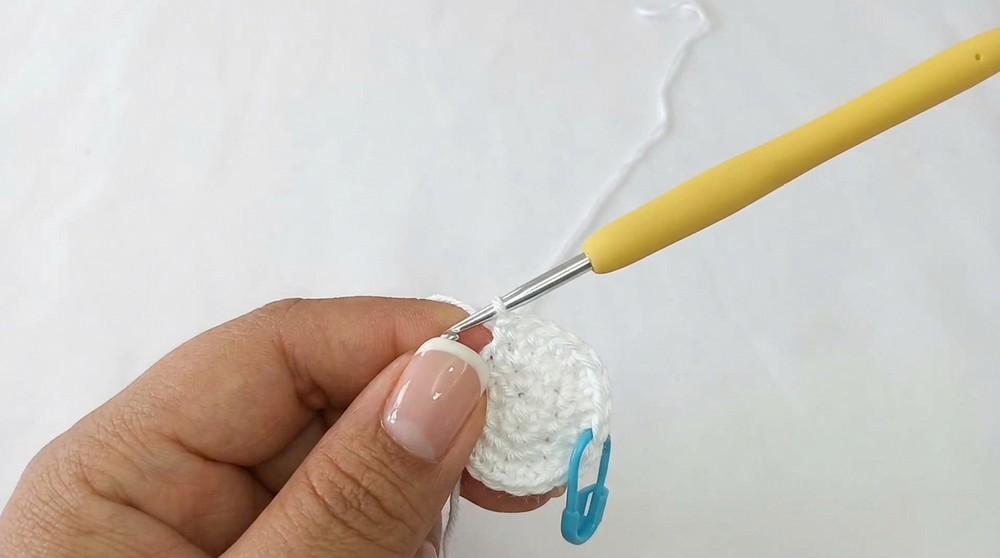
Ensure the ring’s center is tightly closed and all stitches are even for a stable base.
2. Mug Sides (Yellow yarn)
- Join yellow yarn at the top of the base. Use relief single crochet technique—work stitches in the front or back loop of base stitches to add texture.
- Rounds 2–8: Work 1 sc in each stitch around, maintaining stitch count. Keep stitches tight for a firm mug wall.
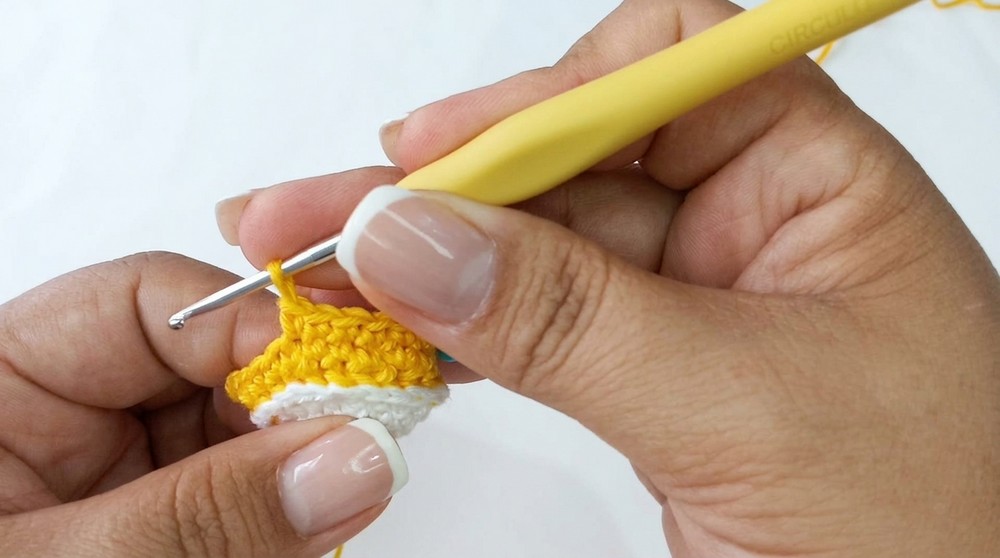
This creates the beer portion of the mug with a consistent cylindrical shape.
3. Bottom Reinforcement
- Using white yarn, create a flat circle to reinforce the base:
- Make a magic ring, chain 3 (counts as first double crochet).
- Work 20 double crochet (dc) stitches into the ring.
- Close the ring tightly with a slip stitch.
- Secure this reinforcement circle to the bottom of the mug base with fabric glue or sew firmly in place.
This helps the mug sit flat and stable on surfaces.
4. Top Decreases & Stuffing (White yarn)
- Change back to white yarn.
- Round 1 (Back loops only): (2 sc, 1 dec) repeat throughout the round—this starts shaping the top rim by gradually reducing circumference.
- Round 2: (1 sc, 1 dec) repeat around.
- Insert fiberfill stuffing at this stage to shape the mug interior firmly.
- Round 3: Continue decreasing stitches evenly around until the opening is mostly closed. Finish by pulling the yarn through remaining stitches to fully close the top.
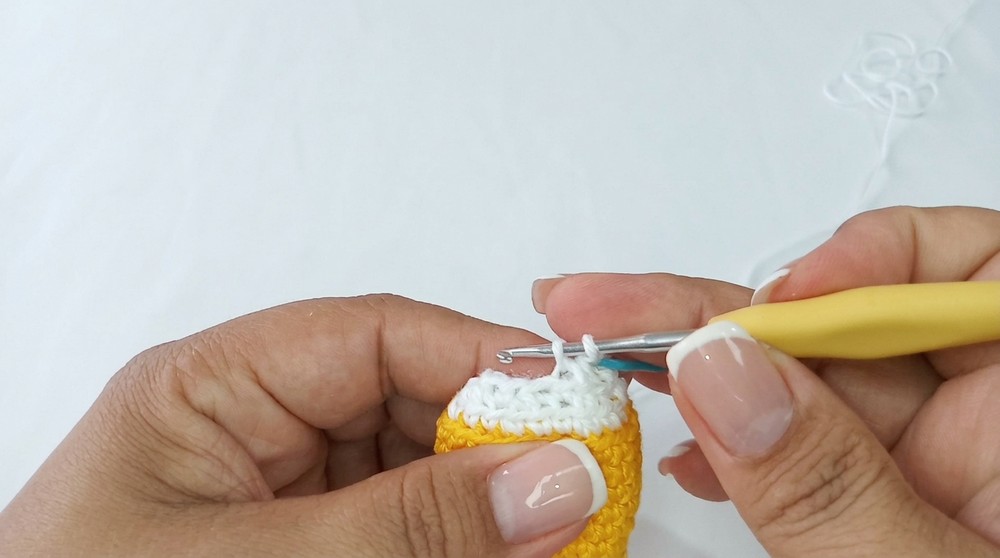
Make sure stuffing fills the mug adequately to keep its shape without stretching stitches excessively.
5. Foam Detail (White yarn)
- Attach white yarn to remaining front loops of the last white round at the rim of the mug.
- Pattern: Chain 6, skip 1 stitch, slip stitch into the next stitch. Repeat this loop pattern around the entire rim to mimic beer foam bubbles.
- Add additional small loops inside the rim to fill any gaps and make the foam appear fluffy and voluminous.
This decorative edging adds realism and a charming finishing touch.
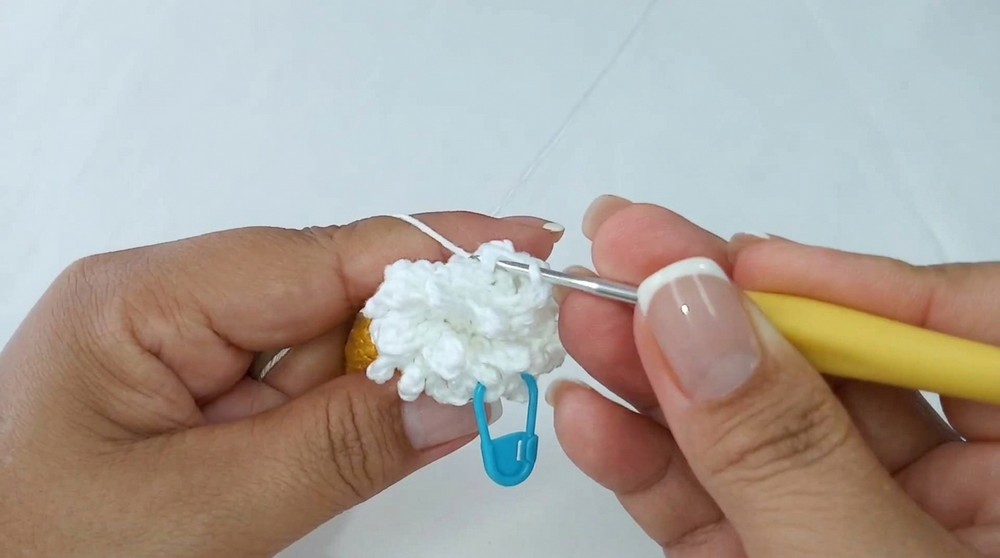
6. Handle
- Chain 6 stitches.
- Join chain ends with a slip stitch to form a ring or small loop.
- Work in continuous rounds of single crochet (sc) in each stitch around the handle band.
- Continue until the handle measures approximately 5 cm in length.
- Fasten off, leaving a long tail for sewing.
This elongated band forms a sturdy, wearable handle for the beer mug.
7. Assembly
- Using the tail left on the handle, sew the handle securely onto the side of the mug. Align the attachment base just above the white base portion for natural placement.
- Attach the keychain ring to the top of the mug, either by sewing it on or attaching with a small jump ring or clip.
Ensure all attachments are strong enough to withstand regular handling.
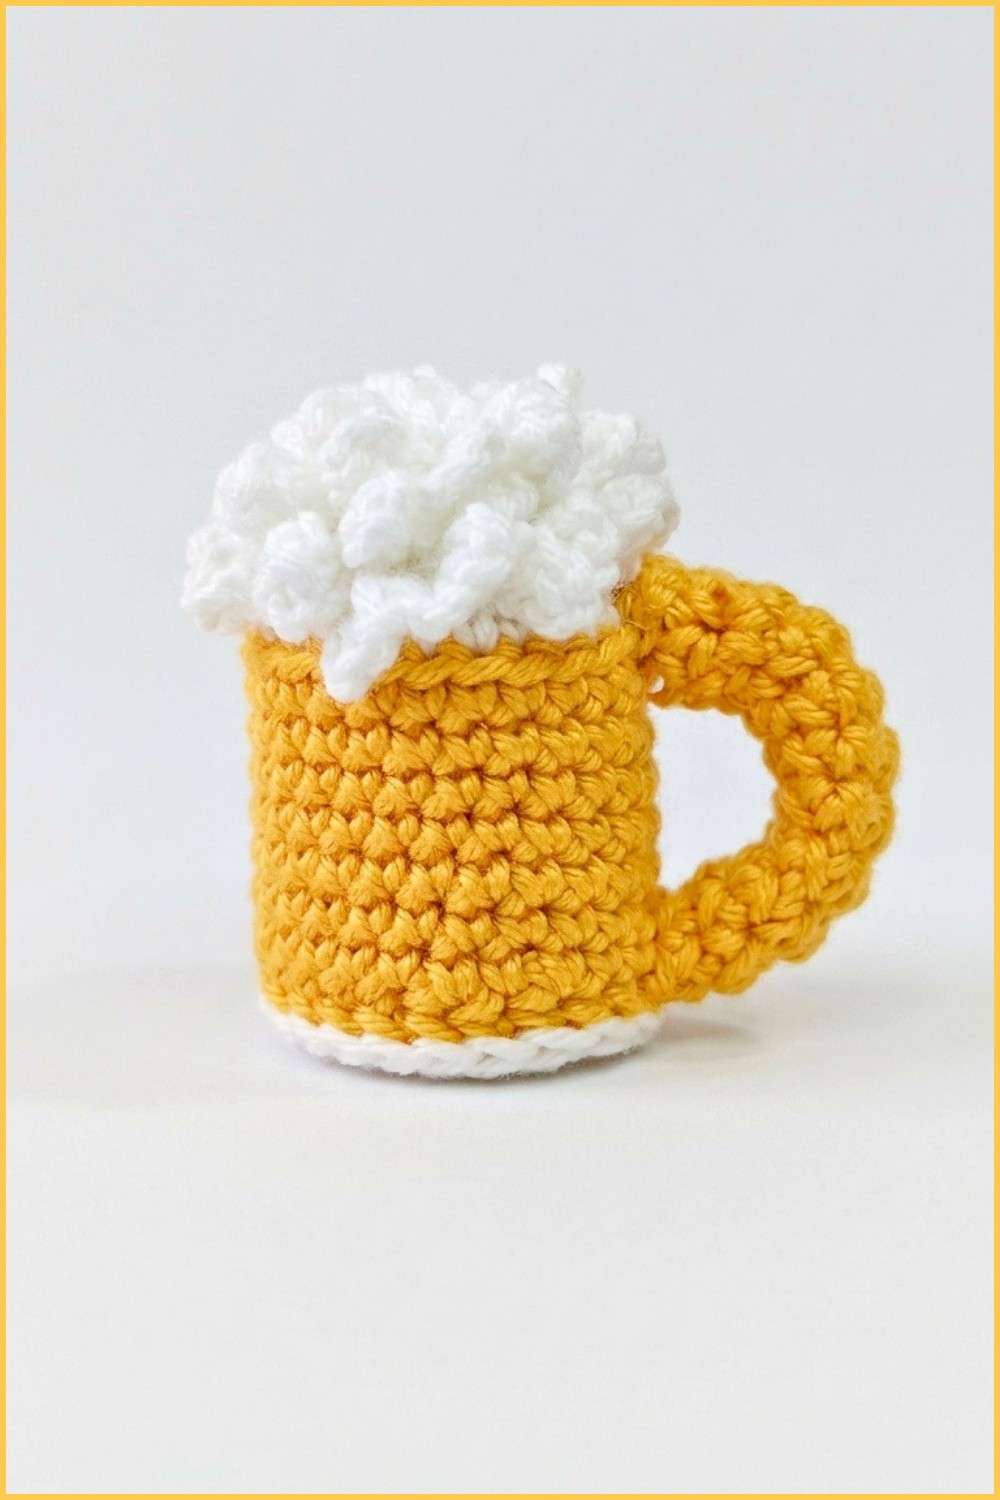
Assembly & Finished Size
When completed, this beer mug keychain measures roughly 3–4 cm tall with a handle about 5 cm long, making it an ideal compact size for keys or backpack charms. The combined use of firm stitches, strategic stuffing, and the added base reinforcement makes the keychain both durable and visually appealing. The looped foam detail enhances the realistic effect, while the attached keychain ring ensures easy use.
Conclusion
This amigurumi-style crochet beer mug keychain offers a fun and functional project showcasing basic crochet skills with textured effects and shaping. Creating a combination of round structures, surface relief, and assembly techniques, this pattern is perfect for beginners moving into amigurumi or anyone looking to make charming handmade accessories. With careful attention to detail and tight stitching, the finished keychain is both cute and durable—ideal for gifting or personal use.