Pick your favorite autumn shades for this Crochet Pumpkin Free Pattern and make a pretty decoration for tables, shelves, or mantels.
One of the best resources for learning how to make a Crochet Pumpkin is the original YouTube tutorial by A tejer con Tania Márquez, a talented creator known for her clear instructions and charming designs. Crochet Pumpkin is a delightful autumn-themed project that results in a small, adorable pumpkin decoration. While the finished size can vary depending on your yarn and hook choice, it’s typically about the size of a small orange, making it perfect for table displays or cozy home accents. This pumpkin features classic ribbed sections and is topped with a tiny crocheted stem, giving it a realistic and charming look.
Mini Crochet Pumpkin Free Pattern For Table Decorations
This project is great for beginners who are familiar with basic crochet stitches like single crochet and increasing or decreasing stitches because the pattern is straightforward and repetitive. It’s an excellent way to practice shaping and working in the round without feeling overwhelmed. Plus, you don’t need many materials: just yarn, a hook, some stuffing, and a stitch marker if you want to keep track.
Why try this project? It’s relaxing, quick to finish, and creates a festive crochet that brightens up any space. Whether you use it as a stand-alone decoration, a cute gift, or part of a fall centerpiece, this crochet pumpkin adds warmth and charm to your home.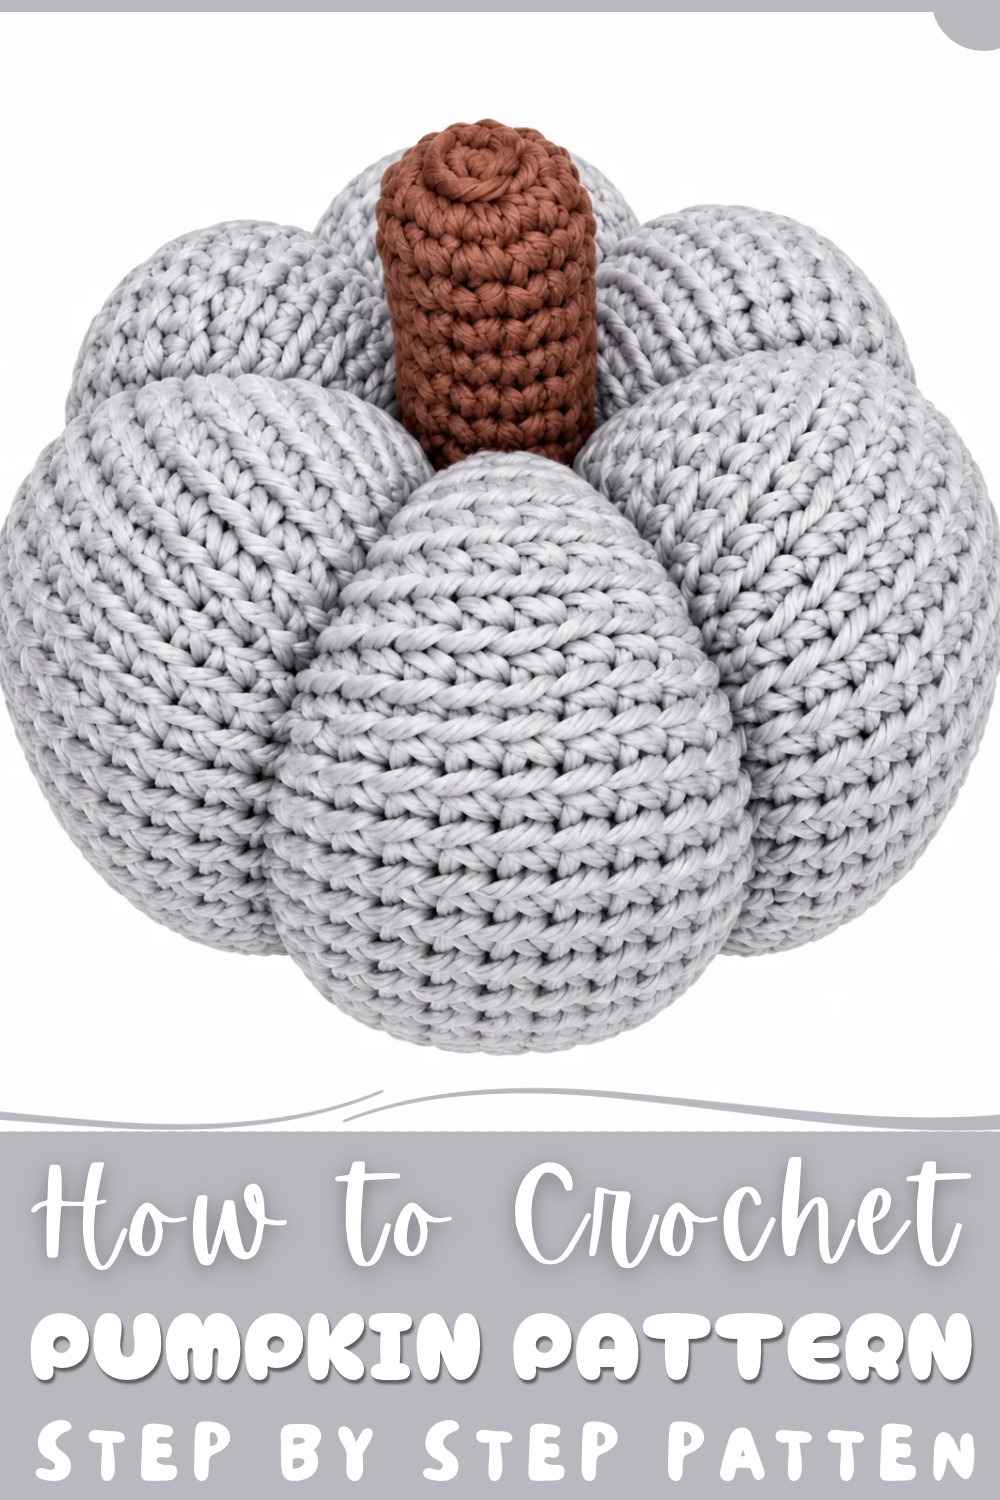
Making this charming fall favorite? jump into the cozy world of crochet—try this free pattern and stitch some autumn magic yourself!
Amigurumi Pumpkin Crochet Pattern
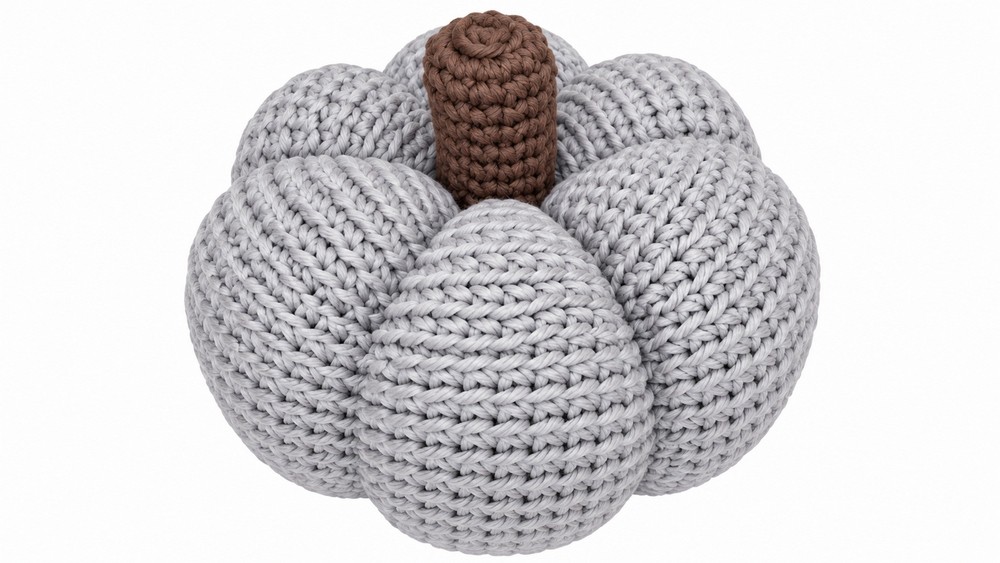
Creating a classic amigurumi pumpkin is a rewarding project for those who enjoy crocheting soft and decorative items. This pattern utilizes single crochet stitches and works in the back loop only (BLO) throughout the body, producing a beautiful textured effect reminiscent of real pumpkin ridges. Perfect for seasonal décor, gifts, or playful accents, this pumpkin features detailed shaping and a simple, sturdy stem.
Key Pattern Details
- Technique: Amigurumi (crocheted in the round, seamless, using single crochet)
- Primary Stitches: Single crochet (sc), increase (inc), decrease (dec)
- Construction: The body is worked in progressive rounds with increasing and then decreasing stitches, stem is made separately and attached.
Important Notes
- Always work in the back loop only (BLO) of each stitch in the pumpkin body, unless otherwise specified (the stem is not worked in BLO unless stated).
- It is crucial to use a stitch marker to keep track of round changes as amigurumi is worked in a spiral.
- Consistency in tension ensures a rounded, plump pumpkin shape.
Difficulty Level
- Beginner to Intermediate: Knowledge of basic stitches, magic ring, and working in the round is required. The pattern is straightforward with detailed instructions and consistent repeat structures.
Supplies Needed
- Yarn: Worsted weight cotton or acrylic in pumpkin orange (body) and brown or green (stem)
- Hook: 3.5 mm crochet hook
- Stuffing: Polyester fiberfill
- Yarn Needle: Long, sturdy, for shaping ridges and sewing parts together
- Scissors
- Glue: Cold or hot silicone glue (for stem attachment)
- Stitch Marker
Size & Measurements
The finished pumpkin will be approximately 3–4 inches in diameter and about 2.5 inches tall, depending on yarn type and tension.
Gauge & Stitch Details
- Gauge is not strictly necessary for amigurumi, but make sure your stitches are tight enough that stuffing doesn’t show.
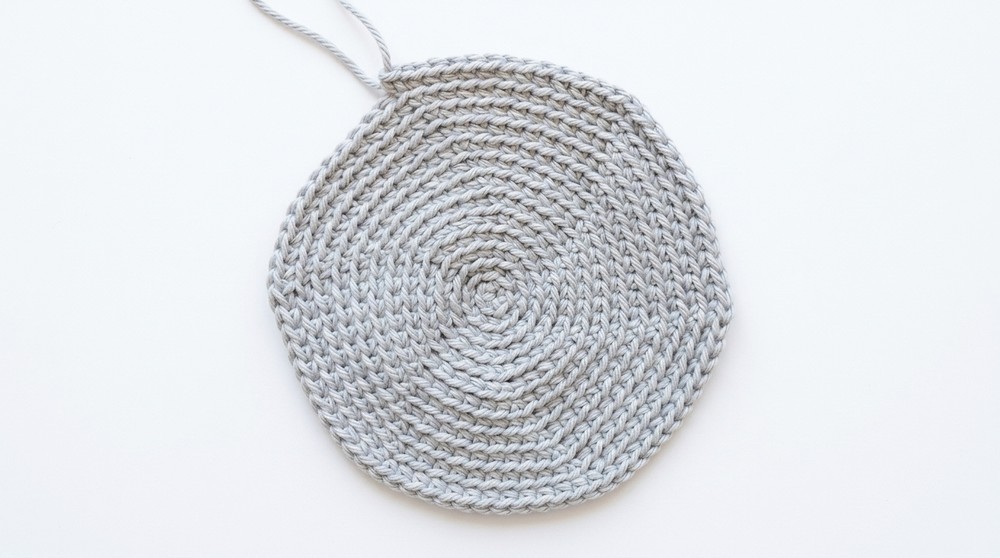
- Each round forms a flat circle at first, then builds dimension with even rounds, and finally shapes the pumpkin through decreases.
Crochet Abbreviations
- sc – single crochet
- inc – increase (2 sc in the same stitch)
- dec – decrease (single crochet two together)
- st(s) – stitch(es)
- BLO – back loop only
Special Stitch Guide
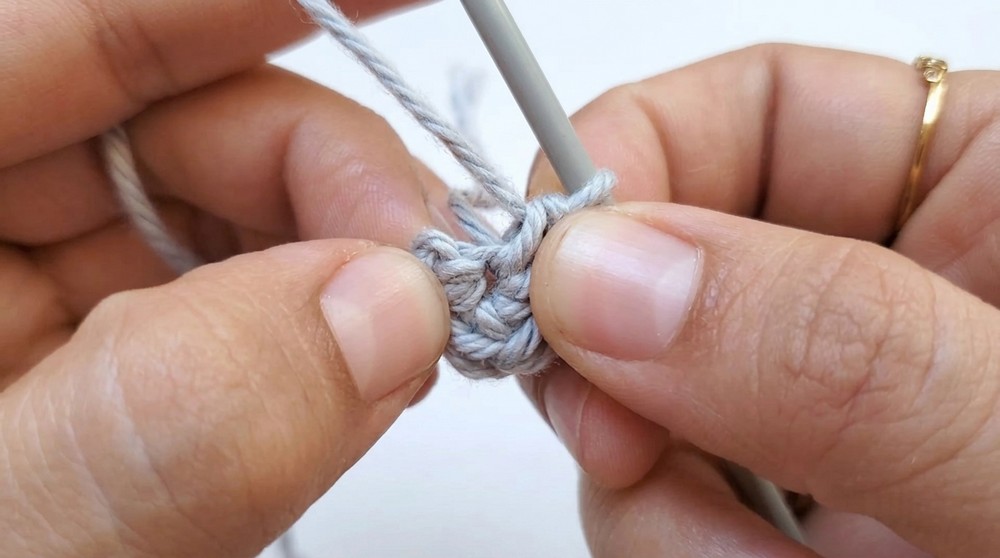
- Magic Ring: Create an adjustable ring to work the first round of stitches, allowing for a tightly closed center.
- Increase (inc): Work 2 single crochets into one stitch.
- Decrease (dec): Insert hook into the front loops of the next two stitches, yarn over and pull through all three loops (invisible decrease).
Complete Crochet Pattern
Pumpkin Body
- Round 1:
- Magic ring with 6 single crochets (sc) (work BLO).
- Round 2:
- Increase in every stitch (12 total): Make 2 sc in each stitch around (work BLO).
- Round 3:
- 1 single crochet, 1 increase (18 total):
- [1 sc, 1 inc] around (work BLO).
- 1 single crochet, 1 increase (18 total):
- Round 4:
- 2 single crochets, 1 increase (24 total):
- [2 sc, 1 inc] around (work BLO).
- 2 single crochets, 1 increase (24 total):
- Round 5:
- 3 single crochets, 1 increase (30 total):
- [3 sc, 1 inc] around (work BLO).
- 3 single crochets, 1 increase (30 total):
- Round 6:
- 4 single crochets, 1 increase (36 total):
- [4 sc, 1 inc] around (work BLO).
- 4 single crochets, 1 increase (36 total):
- Round 7:
- 5 single crochets, 1 increase (42 total):
- [5 sc, 1 inc] around (work BLO).
- 5 single crochets, 1 increase (42 total):
- Round 8:
- 6 single crochets, 1 increase (48 total):
- [6 sc, 1 inc] around (work BLO).
- 6 single crochets, 1 increase (48 total):
- Round 9:
- 7 single crochets, 1 increase (54 total):
- [7 sc, 1 inc] around (work BLO).
- 7 single crochets, 1 increase (54 total):
- Round 10:
- 8 single crochets, 1 increase (60 total):
- [8 sc, 1 inc] around (work BLO).
- 8 single crochets, 1 increase (60 total):
- Rounds 11–18:
- Work 8 rounds even (60 stitches per round):
- 1 sc in each stitch around, continue for 8 rounds (work BLO).
- Work 8 rounds even (60 stitches per round):
- Round 19:
- 8 single crochets, 1 decrease:
- [8 sc, 1 dec] repeat around (work BLO).
- 8 single crochets, 1 decrease:
- Round 20:
- 7 single crochets, 1 decrease:
- [7 sc, 1 dec] repeat around (work BLO).
- 7 single crochets, 1 decrease:
- Round 21:
- 6 single crochets, 1 decrease:
- [6 sc, 1 dec] repeat around (work BLO).
- 6 single crochets, 1 decrease:
- Round 22:
- 5 single crochets, 1 decrease:
- [5 sc, 1 dec] repeat around (work BLO).
- 5 single crochets, 1 decrease:
- Round 23:
- Continue decreasing according to the established pattern, ensuring the round brings the remaining opening smaller (work BLO).
- Round 24:
- Final round of decreases to further close the opening (work BLO).
- Round 25:
- Continue decreasing as needed (work BLO).
- Round 26:
- Continue decreasing until the opening is small enough to close (work BLO).
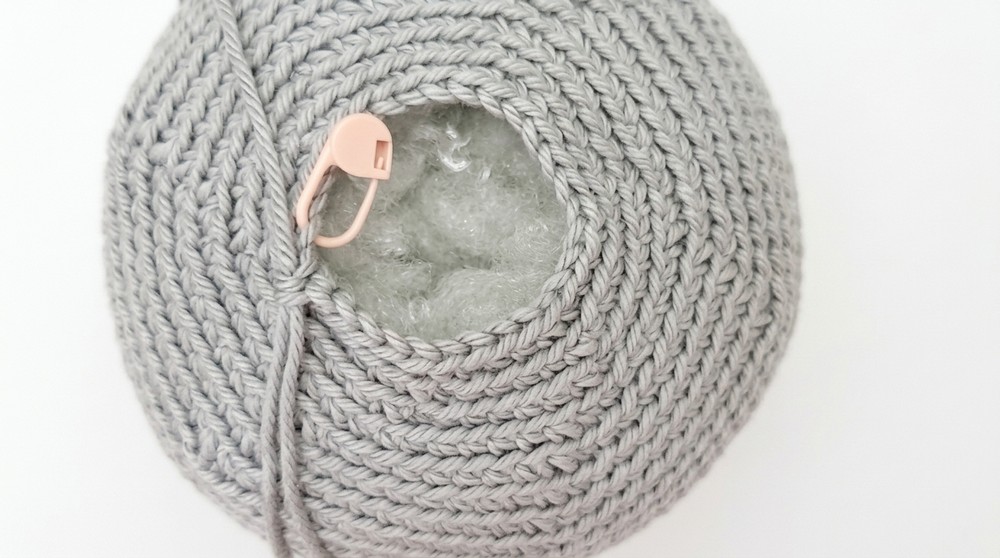
Closing the Pumpkin
- Cut a long yarn tail.
- Thread the tail on a yarn needle and weave through the front loops of the remaining stitches.
- Pull the tail to tightly close the opening, hiding the end inside the pumpkin.
Shaping the Pumpkin Ridges
- Identify the 6 column lines created during the rounds of increases and decreases – these mark the lines for pumpkin segments.
- Using a long needle and yarn (matching or contrasting), insert the needle from the bottom center through the top center and pull tightly to form a dent.
- Repeat this process six times, spacing the yarn equally to define each pumpkin segment.
- As you pull each segment, tighten to achieve the classic ribbed pumpkin effect but do not distort the shape.
- Knot securely and hide yarn ends inside the pumpkin.
Pumpkin Stem
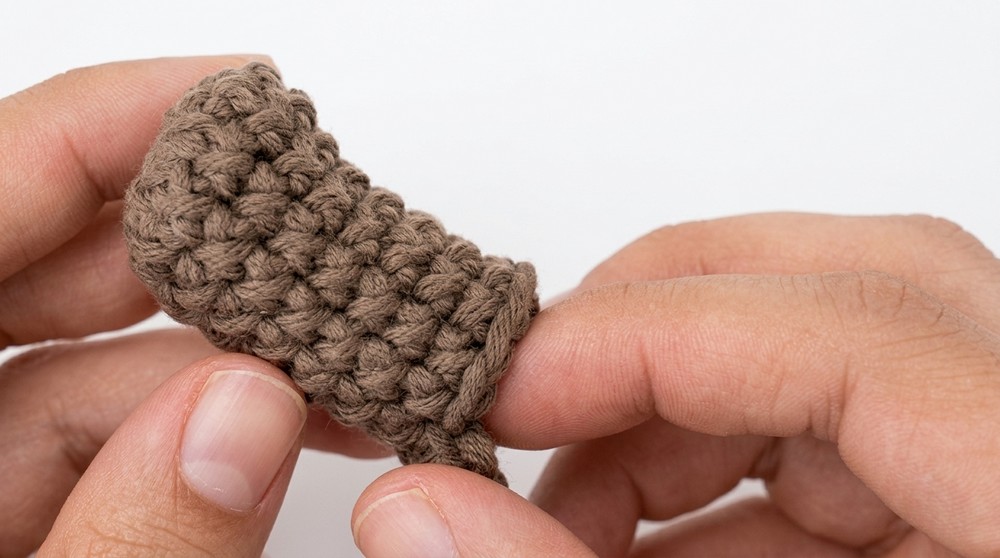
- Round 1:
- Magic ring with 6 single crochets (sc).
- Round 2:
- 6 single crochets in BLO.
- Round 3 to Round 7:
- 5 rounds of 6 single crochets each (normal stitches, not BLO).
- Finishing the Stem:
- Stuff the stem lightly with fiberfill.
- Attach the stem to the top center of the pumpkin using cold or hot silicone glue for a neat finish.
Joining & Final Size
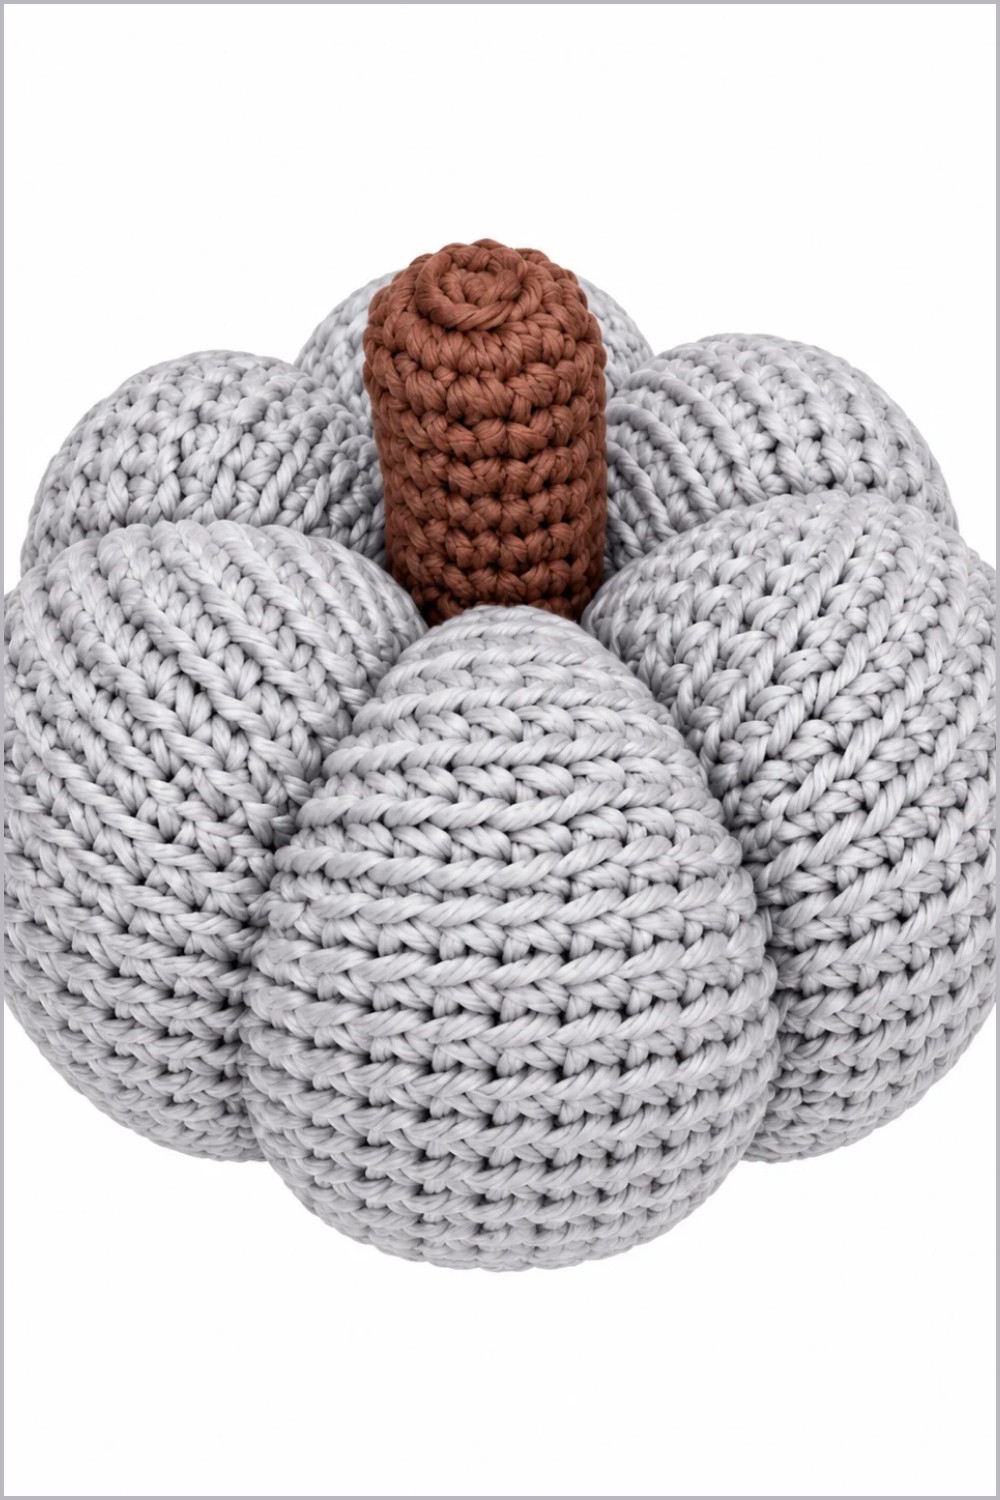
- When all pieces are complete and the ridges have been defined, position the stem centrally atop the closed end of the pumpkin.
- Secure in place using glue, hold briefly until set.
- The final pumpkin should measure 3–4 inches in diameter and 2.5 inches tall (approximate).
Final Words
This amigurumi pumpkin pattern delivers a realistic, classic look through effective use of increases, decreases, and textural shaping. Each step is designed to guide you through careful construction and finishing so your pumpkin remains sturdy and decorative for years to come. By consistently working in the back loop only and mindfully shaping the segments, you achieve a beautifully ribbed and plump amigurumi pumpkin. The sturdy stem attaches with ease, providing both practicality and charm to your finished piece.