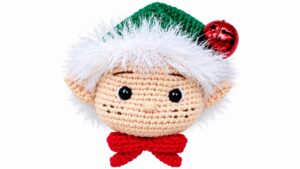
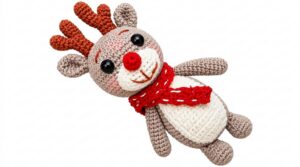
Celebrate the holiday season with this Crochet Christmas Snowman Free Pattern and enjoy a cute handmade project perfect for your festive decorations.
A charming decoration for the holiday season is a small, soft figure with a friendly face. A Crochet Christmas Snowman usually stands about 6 to 8 inches tall, making it perfect to place on shelves, tables, or mantels. The snowman has a round shape made up of three parts stacked one on top of another. The bottom part is the biggest, the middle section is smaller, and the head is the smallest.
Mini Crochet Christmas Snowman Free Pattern For Festive Displays
This snowman’s face is simple and warm. It often includes black eyes, a small carrot-shaped nose created with orange yarn, and a gentle smile. Buttons are sometimes added to the middle section, along with a cozy scarf wrapped around the neck. Occasionally, a little hat rests on top of the head, giving it extra character.
This project fits well for beginners and those with some crochet experience. It mainly uses basic stitches like single crochet, plus increases and decreases for shaping. Beginners will find it a good way to practice essential skills, while those with more experience can add details like scarves, buttons, or hats to personalize their snowman.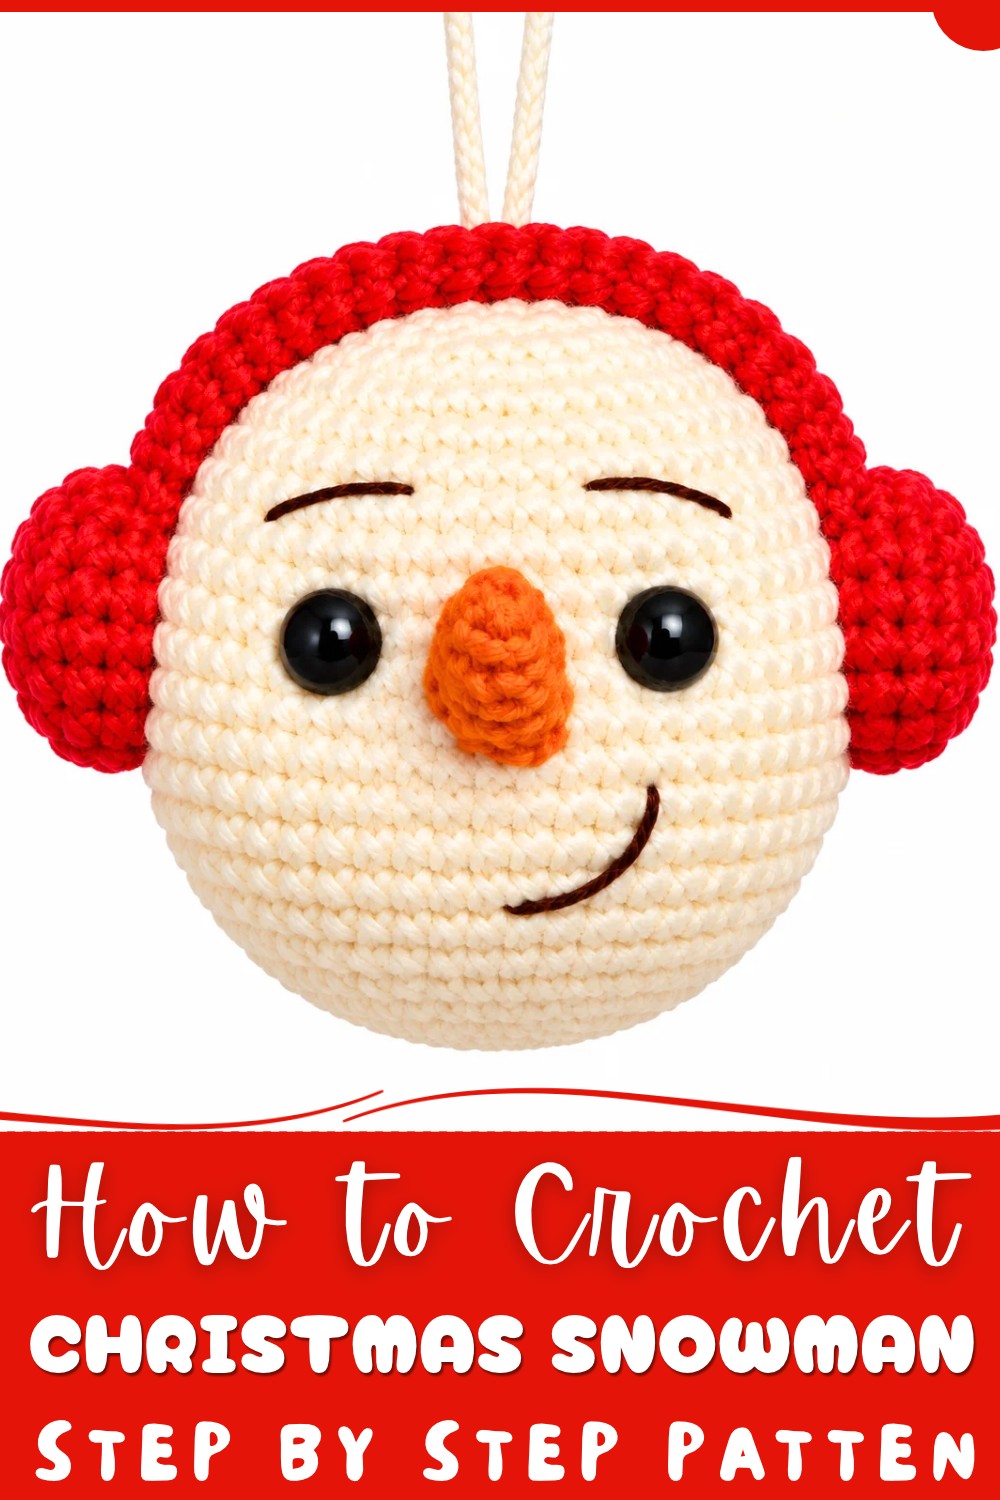
In all, a Crochet Christmas Snowman is a small, inviting figure that easily fits into holiday décor. Its soft body and simple features give it a warm, human-like charm. This kind of project offers a relaxing and pleasant activity during the festive season.
Featured By:
Snowman Christmas Sphere Crochet Pattern
This charming snowman sphere is crocheted as a whimsical Christmas ornament that seamlessly blends amigurumi shaping with simple details and bright holiday colors. The versatile sphere construction makes this project suitable for gift-giving, decorating trees, or even as a playful seasonal toy. Designed with clarity for new crocheters and rich details for intermediates, the pattern provides comprehensive round-by-round instructions, consistent shaping, and step wise assembly.
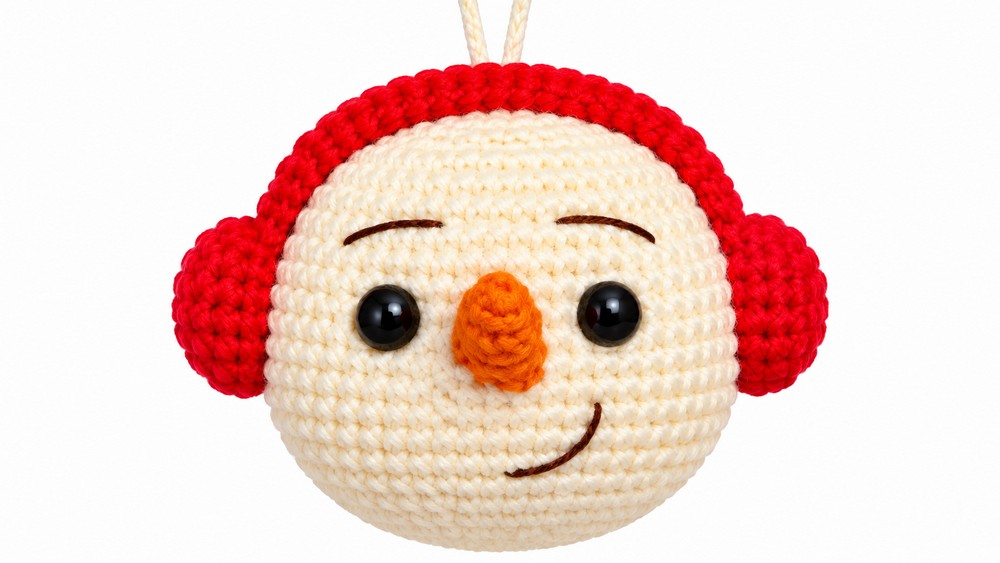
Pattern Basic Points
- Technique: Amigurumi (crocheted in spirals)
- Construction: Crocheted in separate pieces (head/sphere base, nose, ear muffs, band), then sewn together
- Features: Safety eyes, simple sculpting, surface embroidery for features
- Finish: Firm stuffed sphere with securely attached decorative elements
- Presentation: Ornament with optional hanging loop
Special Notes
- Work in continuous rounds (do not join each round unless specifically instructed).
- Use a stitch marker to keep track of the first stitch of each round.
- Stuff elements firmly for a well-shaped ornament.
- Adjust placement of facial details to suit your preferred look.
- Safety eyes are recommended for decorative purposes. Supervise if made for young children.
Skill Level
Beginner to Intermediate.
Suitable for those with experience in basic stitches, increasing, and decreasing. Stepwise explanations make it accessible for advanced beginners.
Materials
- Worsted weight yarn in:
- White (main sphere/head)
- Orange (nose)
- Red (ear muffs and band)
- Small amount of black (embroidery for eyebrows and mouth)
- Crochet hook: 3.0 mm–3.5 mm or US E/4 (adjust for tightness/gauge)
- Pair of 6–8 mm safety eyes
- Small amount of polyester fiberfill stuffing
- Tapestry needle
- Scissors
- Stitch marker
- Sewing pins (optional for placement)
- Yarn in white or other color for sculpting eyes
Measurements & Gauge
- Finished Size: Approximately 7–8 cm (2.75–3.25") in diameter, not including nose and earmuffs
- Gauge:
- 9 rounds in pattern = 5 cm (2") diameter, lightly stuffed.
- Gauge is not critical but a tight fabric ensures stuffing won’t show.
Stitch Abbreviations
- MR – Magic ring
- sc – Single crochet
- inc – Increase (2 sc in same stitch)
- dec – Decrease (single crochet two together)
- sl st – Slip stitch
- st – Stitch
- rep – Repeat
Special Stitches
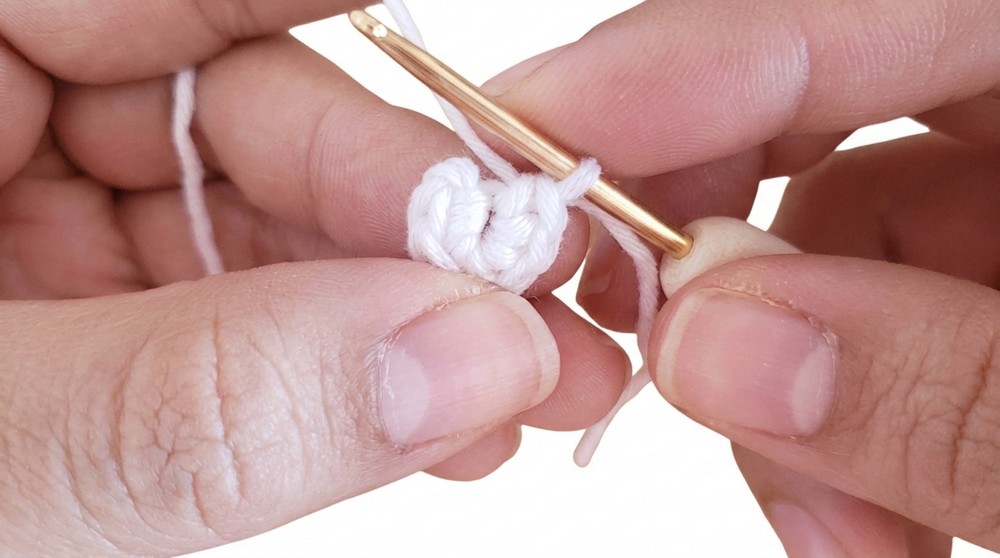
- Magic Ring (MR): Begin with yarn loop, work required number of sc into ring, pull tail to close.
- Single Crochet Decrease (sc2tog): Insert hook into next st, yarn over and pull up loop, insert into next st, yarn over and pull up loop, yarn over and draw through all loops on hook.
- Invisible decrease: Work decrease across front loops only for a seamless effect.
Pattern Instructions
Head (Base Sphere)
- Round 1:
- Make a magic ring and work 6 sc into the ring. (6 sts)
- Round 2:
- Work 1 inc in each st around. (12 sts)
- Round 3:
- 1 sc, 1 inc, rep around. (18 sts)
- Round 4:
- 2 sc, 1 inc, rep around. (24 sts)
- Round 5:
- 3 sc, 1 inc, rep around. (30 sts)
- Round 6:
- 4 sc, 1 inc, rep around. (36 sts)
- Round 7:
- 5 sc, 1 inc, rep around. (42 sts)
- Round 8:
- 6 sc, 1 inc, rep around. (48 sts)
- Round 9:
- 7 sc, 1 inc, rep around. (54 sts)
- Rounds 10–16 (7 rounds):
- Sc in each st around. (54 sts per round)
- Round 17:
- 7 sc, 1 dec (sc2tog), rep around. (48 sts)
- Insert Eyes:
- Between rounds 16 and 17, attach safety eyes approximately 9–10 sts apart (centered to your preference). Secure backs.
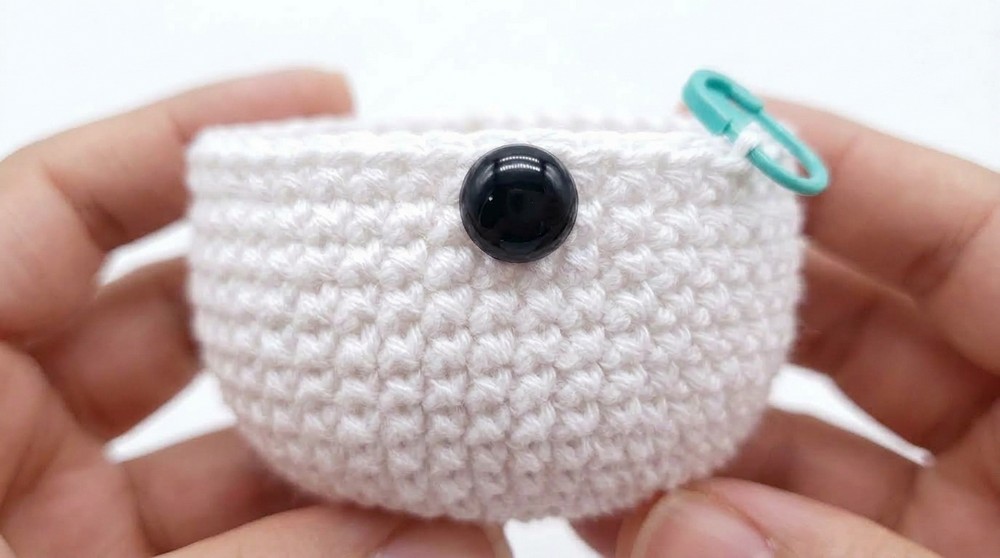
- Rounds 18–21:
- Sc in each st around. (48 sts per round)
- Round 22:
- 6 sc, 1 dec, rep around. (42 sts)
- Round 23:
- 5 sc, 1 dec, rep around. (36 sts)
- Stuffing:
- Stuff the sphere firmly, especially shaping around the eyes and top.
- Eye Sculpting:
- With white yarn, use tapestry needle to draw through the eye area (from base to back), tightening gently to sculpt the sockets symmetrically. Secure and weave in ends.
- Round 24:
- 4 sc, 1 dec, rep around. (30 sts)
- Round 25:
- 3 sc, 1 dec, rep around. (24 sts)
- Round 26:
- 2 sc, 1 dec, rep around. (18 sts)
- Round 27:
- 1 sc, 1 dec, rep around. (12 sts)
- Closing:
- Fasten off, leaving a long tail. Weave needle through the front loop of each remaining st, pull tight to close. Secure and weave in ends.
Nose (Carrot, Orange Yarn)
- Round 1:
- Make MR and work 3 sc into ring. (3 sts)
- Round 2:
- 1 inc in each st around. (6 sts)
- Round 3:
- 2 sc, 1 inc, rep around. (8 sts)
- Rounds 4–5:
- Sc in each st around. (8 sts per round)
- Finish:
- Fasten off, leaving a tail for sewing. Lightly stuff the nose.
Ear Muff Circles (Make 2, Red Yarn)
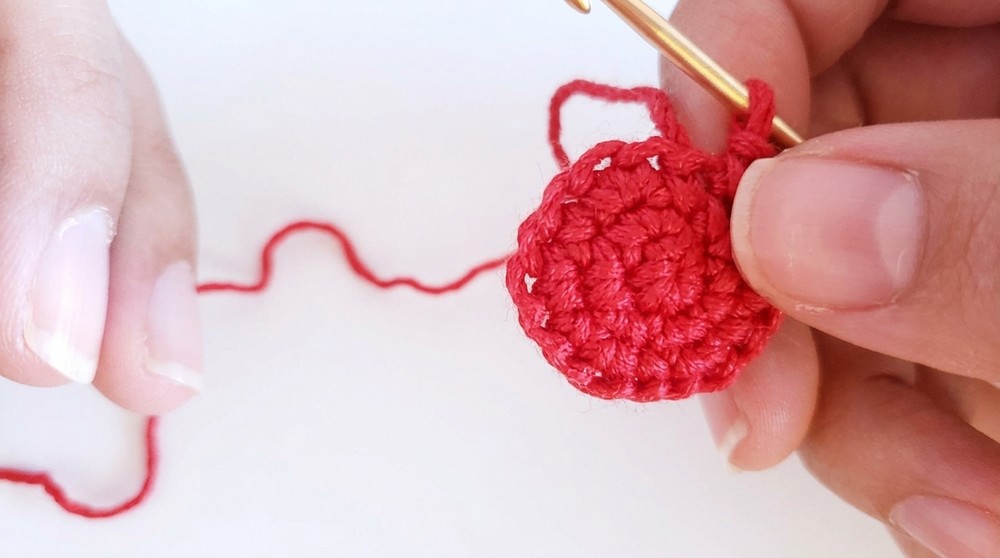
- Round 1:
- MR and 6 sc into ring. (6 sts)
- Round 2:
- 1 inc in each st around. (12 sts)
- Round 3:
- 1 sc, 1 inc, rep around. (18 sts)
- Rounds 4–6:
- Sc in each st around. (18 sts per round)
- Finish:
- Fasten off, leaving a tail for sewing. Lightly stuff.
Ear Muff Strip (Band, Red Yarn)
- Start:
- With MR, work 4 sc into ring. (4 sts)
- Rounds 2–25:
- Sc in each st around. (4 sts per round; total 24 rounds for length approx. 7–8 cm/2.75–3.25")
- Finish:
- Fasten off, leaving a tail for sewing.
Assembly
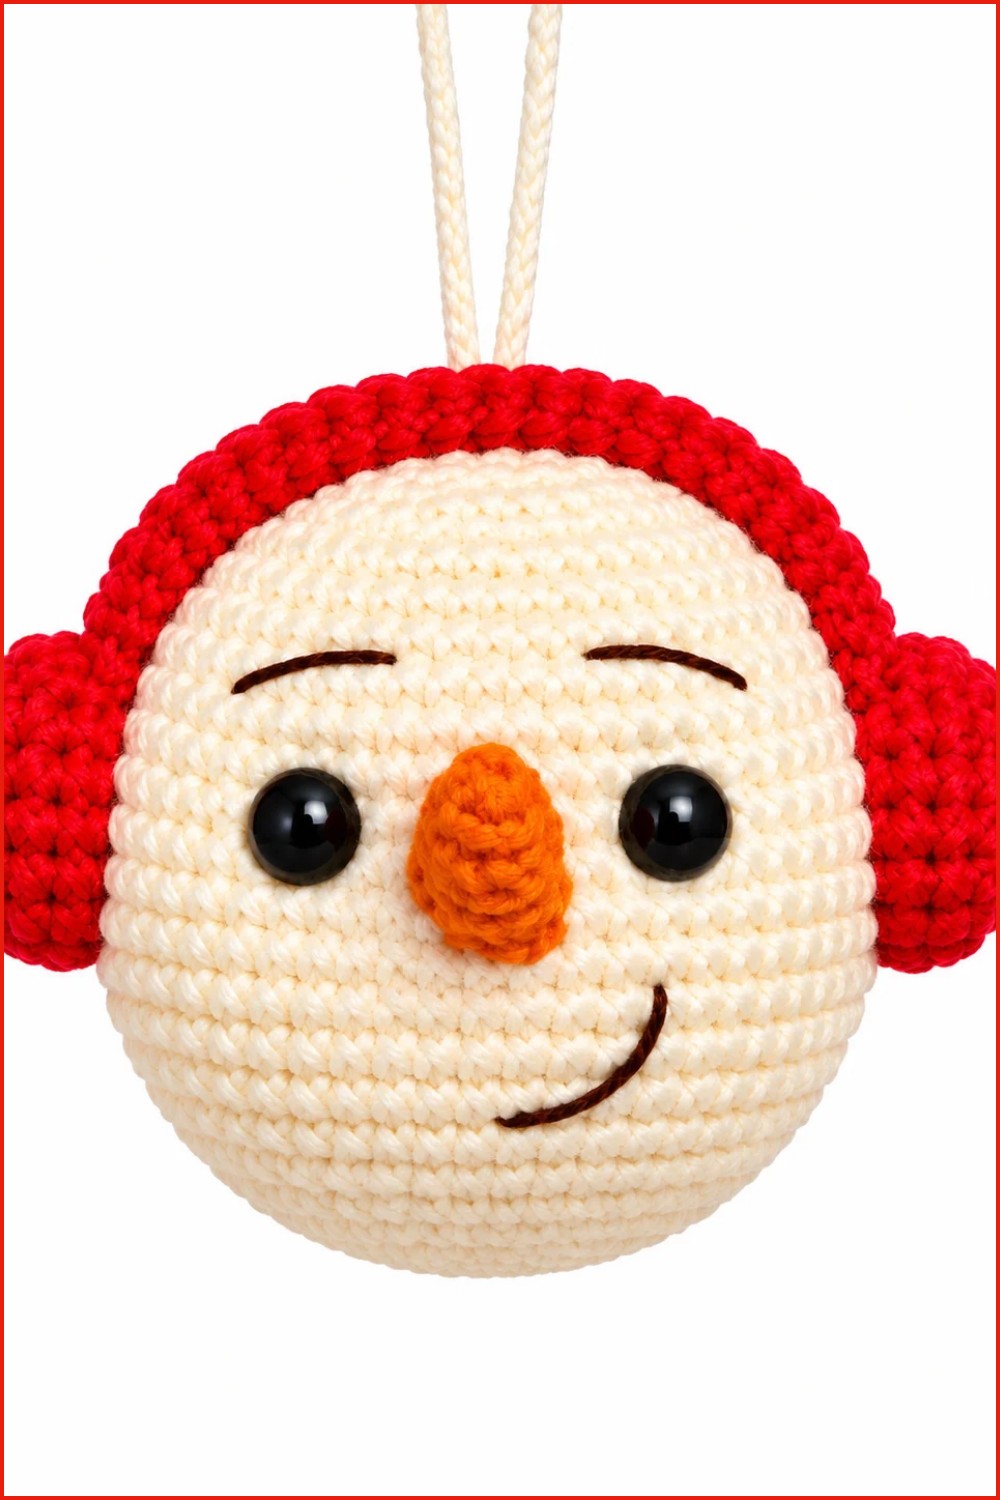
1. Attach Nose:
- Place lightly stuffed nose at the center between the eyes. Using yarn tail and tapestry needle, sew around opening, shaping carrot slightly as you secure it. Weave in end inside head.
2. Attach Ear Muffs:
- Slightly stuff each circle. Center each on the sides of the head, horizontally aligned or slightly back from eyes. Using pins if desired, whipstitch securely.
3. Attach Ear Muff Band:
- Lay band across the top of the sphere/head, forming a gentle arc from one ear muff to the other. Sew each end to the earmuff circles, ensuring the band lies flat.
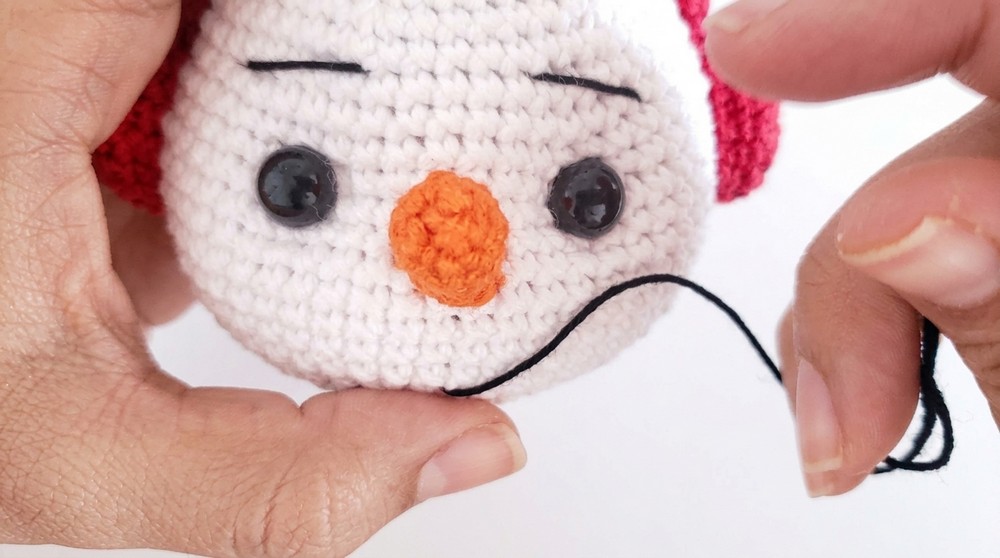
4. Embroider Face Details:
- With black embroidery thread, stitch simple upturned brows and a smiling mouth below the nose. Backstitch or surface stitch can be used. Secure threads inside the sphere.
5. Hanging Loop (Optional):
- Pull a 10–12 cm length of yarn through the top center of head, knot ends to form a loop, and trim excess. Secure inside.
Finished Size
- Sphere (body/head): 7–8 cm (2.75–3.25") diameter
- Entire ornament: 10–11 cm (4"+) including the nose and ear muffs
Conclusion
This snowman Christmas sphere pattern showcases essential amigurumi techniques—magic ring, seamless increases, shaped decreases, and simple assembly. The classic carrot nose, cheerful earmuffs, and playful face are easy embellishments that invite creativity. Vary the colors or personalize with scarves, hats, or surface decoration for a custom touch. This design is compact for tree hanging but robust enough for handling and gifting, offering a joyful addition to winter celebrations. Sturdy construction and secure features ensure the piece stands up to festive use year after year. Adjust sizing by modifying yarn or hook, and enjoy the process of shaping your own handmade seasonal character.