Boost festive décor effortlessly through this free crochet carrot pattern that's providing simple steps to create charming and lively vegetable-inspired delights.
About The Channel:
This tutorial is hosted on Antilene, an engaging YouTube channel dedicated to clear crochet guides that help makers build skills and create polished handmade pieces.
Plush Carrot Crochet Pattern Free (Soft & Squishy)
Beginner-Friendly Crochet Carrot-Themed Box Pattern
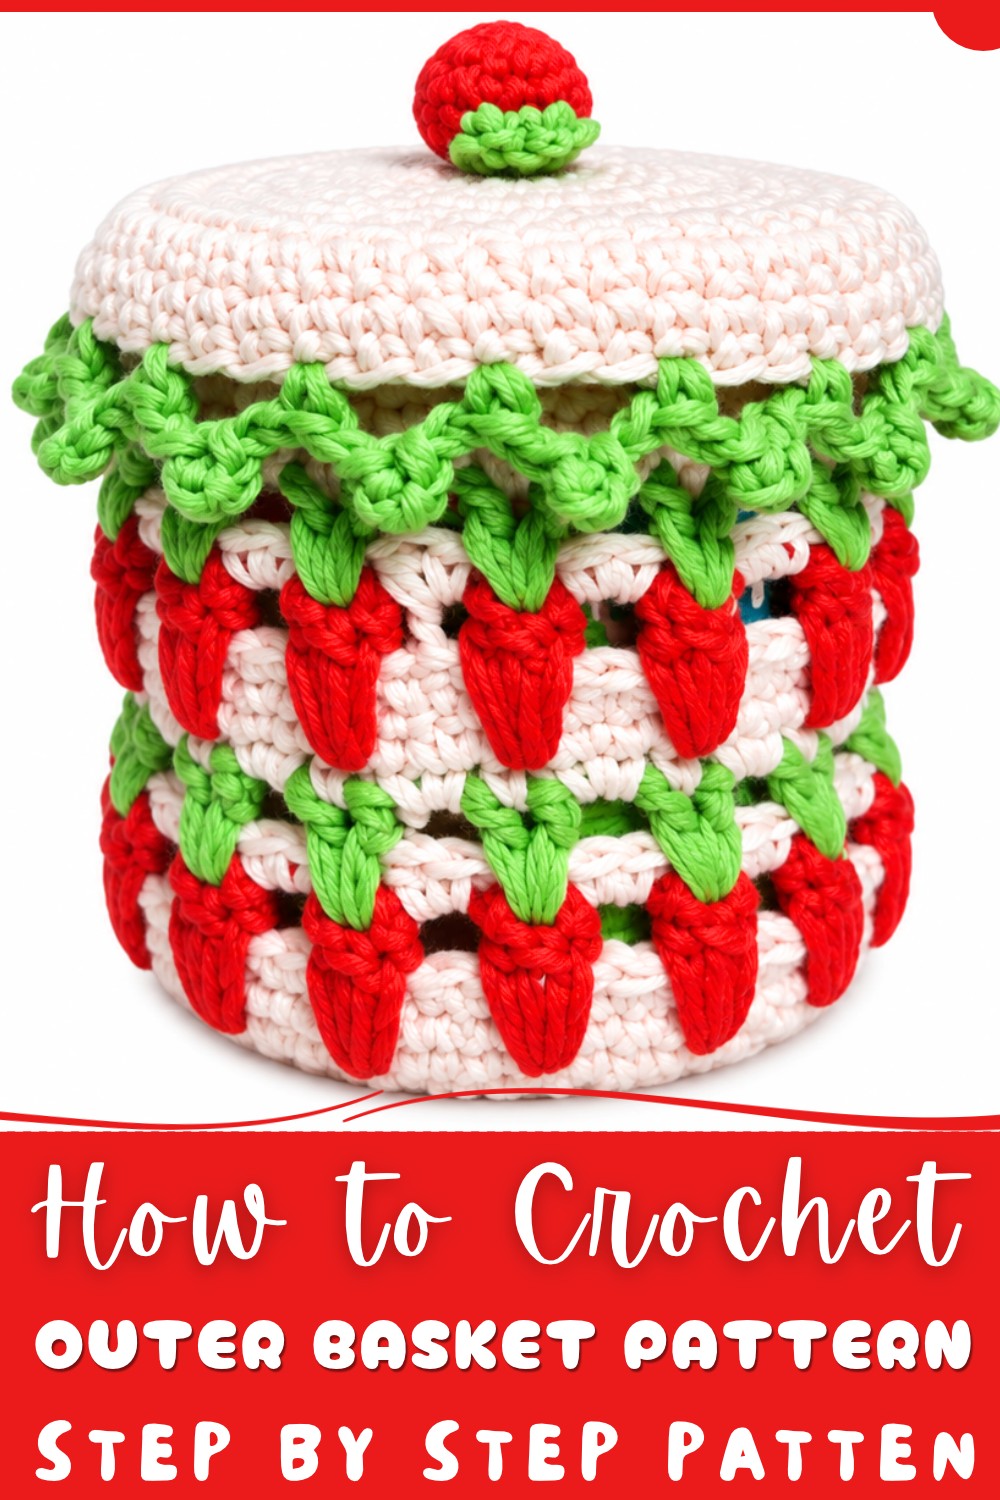
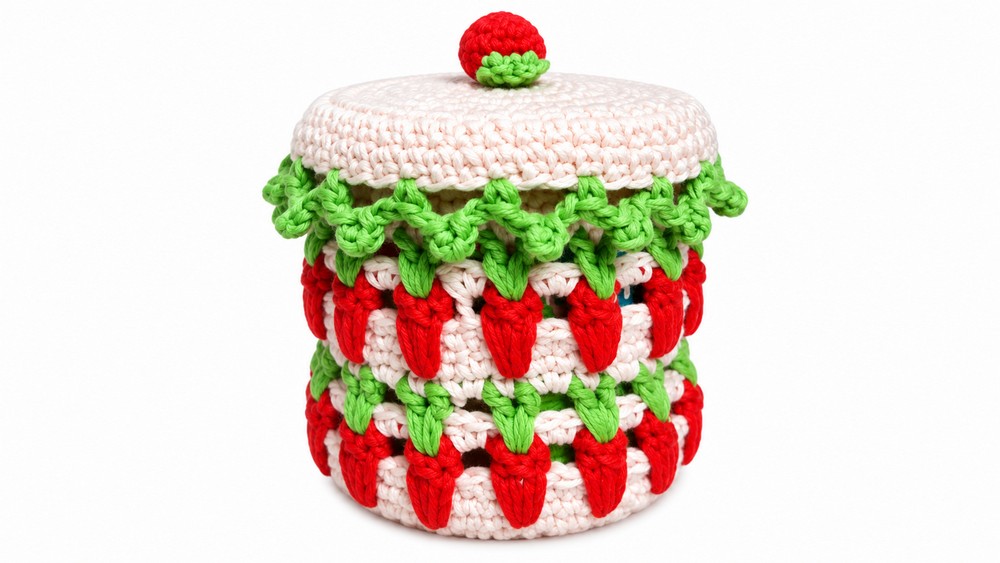
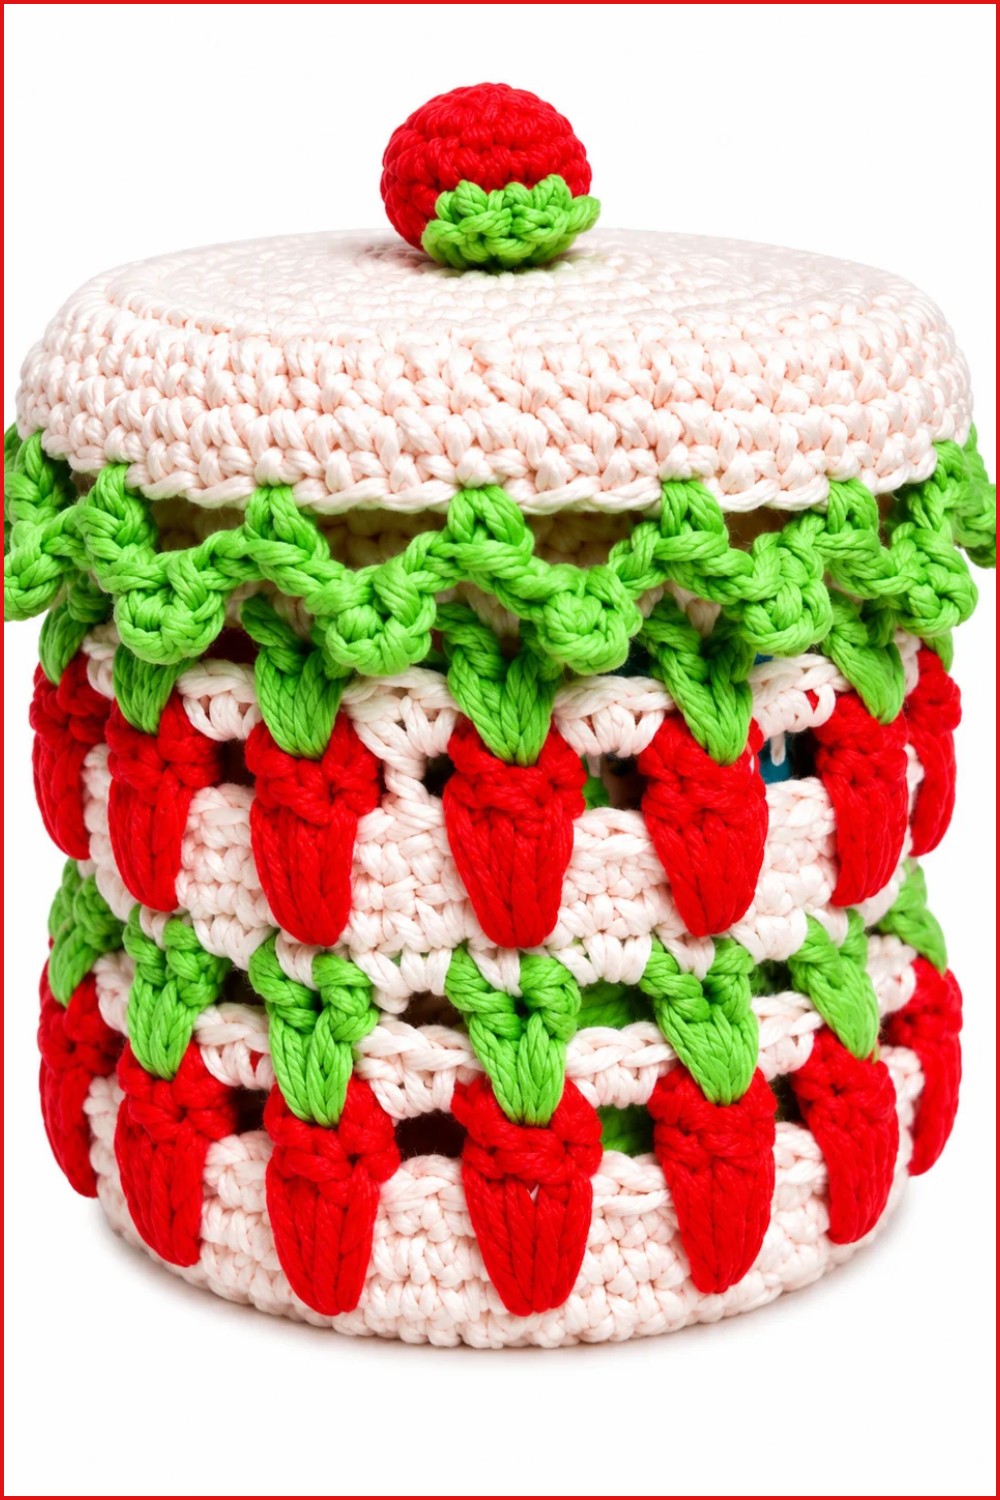
This charming carrot-themed crochet box is perfect for storing small items or gifting. Measuring about 7.4 cm wide by 8 cm tall, it features a textured carrot body, a matching lid with a leafy trim, and a small decorative carrot on top. The box uses cotton yarn in orange and green, with two hook sizes for different parts. The instructions below are simplified and organized step-by-step for easy understanding.
Materials Needed
- Cotton yarn in orange and green
- Crochet hooks:
- 2.5 mm hook for the box and lid
- 1.8 mm hook for the small carrot decoration
- Fiberfill stuffing (for the small carrot)
- Fabric glue
- Scissors
- Yarn needle (for weaving in ends)
Abbreviations
| Abbreviation | Meaning |
|---|---|
| ch | chain |
| sc | single crochet |
| dc | double crochet |
| ldc | long double crochet* |
| sl st | slip stitch |
| inc | increase (2 stitches in the same stitch) |
*Long double crochet (ldc): A taller double crochet with extra height to create texture.
Notes for Beginners
- Work in continuous rounds for the body and lid (do not turn unless noted).
- Use two strands of yarn held together to make the box thicker, and single strand for the small carrot.
- Keep your tension consistent to make the box sturdy and even.
- Practice the magic ring technique first for a tight center.
- Use stitch markers if you find counting stitches challenging.
- Don’t worry if your first try isn’t perfect—practice improves shape and stitch evenness.
Step-by-Step Crochet Instructions
Part 1: Box Base and Body
Foundation Round — Magic Ring
- Using two strands of orange yarn and 2.5 mm hook:
- Make a magic ring.
- Work 11 single crochets (sc) into the ring.
- Pull yarn tail to close the ring tight.
- Join with a slip stitch (sl st) into the first sc.
Rounds 2 to 4 — Increasing and Shaping
- Your goal is to reach 48 stitches by increasing evenly.
Round 2
- Chain 1 (does not count as a stitch).
- Increase: Work 2 double crochets (dc) into each stitch.
- You should have 24 stitches total.
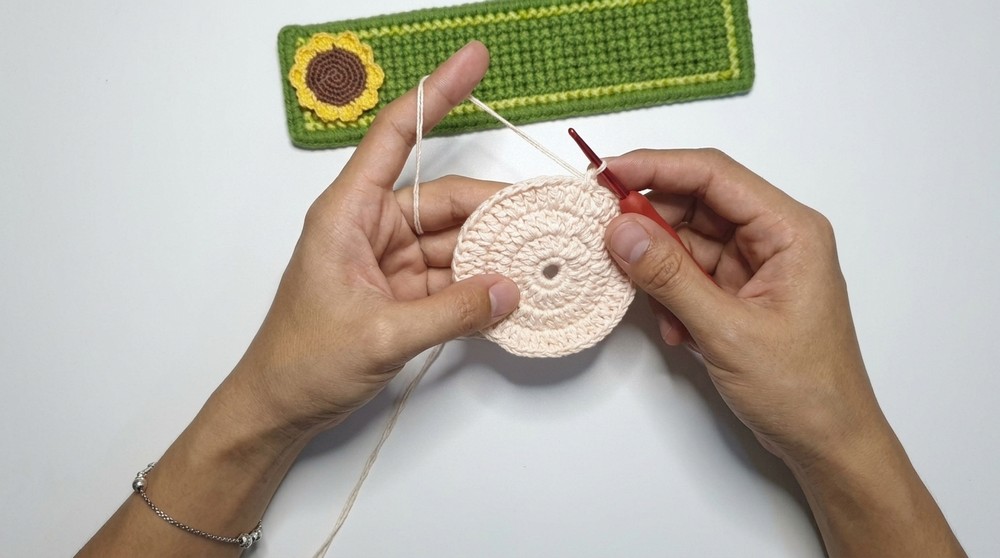
Round 3
- Chain 1.
- Work the following pattern around:
- 1 double crochet (dc) in the next stitch,
- 2 double crochets (dc) in the following stitch (increase).
- Repeat around until end.
- Total stitches: 36.
Round 4
- Chain 1.
- Work:
- 2 double crochets (dc) individually in next 2 stitches,
- 2 double crochets (dc) in the following stitch (increase).
- Repeat to complete round.
- Total stitches: 48.
Rounds 5 and 6 — Creating Carrot Texture
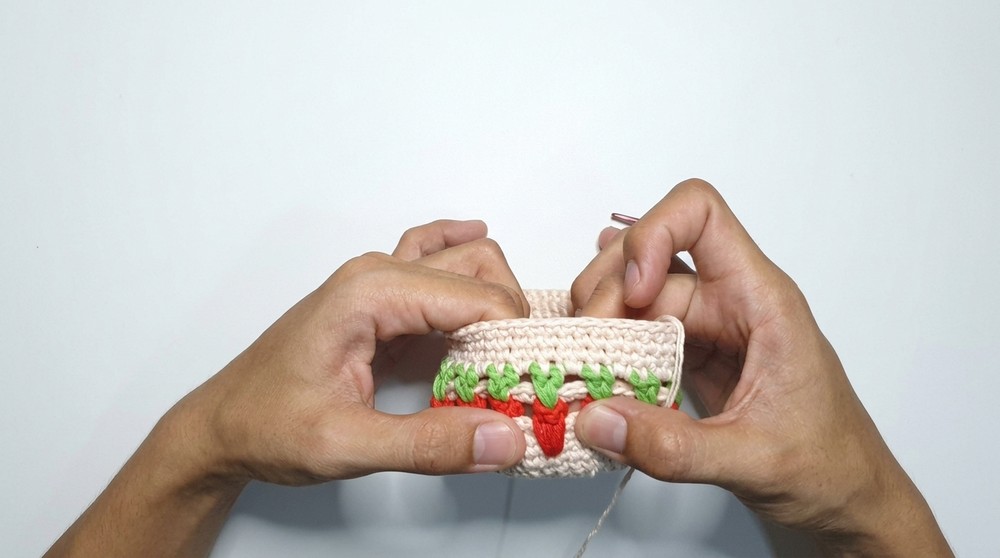
- We create long double crochet (ldc) clusters to imitate a carrot’s texture.
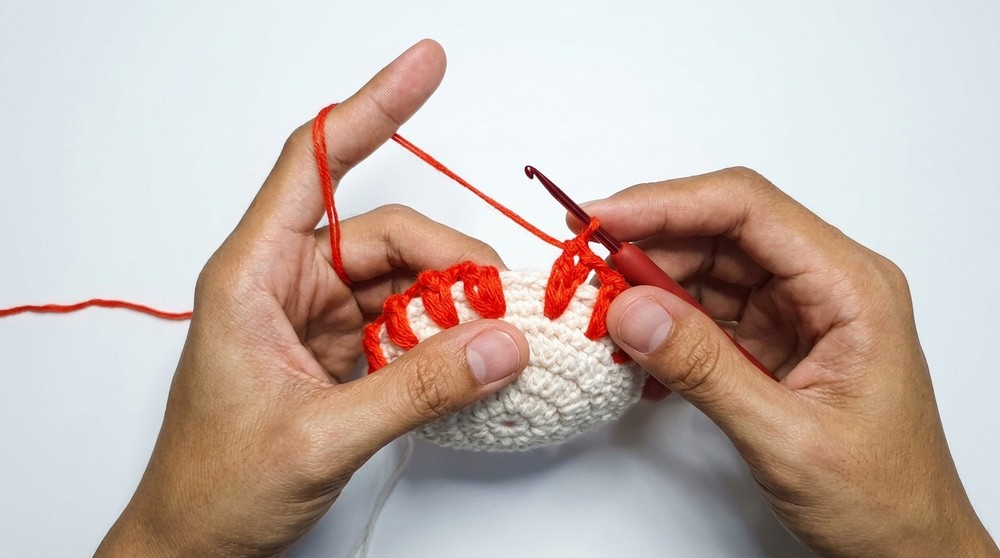
Round 5
- Chain 1.
- Work 16 clusters spaced evenly around the round. Each cluster consists of:
- Chains and long double crochets (ldc).
- Instructions:
- Work a cluster: chain 3, then work 3-4 long double crochets in the same space.
- Skip a stitch between clusters.
- This forms the bumpy carrot-like texture.
Round 6
- Chain 1.
- Work single crochet (sc) stitches between the clusters,
keeping the stitch count at 48. - This round smooths the body and stabilizes the texture.
Round 7 — Adding Green Leaves
- Switch to green yarn.
- Chain 1.
- Work a leaf pattern around the box body simulating carrot tops.
- This may involve:
- Small chains, single crochets, and slip stitches to form leafy shapes.
- After the leaves, work 4 rounds of single crochet (sc) maintaining stitch count at 48 to raise the height.
Rounds 8 and 9 — Repeat Texture and Leaves
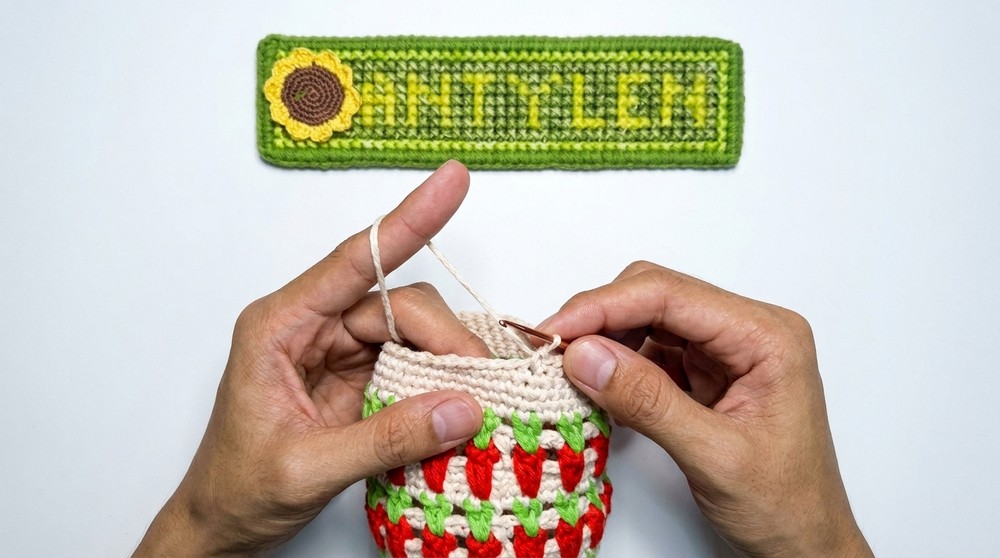
- Repeat the long double crochet (ldc) cluster texture round to build the box upper section.
- Add the green leaf detailing round again like Round 7.
Part 2: Lid Assembly
Lid Base
- Using orange yarn (two strands) and 2.5 mm hook:
- Make a magic ring.
- Work 16 single crochet (sc) stitches into the ring.
- Join with a slip stitch (sl st).
Lid Sides — Raised Texture
- Chain 1.
- Work single crochets (sc) with a raised stitch technique: do not pull the yarn fully through the loops to create texture and thickness on the lid sides.
- Work 3 rounds to build up the sides so the lid fits snugly over the box body.
Rim Decoration
- Switch to green yarn.
- Crochet a decorative trim around the lid’s edge.
- Use a combination of chains and single crochets to create a leafy border.
Part 3: Small Carrot Decoration
Carrot Body
- Using single strand orange yarn and 1.8 mm hook:
- Chain enough stitches to form a small base (start with 4 sc).
- Work single crochet in rows, decreasing each row to slowly taper the carrot shape.
- Stuff lightly with fiberfill before closing.
Carrot Top Leaves
- Switch to green yarn.
- Crochet green double crochet (dc) clusters on top of the carrot to represent leaves.
Attaching the Carrot
- Use fabric glue to adhere the small carrot decoration securely to the center of the lid.
- Allow glue to dry for at least 30 minutes before use.
Assembly & Finished Size
- Weave in all yarn ends neatly using a yarn needle.
- The complete box measures approximately 7.4 cm diameter by 8 cm height.
- The lid fits snugly with its textured sides and green rim.
- The small carrot decoration adds an adorable finishing touch reminiscent of the real vegetable.
Final Tips for Beginners
- Take your time with the magic ring; this foundation controls the shape tightness.
- Remember to count stitches carefully to maintain consistency.
- Practice long double crochet clusters on scrap yarn first.
- Use stitch markers to mark beginning of rounds.
- For better durability, work with two yarn strands for the box to make it sturdy.
- Be patient with the small carrot decoration; precise shape comes with practice.
- Always weave in ends as you go for a tidy finish.
Conclusion
This beginner-friendly carrot-themed box offers a rewarding balance of foundational crochet skills and textural interest. By carefully following the steps, you will create a sturdy, visually delightful box that showcases both technique and creativity. The motif-inspired texture and the small carrot decoration bring this functional project to life in the most charming way.