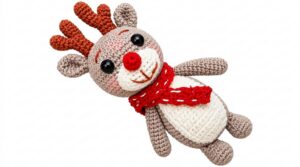
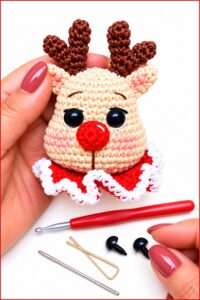
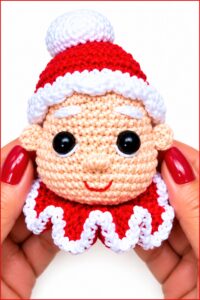
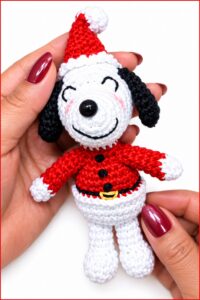
Fill your Valentine collection with this Crochet Amigurumi Heart Free Pattern and enjoy a lovely handmade project that brings a sweet touch to your decor.
Thanks to Cozy Crochet Love for sharing an excellent YouTube tutorial that makes creating a charming Crochet Amigurumi Heart simple and enjoyable. This project is a cute little crochet heart that can be used as a gift, keychain, decoration, or even a small toy.
Sweet Crochet Amigurumi Heart Free Pattern For Keychains and Gifts
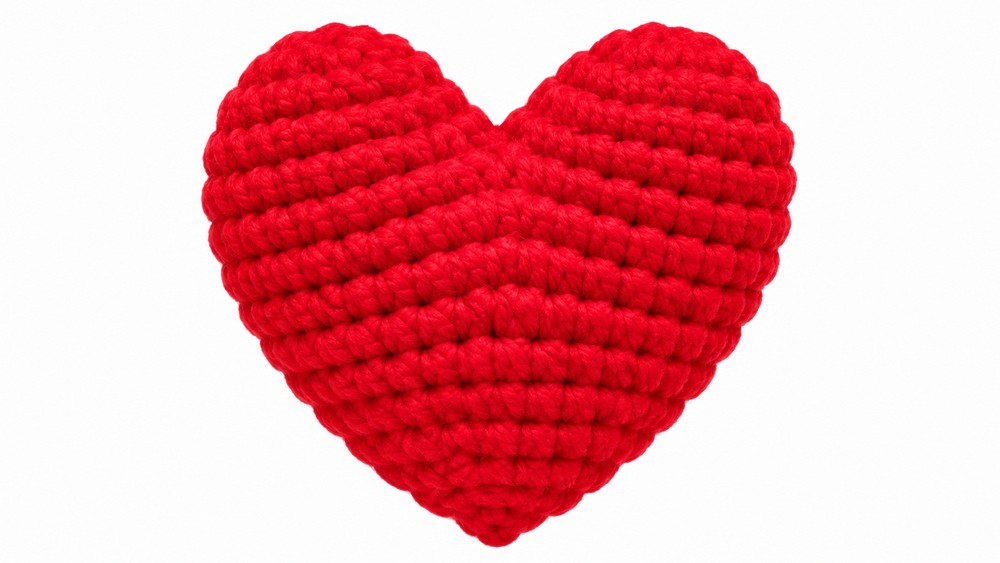
The Crochet Amigurumi Heart measures about 3 to 4 inches when finished, a perfect size to hold in your hand or include in a thanks giving. It features a soft, rounded shape with smooth curves that give it a classic and appealing heart form. The heart is stuffed to give it a three-dimensional, plush feel.
This project works well for beginners who are comfortable with basic stitches like single crochet along with increases and decreases. The clear instructions walk you through crocheting two halves, then sewing them together carefully to create the heart’s full shape and firm structure.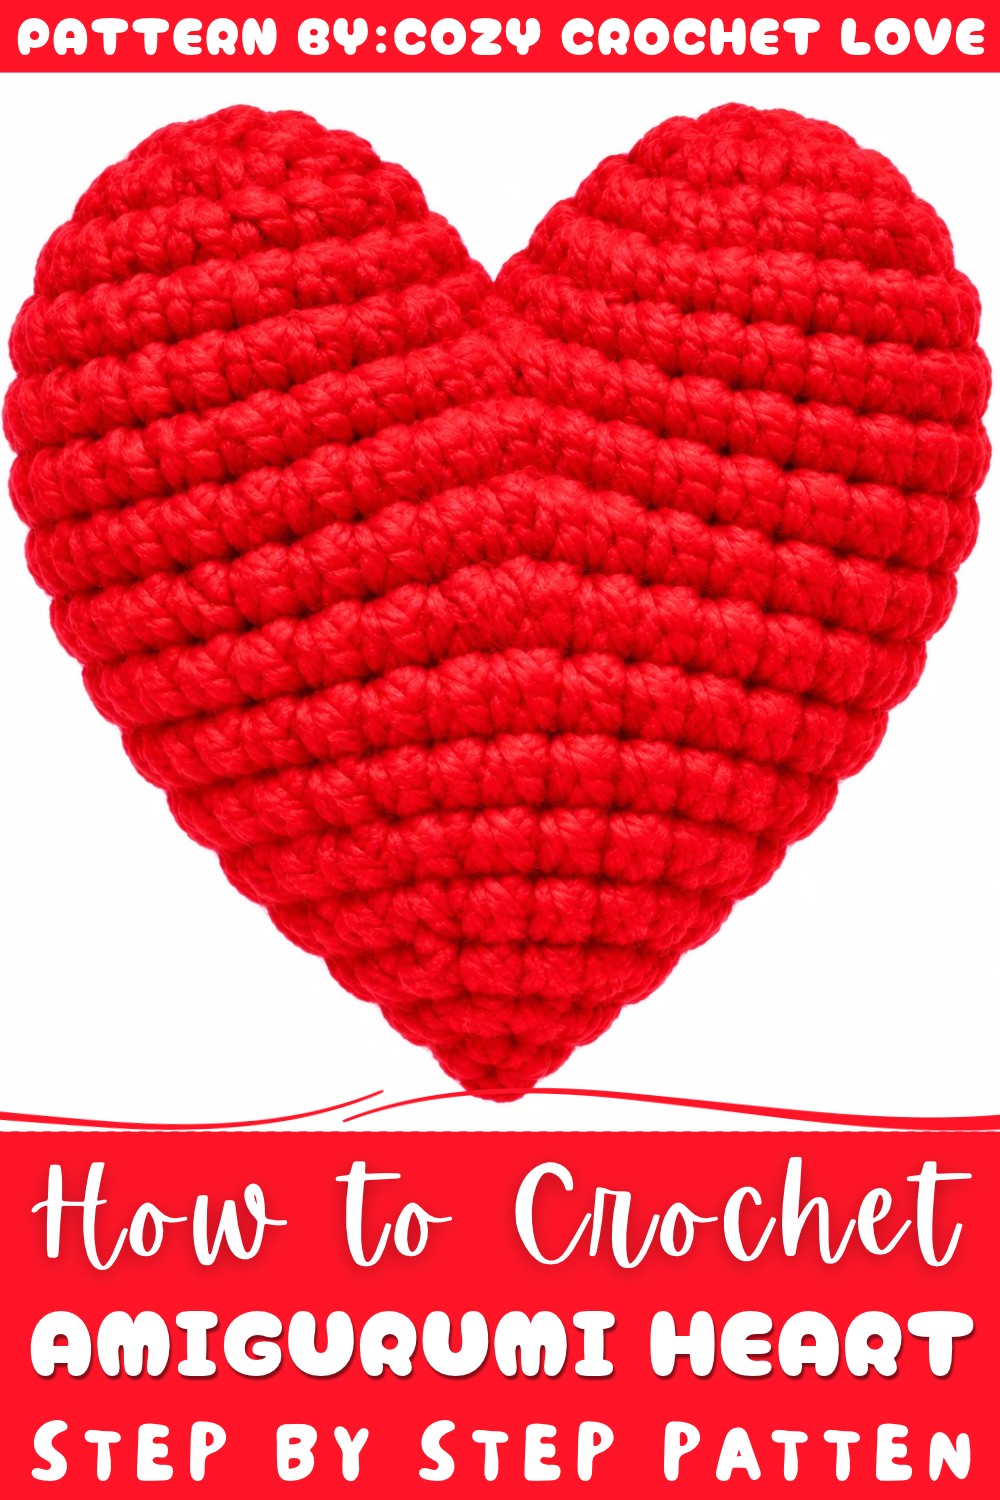
Making this amigurumi heart is a rewarding experience because it blends simple crochet with some hand-sewing, making it a great chance to practice both skills. Plus, it’s quick to finish, so you can easily make several hearts in different colors.
If you want a sweet, handmade item to keep, this project is just right. Give this free pattern a try and enjoy the cozy satisfaction of making something from the heart!
Crochet Heart Pattern
This crochet heart is crocheted using a unique method that starts with two separate “hump” pieces, which are seamlessly joined and shaped into a single, softly dimensional heart. The design features meticulously counted increases and invisible decreases, resulting in a symmetrical, balanced motif. Suitable for a wide array of uses—including festive décor, gifts, keychains, or appliqué—this heart pattern produces a classic shape, full of volume and charm.
Pattern Basic Points
- Two-Part Construction: The heart is formed by crocheting two identical lumps (“humps” or lobes) and joining them with seamless rounds.
- Amigurumi Shaping: The heart shape is achieved with increases for curve and invisible decreases for tapering, leading to a gentle, full 3D form.
- No Assembly Gaps: A slip stitch join and continuous rounds ensure no visible seams.
- Beginner-Friendly Rounds: Consistent stitch counts and simple repeats keep the structure straightforward for those developing their skills.
- Stuff-as-You-Go: Firm polyester filling ensures the finished heart keeps its plush structure.
Special Notes
- Work in a spiral throughout; do not join at the end of each round unless specified.
- Use a stitch marker for tracking rounds, especially when invisibly decreasing to preserve the heart’s symmetry.
- Stuff the heart bit by bit as decreases progress to prevent indentation.
- Invisible decrease technique recommended for smooth appearance.
Skill Level
Beginner to Intermediate
This project best suits advanced beginners ready to work continuous rounds, master increases, practice invisible decreases, and join shapes seamlessly. The pattern’s repetitions and symmetry make it a rewarding skill-building piece.
Materials
- DK or worsted weight cotton or acrylic yarn (approximately 15–20 g)
- Crochet hook: 2.5 mm–3.5 mm (adjust to yarn weight and tension preference)
- Polyester fiberfill
- Tapestry needle for assembly and finishing
- Small sharp scissors
- Stitch marker (removable/locking)
Measurements and Gauge
- Finished Size: Approximately 7–8 cm (2.75–3.25 inches) across at the widest point (using DK yarn and 3 mm hook)
- Gauge: Not essential but should produce a firm, gap-free fabric. Aim for 5 rounds ≈ 3 cm (1.2 inch) in diameter for an even, plump finish.
- Tight stitches prevent stuffing from showing and provide structure to the heart’s shape.
Stitch Abbreviations
- MR: Magic Ring
- sc: Single Crochet
- inc: Increase (2 sc in same stitch)
- dec: Decrease (sc 2 together)
- sl st: Slip Stitch
- st: Stitch
- rep: Repeat
Special Stitches
- Invisible Decrease (dec): Insert hook in the front loop of the next two stitches, yarn over, pull through both loops, yarn over and finish the single crochet. This method helps conceal decreases for a smoother look.
- Magic Ring (MR): Form a loop, crochet the first round of stitches into the ring, then pull the tail to close the center.
Complete Crochet Pattern
Preparing the Two Humps (Make 2)
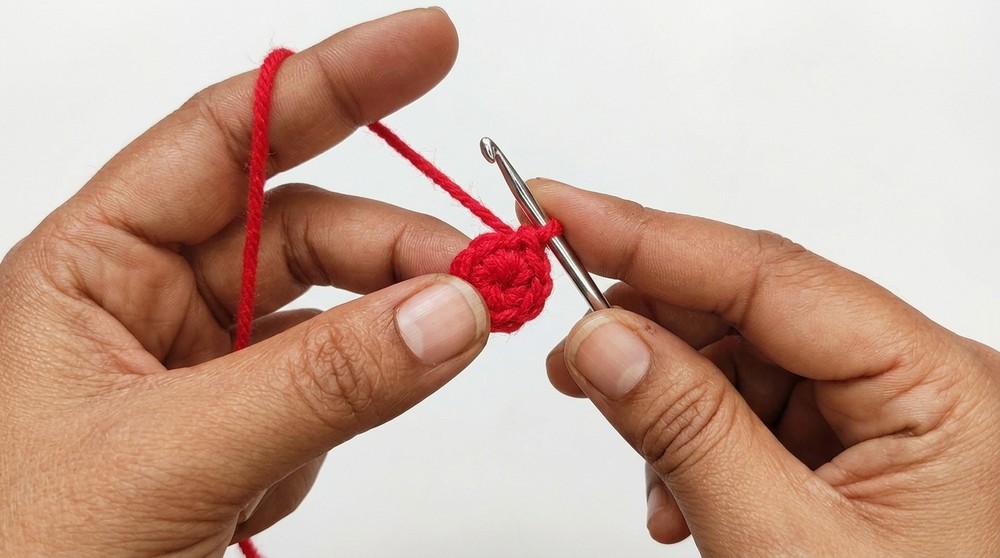
- Round 1:
- Magic ring, work 6 sc into ring. (6 sts)
- Round 2:
- 6 inc (2 sc in each st around). (12 sts)
- Round 3:
- (1 sc, 1 inc), rep 6 times. (18 sts)
- Rounds 4–5:
- Sc in every stitch. (18 sts per round)
- Note: At the end of Round 5, fasten off the first hump (cut yarn, pull through). After Round 5 of the second hump, do not fasten off; continue directly to joining both humps.
Connecting and Shaping the Heart
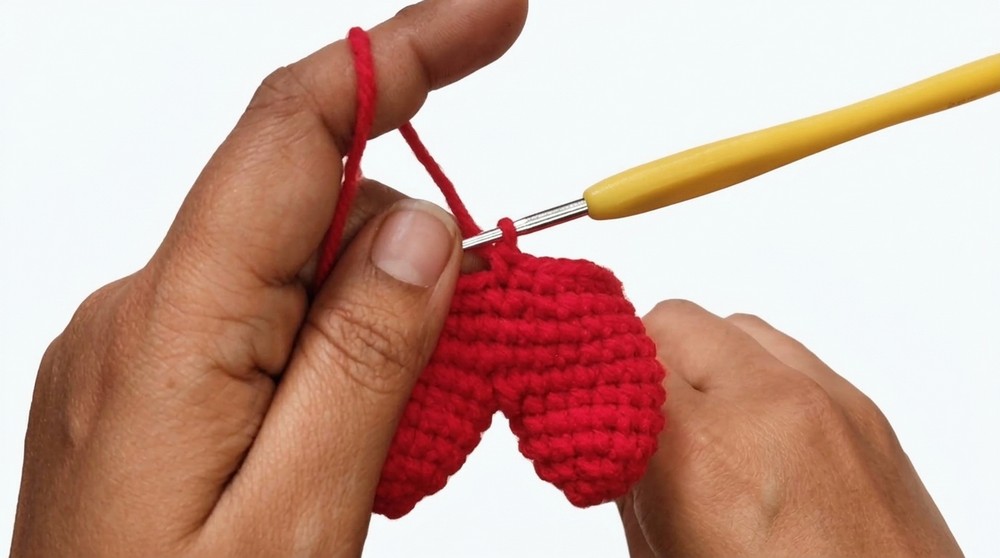
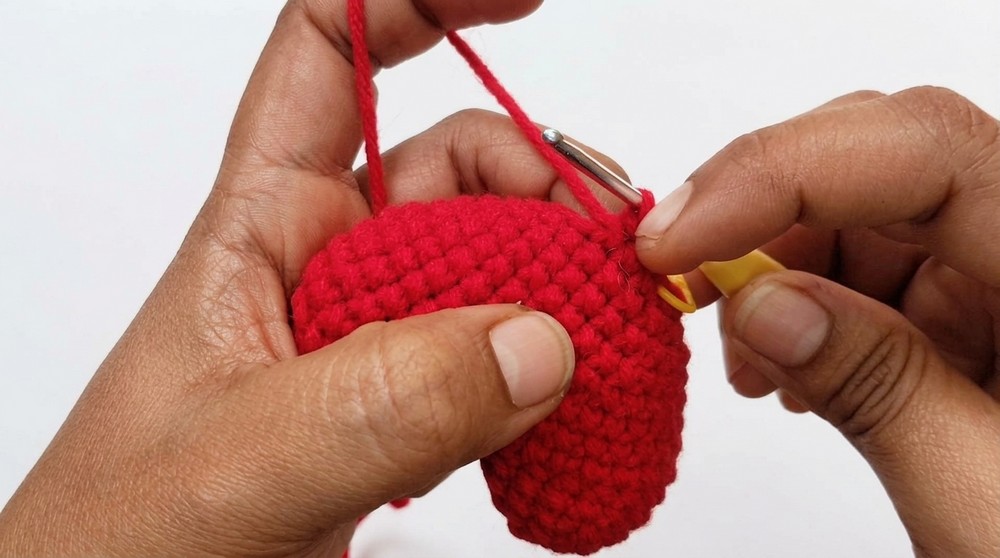
- Round 6:
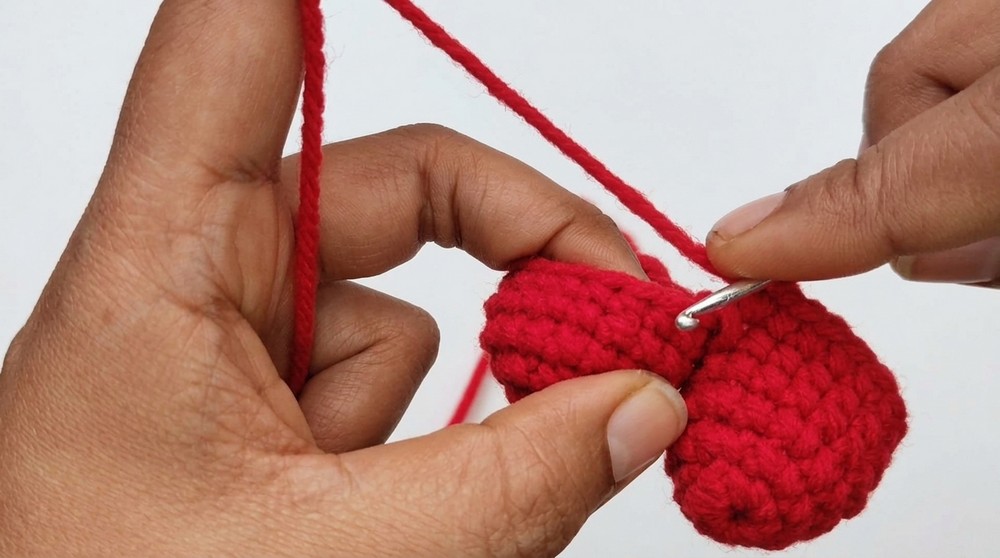
- Place the second hump (still on your hook) beside the first hump.
- Join with a slip stitch to any stitch of the first hump’s last round.
- Work 18 sc around the first hump (continue in a spiral along its edge).
- Continue with 18 sc around the second hump (the one still attached to your working yarn).
- (36 sts total for the round)
- Round 7:
- Sc in every stitch. (36 sts)
- Round 8:
- Sc in every stitch. (36 sts)
- Round 9:
- (7 sc, 1 invisible dec), rep 4 times. (32 sts)
- Round 10:
- Sc in every stitch. (32 sts)
- Round 11:
- (6 sc, 1 invisible dec), rep 4 times. (28 sts)
- Round 12:
- (5 sc, 1 invisible dec), rep 4 times. (24 sts)
- Round 13:
- (4 sc, 1 invisible dec), rep 4 times. (20 sts)
- Round 14:
- (3 sc, 1 invisible dec), rep 4 times. (16 sts)
- Round 15:
- (2 sc, 1 invisible dec), rep 4 times. (12 sts)
- Round 16:
- 6 decreases (sc 2 together) to close the heart. (6 sts)
- Stuff the heart firmly now, using small amounts at a time for even filling. Push stuffing gently into the humps and main body before the final round is completely closed.
Finishing
- Once the body is closed, cut the yarn leaving a long tail.
- Thread the tail onto a tapestry needle.
- Weave the tail through the front loops of the last 6 stitches and pull tight to fully close the opening.
- Secure and weave in the end discreetly into the heart.
- Shape the humps and point gently with your hands to perfect the heart silhouette.
Assembly & Finished Size
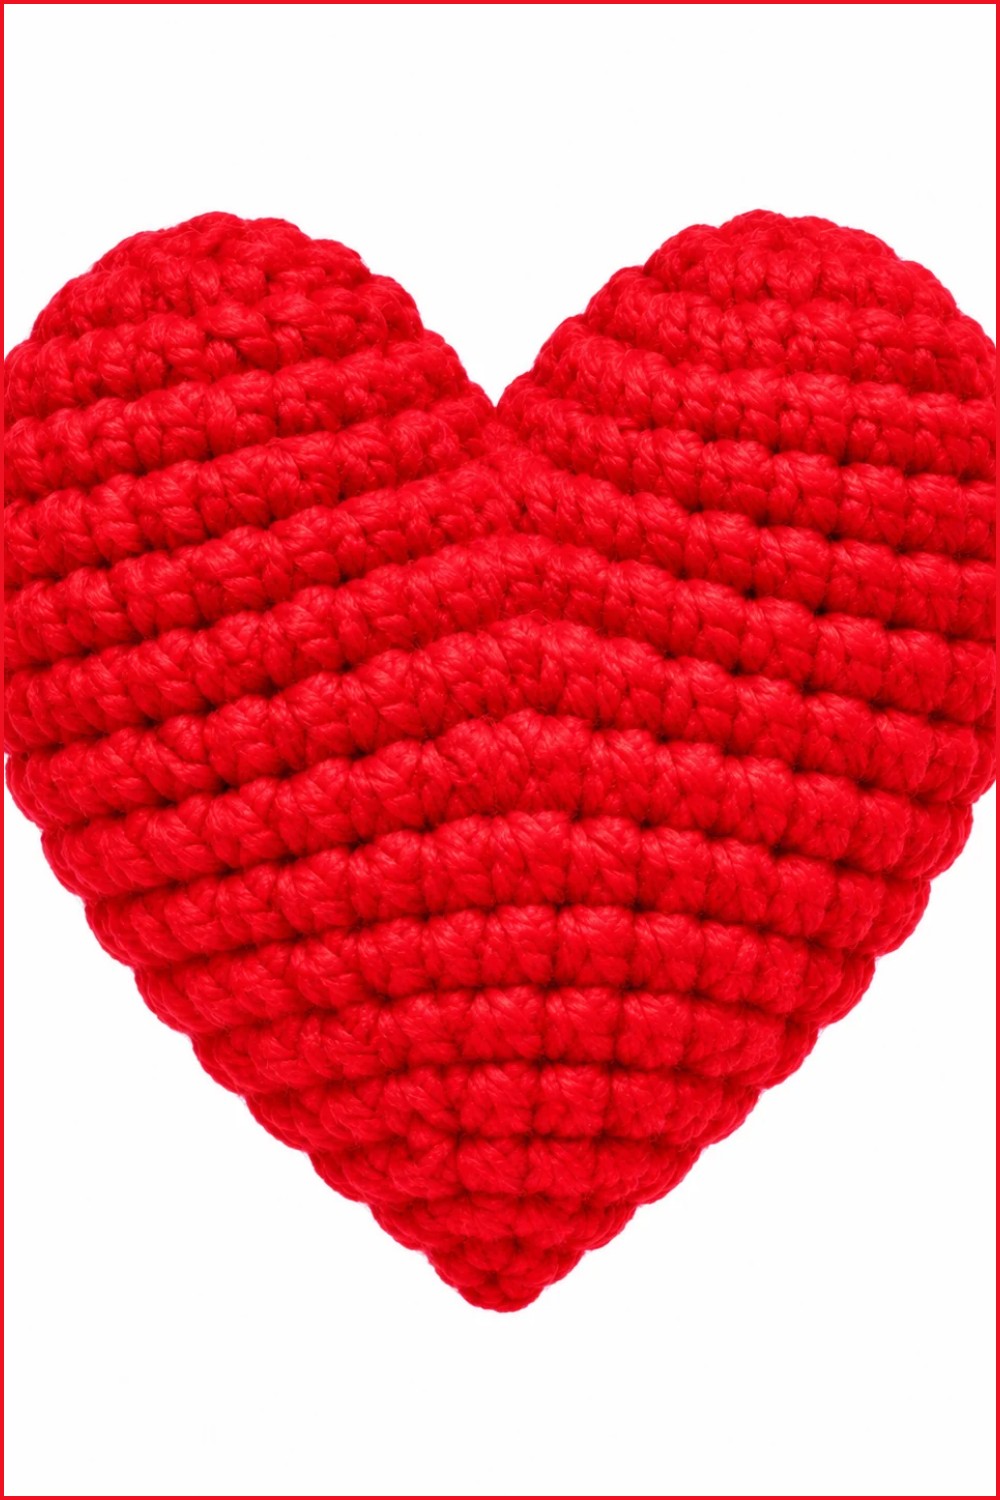
No further assembly is needed. The seamless slip stitch join of the humps ensures the heart is ready to use immediately after closing and shaping.
The finished heart should measure approximately 7–8 cm (2.75–3.25 inches) across and about 6 cm (2.4 inch) tall, with slight variation based on your own tension and yarn.
Conclusion
The two-hump construction of this crochet heart offers crisp, full curves and a defined, symmetrical shape, making it charmingly dimensional. The invisible decreases help maintain the heart's smooth taper and professional look, distinguishing this project from flat heart motifs. Its structural integrity, crafted by stuffing as you go and securely finishing the stitches, ensures the motif keeps its form over time. This heart can be personalized with color, surface embroidery, or even added features for special occasions, making it a versatile, thoughtful handmade gift or accessory. The clarity of construction paired with tactile satisfaction highlights both the pleasure and elegance of working amigurumi hearts with basic crochet techniques.