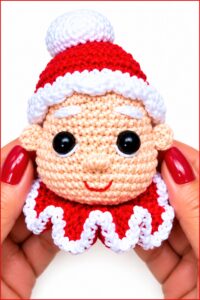
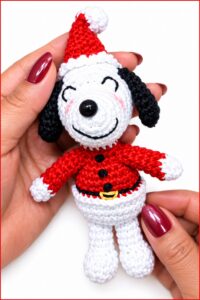
Fill your Christmas display with joy using this Crochet Reindeer Free Pattern and enjoy a lovable character inspired by festive winter days.
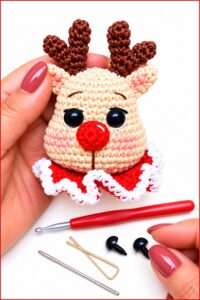
Looking for a cozy holiday project? A Crochet Reindeer is a great choice! This small decoration stands about 5 to 7 inches tall and has a round body with short legs, a small tail, and proud antlers that give it a festive look. Its face usually features simple eyes and a nose that add personality and warmth.
Festive Crochet Reindeer Free Pattern With Cute Antlers
The overall shape is easy to recognize and charming, with soft curves and clear body parts. The antlers often require a bit more attention, made with a few extra stitches to give a detailed and delicate appearance. This helps the reindeer look lively and unique.
This project suits crocheters with beginner to intermediate skills. Basic stitches like single crochet are used for most of the body, while shaping the antlers and attaching small pieces takes a little more care. The instructions are straightforward, making it a fun challenge without being overwhelming.
You will need just a small amount of yarn, a crochet hook, some stuffing for the body, and a needle to sew parts together. It’s quick to finish and makes a delightful gift or decoration. Each stitch you make helps the reindeer take shape and gain character.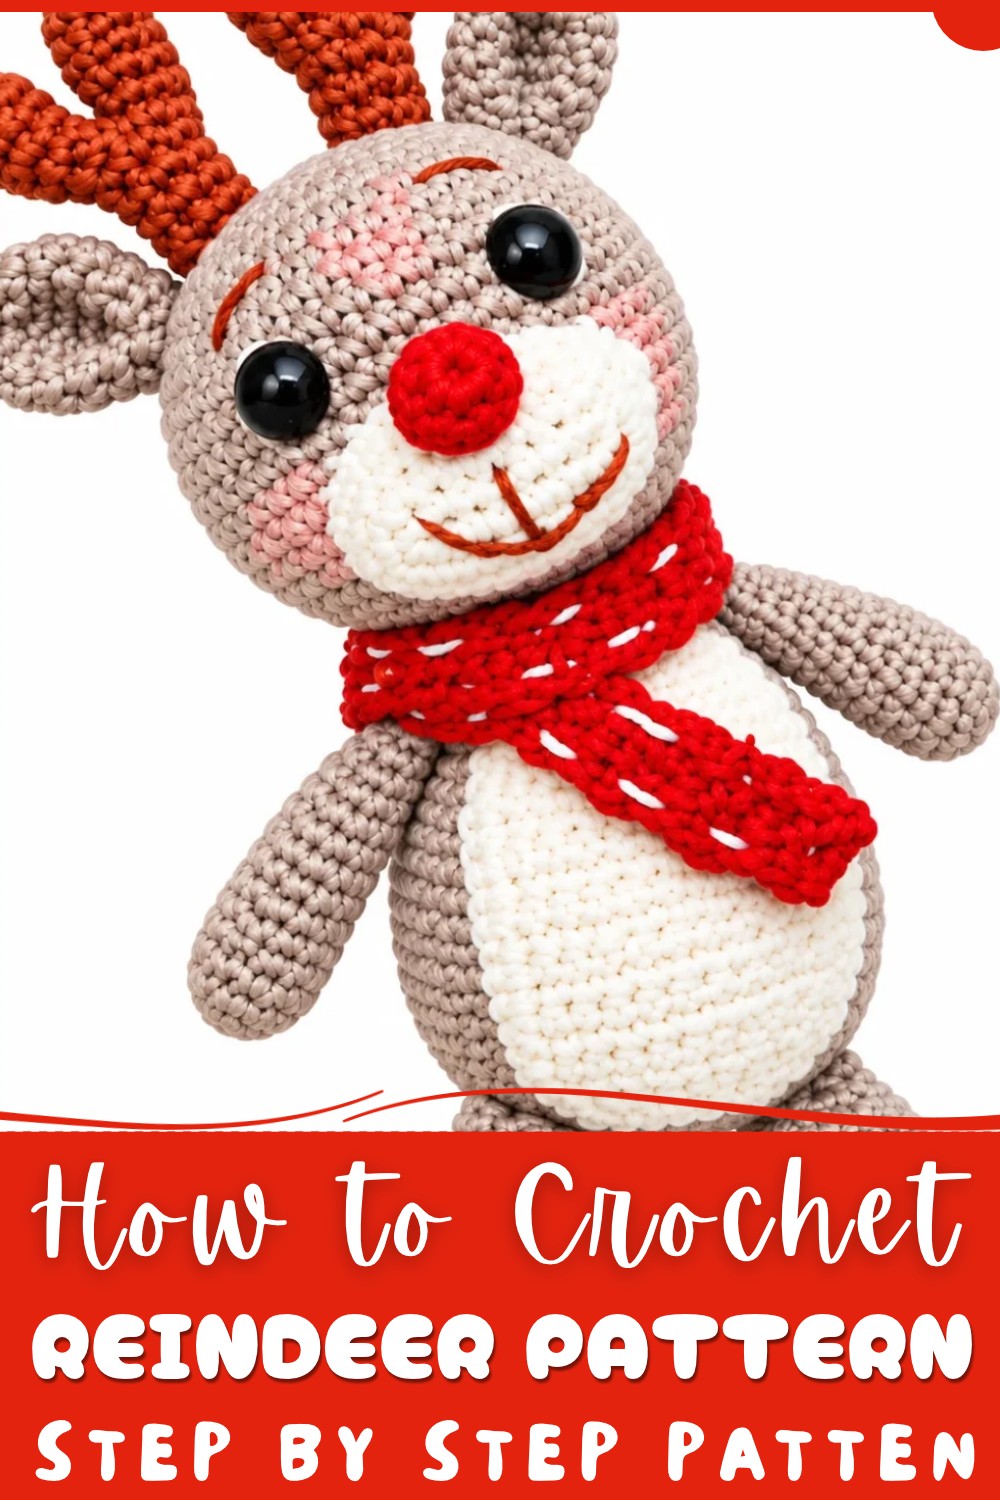
Overall, the Crochet Reindeer is a friendly project that brings a touch of handmade charm to the holiday season. Its size, simple design, and playful look make it easy to enjoy and share with others.
Featured By:
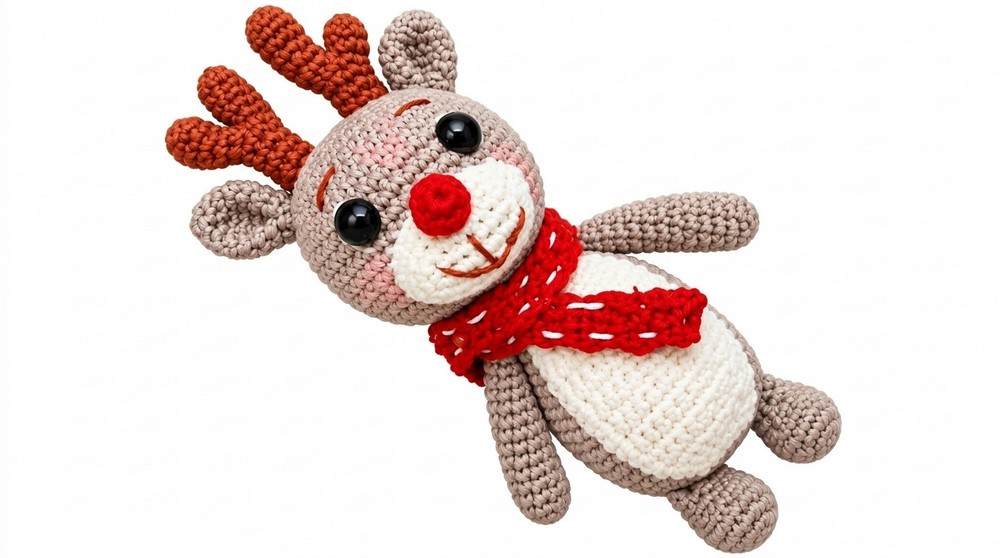
Rodolfo Reindeer Amigurumi Pattern
The Rodolfo reindeer amigurumi is crafted in parts—ears, horns, nose, snout, scarf, and tail—before careful assembly creates a cheerful holiday companion. This project features gentle shaping, clear increases and decreases, texture through colorwork, and detailed finishing to enhance character and charm. Attention to positioning and stitching techniques ensures a cohesive, lifelike result.
Pattern Basic Points
- Individual component construction: Each part is made separately and sewn together for accurate shape and character.
- Contour shaping: Strategic increases and decreases form three-dimensional features.
- Embellished surface: Decorative stitches, safety eyes, embroidery, and blush add personality.
- Symmetrical positioning: Legs, arms, ears, and horns are placed evenly for a balanced appearance.
- Accessory integration: A scarf with white details, blush, and expressive features add seasonal appeal.
- Sturdy attachment: All pieces are securely stitched for longevity and play.
Special Notes
- Magic ring is used extensively for starting rounds; keep tension consistent.
- Surface embellishments (scarf embroidery, blush) can be personalized.
- Firm, even stuffing is critical for shaping the head and body before seaming.
- Whip stitch and horizontal stitch methods create seamless joins; avoid over-tightening.
- Placement of ears, horns, and facial features is essential for lifelike expression; use pins for trial positioning.
- Blush may be applied with textile paint or powder designed for amigurumi.
- If safety eyes are not available, embroidered eyes yield a gentle look.
- Yarn selection should favor sturdy fibers for structure and durability.
Skill Level
Intermediate
This project assumes comfort with magic ring, basic shaping, color changes, sewing amigurumi parts, and embroidery. Beginners with some prior amigurumi experience will find clear rounds and step-wise assembly manageable.
Materials
- Yarn: Medium weight (worsted or DK) in brown, cream, white, dark brown (horns), red (nose and scarf), pink or blush color, and accent colors for embroidery.
- Hook: 2.5–3.0 mm crochet hook (adjust for yarn weight and tension)
- Stuffing: Polyester fiberfill.
- Safety eyes: 2 pairs, compatible with head size (or black yarn for embroidery)
- Needle: Tapestry and sewing needle for finishing and embroidery.
- Scissors
- Textile blush/fabric paint: for cheeks.
- Glue: For attaching eyes securely.
- Optional: Pins for positioning parts pre-assembly.
Measurements
- Finished Size:
- Height: approx. 18–22 cm, depending on yarn and fiberfill density.
- Width: approx. 8–10 cm across the body.
- Scarf length: about 16 cm (40 rows).
- Tail: approx. 2 cm.
Gauge & Stitch Pattern
Gauge is not crucial. For reference, 10 sc x 10 rows = approx. 4 cm x 4 cm with recommended yarn and hook.
Stitch Pattern:
- Single Crochet (sc) forms the basic fabric.
- Half-Double Crochet (hdc) is used for the scarf.
- Increases: 2 sc in one stitch.
- Decreases: work two stitches together (invisible decrease if preferred).
Stitch Abbreviations
| Abbreviation | Meaning |
|---|---|
| MR | Magic Ring |
| ch | chain |
| sc | single crochet |
| inc | increase (2 sc in same stitch) |
| dec | decrease (sc two together) |
| hdc | half-double crochet |
| ss | slip stitch |
| st(s) | stitch(es) |
Special Stitches
- Magic Ring (MR): Loop yarn, insert hook, pull through, ch 1, then work required number of sc into ring.
- Invisible Decrease (dec): Insert hook through front loops only of next 2 sts, yarn over, pull through, yarn over, pull through both loops.
- Horizontal Stitch: Used for joining head and body; stitch parallel to fabric surface for near-invisible join.
- Whip Stitch: Insert needle under both edges, pull through, repeat for secure seaming.
Pattern Instructions
Ears
- Round 1: MR, 4 sc.
- Round 2: Inc in each st (8 sc). (Note: Video indicates 6, adjust for shaping as preferred.)
- Round 3: (1 sc, inc) around (9 sc).
- Round 4: (2 sc, inc) around (12 sc).
- Round 5: (3 sc, inc) around (14 sc).
- Rounds 6–8: Work 14 sc in each round (straight rows).
- Flatten and sew closed across the seam.
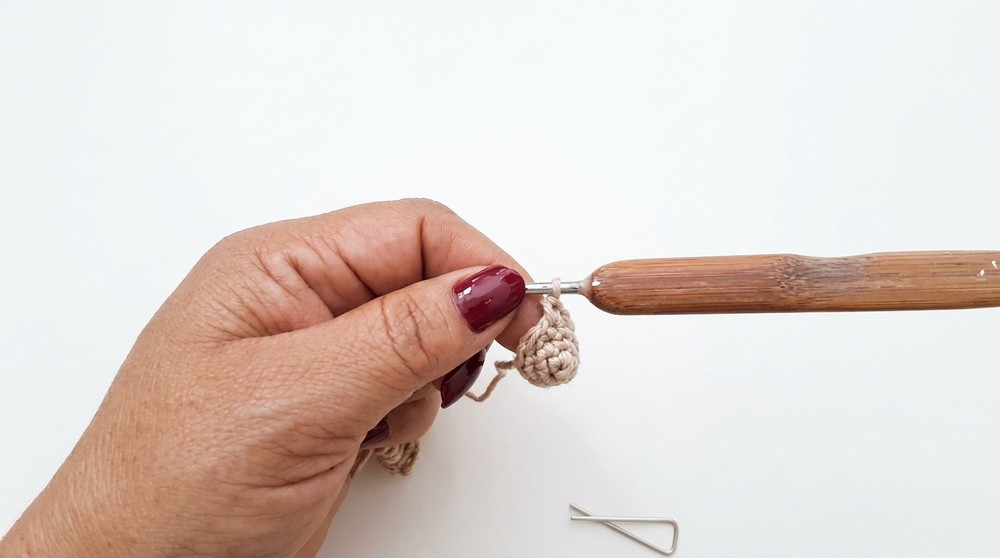
Small Horns
- Round 1: MR, 6 sc.
- Rounds 2–6: 6 sc per round.
- Fasten off; shape slightly with stuffing as needed.
Large Horns
- Round 1: MR, 6 sc.
- Rounds 2–8: 6 sc per round.
- Round 9: (1 sc, inc) around (8 sc).
- Rounds 10–12: 8 sc per round.
- Round 13: (1 sc, dec) around (6 sc).
- Fasten off; lightly stuff and shape.
Nose
- Round 1: MR, 8 sc.
- Rounds 2–3: 8 sc per round.
- Fasten off. Slightly stuff for shape.
Snout
- Row 1: Ch 8.
- Round 1: Work around chain: 1 sc in each, inc at ends, total 16 sc.
- Round 2: (1 sc, inc) around (22 sc).
- Rounds 3–4: Work 22 sc per round (straight rows).
- Fasten off; stuff lightly.
Scarf
- Row 1: Ch 4.
- Rows 2–41: Turn, work 3 hdc across each row for 40 rows.
- Fasten off; embroider decorative white stitches or snowflakes as desired.
Tail
- Round 1: MR, 6 sc.
- Round 2: (1 sc, inc) around (9 sc).
- Rounds 3–4: Work 9 sc per round.
- Fasten off; stuff slightly.
Assembly & Finishing
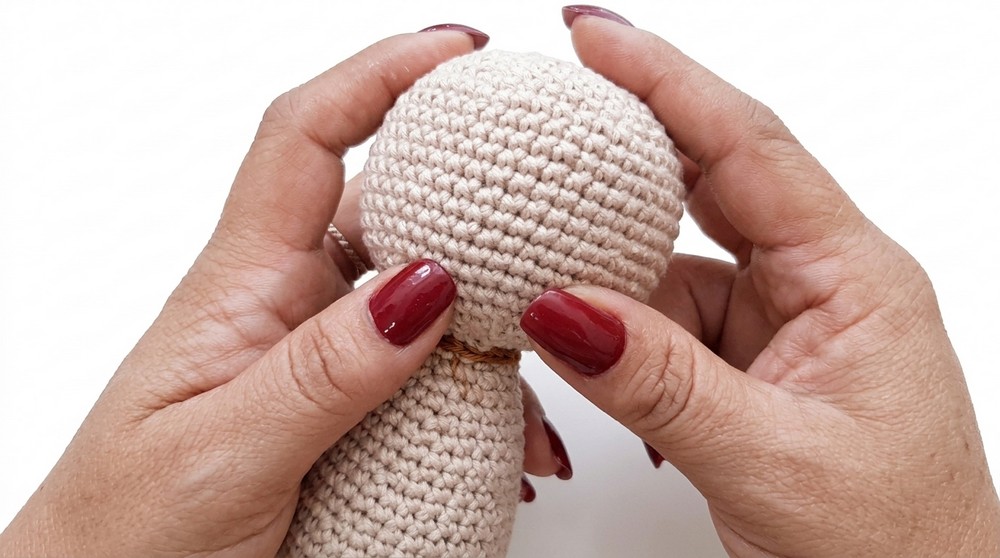
Head to Body
- Align head atop body.
- Use horizontal stitches, sewing in a circular pattern to create a seamless join.
- Stuff both sections firmly before closing. Adjust stuffing during assembly to correct shape.
Legs & Arms
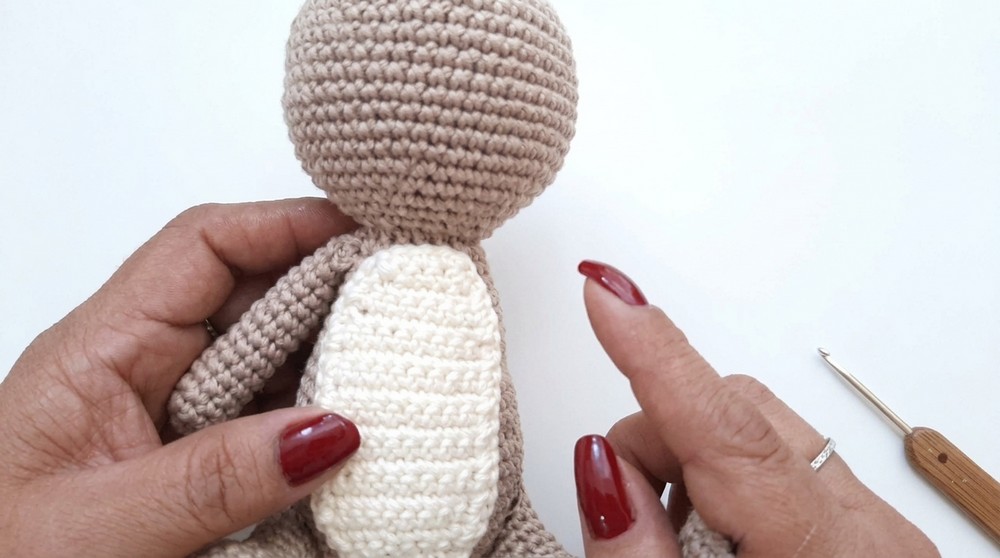
- Position limbs symmetrically.
- Pin in place; use whip stitch to attach, ensuring each is perpendicular to the body and does not protrude.
- Secure firmly and invisibly; knot inside as needed.
Details
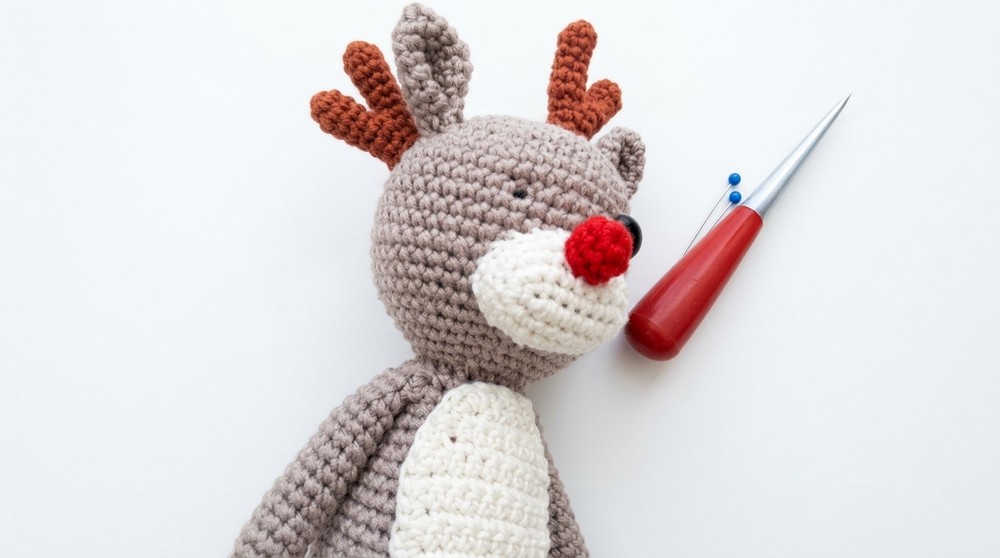
- Attach ears at the top sides of the head, slightly angled backward.
- Sew large and small horns symmetrically behind ears; use color variations for natural effect.
- Place and sew snout centered beneath eyes; attach nose onto the snout.
- Secure all pieces tightly.
Face
- Insert safety eyes between rounds as directed by the pattern; use glue for added security.
- Embroider mouth and eyebrows with brown yarn or thread using back stitch or split stitch for expression.
Final Touches
- Attach tail to lower back using whip stitch; ensure it is centered.
- Wrap scarf around neck.
- Embroider white decorative stitches or snowflake motifs onto scarf surface.
- Apply blush powder or paint to cheeks for a gentle, festive finish.
Assembly & Finished Size
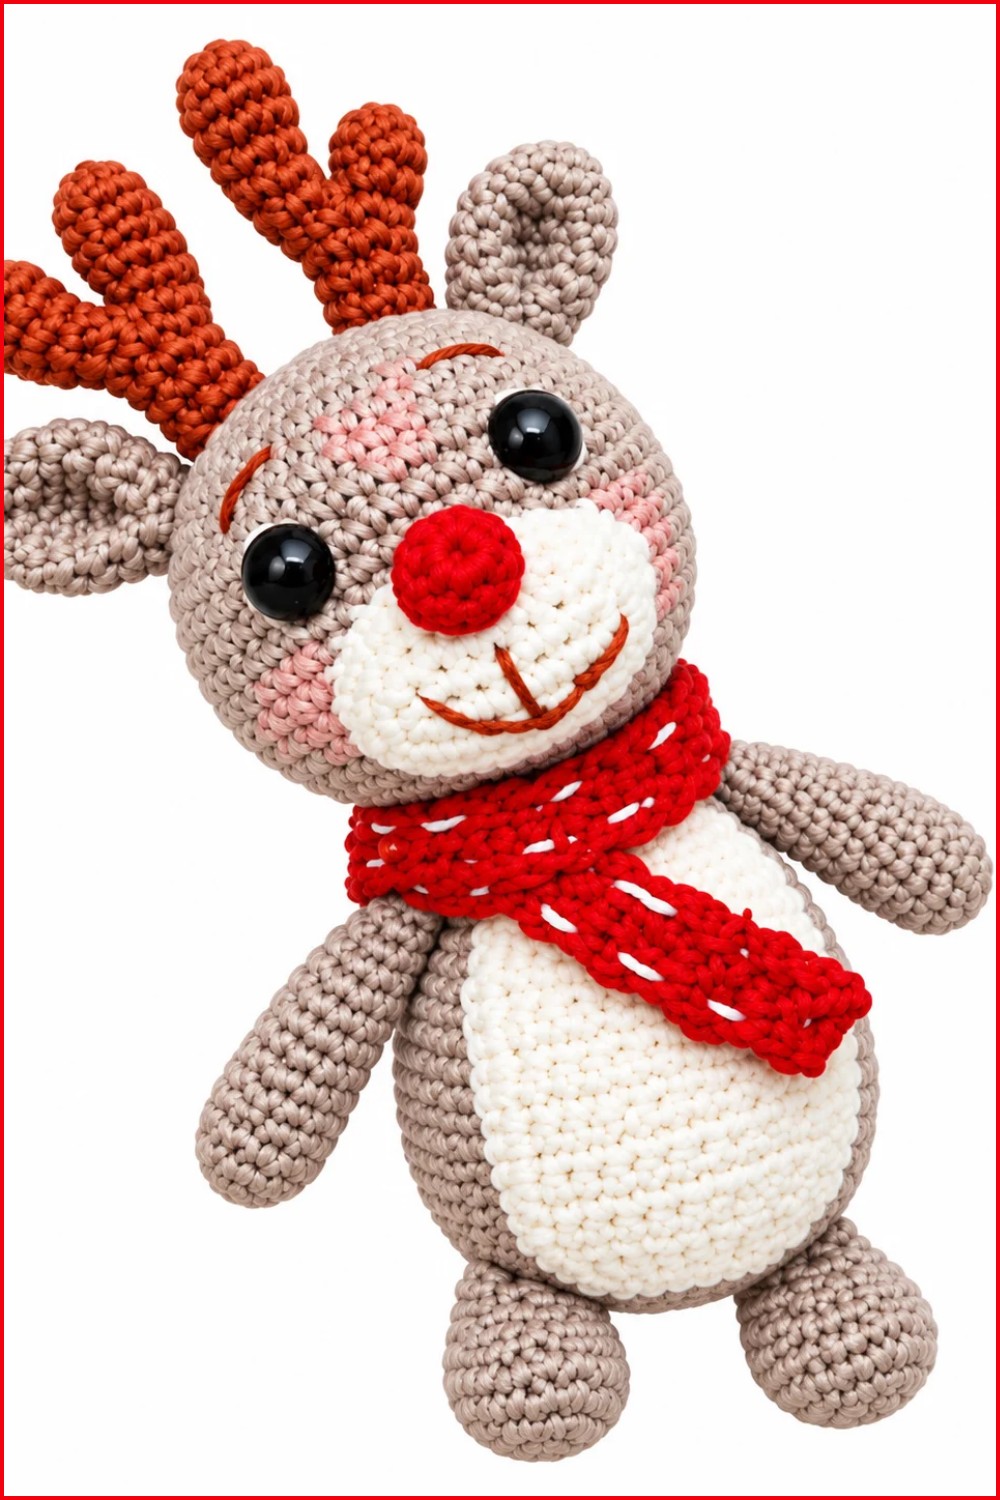
Upon completion, Rodolfo stands about 18–22 cm tall, with a well-proportioned body, animated features, and detailed accessories. The secure attachment and embroidery choices impart durability and charm, making this amigurumi ideal for seasonal gifts, play, or display.
Conclusion
The Rodolfo reindeer amigurumi pattern guides the maker through constructing and assembling each feature with clarity and focus on shaping. The interplay of color, texture, and decorative embroidery culminates in a characterful, cozy figure. Element placement and sewing techniques yield professional results, while the customizable scarf and gentle blush add festive personality. With structured instructions and creative finishing, Rodolfo emerges as a joyous and inviting addition to holiday décor or a child’s keepsake collection.