Refresh your festive display using this Crochet Christmas Ball Free Pattern and finish a charming ornament for your favorite festive corner.
There’s nothing quite like the cozy feeling of decorating your home with ornaments that carry a personal touch. Handmade decorations add warmth and personality to your holiday space, making every detail feel special. One truly festive and fun project to try this season is the Crochet Christmas Ball Pattern, lovingly designed and shared by Mônica Moda Crochê on YouTube. This charming round ornament brings together traditional holiday cheer and the simple joy of creating something beautiful yourself.
Cheerful Crochet Christmas Ball Free Pattern For Handmade Gifts
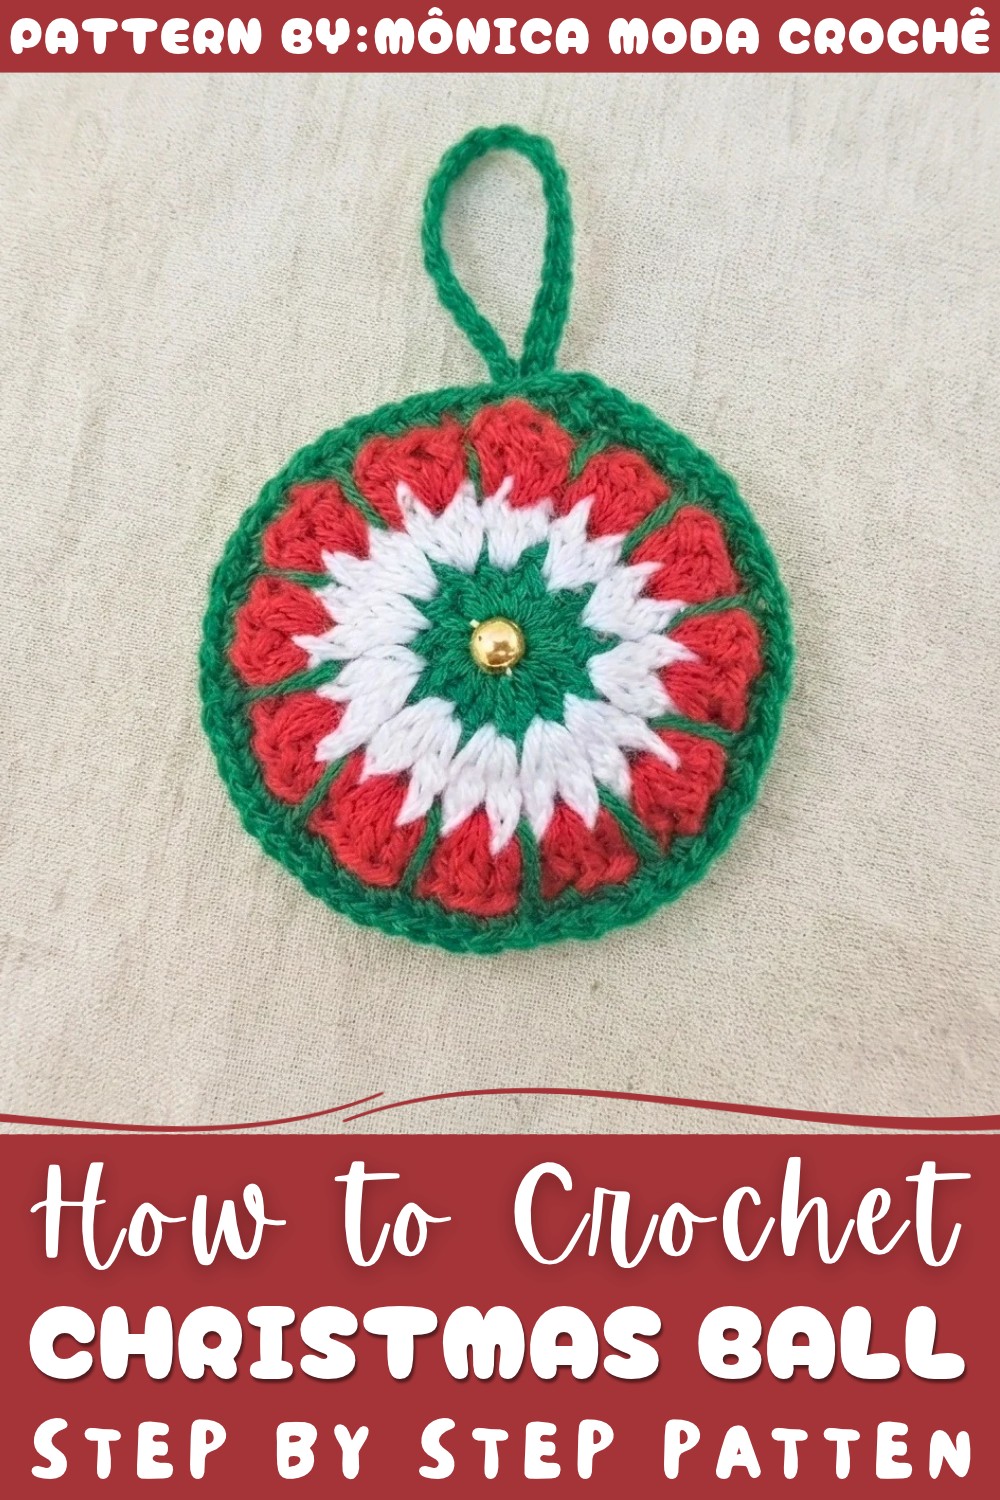
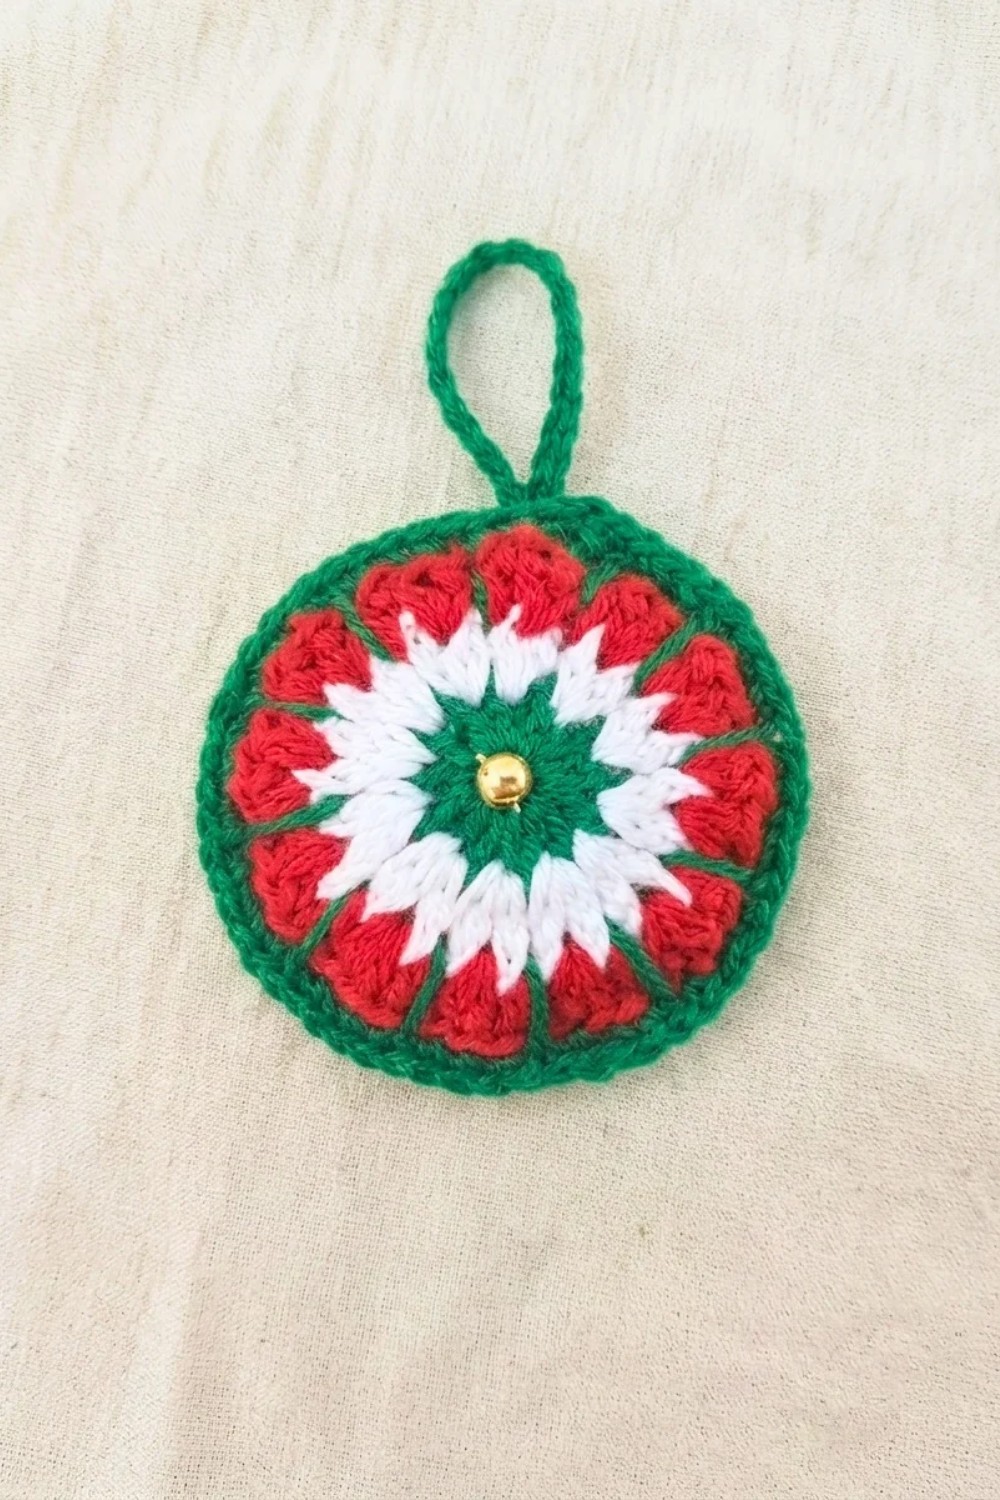
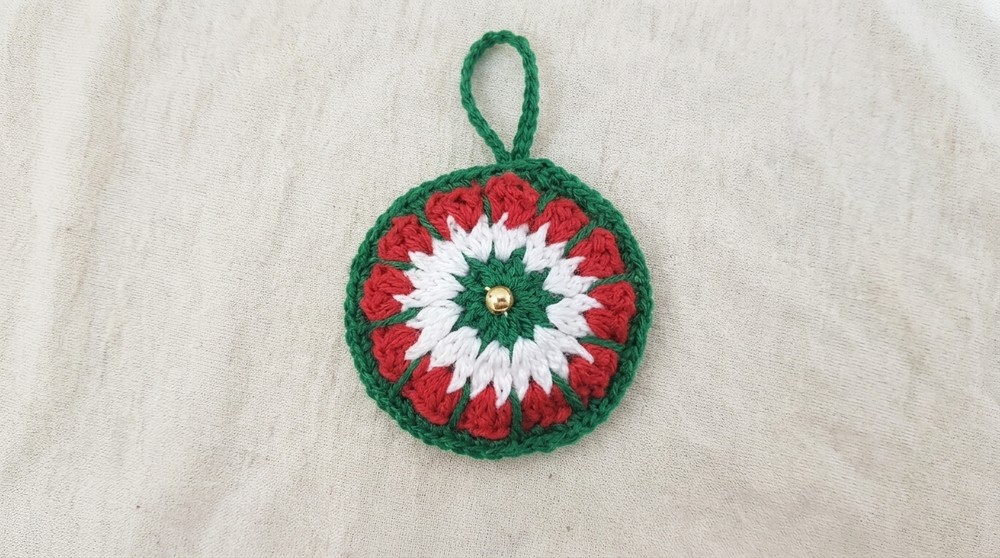
This crochet Christmas ball features a beautifully textured surface made up of colorful layers that echo traditional holiday hues. Its spherical shape is both classic and elegant, perfect for hanging on a tree or even personalizing as a unique keychain. The interplay of stitches gives it a soft yet structured feel, providing a pleasing tactile quality that’s satisfying to hold. This project comes with plenty of room for creativity — you can switch up the yarn colors, experiment with different sizes, or add embellishments like a little pearl in the center for that extra shimmer.
Whether you’re a newcomer getting comfortable with basic stitches or an intermediate maker looking to try a new seasonal project, this pattern feels accessible while gently stretching your skills. Along the way, you’ll gain confidence in working in rounds, joining pieces seamlessly, and finishing with neat edges, which are valuable techniques for many crochet projects. If you’re ready to add a handmade sparkle to your holiday celebrations, this warm and inviting pattern is a wonderful place to start. Feel free to follow the free Crochet Christmas Ball Pattern and bring a little extra cheer to your festivities.
Decorative Crochet Christmas Ball Free Pattern
This pattern details the process for creating a festive and elegant crochet ball ornament, inspired directly by the YouTube tutorial by Mônica Guimarães. These beautiful motifs are ideal for decorating the Christmas tree or as unique keychains. The project uses classic color combinations—red, white, and green—along with straightforward rounds and finishing techniques. Let’s proceed step by step to create your own charming holiday accessory.
Quick Overview Of Pattern
- Make a base circle with white thread using chains, slip stitches, and double crochets.
- Build up the motif with increasing rounds, alternating two double crochets per space for shaping.
- Add a third round in red, with alternating two-in-one-space and single double crochets for textured growth.
- Crochet a green edging with single crochets and slip stitches for a scalloped/petal finish.
- Sew a pearl in the center, create two identical halves, join, stuff, and finish with a hanging chain loop.
Notes
- Tension should be even but firm for neat, consistent motifs.
- The center must be closed securely to support the pearl.
- Bright, contrasting yarns enhance the festive effect.
- Chains count as the first double crochet in respective rounds.
- A sewing needle and a small pearl finish the ornament.
Skill Level
Beginner to Advanced Beginner.
Requires basic knowledge of chain, slip stitch, single crochet, and double crochet. Suitable for crafters exploring color changes and light assembly.
Materials
- Yarn/Thread: Anne dolls yarn/thread in red, white, and flag green (or any similar crochet thread).
- Crochet Hook: Nickel-plated No. 4.
- Sewing Needle and matching thread.
- Pearl for the motif center.
- Stuffing: Acrylic fiberfill or cotton.
- Scissors.
Measurements / Sizing (Optional Schematic)
- Finished diameter: Approximately 5–6 cm per ornament, depending on yarn weight and tension.
- Hanging loop: ~7 cm (20 chains).
- Schematic: Two identical, slightly domed circles sewn back-to-back, stuffed, with central pearl and loop.
Gauge (and Stitch Pattern)
- No fixed gauge; approximate size may vary.
- Main stitch pattern: Double crochet motif in rounds, accented by single crochet and slip stitch edging.
Stitch Abbreviations
| Abbreviation | Stitch Name |
|---|---|
| ch | chain stitch |
| sl st | slip stitch |
| dc | double crochet |
| sc | single crochet |
| sp | space |
Special Stitches
- Petal/Scallop Edging: Alternates two single crochets into tops of double crochets with long slip stitches into spaces below for texture.
The Crochet Pattern
Motif – Make 2 Halves
Round 1: Base Circle in White
- Ch 5.
- Join with a sl st into the first chain to form a ring.
- Ch 3 (counts as first dc).
- Work 11 dc into the center of the ring—total of 12 dc including ch3.
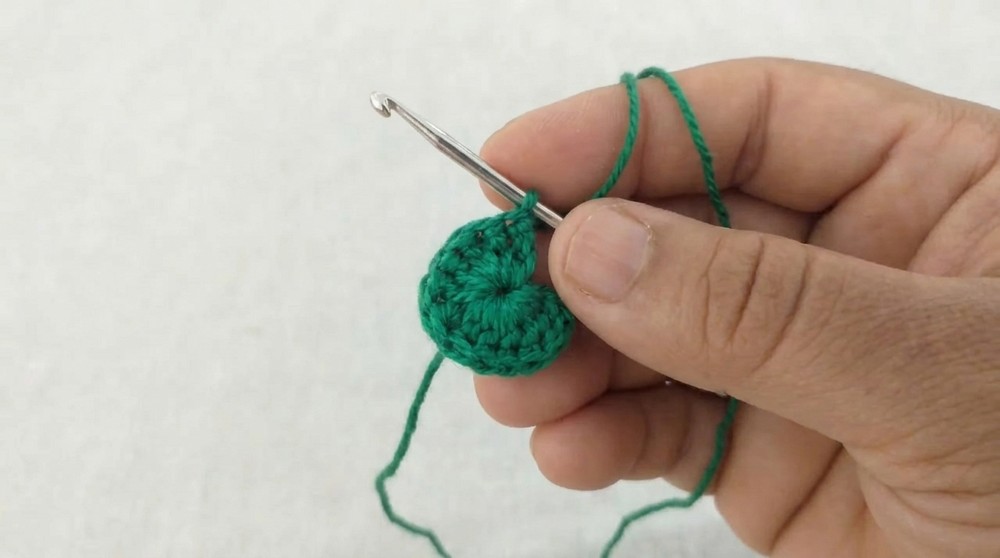
- Join with a sl st to the top of the initial ch3.
- Ch 1, fasten off and cut the white thread.
Round 2: Second Round (White Cont’d)
- Attach white thread in any space between two dc.
- Sl st to secure, ch 3, dc in same space (2 dc in the same space).
- In each sp between dc around: work 2 dc.
- Continue to the end of the round (24 dc, 12 pairs).
- Join with a sl st, finish off.
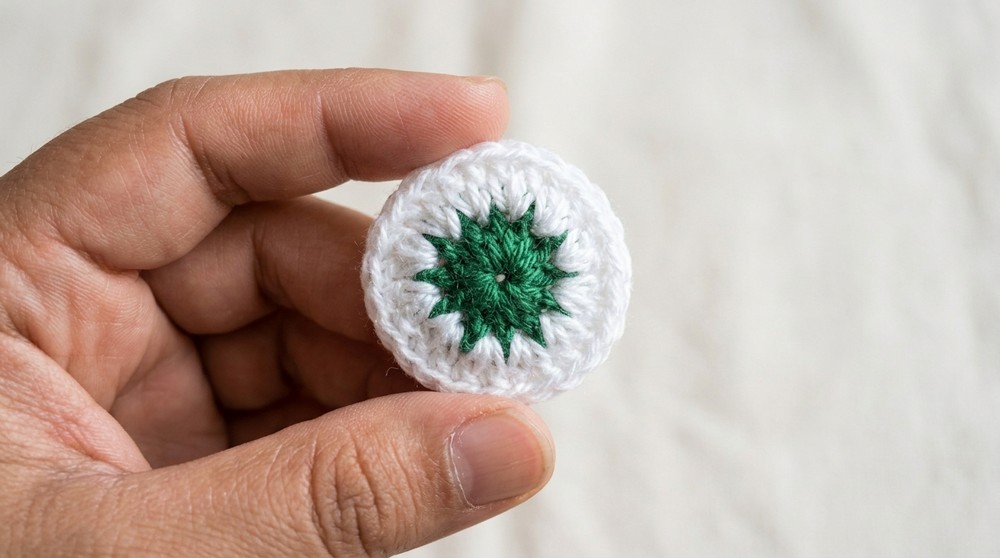
Round 3: Third Round (Red)
- Attach red thread in any space between two dc of previous round.
- Sl st to secure, ch 3.
- Move to next sp, 2 dc in next sp.
- In following sp, 1 dc.
- Repeat– alternate 2 dc in one sp, then 1 dc in next, all the way around.
- Complete the round, join with a sl st to top of starting ch3.
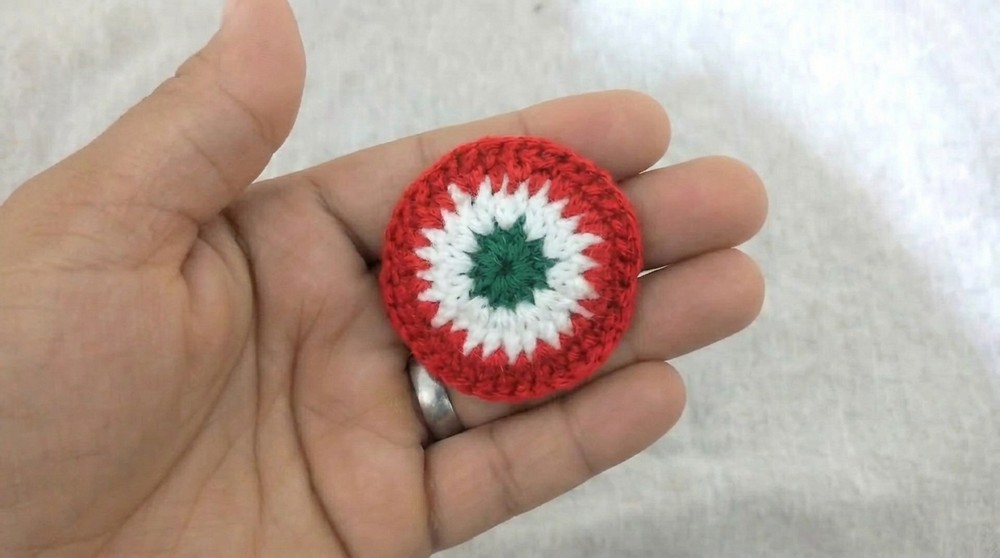
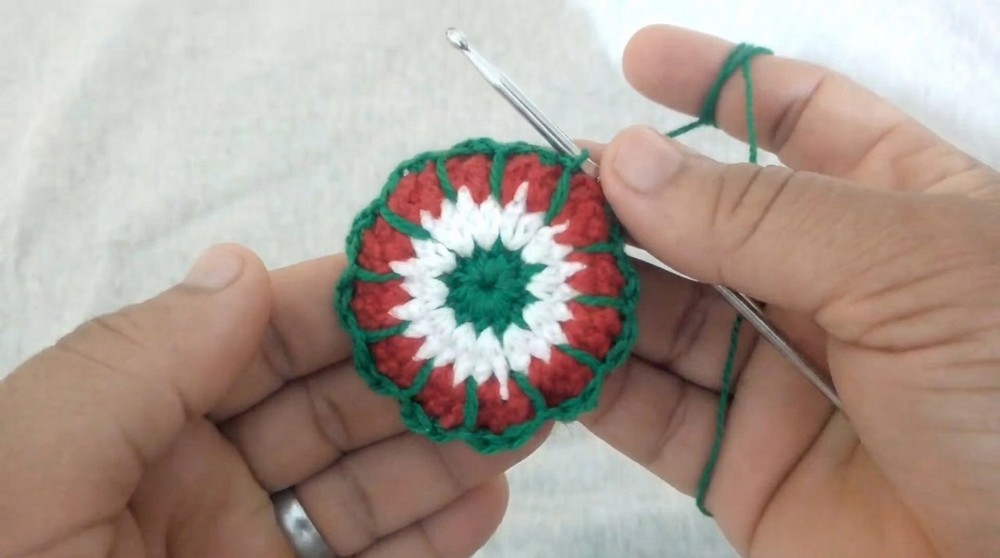
Round 4: Green Scallop Edging
- Join green thread with a knot.
- Work sc into the top of the first dc (not space) from the previous round.
- Make a second sc into the next dc.
- In the next space from row below (white), make a long sl st (draw up a long loop to mimic a petal).
- Continue: 2 sc into next two dc tops, then a long sl st into the next space down in the white round.
- Repeat this pattern (2 sc, long sl st) all the way around.
- At the end, join with a sl st to the first sc.
- Do not fasten off. Set aside this half.
Assembly & Decoration
Sewing the Center Pearl
- Using a sewing needle and thread, securely attach a pearl into the exact center of the motif.
- Repeat the above four rounds to create a second identical half.
Joining and Stuffing
- Hold both circles back-to-back with the right sides facing out.
- Using current green working thread, line up scallops and join the motifs:
- Insert hook through a scallop stitch on each piece, sc together.
- On elongated slip stitch (petal), join with a sl st through both.
- Continue around, matching stitches for a neat seam.
- Leave a small opening (about 2–3 cm) unjoint at the top.
- Fill the ball through the gap with acrylic stuffing or cotton, shaping it into a smooth sphere.
- Complete joining the remaining edge with sc and sl st as established.
- At the end, join with a sl st to close.
Hanger Loop & Final Touches
- From the closure point, ch 20 to form a hanging loop.
- Fasten the end of the chain at the base of the loop with a sl st.
- Ch 1, cut the thread, and weave in any loose ends with a needle.
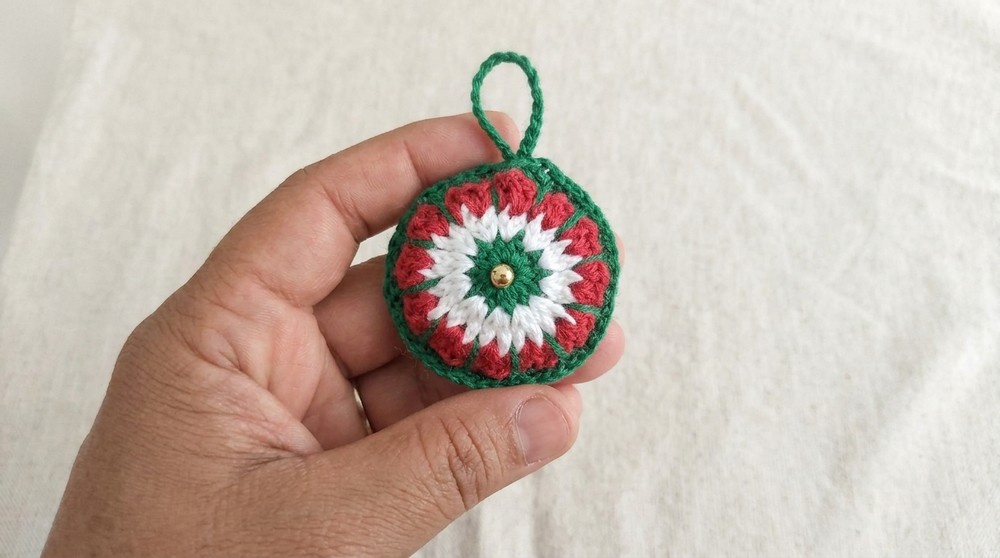
Finished Size
- Ornament measures about 5–6 cm in diameter (not including the hanging loop).
- Hanging loop adds ~7 cm.
Conclusion and Ending Words
With just a small quantity of colorful yarn, a central pearl, and some basic stitches, you can create a series of classic Christmas ornaments ready to hang or gift. The motif’s tidy rounds, alternating textured petal edge, and soft stuffing create a lovely, gently stuffed ball with vintage flair. Personalize each ball with your own pearl, alternate color order, or even add embroidery and beads for variation. These ornaments not only brighten a tree but also make thoughtful, handcrafted tokens for festive exchanges. Continue following colorwork and small motif construction to expand your holiday crochet repertoire—your creativity will shine with every completed ornament!