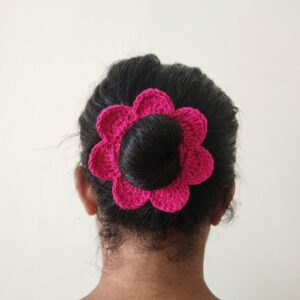
Style your hair with this Crochet Bow Clips Free Pattern, a lovely way to use colorful yarns for accessories that casual outfits.
Every once in a while, a simple accessory comes along that adds a splash of charm and personality to any look. Changing soft yarn into an elegant hair adornment that suits both casual days and special occasions. Thanks to the wonderful tutorial by Mônica Moda Crochê, you can learn how to create a delightful hair accessory that’s both versatile and stylish. The Crochet Bow Clips Pattern taught in this video is a fantastic project that combines ease and beauty, making it perfect for personal use or as a heartfelt gift.
Simple Crochet Bow Clips Free Pattern For Hair Accessories
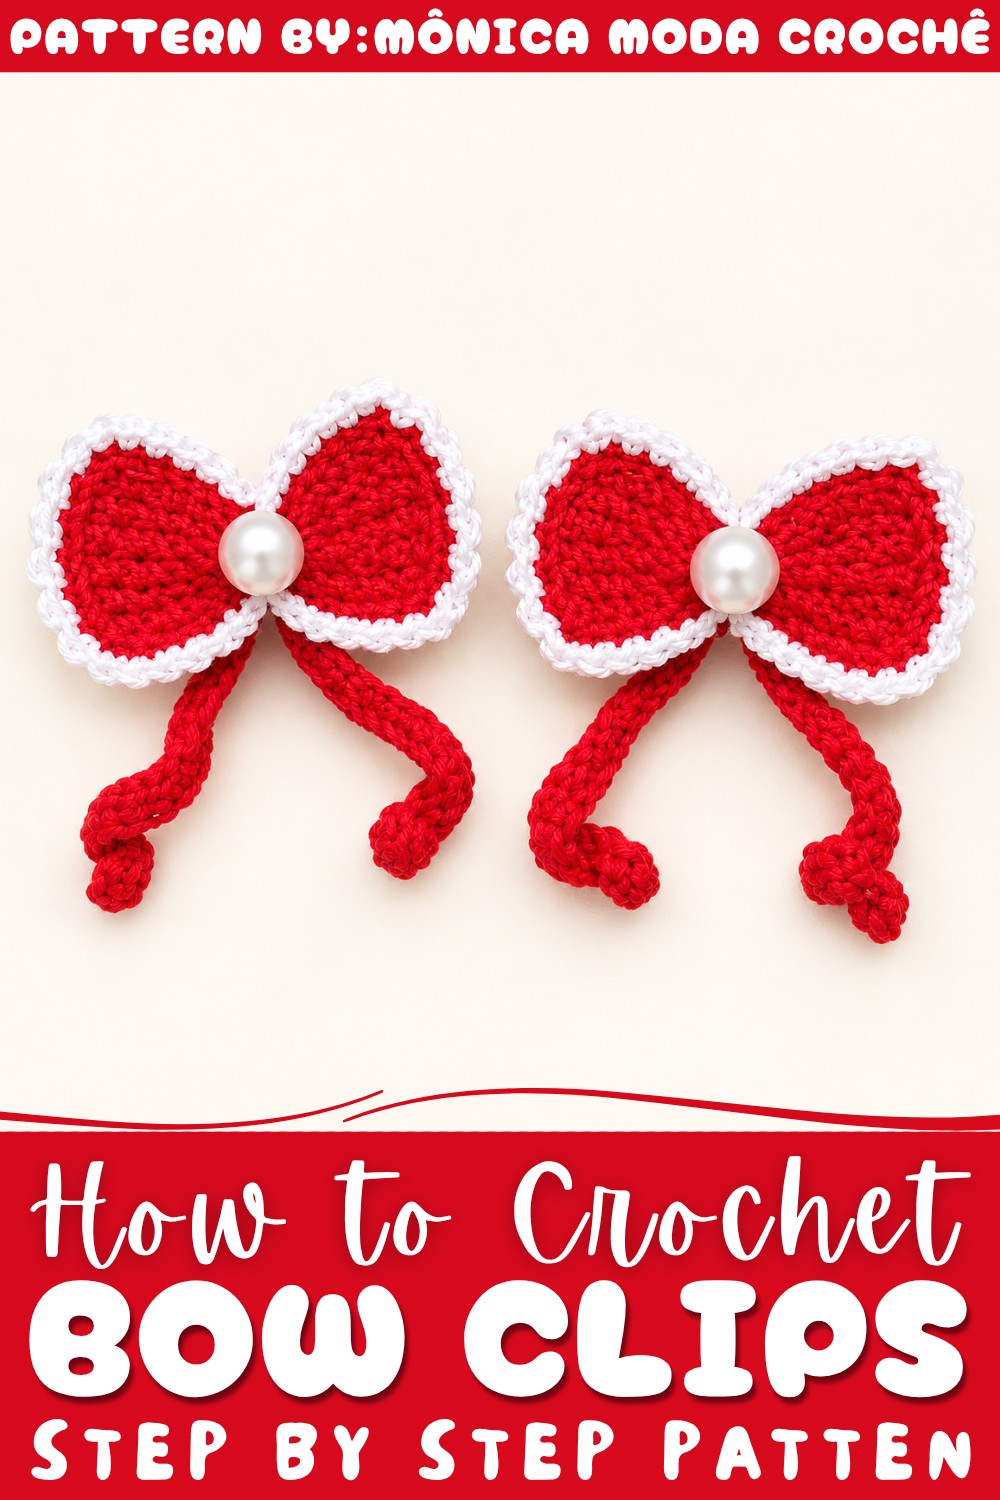
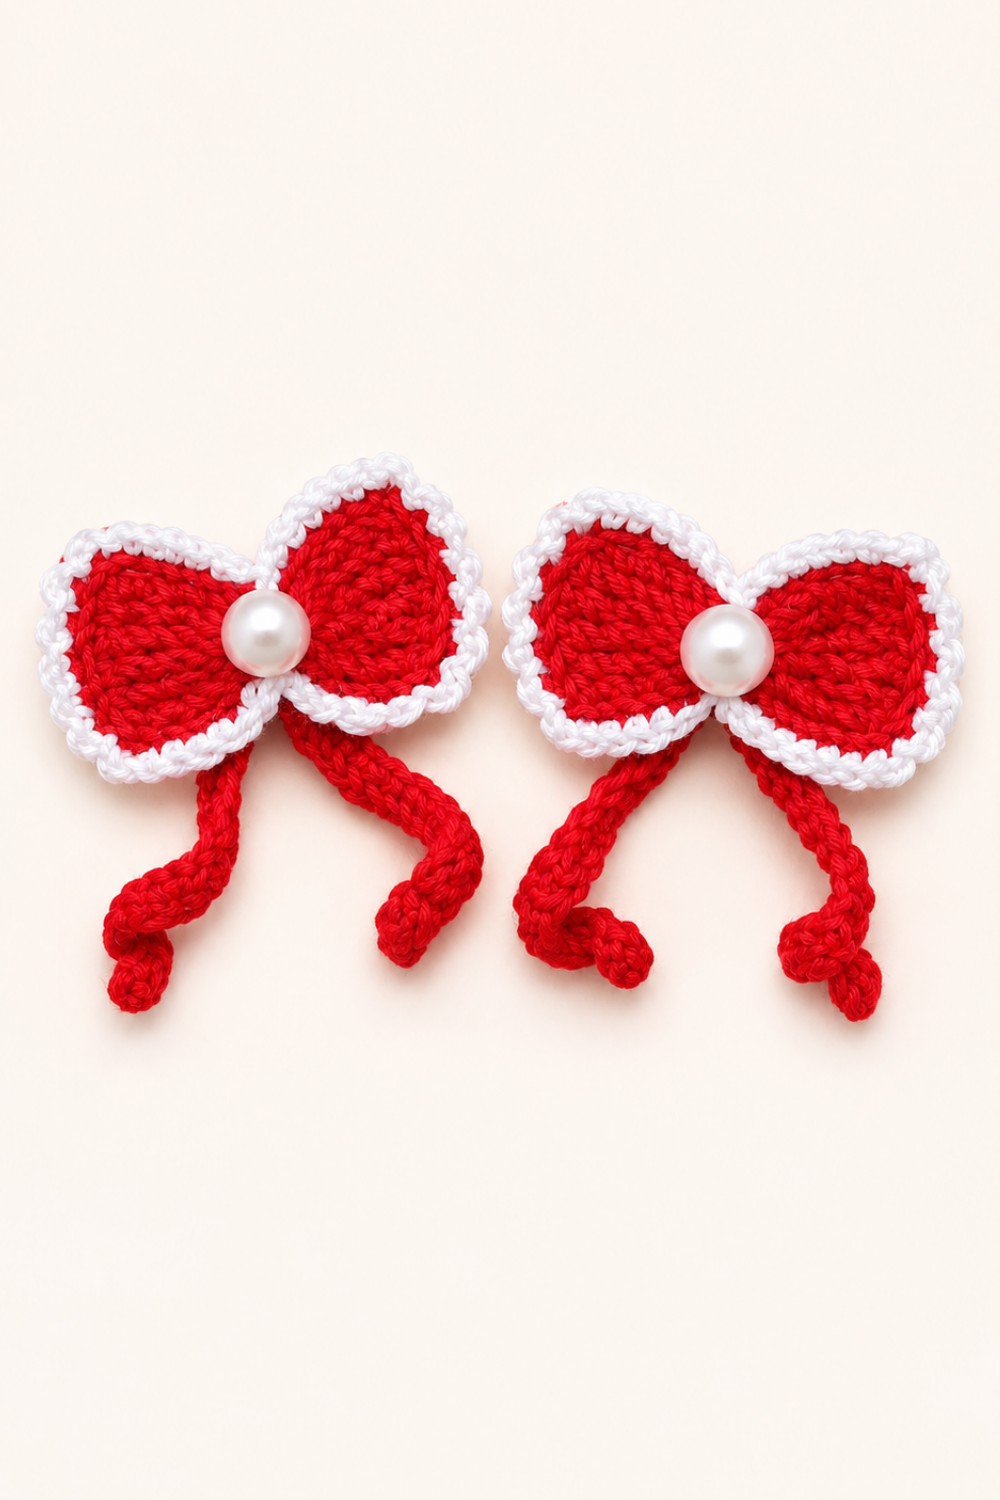
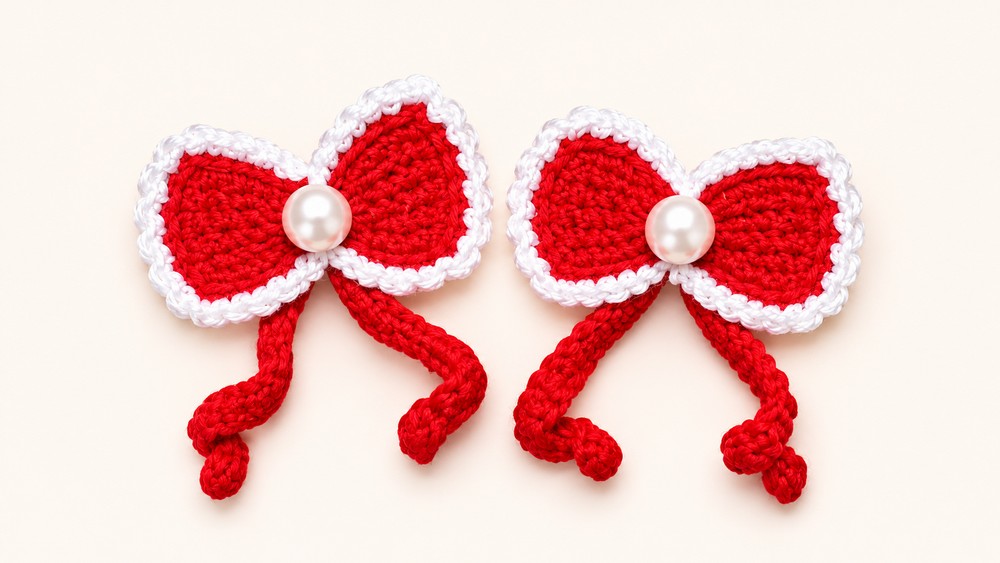
This project results in a petite bow-shaped hair clip that radiates grace and subtle sophistication. The bows have a smooth, textured appearance shaped by layered stitches, giving them a plump yet delicate form that holds its structure beautifully. Commonly made with a base in one color and a contrasting outline, the style highlights the detailed stitch work, especially with the addition of a small half-pearl centerpiece that adds a gentle touch of elegance without any sewing needed. The colors can be customized to match any outfit or mood, from soft baby pinks to vivid reds with white edging, making each piece unique.
Perfect for girls and women of all ages, these bow clips serve as charming decorations that brighten hairstyles instantly. They're not just pretty; their lightweight yarn texture means they are comfortable to wear throughout the day. More than just a fun accessory, these clips make excellent gifts, giving a personal touch that’s sure to delight recipients. Whether placed on a ponytail, securing loose hair strands, or adding flair to party looks, these bow clips effortlessly blend style and practicality.
Pretty Crochet Bow Clips Free Pattern
This charming crochet hair bow combines vivid color, delicate structure, and the practicality of modern adhesives to yield an accessory that’s both eye-catching and useful for a variety of occasions. Each element, from the textured red and white stitches to the central half-pearl, works together for a cohesive and polished effect. The process uses straightforward techniques, emphasizing a neat finish and sturdy construction, suitable for both new and intermediate crocheters. With its secured hardware and decorative ribbon tails, this bow is suited for children’s accessories, gifts, or as a standout detail in your own hairstyle. Consistent, clear steps ensure each section is approachable, and the result is a handmade piece with carefully balanced texture and charm.
Quick Overview of Pattern
- Structured bow shape built in two balanced halves
- Triple treble stitches form generous, symmetrical loops
- Contrasting white border adds crisp definition
- Pearl embellishment provides a professional finish (no sewing required)
- Removable hair clip included for easy styling
- Optionally curled ribbon tails for playful, ornate flair
Notes
- Pattern uses US terminology.
- Keep your tension firm but not tight for best form.
- The half-pearl is affixed with glue; you may sew it instead for extra durability if preferred.
- Use caution with glues, especially for children’s accessories; allow full drying before wear.
- The hair clip can be removed for alternate mounting.
- Project makes one bow; repeat for matched sets or color variety.
Skill Level
- Beginner to Intermediate
- All basic stitches are used (chains, slip stitch, single/double/triple treble crochet). Application of embellishments and assembly methods require some attention to detail, but overall the project is accessible.
Materials
- Yarn: Red and White Charm yarns (DK/light weight cotton recommended)
- Crochet Hook: 4.0 mm (Number 4/Queelada 4)
- Adhesive: Silicone glue (or strong fabric adhesive)
- Embellishment: One half-pearl bead (about 8-12 mm)
- Hardware: 1 metal hair clip (small to medium size)
- Tools: Scissors, yarn needle (for weaving ends)
Measurements / Sizing
- Bow width: Approximately 9–10 cm (3.5–4 inches), depending on yarn and tension
- Bow height: Approximately 3–4 cm (1.2–1.5 inches)
- Dangling tails length: Around 8–10 cm (3–4 inches)
- Center pearl: Approximately 8–12 mm diameter
Gauge (and Stitch Pattern)
- Gauge is not crucial for this accessory.
- Main stitches include:
- Chain (ch)
- Slip Stitch (sl st)
- Single Crochet (sc)
- Double Crochet (dc)
- Triple Treble Crochet (tr-tr)
Stitch Abbreviations
| Abbreviation | Term |
|---|---|
| ch | chain |
| sl st | slip stitch |
| sc | single crochet |
| dc | double crochet |
| tr-tr | triple treble crochet |
Special Stitches
- Triple Treble Crochet (tr-tr):
- Yarn over three times, insert hook into stitch/ring, yarn over, pull through (5 loops on hook), [yarn over, pull through 2 loops] four times.
- Dangling Cord:
- Simple foundation of chains, then first dc in 3rd chain from hook, sc (single crochet) down the tail.
The Crochet Pattern
1. Base Circle and First Loop Side
- Ch 4; join with a sl st to the first chain forming a tight center circle.
- Ch 7 (forms the side loop).
- Now, for the loop’s structure:
- Yarn over 3 times (for tr-tr).
- Insert hook into the center ring and work 1 tr-tr as follows:
- Yarn over, insert into ring, yarn over and pull through (5 loops on hook).
- Yarn over, pull through 2 loops—repeat a total of 4 times (until 1 loop is left).
- Repeat this process until 6 tr-tr are completed into the ring (not counting the initial 7 chains, which act as a post/edge).
- Ch 7.
- Sl st back into the center circle—this secures and closes the first bow side.
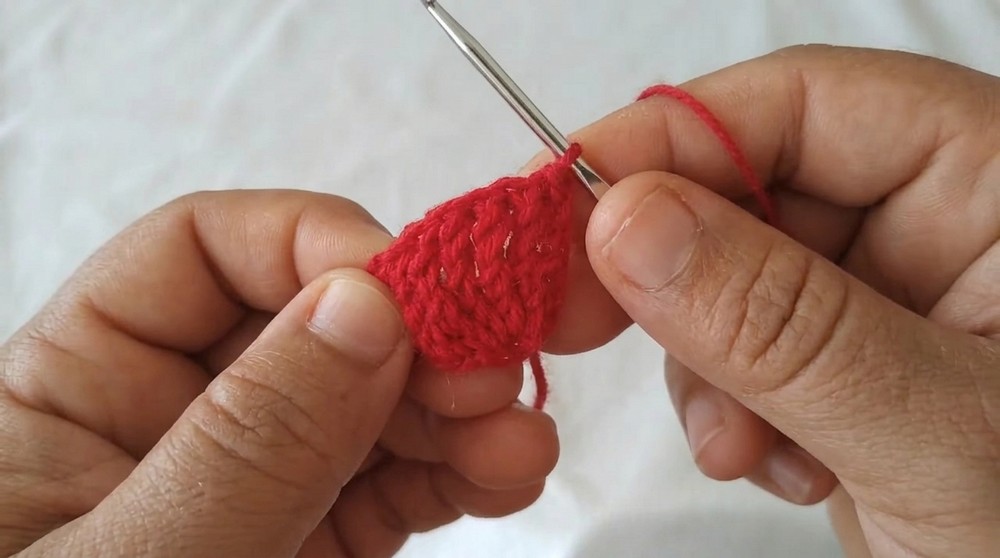
2. Second Loop Side
- Ch 7.
- Work 6 tr-tr into the center circle, just as on the first side.
- Ch 7 again and sl st to the center circle.
- Ch 1 to secure.
- Cut the red yarn, leaving a modest tail.
- Gently pull the original starting thread tail to close any opening in the center, keeping the bow’s midpoint neat and tight.
- Use a yarn needle to weave in all loose ends thoroughly for a tidy result.
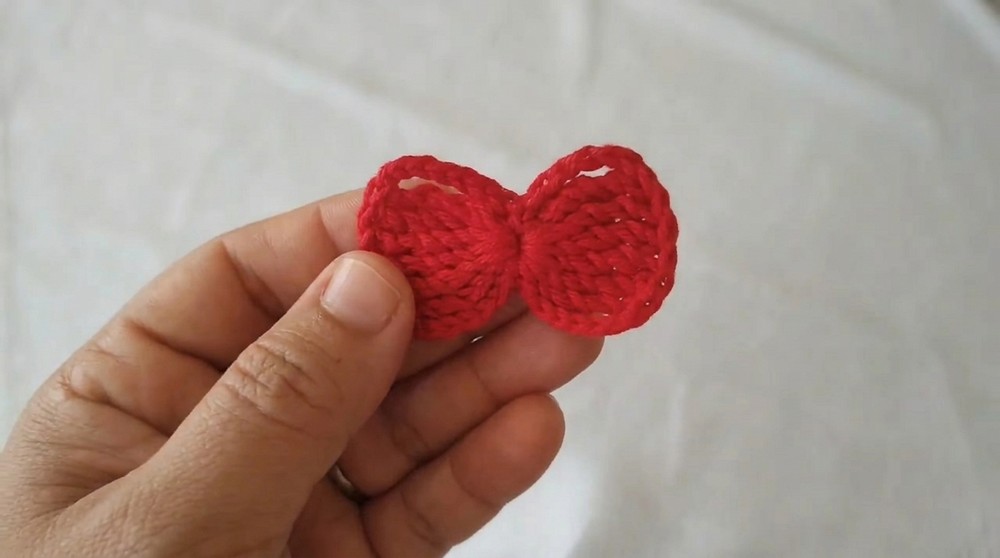
3. White Border and Outline
- Attach white yarn with a small knot at the center circle.
- Insert hook into the center and sl st to begin.
- Working up the left-side loop:
- Place 1 sc in each of the 7 foundation chains.
- Along the top edge (over the six tr-tr stitches), repeat as follows:
- For each tr-tr:
- Ch 2, then sl st into the second loop from hook (to form a decorative slip stitch edge for each tr-tr).
- Continue across all six stitches.
- For each tr-tr:
- Down the other side of the loop:
- 1 sc in each of the 7 chain stitches.
- At the base, sl st into the center circle.
- Repeat border for the opposite loop—sc in each chain, edge as above, sc down the side, sl st in center.
- Finish with ch 1, cut, and weave in ends on the back.
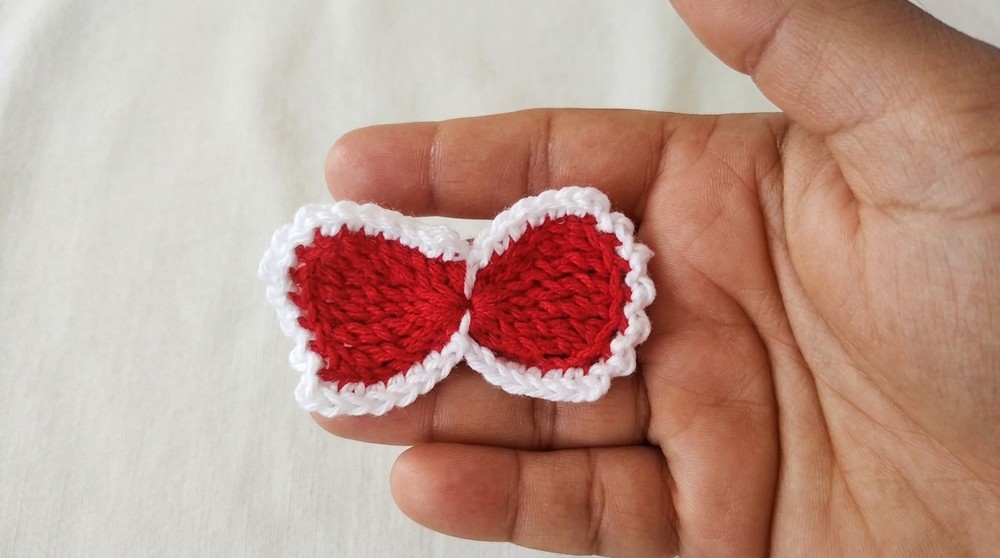
4. Center Embellishment
- Generously apply silicone glue to the middle of the bow (over the magic ring area).
- Firmly press the half-pearl centrally in place.
- Let this dry completely, ensuring the pearl is solidly affixed before handling further.
5. Dangling Cord / Ribbon Tails
- With the red yarn, ch 20.
- Yarn over, dc into the 3rd chain from hook (forms a pointed base for the tail).
- In each chain thereafter (down to the end), work 1 sc.
- For symmetry: Make a second cord exactly as the first (ch 20, dc in 3rd ch, sc to end).
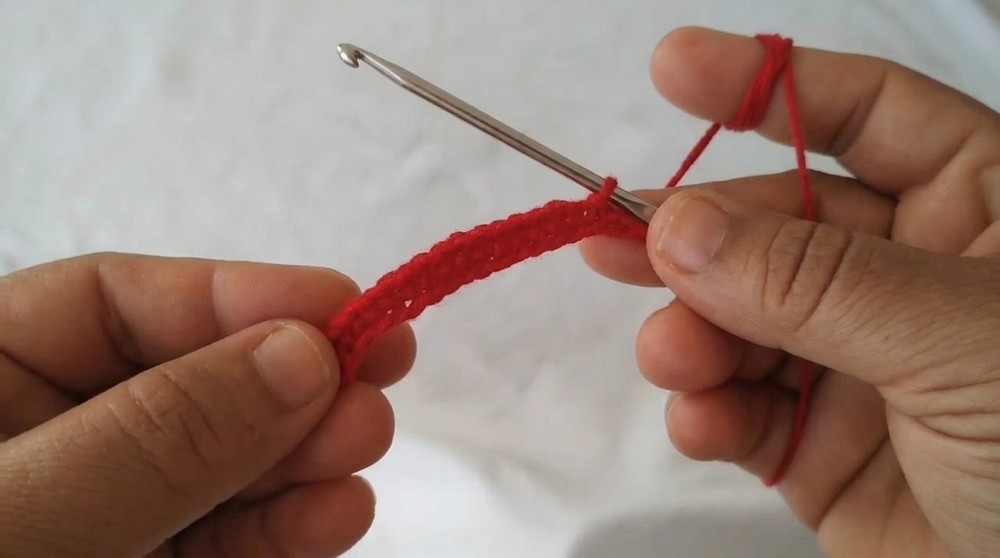
- Tie both cord ends together with two small knots to join. Trim excess and hide tails for neatness.
6. Final Assembly
- On the wrong side (the side with visible yarn ends), apply a line of silicone glue.
- Press the metal hair clip onto the back of the bow and allow to adhere fully.
- Attach the dangling cords: Glue the knotted ends of the tails to the bottom back of the bow, arranging for even hang.
- Allow all parts to dry thoroughly before use.
- Optionally, gently curl the cord tips with your finger for a more decorative look.
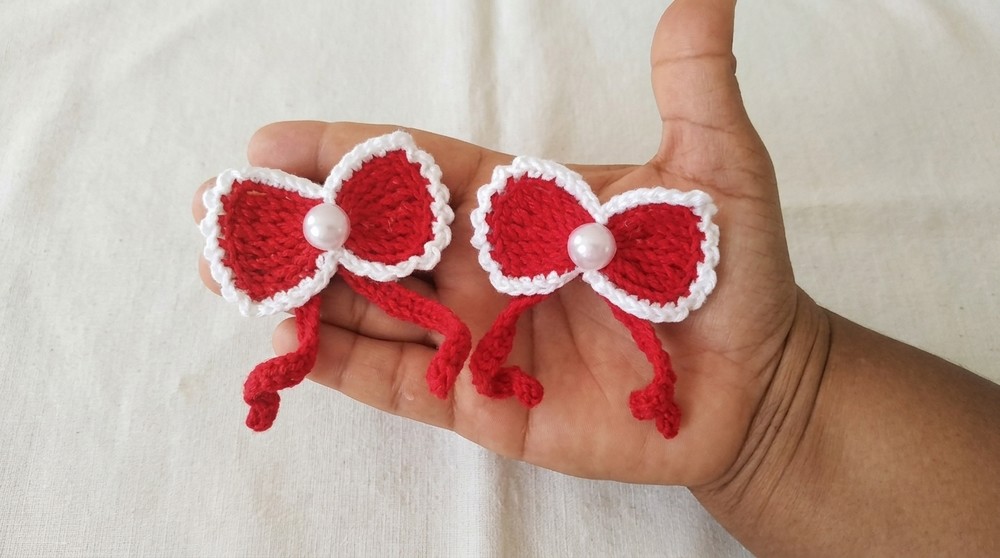
Assembly & Finished Size
- Re-examine the back for security and neatness.
- Finished bow should be 9–10 cm wide, 3–4 cm tall, with tails about 8–10 cm.
- The half-pearl centerpiece and crisp edging lend a professional touch, while soft tails add playful movement.
Conclusion and Ending Words
Completing this hair bow highlights a rewarding mix of colorwork, dimensional crochet, and thoughtful finishing. The bow’s structured loops, crisp white edging, and luminous half-pearl contribute to a piece that is both functional and visually attractive. Dangling tails with knotted details extend the accessory’s charm, making it well-suited for a variety of occasions. The clear steps help maintain symmetry and ensure a secure attachment, so your finished bow remains both beautiful and durable in daily use or special events. Hand-finishing each section provides the satisfaction of attention to detail and the opportunity to personalize with color combinations or alternative embellishments. With drying and assembly completed, this bow is ready to accent any hairstyle, proving the blend of technique and practicality in accessory making.